Home>How-to Guides>For Women>How To Make A Plus Size Tankini Bathing Suit
For Women
How To Make A Plus Size Tankini Bathing Suit
Modified: September 23, 2023
Learn how to make a tankini bathing suit plus size for women. Step-by-step guide with tips and tricks to create your own stylish and comfortable swimwear.
(Many of the links in this article redirect to a specific reviewed product. Your purchase of these products through affiliate links helps to generate commission for Under-tec.com, at no extra cost. Learn more)
Table of Contents
How To Make A Tankini Bathing Suit Plus Size
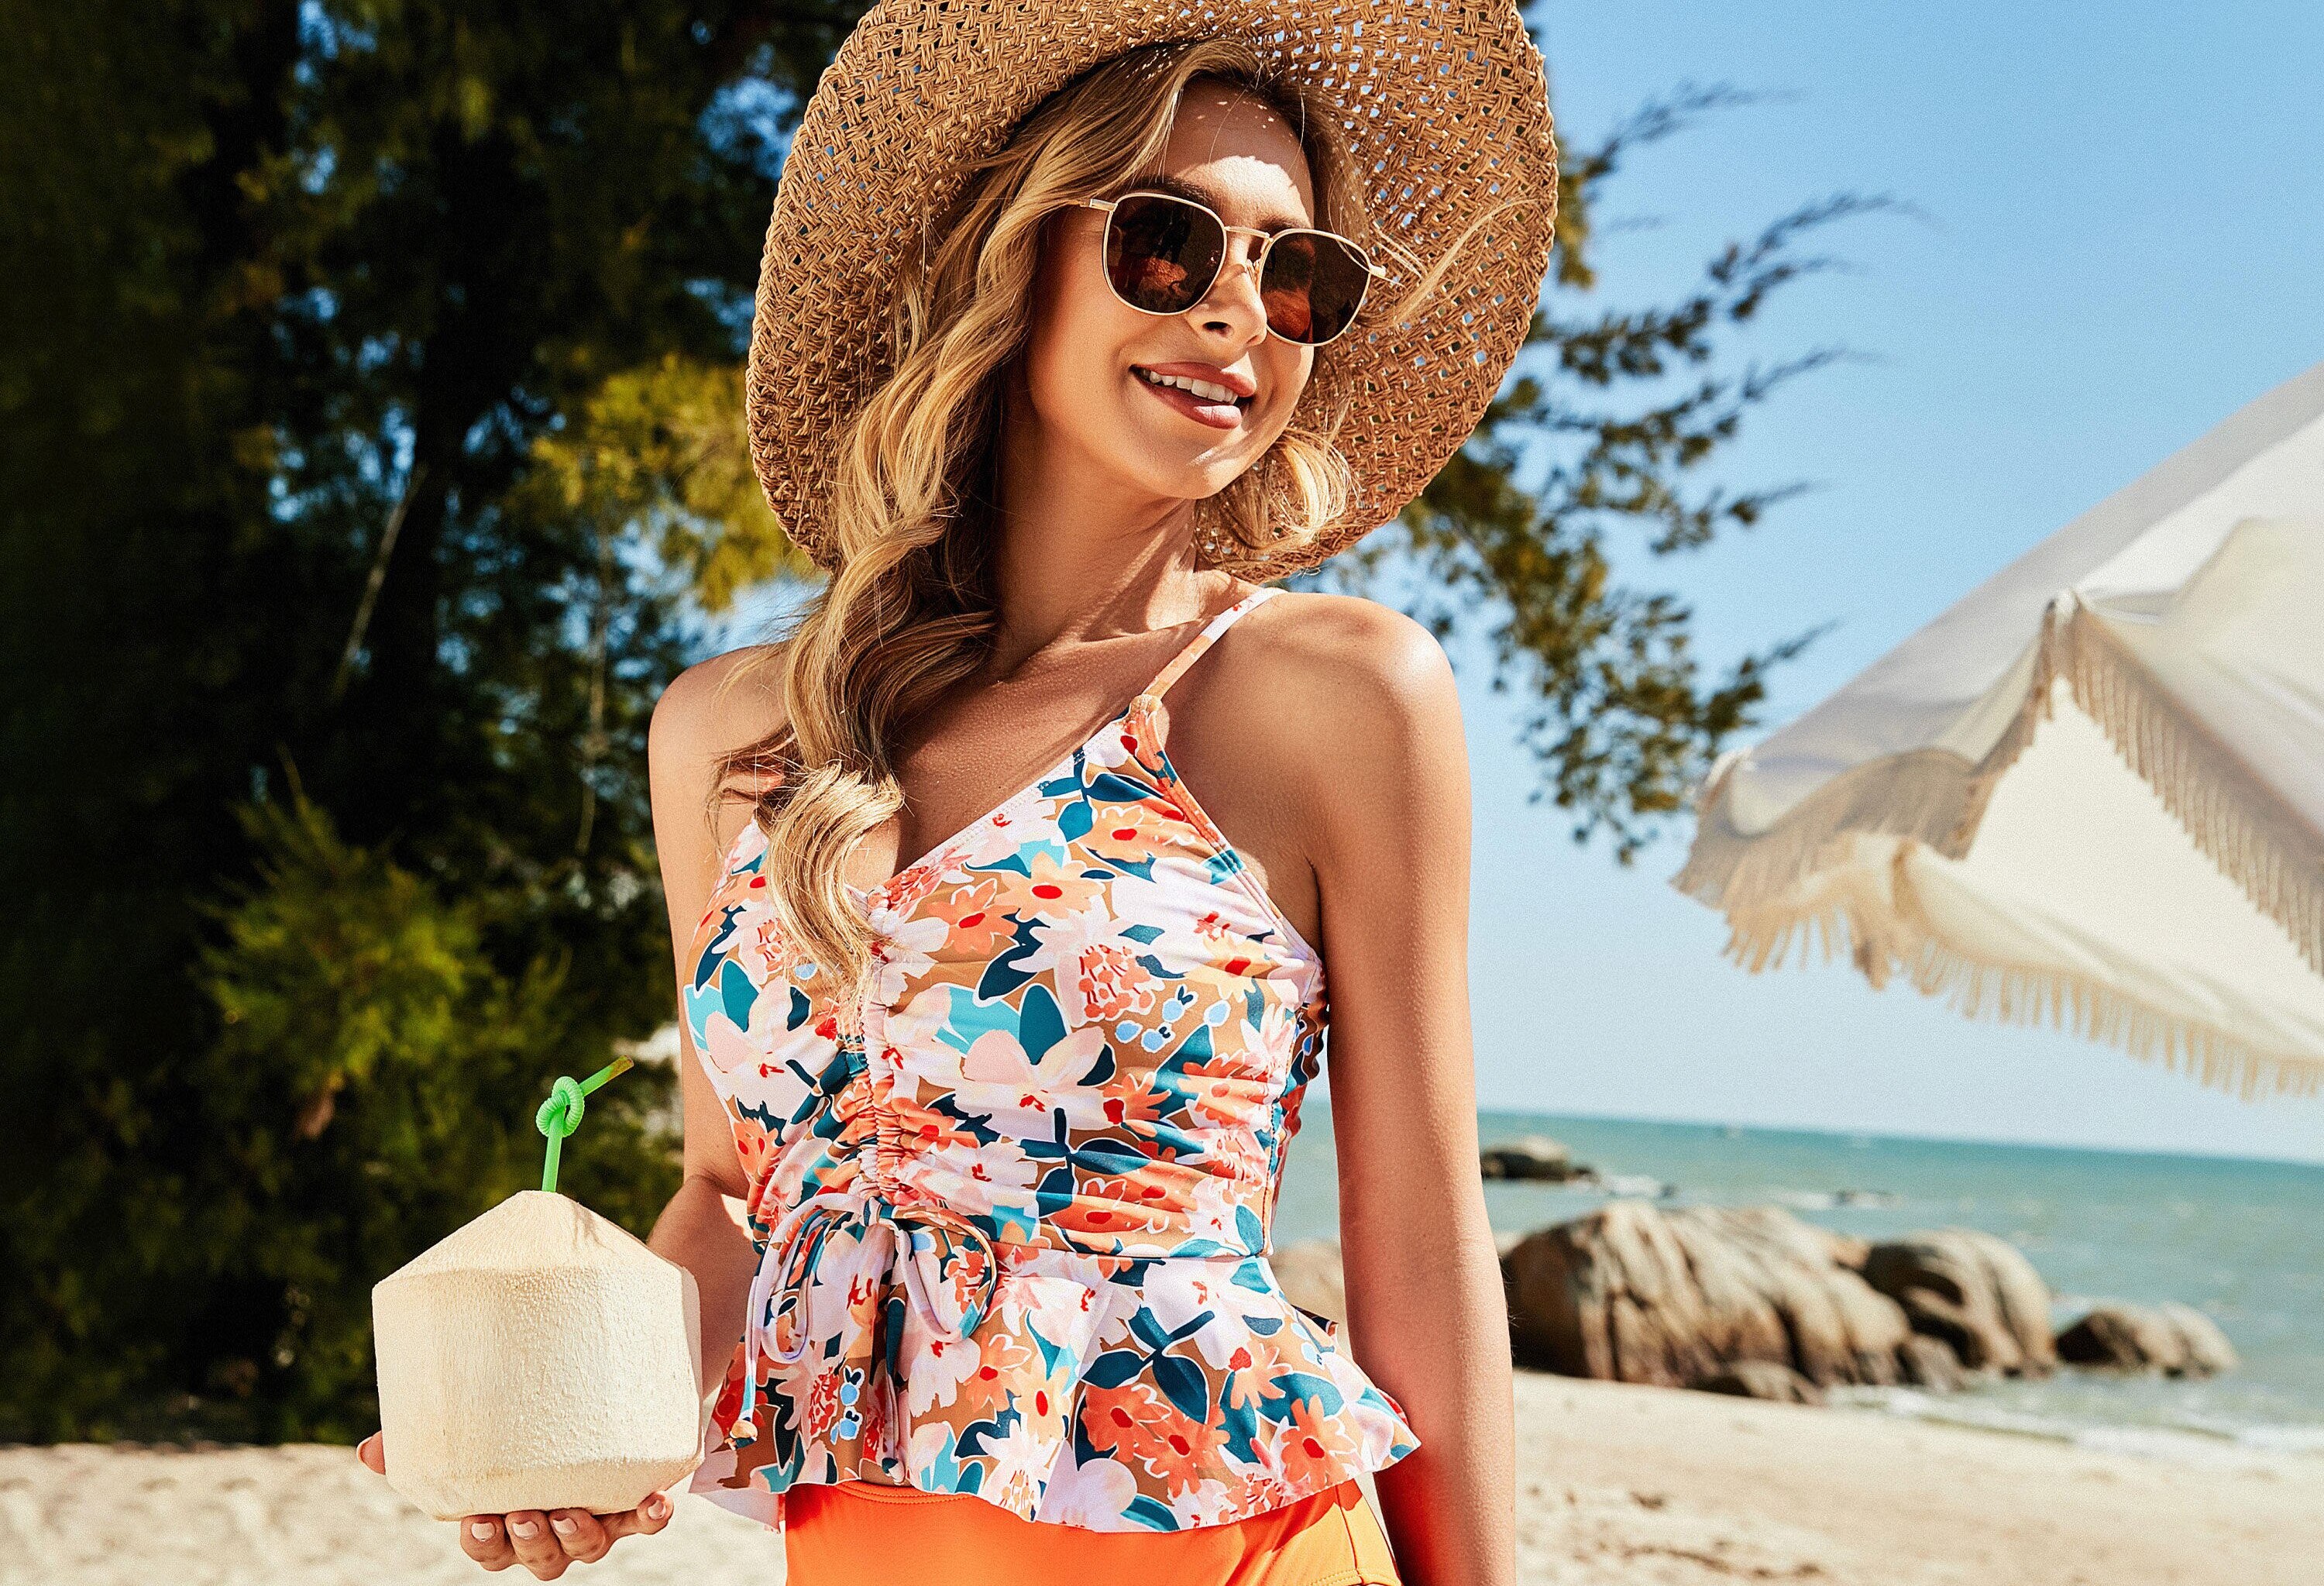
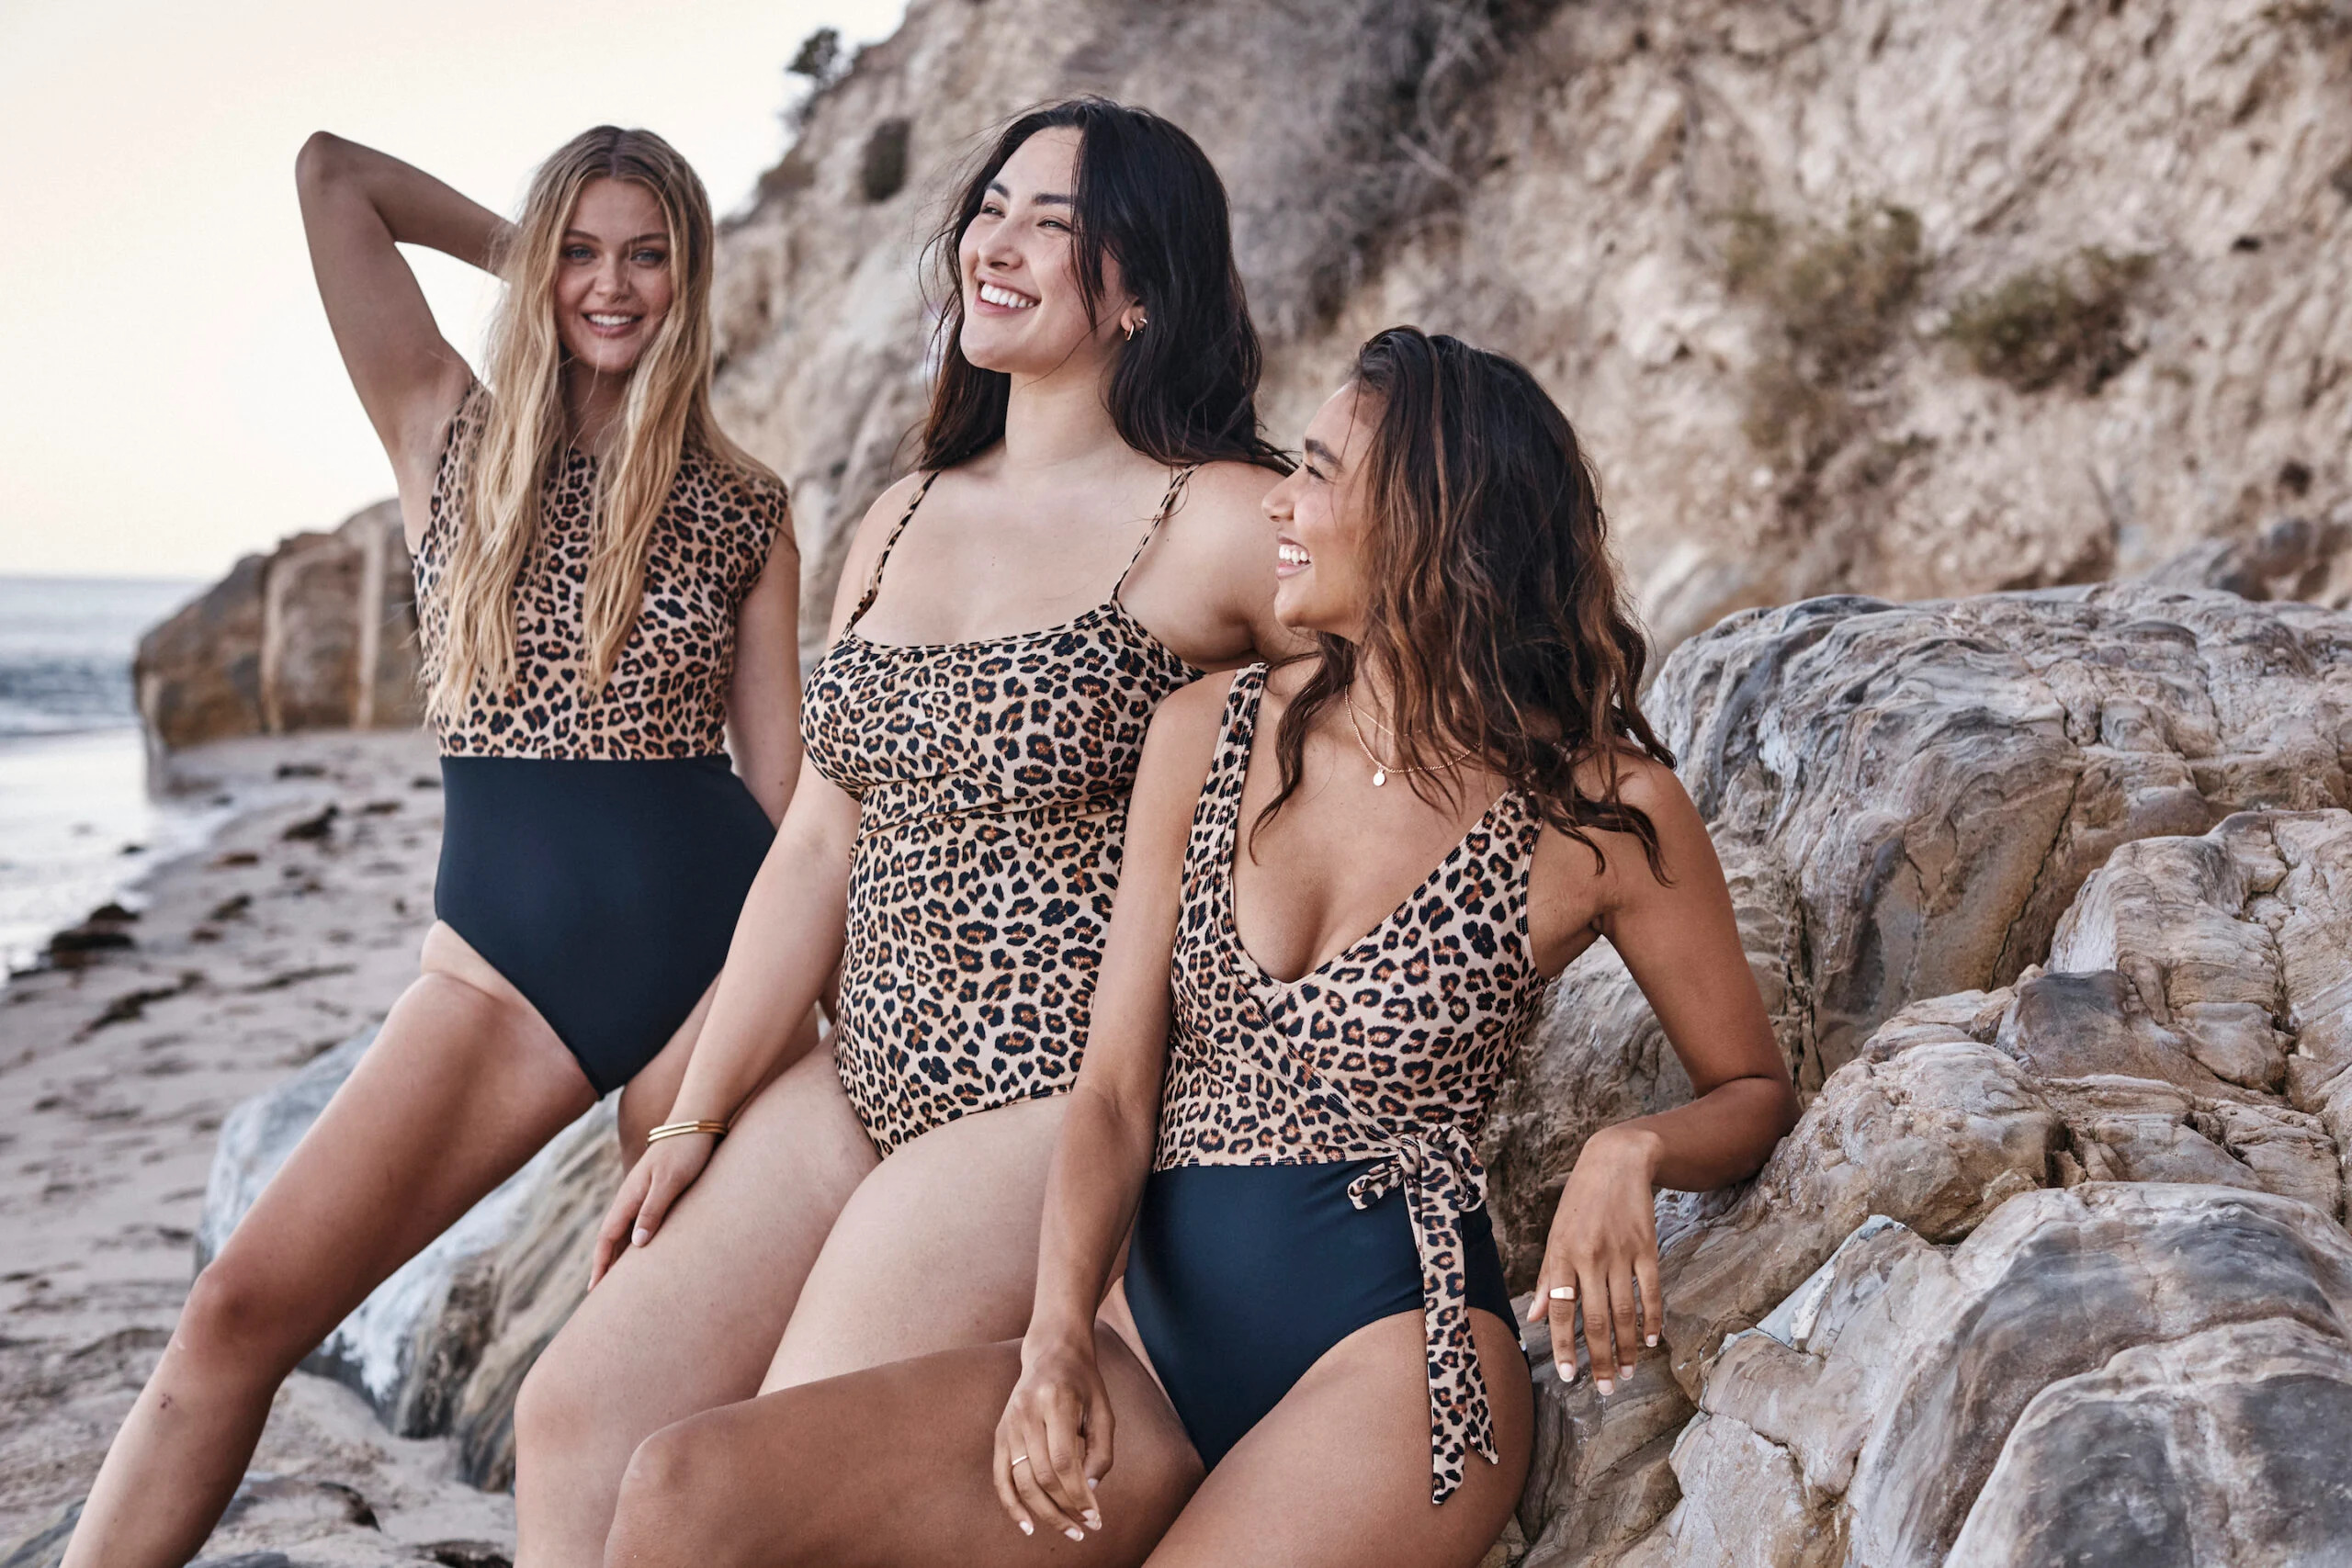
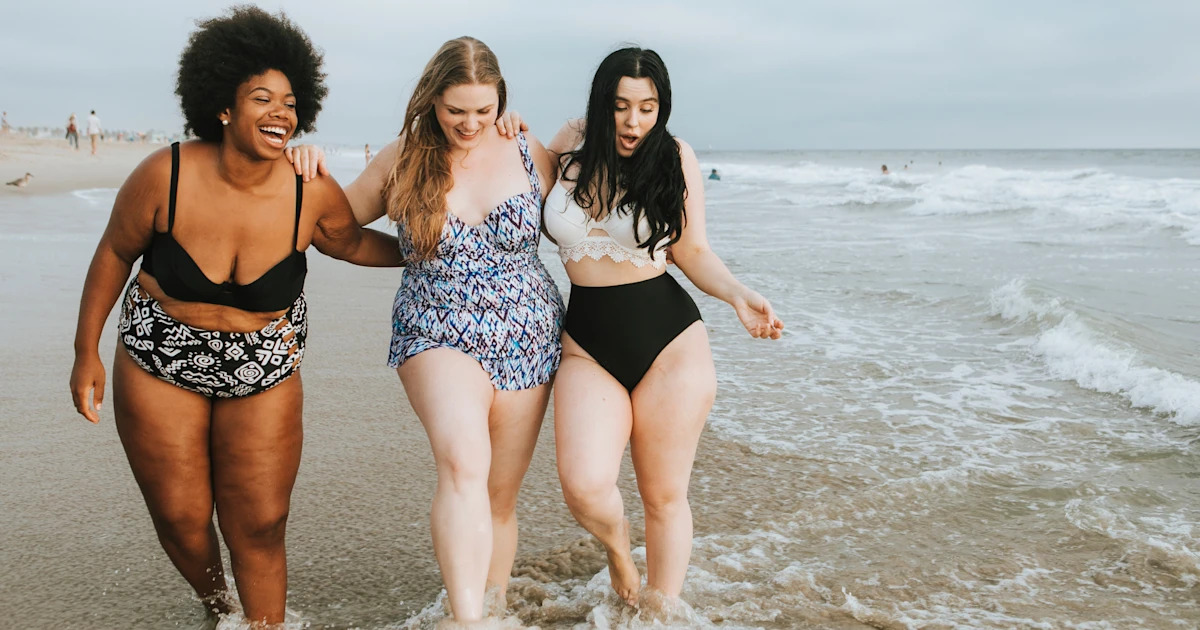
When it comes to finding the perfect swimsuit, plus-size women often face limited options. That’s where the beauty of a tankini bathing suit comes in. This two-piece swimsuit provides coverage and support while still allowing for stylish customization. In this guide, we will walk you through the process of making a tankini bathing suit specifically designed for plus-size women.
Before diving into the sewing process, it’s important to ensure you have the right materials. Start by choosing a fabric that has stretch and good recovery. Look for materials like nylon spandex or swim knit, as these will provide adequate support and flexibility. Additionally, opt for fabrics that have a UPF (Ultraviolet Protection Factor) rating for added sun protection.
Next, take accurate body measurements to ensure a proper fit. Measure your bust, waist, hips, and torso length. Plus-size bodies come in different shapes, so it’s essential to obtain these measurements to draft a pattern that will flatter your figure.
With the measurements in hand, it’s time to draft the tankini pattern. You can use commercial patterns as a starting point, making necessary adjustments to accommodate your curves. Alternatively, there are online resources and tutorials available to guide you through the pattern drafting process from scratch.
Once you have your pattern, it’s time to cut the fabric. Make sure to follow the instructions and guidelines provided with your pattern, paying attention to the grain and stretch of the fabric. Take care to cut out the correct sizes, keeping in mind any adjustments made to the pattern for your specific body shape.
Now comes the fun part – assembling your tankini top. Follow the pattern instructions to sew the front and back pieces together, attaching the straps or adding any additional design elements like ruching or gathers. Try on the top as you go to ensure it fits snugly and comfortably.
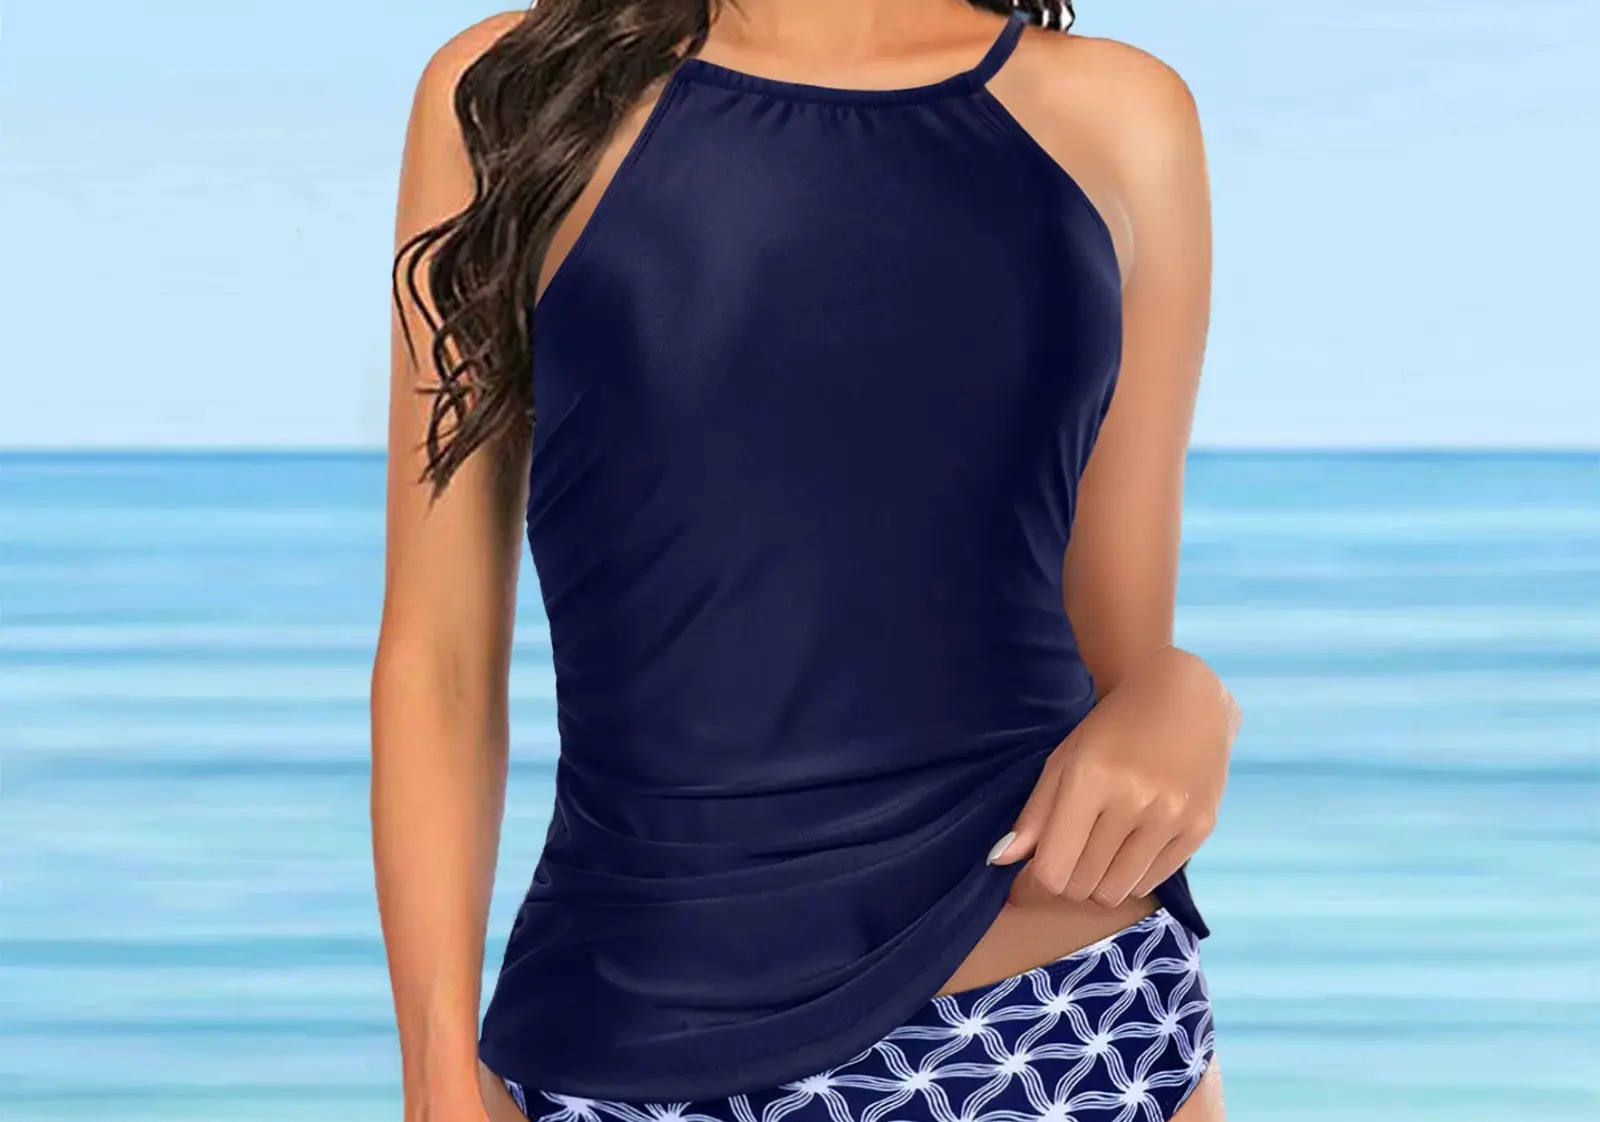
Next, it’s time to add the tankini bottoms. There are various options to choose from, including swim briefs, swim shorts, or even skirted bottoms. Select the style that you feel most comfortable in and follow the pattern instructions to construct them.
After completing the construction, make any necessary fit adjustments. Remember that swimwear should fit snugly to provide support but not feel restrictive. Take the time to assess the fit and make alterations as needed, such as adjusting the straps or taking in seams.
Finally, add the finishing touches to your tankini bathing suit. This may include inserting elastic into the edges for added support and stretch, adding a lining for comfort, or even customizing the suit with decorative elements like bows or appliques.
Making your own tankini bathing suit allows for a level of customization and personalization that is hard to find in store-bought options. By following these steps and taking the time to tailor the suit to your specific body shape, you’ll have a swimsuit that not only fits perfectly but makes you feel confident and beautiful at the beach or pool.
Introduction
For plus-size women, finding the perfect bathing suit can often be a challenging and frustrating experience. Many off-the-rack options lack the size range or suitable designs to accommodate their body shapes. Thankfully, the tankini bathing suit provides a stylish and practical solution. The tankini combines the coverage of a one-piece swimsuit with the versatility and convenience of a two-piece suit. In this guide, we will provide step-by-step instructions on how to make a tankini bathing suit specifically designed for plus-size women, ensuring a flattering fit and comfortable feel.
The first step in creating a tankini bathing suit is choosing the right fabric. Opt for materials that have stretch and good recovery, such as nylon spandex or swim knit. These fabrics offer the necessary support and flexibility required for swimwear. Additionally, look for fabrics with a UPF rating to provide added protection against harmful UV rays.
Accurate body measurements are essential for achieving a well-fitted tankini bathing suit. Make sure to measure your bust, waist, hips, and torso length. Plus-size bodies come in different shapes, so it’s crucial to have these measurements when drafting the pattern.
With the measurements in hand, you can move on to drafting the tankini pattern. You have the option of using commercial patterns as a starting point and making adjustments to cater to your unique curves. Alternatively, numerous online resources and tutorials guide you through the process of creating a custom pattern from scratch.
Once you have the pattern, it’s time to cut the fabric. Pay close attention to the instructions and guidelines provided with your pattern, ensuring you cut along the grain and utilize the fabric’s stretch appropriately. Be mindful of selecting the correct sizes and incorporating any adjustments made to the pattern to suit your body shape.
Assembling the tankini top is an exciting and creative process. Follow the instructions provided with the pattern to sew the front and back pieces together, attaching the straps or incorporating any design elements such as ruching or gathers. Constantly try on the top as you sew to ensure a snug and comfortable fit.
Additionall, you can customize the tankini bottoms to your preference. There are various options available, including swim briefs, swim shorts, or skirted bottoms. Choose the style that suits you best and follow the pattern instructions to construct the bottoms.
After completing the construction, take the time to make any necessary fit adjustments. Swimwear should fit snugly to provide support without feeling restrictive. Assess the fit and make alterations such as adjusting the straps or taking in seams if required.
Finally, add the finishing touches to your tankini bathing suit. This may include inserting elastic into the edges for added support and stretch, adding a lining for increased comfort, or customizing the suit with decorative elements like bows or appliques.
By following these steps, you can create a tankini bathing suit that not only fits perfectly but also makes you feel confident and beautiful at the beach or pool. So let’s dive into the process and make a stunning tankini bathing suit that showcases your individual style and embraces your curves.
Choosing the Right Fabric
When it comes to making a tankini bathing suit for plus-size women, selecting the right fabric is crucial. The fabric you choose will determine the level of support, comfort, and flexibility that your swimsuit provides. Here are some important factors to consider when choosing the fabric for your tankini:
Stretch and Recovery: Look for fabrics that have a good amount of stretch. Fabrics like nylon spandex or swim knit provide the necessary elasticity to accommodate your body’s movements and ensure a comfortable fit. Additionally, the fabric should have good recovery, meaning it can bounce back and retain its shape after being stretched.
Support: Plus-size women often require extra support in their swimsuits. Fabrics with a higher percentage of spandex or elastane can provide the necessary support to hold everything in place. By selecting a fabric with adequate support, you can feel confident and secure while enjoying your time in the water.
UPF Rating: Protecting your skin from harmful UV rays is important, especially when spending time in the sun. Look for fabrics with a UPF (Ultraviolet Protection Factor) rating. A higher UPF rating indicates better protection against the sun’s rays, minimizing the risk of sunburn and potential long-term damage to your skin.
Durability: Swimwear is exposed to harsh conditions like chlorine, saltwater, and sun exposure. Choose a fabric that is durable and resistant to fading, stretching, and pilling. Fabrics labeled as “chlorine-resistant” or “fade-resistant” are good options for ensuring your tankini bathing suit lasts for multiple seasons.
Comfort: Comfort is paramount when it comes to swimwear. Look for fabrics that have a smooth and soft feel against your skin, as well as a lightweight texture that allows for easy movement. Remember, you’ll be wearing your tankini for extended periods, so it’s essential to choose a fabric that keeps you comfortable throughout the day.
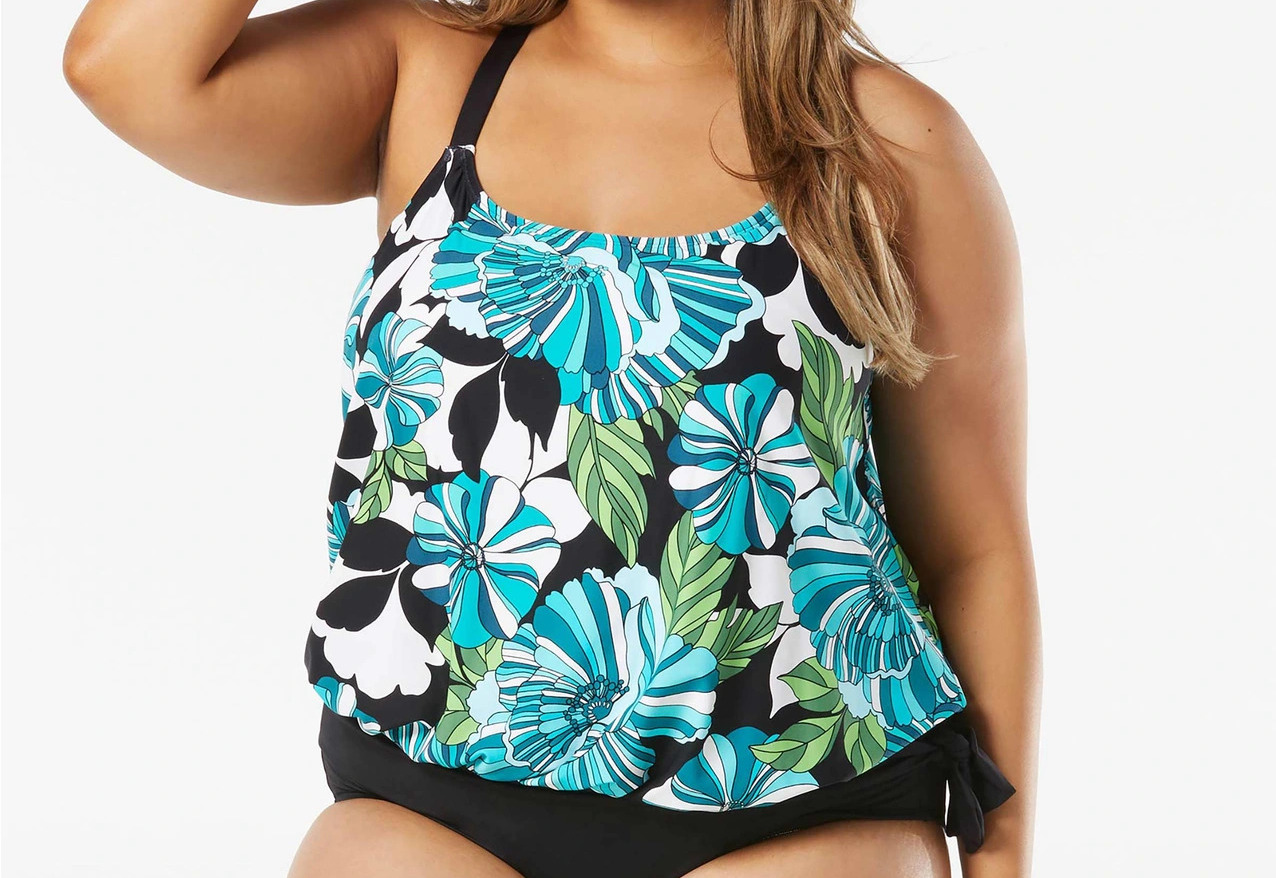
Color and Pattern: Lastly, consider the color and pattern of the fabric. Opt for colors and patterns that make you feel confident and reflect your personal style. Whether you prefer bold and vibrant hues or subtle and classic prints, choosing a fabric that resonates with your aesthetic can enhance your enjoyment and confidence while wearing your tankini.
By taking these factors into account when selecting the fabric for your tankini, you can ensure that you create a swimsuit that not only looks beautiful but also provides the necessary support, comfort, and durability for your enjoyment in and out of the water.
Taking Accurate Body Measurements
Before diving into the process of making a tankini bathing suit for plus-size women, it’s crucial to take accurate body measurements. This step ensures that your resulting swimsuit fits perfectly and flatters your unique body shape. Here are some essential measurements to take:
Bust: Measure the fullest part of your bust, making sure that the measuring tape is parallel to the ground. This measurement is crucial for determining the size and shape of the top portion of your tankini.
Waist: Measure the narrowest part of your waist, which is typically around the area above your belly button. This measurement helps in determining the size and shape of the waistband or any additional waist detailing in your tankini.
Hips: Measure the fullest part of your hips, ensuring that the measuring tape is parallel to the ground. This measurement is important for determining the size and shape of the bottom portion of your tankini bathing suit.
Torso Length: Measure from the highest point of your shoulder down through the center of your bust and over the fullest part of your stomach to the desired length of your tankini. This measurement is particularly vital for determining the overall length and fit of your tankini top.
When taking these measurements, it’s essential to use a flexible measuring tape and stand in a relaxed and comfortable posture. Avoid pulling the tape too tightly or holding your breath, as this can result in inaccurate measurements.
It’s worth mentioning that plus-size bodies come in a variety of shapes and proportions. Taking detailed measurements allows you to tailor the tankini pattern specifically to your body, ensuring a customized fit that flatters your curves.
After recording your measurements, refer to a size chart provided by the pattern manufacturer or drafting instructions to determine the appropriate pattern size to work with. It’s important to remember that pattern sizes may differ from ready-to-wear clothing sizes, so be sure to follow the guidelines provided by the pattern maker.
By taking accurate body measurements, you set yourself up for success in creating a tankini bathing suit that fits beautifully and makes you feel confident. Don’t rush this step, as investing the time to obtain precise measurements will pay off in a swimsuit that flatters your figure and provides comfort and support for your beach or poolside adventures.
Drafting the Tankini Pattern
Once you have taken accurate body measurements, the next step in creating a tankini bathing suit for plus-size women is to draft the pattern. This process involves creating a custom template that will form the basis for cutting and sewing your swimsuit. Here’s how you can draft a tankini pattern:
1. Choose a Base Pattern: Start by selecting a tankini pattern that closely matches your desired style and size range. Look for patterns specifically designed for plus-size or curvy figures, as these will provide a better fit for your body shape.
2. Adjust the Bust Size: Using your bust measurement, compare it to the bust size indicated on the pattern. If necessary, make adjustments by grading or blending between sizes to ensure the pattern corresponds to your measurements accurately.
3. Modify the Waist and Hips: Similarly, compare your waist and hip measurements to the corresponding sizes on the pattern. If your measurements fall into different sizes, adjust the pattern by blending or grading between the sizes to accommodate your unique proportions.
4. Lengthen or Shorten the Torso: Use your torso length measurement to determine if you need to lengthen or shorten the pattern bodice. This step ensures that the tankini top sits at your desired length and fits your torso properly.
5. Add or Adjust Bust Support: Depending on your preferences and needs, you can incorporate additional bust support into your tankini pattern. This may involve adding a built-in bra or using techniques like underbust elastic or power mesh for added support and shaping.
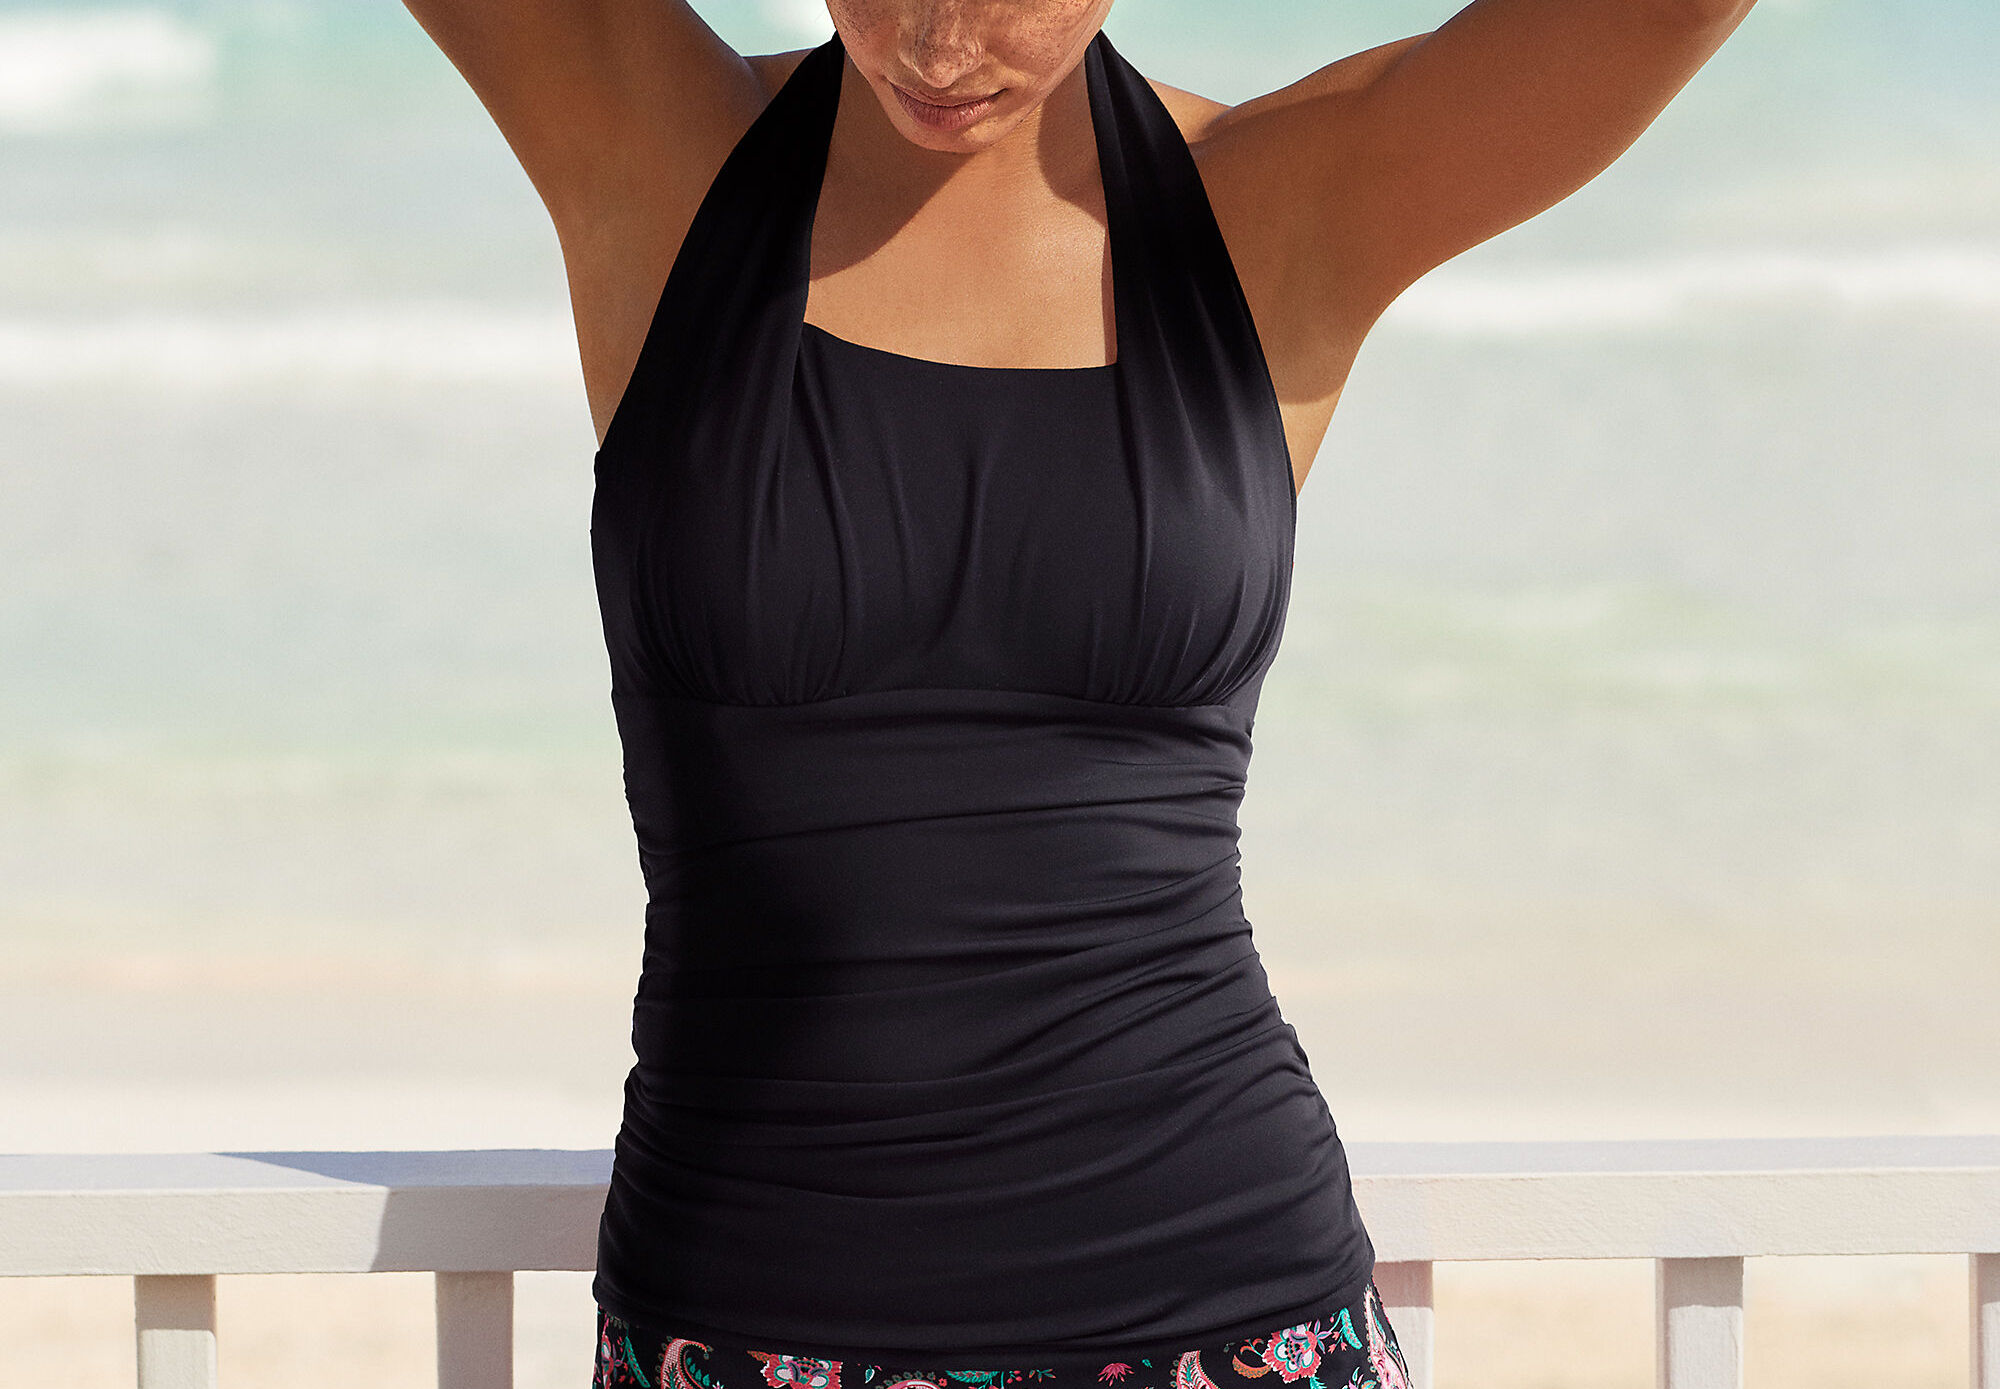
6. Modify Neckline and Straps: Adjust the neckline and straps of your tankini pattern to cater to your preferred style. You can experiment with different necklines, such as sweetheart, halter, or scoop, and customize the strap width and placement based on your comfort and support requirements.
7. Incorporate Design Elements: This is where you have the opportunity to let your creativity shine. Add design elements like ruching, gathering, or color-blocking to enhance the style and visual interest of your tankini top.
8. Test the Paper Pattern: Once you have made adjustments and modifications to the tankini pattern, it’s time to test it. Print the pattern on paper and cut it out. Pin or baste the paper pattern pieces together to create a mock-up of your tankini top. Try it on to ensure it fits well and make any necessary adjustments before cutting into your final fabric.
Remember, the drafting process requires patience and attention to detail. Take the time to make accurate adjustments and carefully test the paper pattern to ensure a well-fitting tankini top. By customizing the pattern to your specific body measurements and style preferences, you’ll create a tankini bathing suit that not only looks great but also feels comfortable and supportive.
Cutting the Fabric
Once you have successfully drafted your tankini pattern, the next step is cutting the fabric. Careful and precise cutting is essential for ensuring that your tankini bathing suit comes together accurately and fits beautifully. Here is a step-by-step guide for cutting the fabric:
1. Prepare the Fabric: Start by pre-washing and drying your fabric according to the manufacturer’s instructions. This step is crucial as it helps to shrink the fabric before cutting and prevents any unwanted surprises after your swimwear is sewn.
2. Layout the Pattern: Lay out your fabric on a clean and flat surface. Place the pattern pieces on the fabric, ensuring that the arrows indicating the grainline are parallel to the fabric selvage. Pin or weigh down the pattern pieces to prevent shifting during cutting.
3. Cut the Fabric: Using fabric scissors or a rotary cutter, carefully cut along the edges of the pattern pieces. Take your time to cut precisely, following the lines of the pattern and making smooth, even cuts. Be sure to transfer any markings or notches onto the fabric as indicated on the pattern.
4. Account for Stretch Direction: Pay attention to the stretch direction indicated on the pattern. Some fabrics have a one-way stretch, so it’s important to align the stretch with the appropriate pattern pieces. For example, the fabric should stretch horizontally across the bust area for a tankini top.
5. Make Adjustments: As you cut the fabric, double-check any modifications or adjustments you made to the pattern. Ensure that you are cutting the correct size and any design elements, such as color-blocking or gathered sections, as desired. Take your time to ensure accuracy.
6. Mark Seam Allowance: If your pattern does not include seam allowance, use a ruler and fabric marker to mark the desired seam allowance around each pattern piece. This will serve as a guide when sewing the pieces together.
7. Keep Organized: As you cut the fabric, keep the pieces organized and labeled. This will help you stay organized during the sewing process and make it easier to identify each piece when assembling the tankini bathing suit.
8. Consider Pattern Placement: If your fabric has a pattern or print, consider its placement on your tankini. You may want to position the pattern in a way that is visually appealing, such as centered or symmetrical placement on the front and back pieces.
Remember, precise cutting is essential to the success of your tankini project. Take your time, follow the pattern instructions, and double-check your measurements and modifications to ensure accurate and clean cuts. With well-cut fabric, you are one step closer to perfectly tailored and beautifully fitting tankini bathing suit.
Assembling the Tankini Top
With the fabric pieces cut and ready, it’s time to assemble your tankini top. This step-by-step guide will walk you through the process of sewing the front and back pieces together, attaching the straps, and adding any additional design elements:
1. Start with the Front and Back Pieces: Begin by placing the front and back pieces of your tankini top right sides together. Pin or clip the edges together, matching any notches or markings. Start sewing from the bottom edge of the front piece, along the side seams, and up to the top edge. Repeat the process for the back piece.
2. Try It On for Fit: Once the side seams are sewn, try on the tankini top to check the fit. This is an excellent opportunity to assess the overall fit, make any necessary adjustments, and ensure that the bust area is well-supported. You can make adjustments such as taking in the side seams, adjusting strap length, or altering the fit around the bust if needed.
3. Attach the Straps: After ensuring a proper fit, attach the straps to your tankini top. Depending on the style you chose, you can use adjustable or fixed-length straps. Align the strap ends with the top edge of the front and back pieces, and sew securely in place. Make sure the straps are evenly spaced and aligned for symmetrical positioning.
4. Extra Design Elements: If you opted for extra design elements like ruching, gathers, or decorative stitching, now is the time to add them. Follow the pattern instructions to incorporate these elements into your tankini top. Take your time and sew carefully to ensure a professional and polished finish.
5. Finishing Edges: To provide a clean and professional finish, consider finishing the edges of your tankini top. You can use techniques such as fold-over elastic or binding to add support and give a neat appearance to the armholes and neckline. Follow the pattern instructions for the specific finishing methods recommended for your tankini style.
6. Try It On Again: Once the tankini top is fully assembled, try it on again to ensure that all the adjustments and finishing touches have been applied correctly. Check for any final fit issues or areas that may need additional alterations.
7. Make Final Adjustments: Based on your fitting assessment, make any final adjustments to ensure a proper and comfortable fit. This may involve tweaking the strap length, taking in seams, or adding additional support if needed.
8. Press and Finish: To complete the assembly process, give your tankini top a final press with an iron to remove any wrinkles and ensure a crisp finish. Trim any loose threads and give the top a final inspection for quality and cleanliness.
By following these steps, you can successfully assemble your tankini top and create a stylish, well-fitting swimsuit. Remember to take your time, follow the pattern instructions, and make any necessary fit adjustments along the way. Once the tankini top is assembled, you’re one step closer to enjoying a fabulous and custom-made swimwear piece.
Adding the Tankini Bottoms
Completing your tankini bathing suit for plus-size women involves adding the tankini bottoms. This step-by-step guide will walk you through the process of selecting and constructing the bottoms, ensuring a comfortable and flattering fit:
1. Choose the Bottom Style: Select the tankini bottom style that fits your personal preference and comfort. Options may include swim briefs, swim shorts, or skirted bottoms. Consider the level of coverage, support, and mobility that you desire, and choose accordingly.
2. Cut and Prepare the Fabric: Using your tankini bottom pattern, cut the fabric pieces according to the size indicated. Make sure to follow the cutting guidelines and transfer any markings or notches onto the fabric for accurate assembly.
3. Sew the Side Seams: With right sides together, sew the side seams of the tankini bottom. Use a stretch stitch or a zigzag stitch to provide flexibility and durability. Finish the raw edges with a serger or zigzag stitch to prevent fraying.
4. Add Elastic Waistband: Measure and cut a length of elastic according to your waist measurement plus an inch for overlap. Attach the elastic to the waistband of the tankini bottom, ensuring it is evenly stretched and sewn securely. Fold over the waistband and stitch in place, creating a clean and comfortable finish.
5. Try on for Fit: Once the waistband elastic is attached, try on the tankini bottoms to check the fit. Ensure the waistband sits comfortably on your hips and does not dig in. Make any necessary adjustments, such as tightening or loosening the elastic, to achieve the desired fit.
6. Customize with Design Elements: If desired, you can add extra design elements to the tankini bottoms. This could include ruching, ties, or decorative trim. Follow the pattern instructions or get creative and add your own personal touches to make the bottoms uniquely yours.
7. Finish the Leg Openings: To provide a clean and polished finish to the leg openings, you can use techniques such as fold-over elastic or a narrow hem. This not only adds a professional touch but also ensures a comfortable and secure fit around the legs.
8. Make Final Adjustments: Once the tankini bottoms are fully assembled, try them on again to make any final adjustments. Check for any fit issues, discomfort, or areas that may need additional altering. Make any necessary changes to ensure a perfect fit.
9. Press and Inspect: Give your tankini bottoms a final press with an iron to smooth out any wrinkles. Trim any loose threads and inspect the construction for quality and cleanliness. Ensure that all seams are secure and that the bottoms are ready to be worn.
By following these steps, you can successfully add the tankini bottoms to your bathingsuit, completing the set. Remember to choose a style that makes you feel comfortable and confident. Take your time, follow the pattern instructions, and make any necessary fit adjustments along the way. Once the tankini bottoms are added, your custom-made swimsuit is ready for the beach or pool, allowing you to soak up the sun in style.
Finishing Touches and Final Fit
As you near the completion of your tankini bathing suit for plus-size women, it’s time to add the finishing touches and ensure a final fit that is both comfortable and flattering. Paying attention to the details and making any necessary adjustments will result in a swimsuit that fits like a dream. Here’s what you need to do:
1. Insert Elastic: Consider adding elastic to the edges or openings of your tankini bathing suit for added support and a secure fit. This may involve inserting elastic into the leg openings, waistband, or areas that require additional stabilization. Make sure to use the correct length of elastic to avoid it being too tight or too loose.
2. Lining: Depending on your fabric choice and personal preference, you may want to add a lining to your tankini bathing suit. Lining can provide extra coverage, support, and durability. If you choose to add a lining, sew it in according to the pattern instructions, ensuring it is secure and doesn’t affect the overall fit of your tankini.
3. Customizing: This is your chance to add any personal touches or customizations to your tankini bathing suit. You could consider adding decorative elements like bows, buttons, or appliques to enhance the style and make it uniquely yours. Be creative and have fun with this step, ensuring it aligns with your personal style and preferences.
4. Final Fit Check: Once you have completed the finishing touches, try on your tankini bathing suit one final time to assess the fit. Check for any areas that may require further adjustments, such as strap length, elastic tightness, or overall comfort. Take a critical eye and make any necessary tweaks to achieve the ideal fit.
5. Range of Motion: During the final fit check, make sure to move around and test the range of motion in your tankini bathing suit. Raise your arms, bend over, and twist to ensure that the swimsuit stays in place and provides the necessary flexibility and coverage. Your tankini should enable you to move comfortably and confidently.
6. Assess Comfort: Comfort should be a priority when it comes to swimwear. Evaluate how the tankini bathing suit feels against your skin, paying attention to any areas of irritation or discomfort. Make any adjustments or changes as required, such as loosening or tightening straps, to ensure a comfortable fit that allows you to enjoy your time in the water.
7. Final Inspections: Before considering your tankini bathing suit complete, conduct a final inspection. Examine the construction, paying attention to seams, hems, and any added design elements. Ensure that all stitches are secure and that the overall appearance is clean and professional.
8. Confidence Boost: Put on your finished tankini bathing suit and take a moment to appreciate the incredible work you’ve done. The fit, style, and customization catered to your body and preferences will give you a confidence boost as you hit the beach or pool. Embrace your curves, enjoy your swim, and know that your tankini represents the beauty of uniqueness and self-expression.
By following these final steps, you can add the finishing touches to your tankini bathing suit and achieve the perfect fit. Be meticulous in your inspection and make any necessary alterations or additions to ensure a comfortable and flattering swimsuit that makes you feel amazing.
Conclusion
Creating a tankini bathing suit for plus-size women is an empowering and rewarding experience. By following the steps outlined in this guide, you can design and sew a swimsuit that not only fits your body perfectly but also reflects your personal style and preferences. From choosing the right fabric to taking accurate body measurements, from drafting the tankini pattern to cutting and assembling the pieces, each stage contributes to the creation of a tailored and flattering swimsuit.
Throughout the process, attention to detail is essential. Taking the time to make precise cuts, ensuring the pattern fits well, and making any necessary adjustments guarantees a finished tankini bathing suit that enhances your confidence and allows you to embrace your curves. The customization options, such as adding design elements and incorporating extra support, ensure that the final product is uniquely yours.
Remember that swimwear should not only fit comfortably but also make you feel beautiful and confident. Take the opportunity to showcase your personal style and embrace your unique body shape. The journey of creating a tankini bathing suit allows you to tailor the fit to your specific measurements, ensuring a comfortable and flattering silhouette that enhances your natural curves.
By following the guidelines in this guide, you can create a tankini bathing suit that suits your style, body, and personality. Be patient, enjoy the process, and celebrate your accomplishment. Whether you plan to lounge on the beach or dive into the pool, your custom-made tankini will be there to make a splash and make you feel like the fabulous, confident woman you are.