Home>How-to Guides>For All>How To Make Kimono Robe
For All
How To Make Kimono Robe
Published: July 31, 2023
Learn how to make a versatile kimono robe for all occasions with our easy-to-follow tutorial. Perfect for every body type and style preference.
(Many of the links in this article redirect to a specific reviewed product. Your purchase of these products through affiliate links helps to generate commission for Under-tec.com, at no extra cost. Learn more)
Table of Contents
Introduction
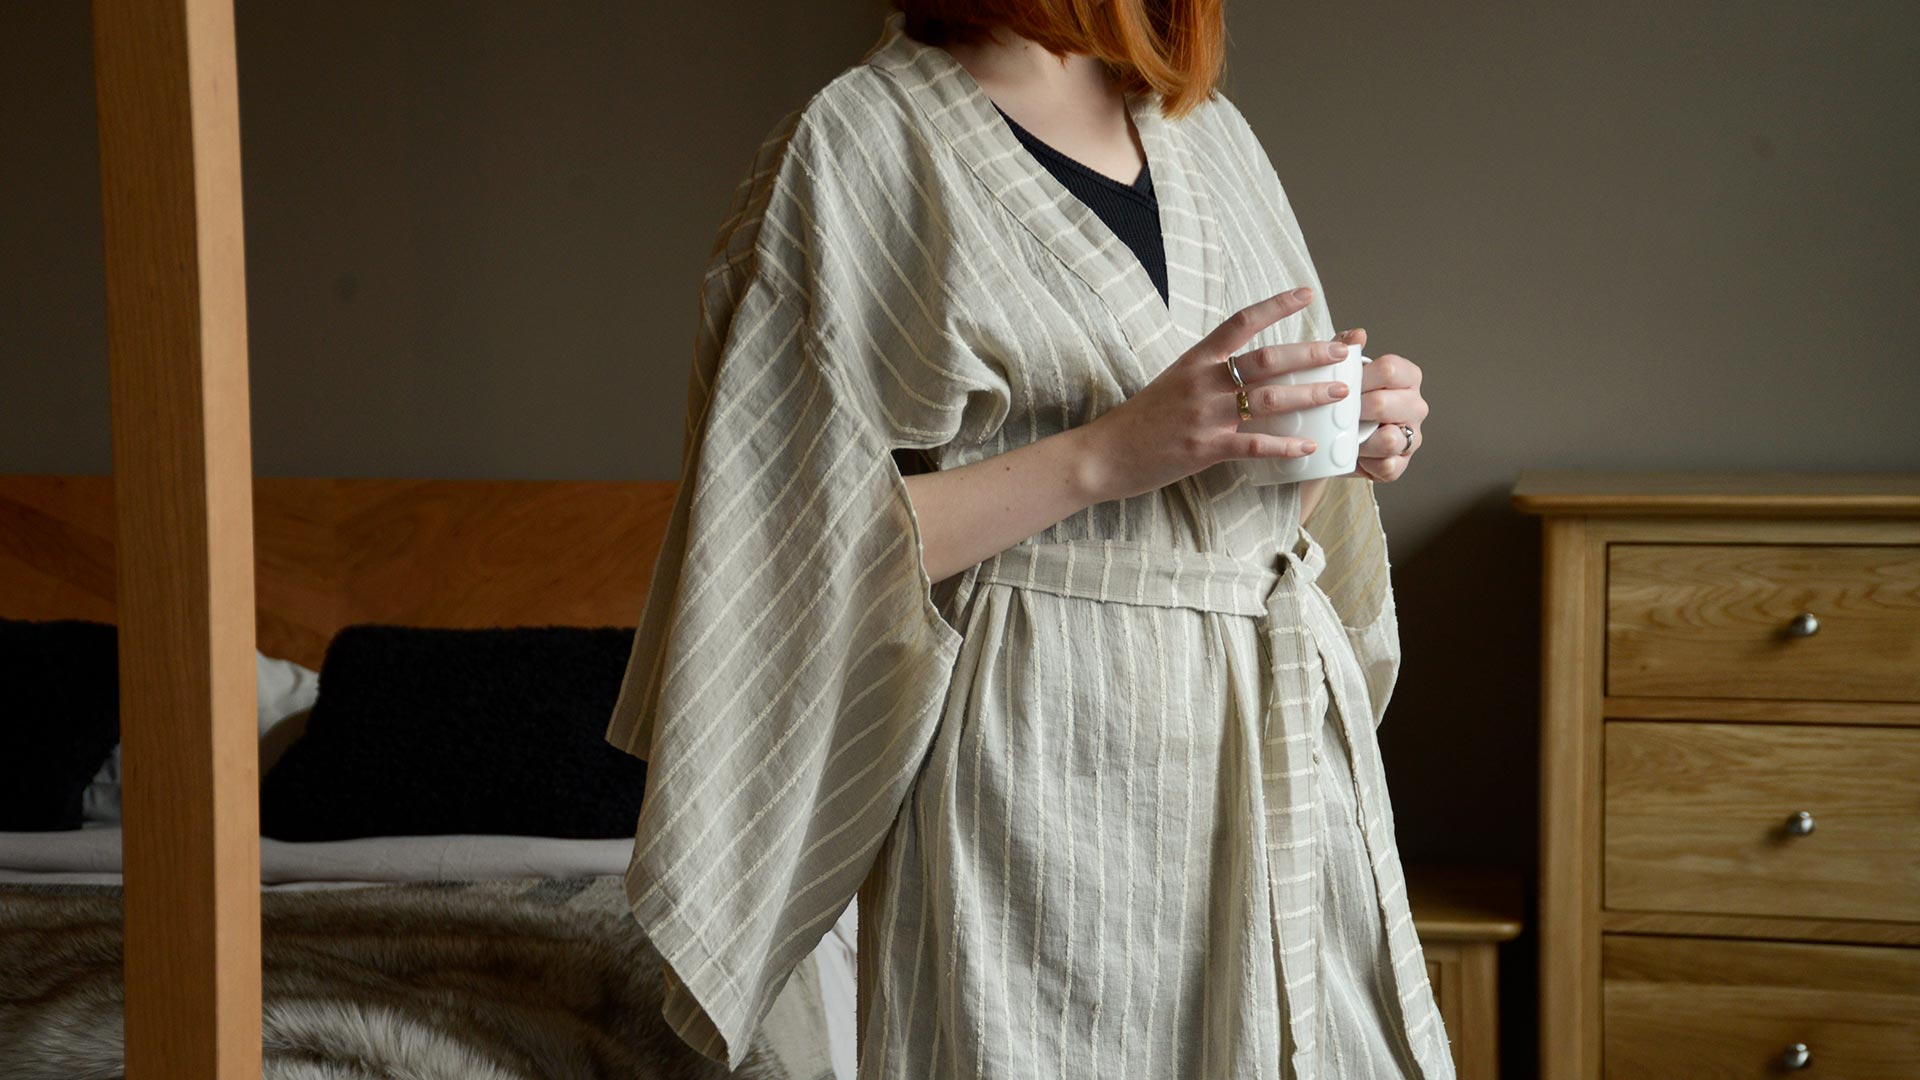
Welcome to the world of kimono robes! Known for their elegant and timeless style, kimono robes have been a staple in traditional Japanese culture for centuries. These beautiful garments are not only a fashion statement but also a symbol of grace and sophistication.
Whether you are looking for a unique piece to add to your wardrobe or a thoughtful handmade gift for someone special, making your own kimono robe can be a rewarding and fulfilling experience. In this article, we will guide you through the process of creating your very own kimono robe, from taking measurements to adding decorative details.
By following our step-by-step instructions and using the right materials and tools, you can create a personalized kimono robe that fits perfectly and showcases your individual style. So, grab your sewing kit and unleash your creativity as we embark on this exciting journey of making a kimono robe!
Before we delve into the step-by-step process, let’s take a look at the materials and tools you will need to get started.
Materials and Tools Needed
Before you begin making your own kimono robe, gather the following materials and tools:
- Fabric: Choose a lightweight, breathable fabric with a soft drape, such as silk or satin. You will need approximately 3 to 5 yards, depending on your size and desired length.
- Scissors: Invest in a pair of fabric scissors specifically designed for cutting fabric. This will ensure clean and precise cuts.
- Thread: Select a thread that matches the color of your fabric or opt for a contrasting color if you want to add a decorative touch.
- Pins: Use straight pins to hold the fabric in place while you sew. These will help ensure accurate and even stitching.
- Sewing Machine: While it is possible to sew a kimono robe by hand, a sewing machine will make the process much faster and more efficient.
- Measuring Tape: This is essential for taking accurate measurements of your body to ensure a proper fit.
- Iron: An iron will be necessary for pressing the fabric and creating crisp seams.
- Pattern or Template: You can either purchase a kimono robe pattern from a sewing store or find a template online to follow along.
- Optional: Embellishments such as lace, ribbon, or embroidery thread if you want to add decorative details to your kimono robe.
Having all of the necessary materials and tools on hand will make the kimono robe-making process smoother and more enjoyable. Now that you’re fully prepared, it’s time to move on to the next step: taking measurements.
Step 1: Taking Measurements
Before you start cutting your fabric, it’s crucial to take accurate measurements to ensure that your kimono robe fits perfectly. Here are the key measurements you’ll need:
- Bust: Measure the fullest part of your bust, making sure to wrap the measuring tape comfortably around your body.
- Waist: Measure the narrowest part of your waist, typically located between your ribcage and your hips.
- Hip: Measure the fullest part of your hips, ensuring that the measuring tape is parallel to the floor.
- Length: Decide how long you want your kimono robe to be, and measure from the base of your neck to where you want the hemline to fall.
- Sleeve Length: Measure from the top of your shoulder down to your desired sleeve length. You can choose a shorter or longer sleeve depending on your preference.
When taking these measurements, it’s essential to stand straight and breathe naturally. Avoid pulling the measuring tape too tight or too loose, as this can result in an incorrect fit. It’s also a good idea to have someone assist you to ensure accuracy.
Once you have your measurements, refer to your kimono robe pattern or template to determine the dimensions of the fabric pieces you need to cut. Carefully mark the measurements on your fabric, using a fabric pencil or pins.
Now that you have your fabric prepared and your measurements in hand, you’re ready to move on to the next step: cutting the fabric.
Step 2: Cutting the Fabric
Now that you have your fabric prepared and your measurements marked, it’s time to cut the fabric pieces for your kimono robe. Follow these steps:
- Spread out your fabric on a flat surface and smooth out any wrinkles or creases.
- Using your fabric scissors, carefully cut along the marked lines to create the main body pieces, including the front and back panels.
- For the sleeves, cut two rectangular pieces of fabric according to the sleeve length measurement you took earlier. These should be wide enough to comfortably fit your arms.
- If your kimono robe will have a collar, cut a rectangular piece of fabric according to your desired collar width and length.
- Remember to leave an additional 1/2 inch seam allowance around all the fabric pieces to allow for sewing.
Once you have cut out all the necessary fabric pieces, double-check the measurements to ensure accuracy. Set aside the fabric pieces and gather your sewing machine and thread for the next step.
Now that the fabric is cut, it’s time to put your sewing skills to use and start assembling the main body of the kimono robe. In the next step, we will guide you through sewing the main body of the robe.
Step 3: Sewing the Main Body
With the fabric pieces cut and ready, it’s time to sew the main body of your kimono robe. Follow these steps:
- Take the front and back panels of the fabric and lay them right sides together, aligning the edges.
- Using your sewing machine, sew along the sides, starting from the bottom hemline, all the way up to the armhole. Remember to backstitch at the beginning and end of each seam for added durability.
- Press open the seam allowances using an iron for a neater finish.
- Next, sew the shoulder seams by aligning the shoulders of the front and back panels and sewing across.
- Press open the shoulder seam allowances as well.
- At this point, you should have a basic kimono shape with open sides and shoulder seams sewn. Try on the robe to check the fit, making adjustments if needed.
Once you are satisfied with the fit and the seams are pressed, you can move on to the next step of attaching the sleeves to your kimono robe.
Remember, take your time, sew with care, and enjoy the process of creating your own kimono robe. In the next step, we will walk you through attaching the sleeves.
Step 4: Attaching the Sleeves
Attaching the sleeves is an important step in creating the beautiful silhouette of a kimono robe. Follow these steps to attach the sleeves:
- Take one of the sleeve pieces and fold it in half lengthwise with the right sides together.
- Sew along the raw edge of the sleeve, creating a long tube. Repeat this step for the other sleeve.
- Turn the sleeves right side out and press them flat with an iron.
- With the kimono robe inside out, place the sleeve inside the armhole, aligning the raw edges.
- Pin the sleeve to the armhole, ensuring that it is evenly distributed and not twisted.
- Using your sewing machine, sew along the armhole, attaching the sleeve to the kimono robe. Repeat this step for the other sleeve.
- Once the sleeves are attached, press the seam allowances towards the sleeve to achieve a smooth finish.
Attaching the sleeves may feel a bit tricky, but take your time and sew with care. It’s important to maintain the shape and fit of the kimono robe. Now that the sleeves are in place, it’s time to move on to the next step: adding the collar.
Stay tuned, as we guide you through the process of adding the finishing touch to your kimono robe. In the next step, we will explore how to attach the collar.
Step 5: Adding the Collar
The collar of a kimono robe adds structure and elegance to the overall design. Follow these steps to add the collar:
- Take the collar piece of fabric and fold it in half lengthwise with the right sides together.
- Sew along the long raw edge of the collar, leaving the short ends open.
- Turn the collar right side out and press it flat with an iron.
- Align the raw edges of the collar with the neckline of the kimono robe, making sure the collar is centered.
- Pin the collar in place, distributing the fabric evenly around the neckline.
- Sew along the pinned edge, attaching the collar to the kimono robe.
- Once the collar is attached, press the seam allowances towards the collar.
Adding the collar can give your kimono robe a polished and professional look. Take your time to ensure that the collar is aligned correctly and sewn securely. With the collar in place, your kimono robe is starting to come together beautifully.
Next, we will move on to the important step of hemming the robe, which will give it a clean and finished appearance.
Stay with us as we guide you through the next step. In the following section, we will go through the process of hemming the kimono robe.
Step 6: Hemming the Robe
Hemming the kimono robe is the final touch that brings the garment together and gives it a polished look. Follow these steps to hem the robe:
- Start by folding the raw edge of the fabric up by 1/2 inch and press it with an iron to create a clean edge.
- Fold the edge over again by 1/2 inch to encase the raw edge and create a double-fold hem.
- Pin the hem in place and continue to fold and pin the hem around the entire bottom edge of the kimono robe.
- Using your sewing machine, stitch along the folded edge of the hem, securing it in place with a straight stitch.
- Continue sewing all the way around the hem, removing the pins as you go.
- Once the hem is sewn, give it a final press with an iron to create a crisp and professional finish.
Hemming the kimono robe may seem like a small detail, but it can make a significant difference in the overall appearance of the garment. Take your time and sew the hem carefully to ensure a clean and even finish.
You have now completed the main construction of your kimono robe. In the following steps, we will explore how to add decorative details to personalize your creation further.
Stay tuned as we guide you through the next steps. In the upcoming section, we will discuss adding decorative details to your kimono robe.
Step 7: Adding Decorative Details
Adding decorative details to your kimono robe is an opportunity to showcase your creativity and style. Here are some ideas to embellish your garment:
- Lace Trim: Attach lace trim along the hemline, sleeves, or collar for an extra touch of elegance.
- Embroidery: Add intricate embroidery designs to the fabric, such as floral motifs or geometric patterns, using embroidery thread and needle.
- Ribbon Accents: Attach ribbon accents as a belt or tie closure to cinch the waist and add visual interest.
- Fabric Appliques: Cut out fabric shapes or patterns and sew them onto the kimono robe as decorative appliques.
- Contrasting Fabric Panels: Add panels of contrasting fabric to the front or back of the robe for a pop of color or pattern.
These are just a few examples, and the possibilities are endless. Get creative and explore different ways to personalize your kimono robe to make it truly unique and reflective of your personal style.
Remember to sew the decorative details securely to ensure durability. Take your time and enjoy the process of adding these special touches to your kimono robe.
With the decorative details in place, your kimono robe is almost complete. In the final step, we will go over some finishing touches to make your creation truly exceptional.
Stay with us as we guide you through the last step of making your kimono robe. In the next section, we will discuss the final touches.
Step 8: Final Touches
You’re just moments away from completing your very own kimono robe! In this final step, let’s add some finishing touches to make your creation truly exceptional:
- Press the entire kimono robe once more with an iron, paying attention to smooth out any wrinkles or creases.
- Trim any loose threads and clean up any stray fabric edges to give your kimono robe a polished look.
- Try on your kimono robe and make any necessary adjustments to ensure the perfect fit.
- Accessorize your kimono robe with a matching obi belt or a delicate silk sash for added elegance.
- Take a moment to admire your handiwork and appreciate the unique creation you’ve made.
By adding these final touches, you’re transforming your kimono robe into a garment that is not only beautiful but also tailored to your personal style and preferences.
Now, it’s time to step back, put on your newly made kimono robe, and bask in the satisfaction of creating something truly special with your own hands.
Congratulations on completing your journey of making a kimono robe! We hope you enjoyed the process and are thrilled with the final result.
Remember, making a kimono robe is not just about the final product but also about the joy of the creative process. We encourage you to take your newfound skills and explore other sewing projects, allowing your creativity to soar.
Thank you for joining us on this kimono robe-making adventure. We wish you many stylish and memorable moments in your beautiful creation!
Conclusion
Congratulations! You have successfully learned how to create your very own kimono robe. Through careful measurements, cutting, sewing, and adding personalized details, you have brought this beautiful traditional garment to life.
Making a kimono robe is not just about the end result – it’s about the journey of creativity and self-expression. Each step along the way allows you to infuse your personal style and make a unique garment that reflects your individuality.
By following our step-by-step instructions and using the right materials and tools, you have been able to create a kimono robe that fits perfectly and showcases your sewing skills. From taking precise measurements to attaching sleeves, adding a collar, and adding decorative details, you have mastered the art of making a kimono robe.
Remember to take your time, sew with care, and enjoy the process. Making your own clothing is a fulfilling and rewarding experience that allows you to create something special with your own hands.
We hope this guide has inspired you to explore your creativity through sewing and garment making. The skills you have learned can be applied to future projects and open the doors to endless possibilities.
Now, put on your beautiful kimono robe and embrace the elegance and grace it embodies. Wear it with pride and confidence – a testament to your creativity and craftsmanship.
Thank you for joining us on this journey to make a kimono robe. We hope you have enjoyed the process and are proud of your creation. Happy sewing!