Home>How-to Guides>For All>How To Make A Kimono From A Scarf
For All
How To Make A Kimono From A Scarf
Published: July 31, 2023
Learn how to transform any scarf into a stylish kimono for all occasions with our easy step-by-step guide. Perfect for adding a touch of elegance to your wardrobe.
(Many of the links in this article redirect to a specific reviewed product. Your purchase of these products through affiliate links helps to generate commission for Under-tec.com, at no extra cost. Learn more)
Table of Contents
Introduction
Are you looking for a unique and stylish way to transform your favorite scarf into a fashionable garment? Look no further! In this article, we will guide you through the steps of making your own kimono from a scarf.
A kimono is a traditional Japanese garment known for its loose and flowing silhouette. It can be worn as a stylish cover-up for a casual day out or dressed up for a special occasion. With just a few simple steps, you can turn your scarf into a fashionable kimono that will add a touch of elegance to any outfit.
Not only is this DIY project a great way to repurpose your scarves, but it also allows you to express your creativity and personal style. You can choose from a variety of scarf prints and textures to create a kimono that is uniquely yours.
In this article, we will walk you through the materials needed for this project, as well as the step-by-step process of creating your own kimono. Whether you’re a DIY enthusiast or just looking for a fun and creative project, making a kimono from a scarf is a great way to add a touch of fashion-forward flair to your wardrobe.
So, grab your favorite scarf, gather your supplies, and let’s get started on this exciting fashion adventure!
Materials Needed
Before we dive into the step-by-step process of creating a kimono from a scarf, let’s gather all the materials you will need for this project. Here’s a list of the essentials:
- A scarf: Choose a scarf that is lightweight and soft, preferably made of a fabric such as silk, chiffon, or rayon. The size of the scarf will depend on your preferred length for the kimono.
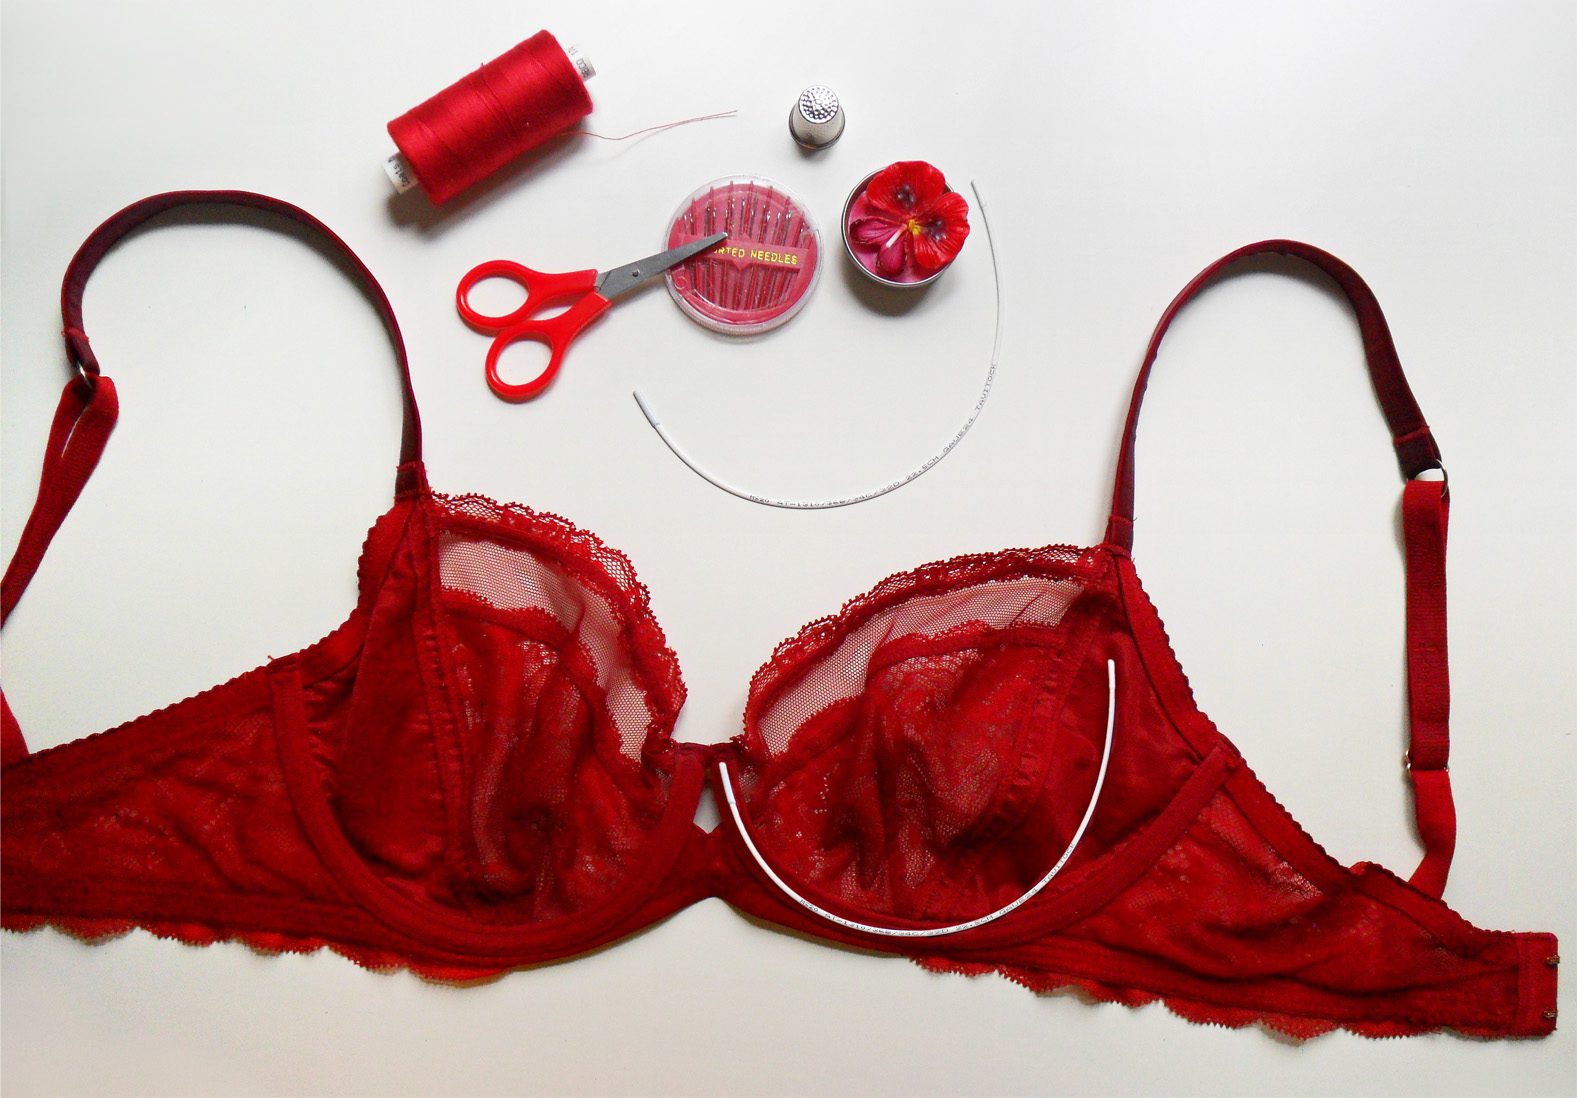
- Thread and needle: Select a thread color that matches or complements the color of your scarf. Make sure to have a sewing needle handy.
- Scissors: You’ll need a pair of sharp scissors to cut and trim the fabric.
- Pins: Use pins to hold the fabric in place while you’re working on the kimono.
- Iron and ironing board: An iron is necessary to remove any wrinkles from the scarf and ensure a smooth finish.
- Measuring tape: This will help you determine the length and width of the kimono as per your preference.
While these are the basic materials required, feel free to get creative and add any additional embellishments or accessories to enhance the look of your kimono. You can consider adding decorative trims, beads, or embroidery to personalize your creation.
Now that you have gathered all the necessary materials, you are ready to embark on your kimono-making journey. Let’s move on to the next step and start preparing your scarf for transformation!
Step 1: Choosing the Right Scarf
The first step in making a kimono from a scarf is selecting the perfect scarf for your project. When choosing a scarf, consider the following factors:
- Size and shape: The size and shape of the scarf will determine the overall length and style of your kimono. You can choose a square scarf for a shorter, cropped kimono or opt for a longer rectangular scarf for a flowy, bohemian look.
- Material: Look for scarves made of lightweight and flowy fabrics such as silk, chiffon, or rayon. These materials will drape beautifully and provide the desired elegant look for your kimono.
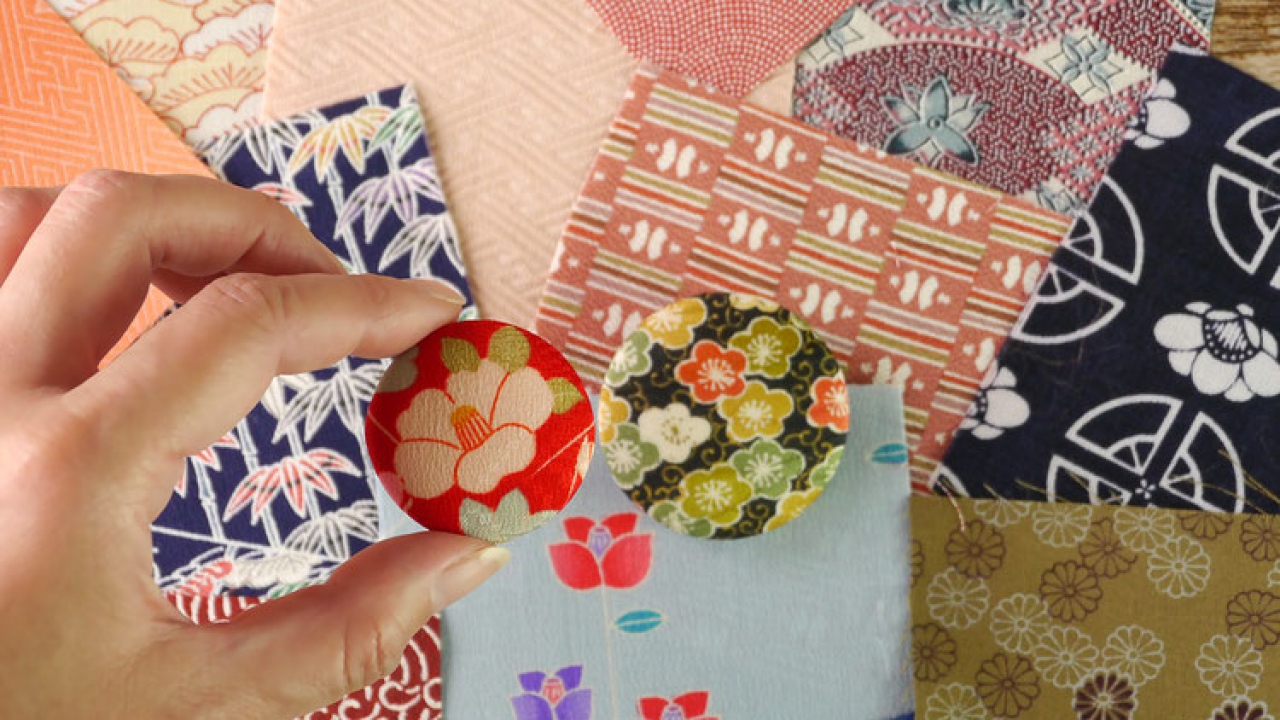
- Prints and patterns: Another important aspect is the design of the scarf. Select a scarf with a pattern or print that resonates with your personal style and complements your existing wardrobe. This can be geometric patterns, floral designs, or even abstract prints.
- Color palette: Consider the color palette of the scarf and how it will coordinate with various outfits. Opt for shades that suit your complexion and style preferences. Bold, vibrant colors can make a statement, while neutral tones offer versatility.
Remember, the scarf will be the focal point of your kimono, so choose one that you love and feel confident wearing. Take your time to explore different scarves and find the perfect one that matches your taste and desired aesthetic.
Once you have selected the ideal scarf, you are ready to move on to the next step: preparing the scarf for transformation into a kimono.
Step 2: Preparing the Scarf
Now that you have chosen the perfect scarf for your kimono, it’s time to prepare it for the transformation. Preparing the scarf involves a few simple steps:
- Start by ironing the scarf: Lay the scarf flat on an ironing board and gently iron it to remove any wrinkles. This will ensure a smooth and polished finish for your kimono.
- Inspect the scarf for frayed edges or loose threads: Carefully check the edges of the scarf to see if there are any frayed or worn-out sections. If you spot any, trim them with a pair of scissors to prevent further unraveling.
- Decide on the length of the kimono: Determine the desired length of your kimono. You can use a measuring tape to measure from your shoulders to your desired length. Keep in mind that a kimono typically falls around mid-thigh or knee-length, but you can customize it according to your preference.
- Cut the scarf to the desired length: Once you have determined the length, use sharp scissors to cut the scarf accordingly. Make sure to cut straight and even lines for a neat finish. You can also cut the scarf into a slight V-shape at the front for added style.
By following these steps, you will have a well-prepared scarf that is ready to be transformed into a stunning kimono. Now, let’s move on to the next step, where we will learn how to fold the scarf to create the kimono shape.
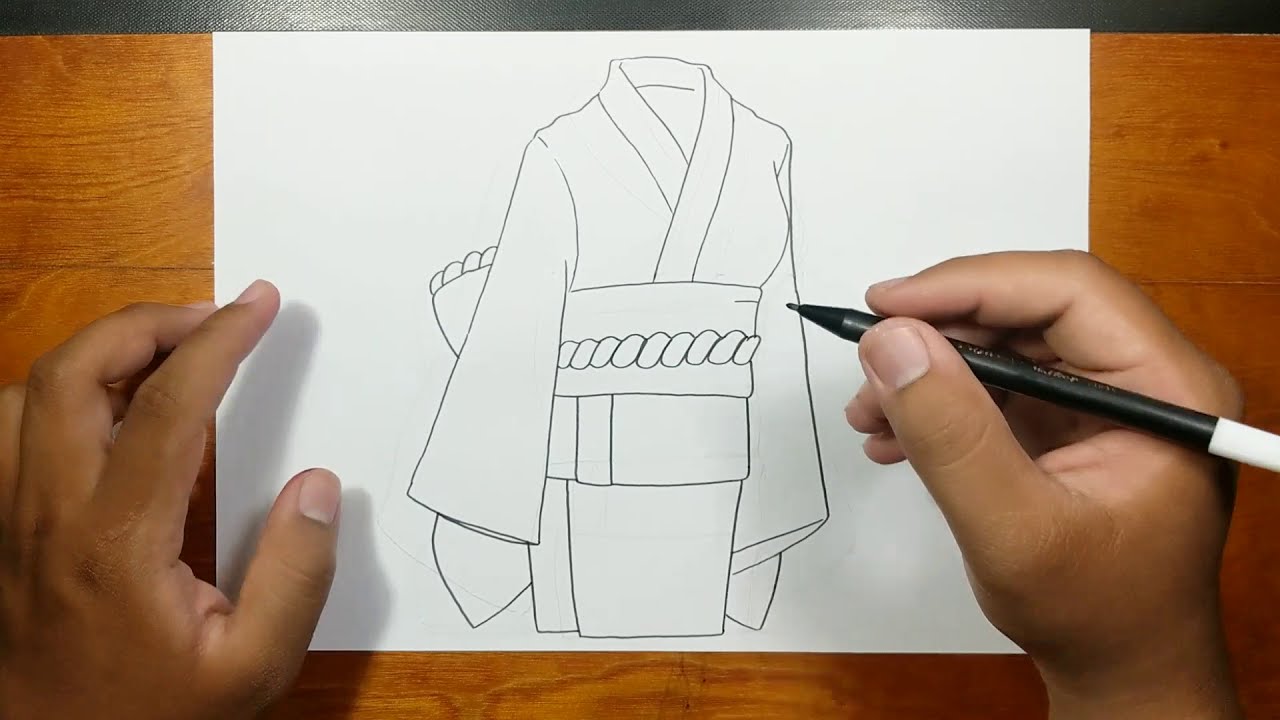
Step 3: Folding the Scarf
With your scarf prepared, it’s time to start folding it to create the shape of a kimono. Here are the steps to follow:
- Lay the scarf flat: Spread the scarf out on a clean, flat surface, ensuring that it is fully opened.
- Fold the scarf in half horizontally: Take one end of the scarf and fold it over to meet the other end, creating a horizontal fold. Make sure the edges align accurately.
- Find the midpoint of the folded scarf: Locate the midpoint of the folded scarf by measuring from the folded edge to the opposite edge. Mark this point with a pin or a small clip.
- Open up the folded scarf: Unfold the scarf, so it is now open with the vertical fold in the middle.
- Fold each side inwards: Take one side of the scarf and fold it towards the center, lining up the edge with the vertical fold. Repeat this step with the other side of the scarf, folding it towards the center as well.
- Fold the scarf in half vertically: Once both sides are folded towards the center, fold the scarf in half again vertically along the initial fold line.
By following these folding steps, you will create a kimono shape with sleeves and an open front. The folded scarf should now resemble the structure of a kimono, ready to be secured in the next step.
Now that you have successfully folded the scarf into the desired shape, it’s time to move on to the next step: securing the folded scarf to hold its shape and ensure a comfortable fit.
Step 4: Securing the Folded Scarf
Now that your scarf is neatly folded into the shape of a kimono, it’s time to secure it. This step will ensure that the kimono holds its shape and stays in place when you wear it. Here’s how you can secure the folded scarf:
- Use pins to hold the folds in place: Starting from the top near the shoulders, use pins to secure the folded layers of the scarf. Insert the pins vertically along the sides of the kimono, ensuring that the fabric stays folded and aligned.
- Check for comfort and adjust as needed: Once you have pinned the kimono, try it on to check for comfort and fit. Make any necessary adjustments by either loosening or tightening the pins to achieve your desired fit.
- Test your mobility: Move your arms and body around to ensure that the kimono allows for comfortable movement. If you feel restricted, tweak the placement of the pins to provide more flexibility.
By securing the folded scarf with pins and adjusting for comfort, you will have a well-fitted and wearable kimono. It’s important to note that the pinning process is temporary and allows for adjustments. If you want a more permanent solution, you can sew the layers together using a needle and thread.
Now that you have successfully secured your folded scarf, it’s time to get creative and explore different styling options for your kimono. Let’s move on to the next step!
Step 5: Styling Options
With your kimono secured and ready to wear, it’s time to explore the various styling options to personalize your look. Here are some ideas to get you started:
- Accessorize with a belt: Add a belt around your waist to cinch in the kimono and create a more defined silhouette. This is a great option for those who prefer a more tailored and fitted look.
- Layer over a basic outfit: Pair your kimono with a simple, solid-colored top and jeans or a skirt for a chic and effortless ensemble. The kimono will add a pop of color and a touch of sophistication to your outfit.
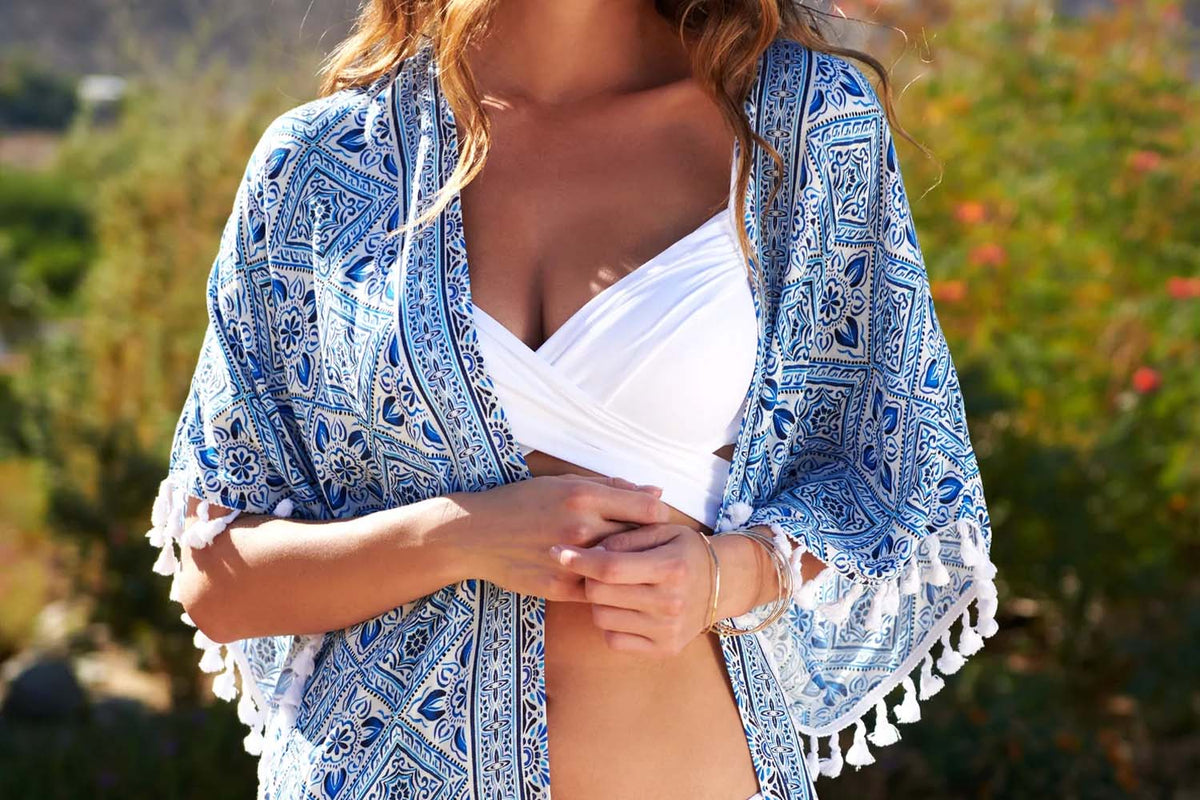
- Style it as a beach cover-up: If you’re heading to the beach or pool, use your kimono as a stylish cover-up over your swimsuit. It will provide a lightweight layer of coverage while keeping you cool and fashionable.
- Dress it up for a special occasion: For a more formal or dressy event, layer your kimono over a stylish dress or jumpsuit. Pair it with heels, statement jewelry, and a clutch for an elegant and unique look.
- Create a bohemian vibe: Embrace a boho-chic aesthetic by pairing your kimono with a flowy maxi dress, wide-brimmed hat, and fringe sandals. This ensemble will exude a free-spirited and relaxed vibe.
These are just a few styling options to spark your creativity. Feel free to experiment, mix and match, and let your personal style shine through. The versatility of a kimono allows you to adapt it to various occasions and style preferences.
Now that you have explored the different ways to style your kimono, let’s move on to the final step and discover some additional tips and tricks to make the most out of your creation.
Step 6: Additional Tips and Tricks
Now that you have successfully created your own kimono from a scarf, here are some additional tips and tricks to enhance your kimono-wearing experience:
- Experiment with different scarf sizes: While we recommend using a square or rectangular scarf, don’t be afraid to try different sizes and shapes. This will give you a variety of kimono styles, from cropped to long and flowy.
- Add embellishments: If you want to elevate your kimono’s style, consider adding some embellishments. You can sew on decorative trims, attach fringe, or even incorporate lace to make your kimono even more unique and eye-catching.
- Layer with other pieces: Don’t hesitate to layer your kimono over other garments. Pair it with a fitted blazer, a chunky knit sweater, or a leather jacket for a trendy layered look.
- Experiment with different knots: Instead of securing your kimono with pins, you can also try different knotting techniques. Use decorative ribbons or fabric ties to create a more intricate and personalized closure.
- Use it as a robe: Your kimono doesn’t have to be limited to outerwear. Consider using it as a luxurious robe for lounging at home or getting ready for a special occasion.
- Get creative with pattern mixing: If you’re feeling bold, experiment with pattern mixing by pairing your kimono with other prints and patterns. Just make sure the colors complement each other for a cohesive and stylish look.
Remember, the beauty of making your own kimono from a scarf lies in the endless possibilities and opportunities for customization. Have fun, embrace your creativity, and enjoy the process of creating a unique and fashionable garment.
Now that you’re armed with these additional tips and tricks, you’re ready to confidently rock your handmade kimono and make a statement wherever you go.
Finally, step back and admire your beautiful creation. You’ve successfully turned a scarf into a stunning kimono, showcasing your creativity and style. Embrace the versatility of your newly made garment and enjoy the fashion-forward flair it adds to your wardrobe!
Conclusion
Congratulations! You’ve reached the end of this guide on how to make a kimono from a scarf. By following the steps outlined in this article, you have learned how to transform a simple scarf into a fashionable and versatile kimono that adds a touch of elegance to any outfit.
From choosing the right scarf to folding it into the desired shape, securing it, exploring styling options, and incorporating additional tips and tricks, you have gained the knowledge and skills to create your own unique kimono.
Remember, the beauty of making a kimono from a scarf lies in the opportunity for customization and personalization. Don’t be afraid to experiment with different scarf sizes, embellishments, and styling techniques. Let your creativity shine and make your kimono a true reflection of your personal style.
Whether you wear your kimono as a chic cover-up, a statement piece for a special occasion, or a bohemian-inspired ensemble, it is sure to turn heads and make you feel confident and stylish.
So, grab your favorite scarf, gather your materials, and embark on this exciting fashion adventure. Embrace the joy of repurposing and the art of DIY fashion as you create your own stunning kimono.
Now, go out there and rock your handmade kimono with pride! Express your individuality, be daring with your style choices, and enjoy the compliments that will undoubtedly come your way.
Happy kimono-making!