Home>How-to Guides>For All>How To Make A Doll Kimono
For All
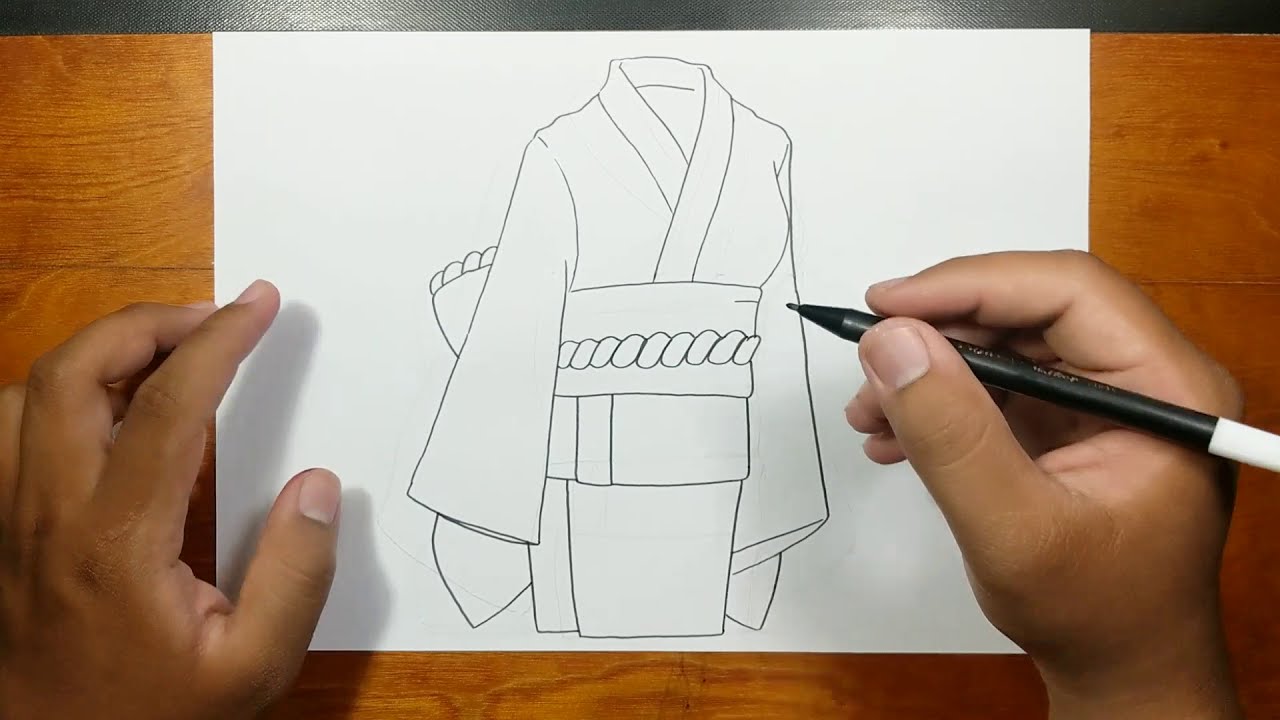
How To Make A Doll Kimono
Modified: August 2, 2023
Learn how to make a beautiful doll kimono with our step-by-step guide! Perfect for all doll enthusiasts, this tutorial will show you the best techniques to create your own unique doll kimono.
(Many of the links in this article redirect to a specific reviewed product. Your purchase of these products through affiliate links helps to generate commission for Under-tec.com, at no extra cost. Learn more)
Table of Contents
Introduction
Welcome to the world of doll dressmaking! If you have a passion for crafting and want to create a unique outfit for your doll, then making a doll kimono is the perfect project for you. Whether you have a porcelain doll, a Japanese doll, or any other type of doll, a kimono will add an elegant and traditional touch to their wardrobe.
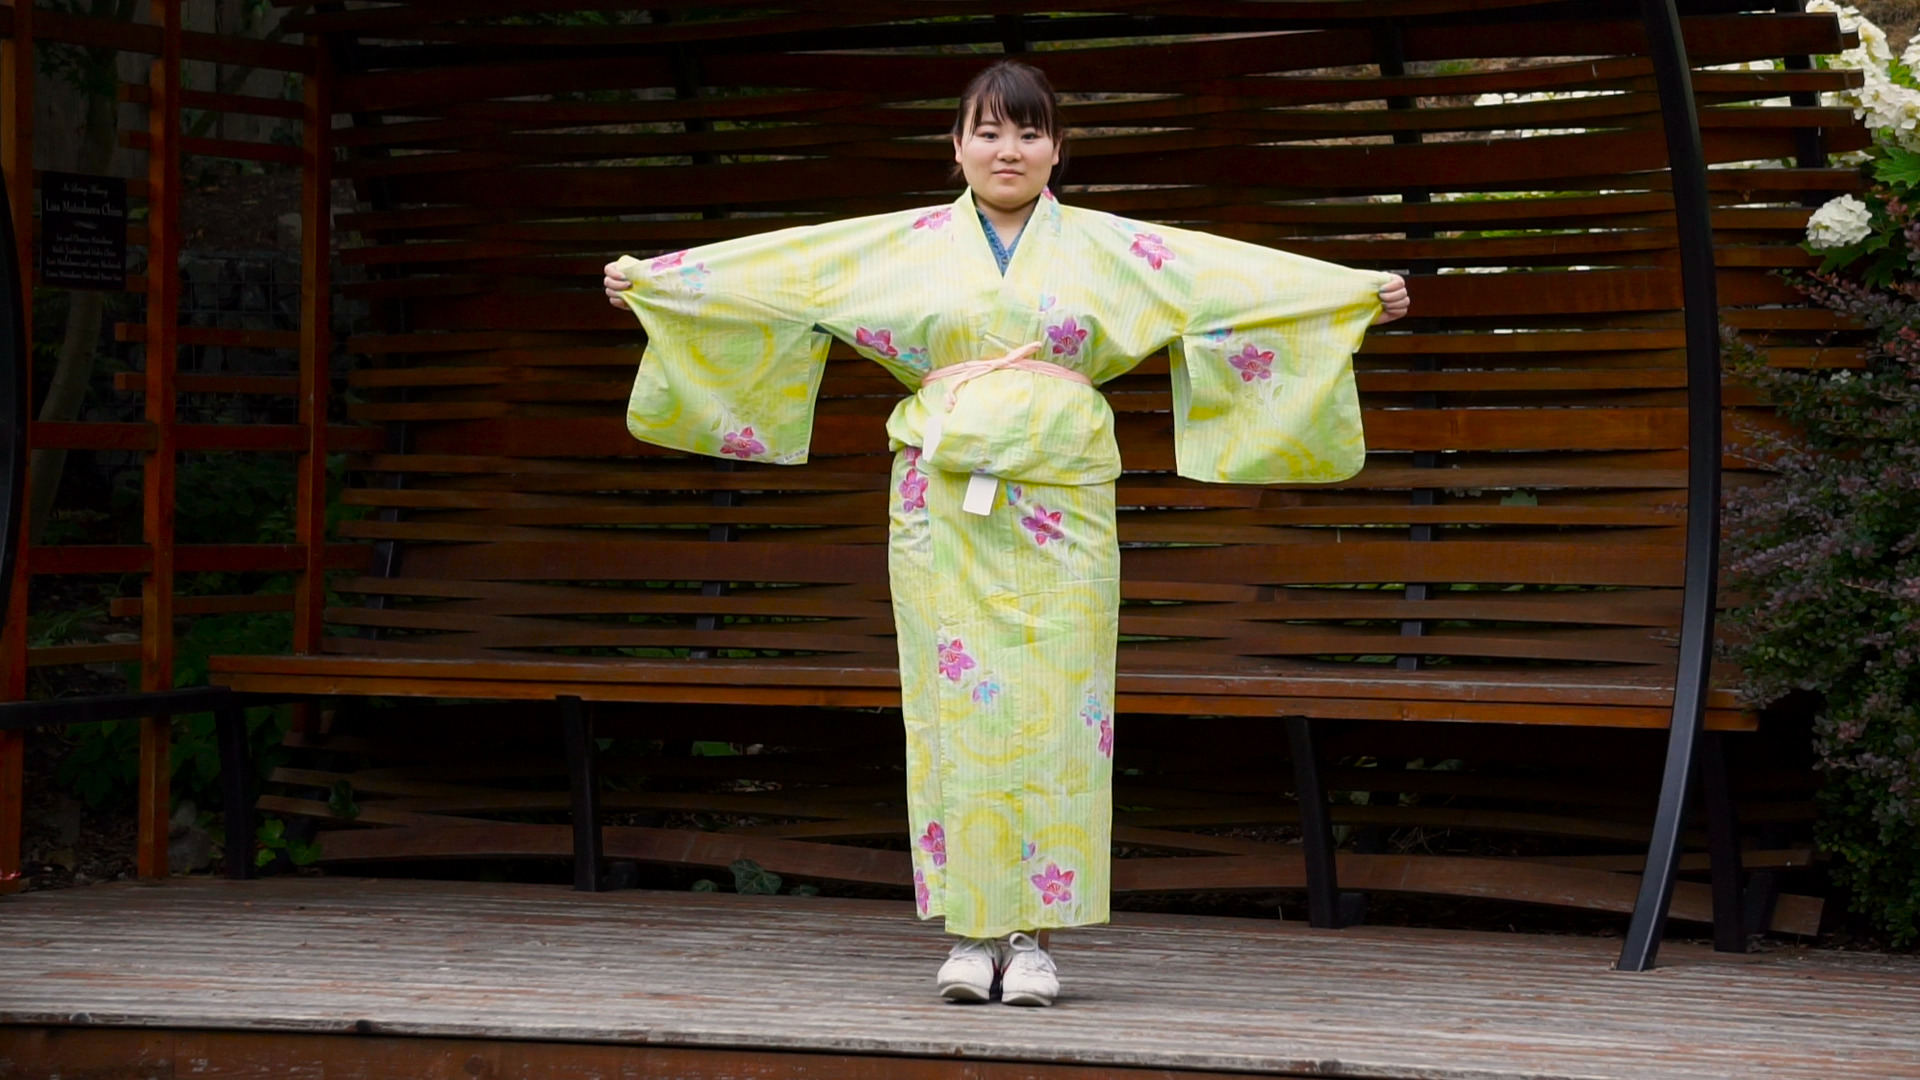
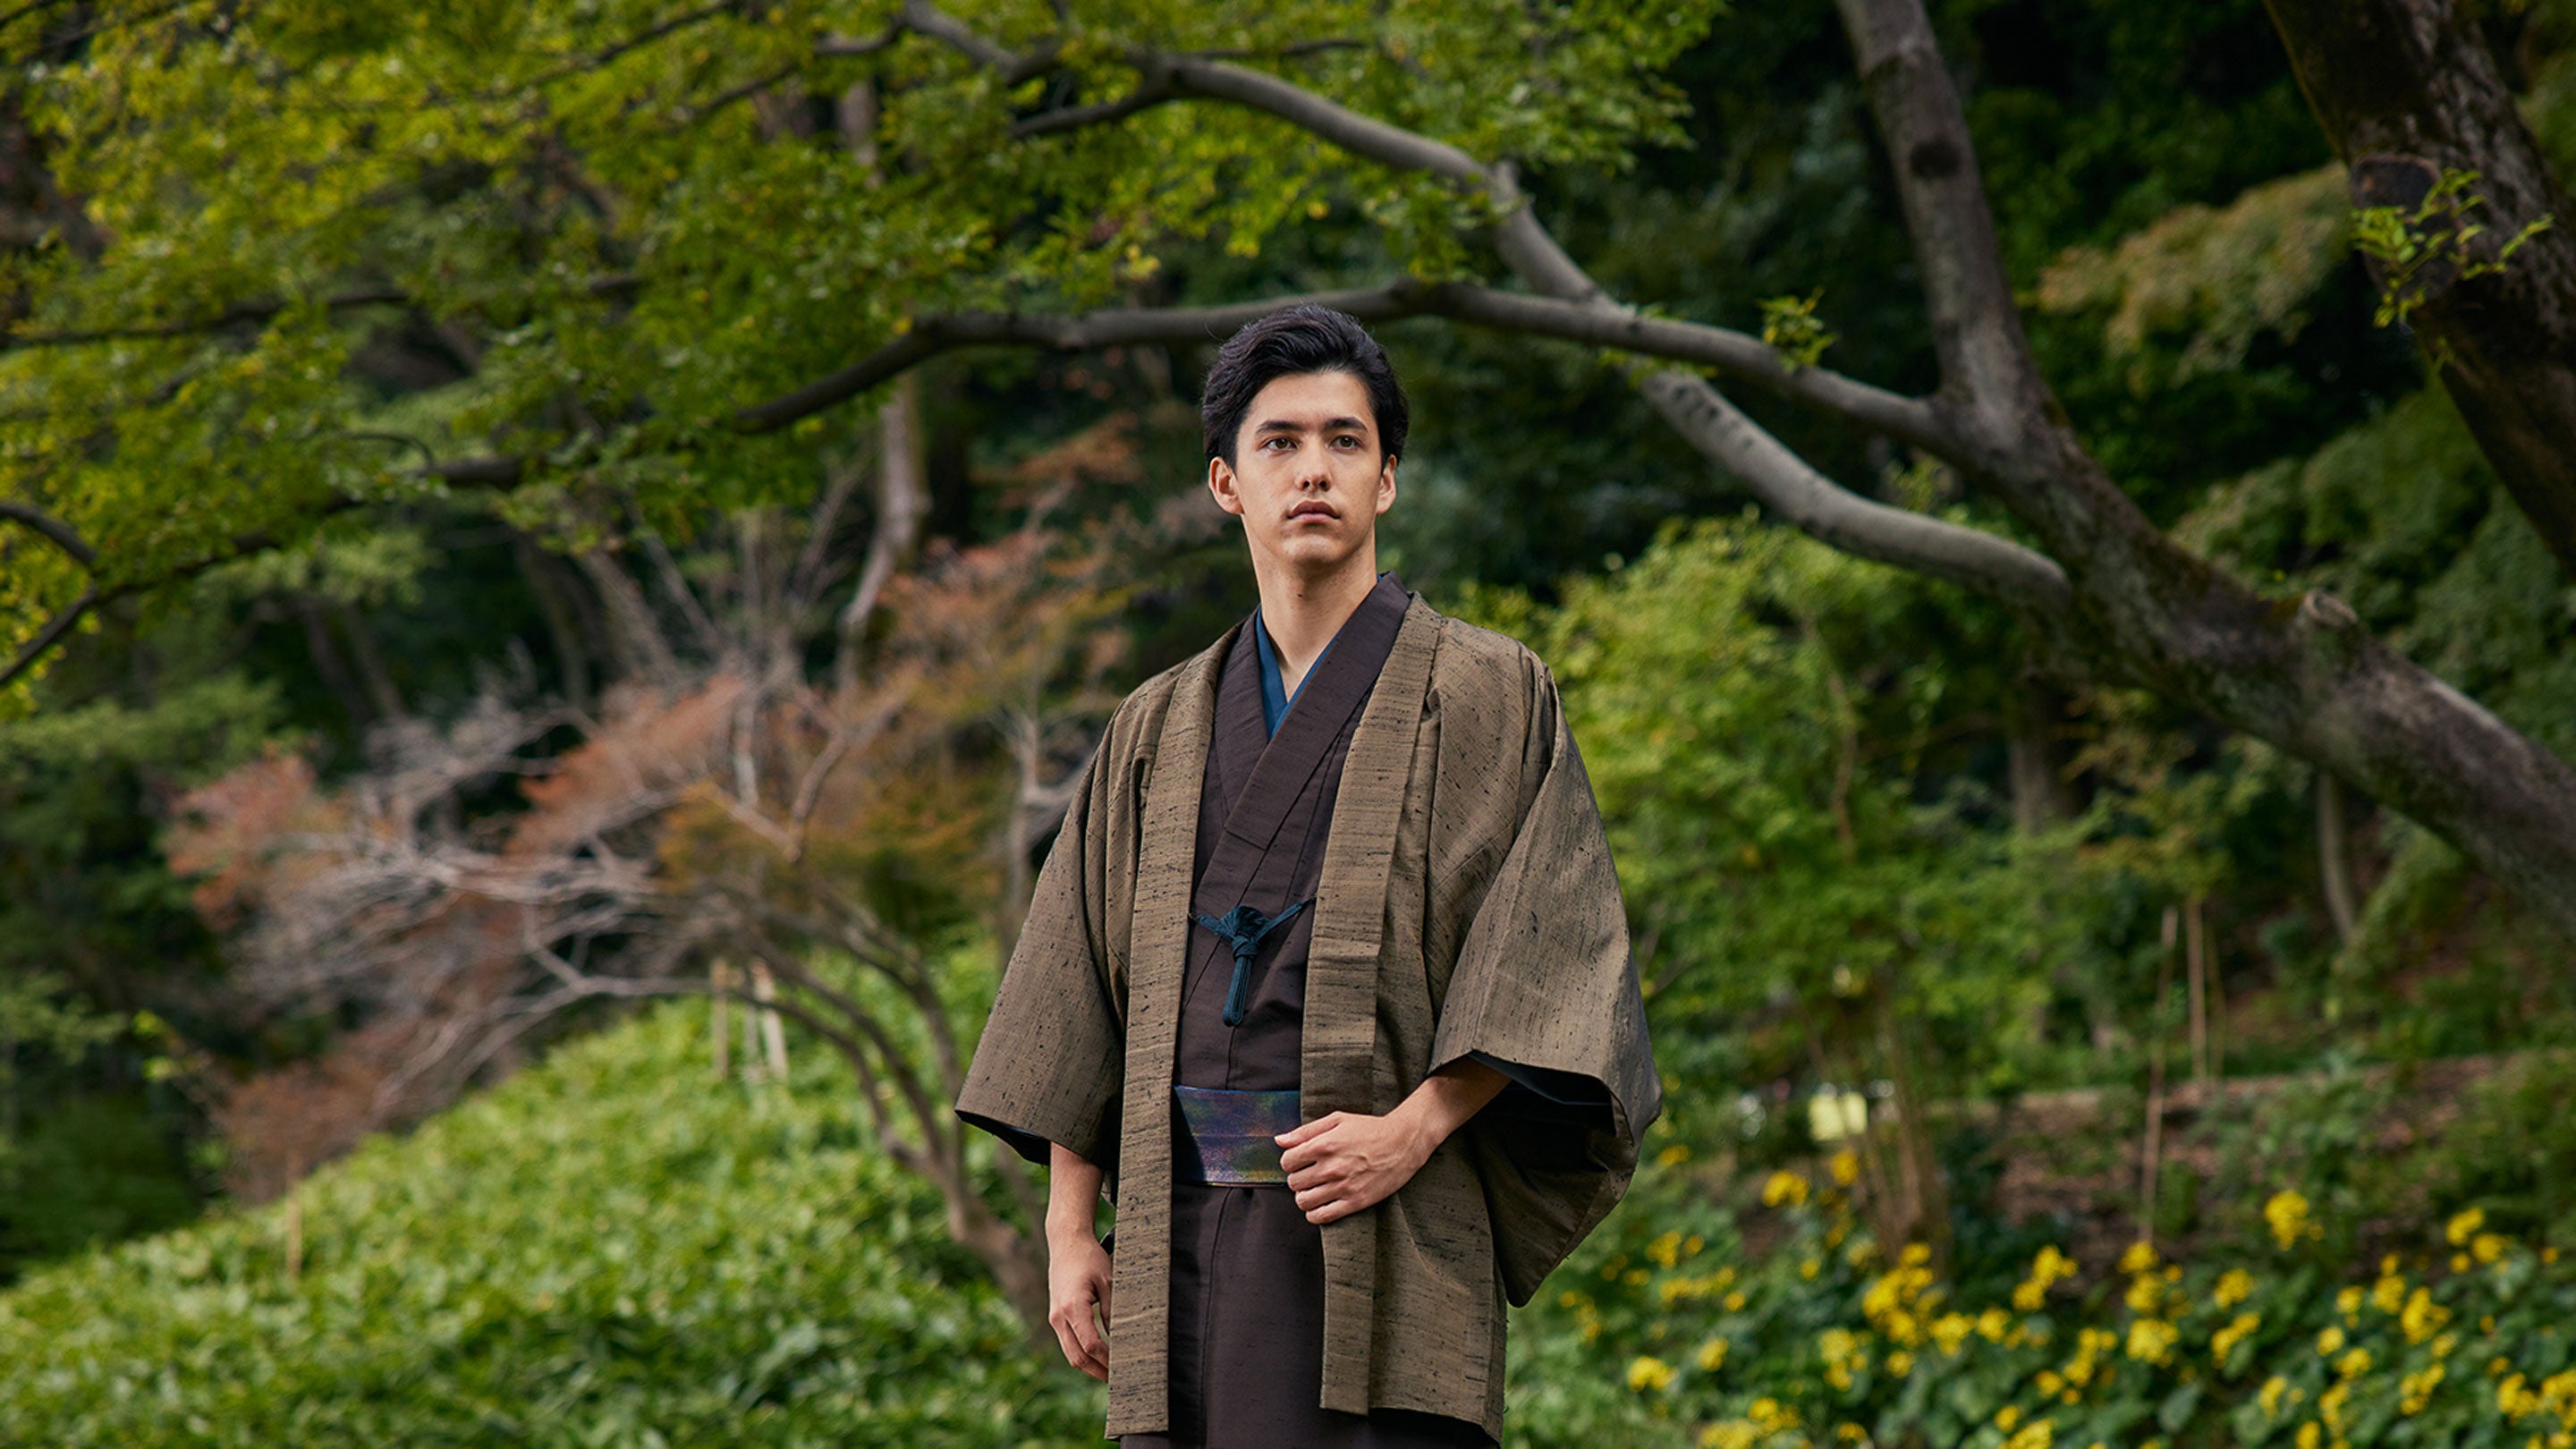
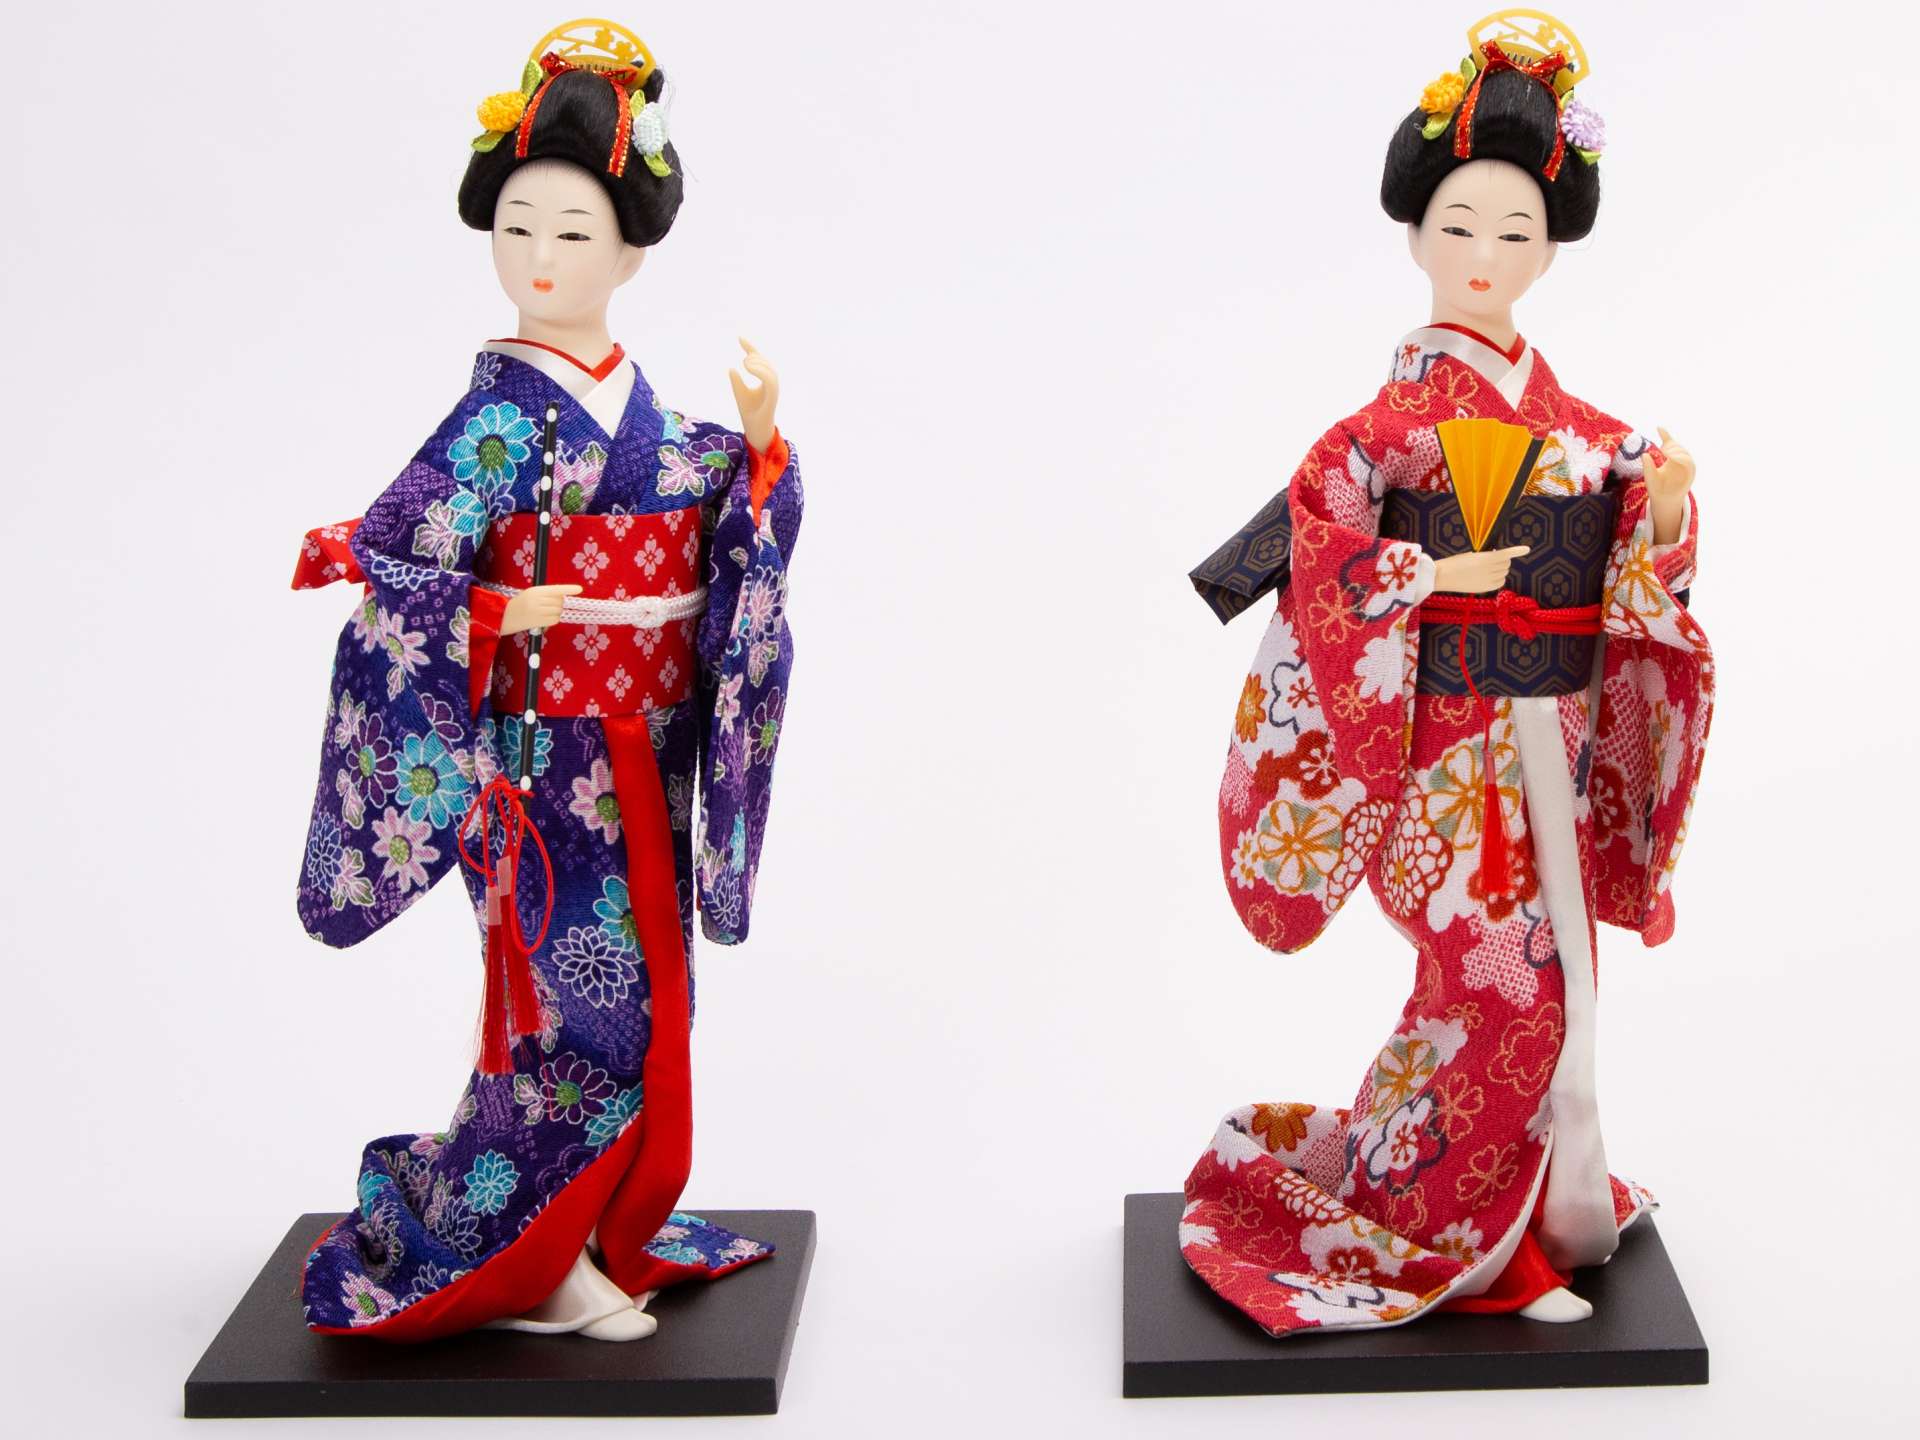
A kimono is a famous traditional garment in Japan, known for its intricate design and exquisite craftsmanship. It is a loose-fitting robe, typically made of silk, and is adorned with beautiful patterns and vibrant colors. The doll-sized kimono we will be making today will capture the essence of this traditional attire and allow your doll to shine in its own unique way.
Not only is making a doll kimono a fun and creative activity, but it also provides an opportunity to learn new sewing techniques and explore different fabric choices. You can customize the kimono to match your doll’s personality or create a mini replica of your favorite full-sized kimono.
In this tutorial, we will guide you through each step of the process, from taking measurements to adding the final touches. We will provide detailed instructions and tips to ensure that you can successfully create a beautiful kimono for your doll.
Before we begin, let’s gather the necessary materials and tools that you will need for this project.
Materials Needed
Before you start making a doll kimono, gather the following materials:
- Fabric: Choose a fabric that resembles the look and feel of traditional kimono fabric such as silk or satin. You will need enough fabric to match the measurements of your doll.
- Scissors: A sharp pair of fabric scissors is essential for cutting the fabric precisely.
- Sewing machine or needle and thread: Depending on your preference and sewing skills, you can use a sewing machine or hand sew the kimono.
- Pins: Use pins to secure the fabric in place while sewing.
- Iron and ironing board: These will be useful for pressing the fabric and creating crisp folds.
- Measuring tape: Accurate measurements are crucial for a well-fitted kimono, so make sure to have a measuring tape on hand.
- Trim or embellishments (optional): If you want to add extra flair to your doll’s kimono, consider using trims, ribbons, or decorative elements.
- Pattern or template: While it is possible to create a kimono without a pattern, using a pattern or template can provide guidance and ensure a more precise fit.
Make sure all your materials are readily available before you begin the project. Once you have everything at hand, you are ready to move on to the next step: taking measurements.
Step 1: Measurements
Before you start cutting the fabric for your doll kimono, it is important to take accurate measurements. This will ensure that the kimono fits your doll perfectly and looks seamless when worn.
Here are the measurements you will need:
- Length: Measure from the top of your doll’s shoulder to the desired length of the kimono. This will determine how long the body of the kimono will be.
- Width: Measure around your doll’s chest or widest part, ensuring that the tape measure is comfortably snug. Double this measurement to account for the front and back panels of the kimono.
- Sleeve Length: Measure from the shoulder to the desired length of the sleeve. This will determine the length of the sleeves.
- Sleeve Width: Measure the circumference around the upper arm of your doll. This will determine the width of the sleeves.
Once you have taken these measurements, record them accurately as you will refer to them throughout the rest of the process. It is essential to be precise to ensure a well-fitted kimono.
Now that you have the measurements, you are ready to move on to the next step: cutting the fabric.
Step 2: Cutting the Fabric
Now that you have the measurements for your doll kimono, it’s time to cut the fabric. Make sure you have a clean and flat surface to work on.
Here’s how to proceed with cutting the fabric:
- Prepare your fabric: Lay your fabric flat, ensuring there are no wrinkles. If your fabric has a pattern, make sure it is oriented correctly.
- Body of the kimono: Using your measurements, mark and cut a rectangle from the fabric for the body of the kimono. The width should be twice your doll’s chest measurement, and the length should match the desired length of the kimono.
- Sleeves: Cut two rectangles from the fabric for the sleeves. The width should be the desired sleeve width, and the length should match the desired sleeve length.
Remember to cut the fabric carefully and precisely along the marked lines. It’s a good idea to use fabric shears or sharp scissors to ensure clean cuts.
Once you have cut the fabric for the body of the kimono and the sleeves, you can move on to the next step: sewing the body of the kimono.
Step 3: Sewing the Body of the Kimono
Now that you have the fabric pieces cut for the body of the kimono and the sleeves, it’s time to start sewing them together. This step will bring your doll kimono to life.
Follow these steps to sew the body of the kimono:
- Pin the sides: With the right sides of the fabric facing each other, pin the side edges together from the hem to where the sleeve will be attached. This will create the side seams of the kimono.
- Stitch the side seams: Using a sewing machine or a needle and thread, sew the pinned side seams with a straight stitch. Make sure to backstitch at the beginning and end to secure the seams. Repeat this step for both sides of the kimono.
- Press the seams: Open up the side seams and press them with an iron to create a crisp finish. This will make it easier to attach the sleeves and give your kimono a professional look.
- Finish the hem: Fold the bottom edge of the kimono up by about half an inch and press it with an iron. Then, fold it up again by the same amount and press it again. Pin the folded hem in place and sew along the edge to secure it.
Once you have completed these steps, you will have the basic body of the kimono sewn together. It’s time to move on to the next step: adding the sleeves.
Step 4: Adding the Sleeves
Adding the sleeves to your doll kimono will give it a traditional and elegant look. Follow these steps to attach the sleeves:
- Pin the sleeves: With the right sides of the fabric facing each other, pin the top edge of each sleeve to the corresponding armhole on the body of the kimono. Make sure to align the raw edges of the sleeve and the armhole.
- Stitch the sleeves: Sew along the pinned edges, attaching the sleeves to the kimono. Use a straight stitch and backstitch at the beginning and end for added durability.
- Press the seams: Open up the sleeves and press the seam allowances toward the sleeves. This will create a neat and flat finish.
- Finish the sleeve edges: If desired, you can finish the raw edges of the sleeves with a zigzag stitch or a serger to prevent fraying. Alternatively, you can fold the edges to the inside and stitch them down for a clean finish.
After completing these steps, the sleeves will be securely attached to the body of the kimono. You are now ready to move on to the next step: making the obi (belt).
Step 5: Making the Obi (Belt)
The obi, or belt, is an essential part of a kimono. It not only adds decoration but also helps to secure the kimono in place. Follow these steps to create a doll-sized obi:
- Cut the fabric: Cut a long rectangle from your fabric for the obi. The width should be around 2-3 inches, depending on the size of your doll, and the length should be long enough to wrap around the doll’s waist with some overlap.
- Fold and press: Fold the obi fabric in half lengthwise, with the right sides together. Press along the fold to create a center crease.
- Sew the obi: Sew along the long edge of the obi, leaving the short ends open for now. Use a ¼ inch seam allowance and backstitch at the beginning and end of the stitching.
- Turn the obi: Carefully turn the obi right side out through one of the open ends. Use a turning tool or a chopstick to gently push out the corners and edges for a crisp finish.
- Press the obi: Press the obi with an iron to flatten the seams and create a smooth and polished look.
- Wrap the obi: Place the obi around the waist of the doll, crossing it in the front, and bring the ends to the back. Adjust the fit and tie a small knot or bow at the back to secure it in place.
Once you have completed these steps, the obi will add a final touch of authenticity to your doll kimono. The outfit is almost complete, but there are a few final touches left to add. Let’s move on to the next step!
Step 6: Adding Final Touches
Now that the main components of the doll kimono are complete, it’s time to add the final touches to make it truly special. These finishing touches will elevate the overall look of the kimono and add extra charm. Follow these steps:
- Embellishments: If desired, you can add decorative elements to your doll kimono. Consider adding small buttons, beads, or fabric flowers to accentuate certain areas of the kimono, such as the sleeves or the front. Use a needle and thread to securely attach these embellishments.
- Trim: Another way to enhance the appearance of the kimono is by adding trim along the edges or seams. Consider using lace, ribbon, or contrasting fabric as trim. Pin the trim in place and sew it along the desired areas of the kimono for an extra touch of elegance.
- Press the kimono: Once you have finished adding any final touches, give the entire kimono a final press with an iron. This will ensure all the seams are crisp and the fabric is smooth.
- Dress your doll: Carefully dress your doll in the beautifully crafted kimono. Ensure that the fit is just right and adjust any elements as needed for a perfect fit.
With these final touches, your doll kimono is complete! Admire your handiwork and celebrate the unique and traditional outfit you’ve created for your doll.
Now that you’ve learned how to make a doll kimono, you can experiment with different fabrics, colors, and designs to create an entire collection for your dolls. Enjoy the process of crafting and let your creativity shine as you dress your dolls in these stunning traditional garments. Happy doll dressmaking!
Conclusion
Congratulations on completing your doll kimono! You’ve learned how to take measurements, cut fabric, sew the body of the kimono, attach the sleeves, create an obi (belt), and add final touches to make the outfit truly exceptional.
By making a doll kimono, you’ve not only crafted a beautiful and traditional garment, but you’ve also honed your sewing skills and gained a deeper appreciation for the art of dressmaking. Your doll will now have a unique and stunning piece in its wardrobe that showcases your creativity and attention to detail.
As you continue to explore the world of doll dressmaking, feel free to experiment with different fabrics, embellishments, and designs to create a wide range of kimonos for your dolls. Let your imagination run wild and infuse your personal style into each creation.
Remember, the process of making a doll kimono is not only enjoyable and fulfilling but also a great way to express your creativity and share your love for crafting. So grab your materials, unleash your inner designer, and embark on the journey of making more incredible outfits for your dolls.
Happy doll dressmaking and may your dolls don their beautiful kimonos with pride!