Home>How-to Guides>For All>How To Make A Kimono Robe Pattern

For All
How To Make A Kimono Robe Pattern
Modified: August 2, 2023
Learn how to make a versatile kimono robe pattern for all body types. Step-by-step instructions and helpful tips included. Create your own stylish and comfortable attire.
(Many of the links in this article redirect to a specific reviewed product. Your purchase of these products through affiliate links helps to generate commission for Under-tec.com, at no extra cost. Learn more)
Table of Contents
Introduction
Welcome to the world of kimono robes, where elegance and comfort meet! Whether you’re looking to add a stylish layer to your loungewear or create a unique garment for a special occasion, making your own kimono robe pattern is a rewarding and creative project. With a few essential materials and a little bit of sewing know-how, you can design a robe that perfectly matches your personal style and fits you like a dream.
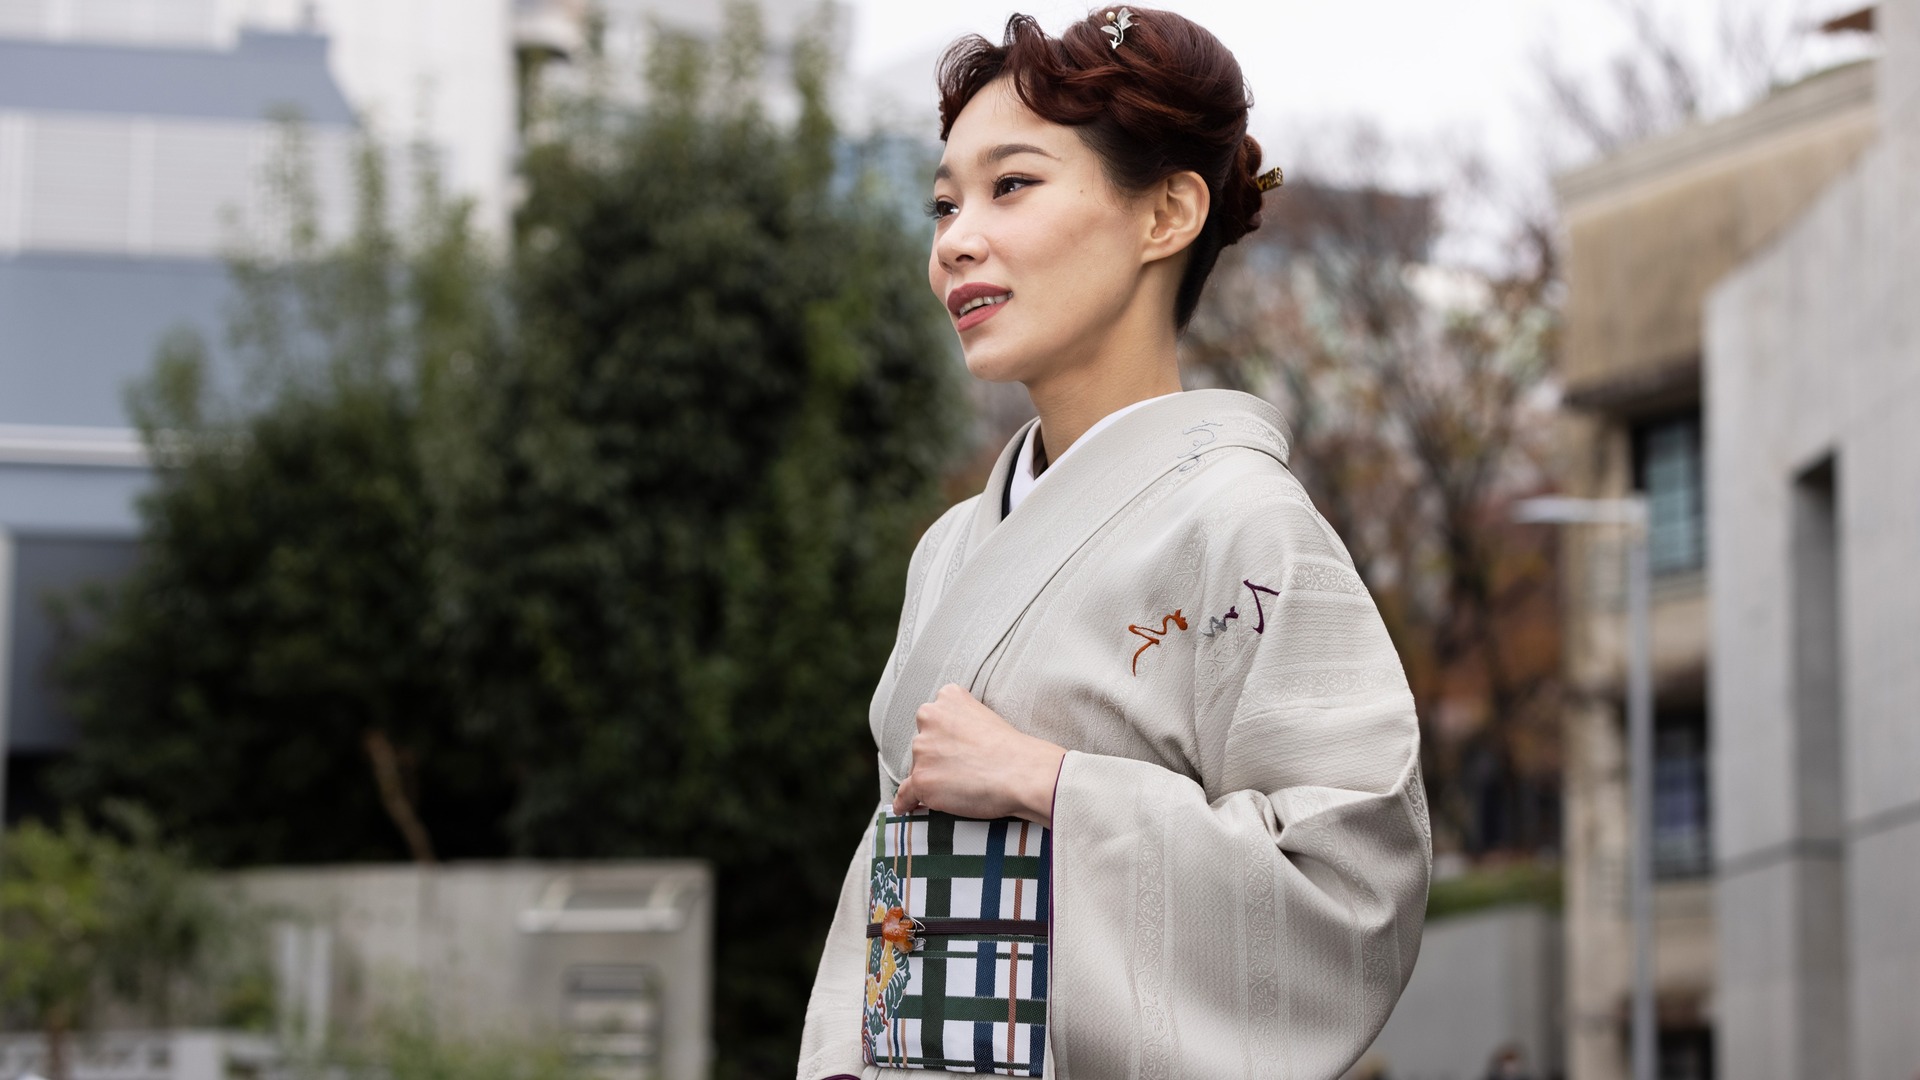
Kimono robes have a rich history rooted in Japanese culture, known for their loose and flowing silhouette, wide sleeves, and intricate patterns. Today, they have become a fashion statement and a symbol of relaxed luxury. By crafting your own kimono robe, you have the freedom to choose the fabric, length, and design elements that suit your taste and express your individuality.
In this article, we will guide you through the step-by-step process of creating a kimono robe pattern and sewing it together. From taking measurements to drafting the pattern, cutting the fabric, and adding those finishing touches, we will cover everything you need to know to make your very own bespoke kimono robe. So let’s dive in and embark on this creative journey!
Materials
Before you start making your kimono robe pattern, gather all the necessary materials. Having everything ready will make the process smoother and more enjoyable. Here’s a list of the essential items you’ll need:
- Fabric: Choose a fabric that is lightweight, breathable, and comfortable to wear. Options like silk, satin, cotton, or rayon work well for kimono robes. The amount of fabric you’ll need depends on your measurements and the desired length of your robe.
- Thread: Select a thread that matches or complements the color of your fabric. It’s essential to use a durable thread that can withstand the stress of regular wear.
- Scissors: Invest in a quality pair of fabric scissors for clean and precise cutting. Make sure they are sharp and comfortable to hold.
- Pins: Pins will help you secure the fabric in place while cutting and sewing. Opt for sturdy pins with a flat head to avoid snagging the fabric.
- Ruler or measuring tape: Accurate measurements are crucial for a well-fitted kimono robe. Use a ruler or measuring tape to measure various parts of your body to ensure the perfect fit.
- Pattern paper or muslin: You’ll need pattern paper or muslin fabric to draft and test your kimono robe pattern before cutting into your chosen fabric. This will allow for any adjustments or modifications.
- Sewing machine or needle and thread: Depending on your sewing skills and preferences, you can use a sewing machine or sew by hand with a needle and thread.
- Iron and ironing board: Pressing your fabric throughout the sewing process is essential for clean seams and a polished finished look. An iron and ironing board will be your best friend.
- Optional embellishments: If you want to add some personal touches to your kimono robe, consider embellishments like lace, ribbons, or embroidered patches.
With these materials at your disposal, you’re well-equipped to begin crafting your kimono robe pattern and bring it to life. So let’s move on to the next step: taking accurate measurements.
Taking Measurements
Before you can start drafting your kimono robe pattern, it’s important to take accurate measurements of your body. A well-fitted kimono will not only be more comfortable to wear but will also enhance the overall aesthetic of the garment. Here are the key measurements you’ll need:
- Bust: Measure around the fullest part of your bust, ensuring that the measuring tape is straight and not too tight.
- Waist: Measure around the smallest part of your waist, typically located above your belly button and below your rib cage.
- Hips: Measure around the widest part of your hips, usually around the hip bone area.
- Shoulder width: Measure the distance from the outer edge of one shoulder to the outer edge of the other shoulder.
- Arm length: Measure from the top of your shoulder down to your desired sleeve length, whether that’s above the elbow, at the elbow, or below the elbow.
- Robe length: Decide on the desired length of your kimono robe, whether you want it to hit above the knee, at the knee, or below the knee.
When taking these measurements, it’s important to stand upright, breathe naturally, and avoid holding your breath or sucking in your stomach. This will ensure that you get accurate and realistic measurements.
Remember to write down your measurements and keep them handy as you move on to drafting your kimono robe pattern. Having these measurements at hand will make it easier to create a pattern that fits you perfectly.
Now that you have your measurements ready, let’s move on to the next step: drafting the pattern for your kimono robe.
Drafting the Pattern
With your measurements in hand, it’s time to draft the pattern for your kimono robe. This involves creating a template that will serve as your guide when cutting the fabric. While you can find pre-made patterns online or in sewing stores, making a custom pattern ensures a better fit and allows for more personalization. Here’s how you can draft your own kimono robe pattern:
- Start by drawing a rectangle on your pattern paper or muslin fabric, using your bust measurement as the width and your desired robe length as the height. This will be the main body of the kimono.
- Next, measure and mark the center of the top edge of the rectangle. From this point, measure and mark half of your shoulder width on each side. Connect these points to the bottom corners of the rectangle to create the sleeve openings.
- For the sleeve length, measure from the top of your shoulder down to your desired sleeve length on your arm. Add extra length if you want a slightly oversized or flowing sleeve. Extend the sleeve opening lines to meet the desired sleeve length.
- To create the neckline, measure and mark a point at the center of the top edge of the rectangle, slightly below your desired neck depth. From this point, draw a gentle curve connecting it to the outer corners of the sleeve openings.
- Once you have the basic shape of the kimono pattern, you can make adjustments to customize it further. For example, you can add a belt or tie closure by creating two long rectangular strips and attaching them to the side seams of the kimono.
Remember to add seam allowances to your pattern, typically around ½ inch to 1 inch, depending on your preference and the thickness of your fabric. This will allow space for sewing the pieces together.
If you’re unsure about the accuracy of your pattern, or if you’d like to test the fit before cutting into your fabric, you can make a mock-up version of the kimono using inexpensive muslin fabric. This will give you the opportunity to make any necessary adjustments and fine-tune the pattern before working with your chosen fabric.
Once you’re satisfied with your kimono robe pattern, it’s time to move on to the exciting part: cutting the fabric and bringing your design to life!
Cutting the Fabric
Now that you have your kimono robe pattern ready, it’s time to cut the fabric and begin assembling your garment. Follow these steps to ensure a precise and professional-looking result:
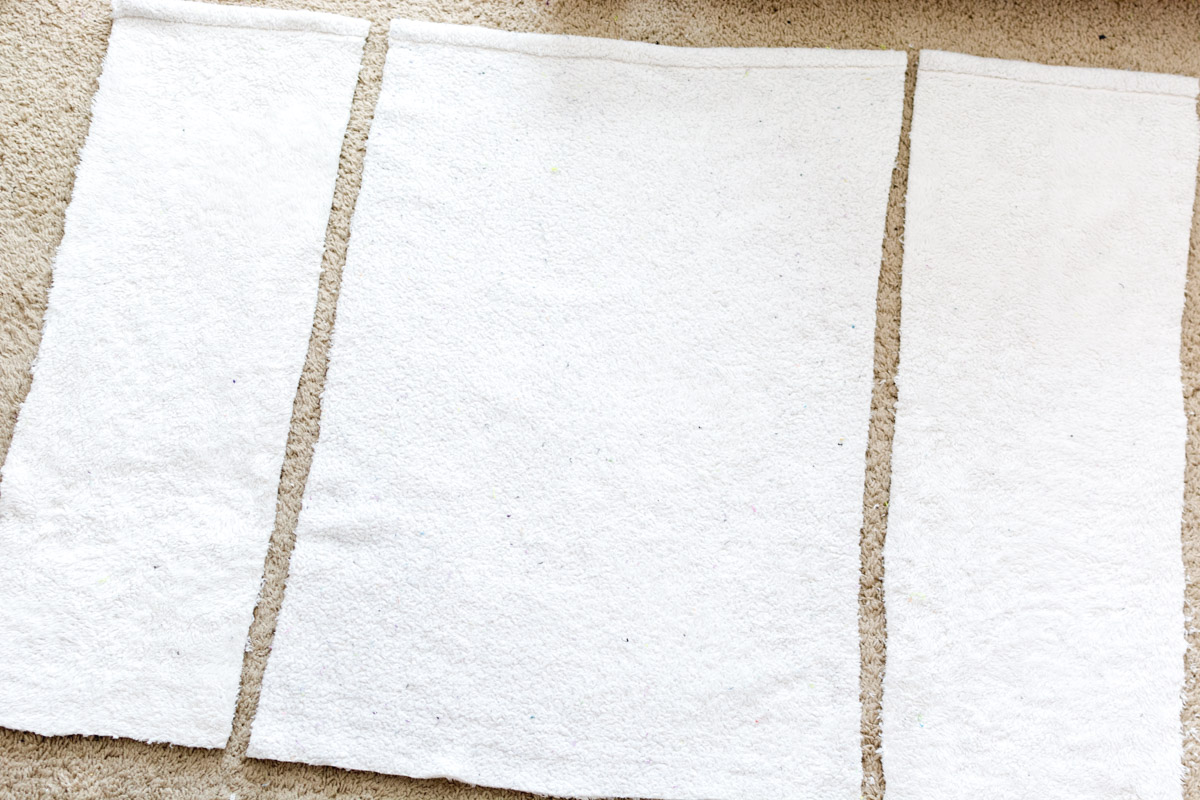
- Lay your fabric flat on a clean, spacious work surface. If your fabric has a pattern, make sure to align it properly.
- Place your kimono robe pattern pieces on the fabric, aligning them according to the instructions on the pattern.
- Use fabric scissors to carefully cut along the edges of the pattern pieces, making sure to cut through both layers of fabric if you folded it. Take your time to achieve clean and smooth cuts.
- As you cut, transfer any directional markings or notches from the pattern onto the fabric. These markings will help you align and assemble the pieces correctly.
- Once all the pieces are cut, remove the pattern pieces from the fabric and set them aside.
Remember to cut with precision and accuracy, as this will directly affect the fit and overall look of your kimono robe. Take your time and double-check your cuts to ensure symmetrical and well-proportioned pieces.
If your fabric tends to fray easily, consider finishing the raw edges with a serger, zigzag stitching, or by using pinking shears. This will prevent fraying and add a professional touch to your finished garment.
Now that you have all your fabric pieces cut, it’s time to move on to the next step in the process: sewing the kimono sleeves.
Sewing the Kimono Sleeves
The kimono sleeves are one of the defining features of this garment, adding elegance and fluidity to the overall design. Follow these steps to sew the kimono sleeves:
- Take one of the main body fabric pieces and lay it flat with the right side facing up.
- Place one of the sleeve pieces on top of the body fabric, aligning the edges. Pin the sleeve and body fabrics together, ensuring they are secure and lined up properly.
- Using a straight stitch or a serger, sew along the pinned edges, joining the sleeve and body fabrics together. Be sure to backstitch at the beginning and end of the seam to secure it.
- Repeat the previous steps for the other kimono sleeve, attaching it to the remaining body fabric piece.
- With the sleeves sewn to the body fabric, fold the kimono in half, right sides together, aligning the side seams and the edges of the sleeves. Pin the side seams and sleeve edges together.
- Starting from the edge of the sleeve, sew along the pinned side seam, moving carefully and removing the pins as you go. Backstitch at the beginning and end of the seam to secure it.
Once you’ve sewn the kimono sleeves and side seams, try on the robe to check the fit and make any necessary adjustments. If the sleeves feel too loose or too tight, you can remove the seam stitches and make alterations accordingly.
It’s important to press the seams open or to one side using an iron and pressing cloth to achieve a clean and professional finish. This will make it easier to sew the next steps and give your kimono robe a polished look.
With the kimono sleeves sewn and the side seams intact, you’re ready to move on to the next step: sewing the body of the kimono.
Sewing the Body of the Kimono
With the kimono sleeves attached, it’s time to sew the body of the kimono together. Follow these steps for a seamless and beautiful result:
- Turn the kimono robe inside out so that the wrong side of the fabric is facing out.
- Starting from the bottom hem, align the edges of the front and back of the kimono body together. Pin the edges in place, ensuring that the fabric is smooth and evenly aligned.
- Starting from the pinned edge, sew along the side seams, joining the front and back of the kimono body together. Use a straight stitch or a serger, and remember to backstitch at the beginning and end of the seam for reinforcement. Remove the pins as you sew.
- Once the side seams are sewn, try on the kimono robe to check the fit. If any adjustments are needed, you can make them at this stage before proceeding.
- Press the side seams open or to one side using an iron and a pressing cloth. This will ensure smooth and neat seams.
By sewing the body of the kimono, you’re one step closer to completing your handmade garment. The kimono should now be taking shape, with the sleeves and body seamlessly connected.
Remember to handle the fabric with care while sewing to avoid stretching or distorting the shape of the kimono. Take your time and sew at a steady pace for the best results.
With the body of the kimono sewn together, it’s time to move on to the next step: adding the collar.
Adding the Collar
The collar of the kimono not only adds structure to the garment but also lends a touch of sophistication. Follow these steps to add the collar to your kimono robe:
- Measure the neckline of the kimono to determine the length of the collar. Cut a strip of fabric for the collar that is twice the desired width plus seam allowance and long enough to cover the full length of the neckline.
- Fold the collar fabric in half lengthwise, with the right sides facing together. Pin along the long edge.
- Using a straight stitch or a serger, sew the pinned long edge, leaving the short edges open. Backstitch at the beginning and end of the seam to secure it.
- Turn the collar right side out and press it with an iron to create a crisp edge.
- Align the unfolded edge of the collar with the neckline of the kimono, with the right sides of the fabric facing together. Pin the collar in place, making sure it is evenly distributed along the neckline.
- Sew the collar to the neckline, ensuring that you catch both layers of fabric. Start sewing from one end of the collar and continue until you reach the other end. Backstitch at the beginning and end of the seam for reinforcement.
- Once the collar is attached, press the seam with an iron, pressing cloth, and seam roll if necessary. This will give the collar a professional finish and make it lay flat.
The collar adds a touch of elegance and structure to the kimono robe. Be sure to take your time and sew it with precision to achieve a clean and seamless appearance.
Depending on your preference, you can opt for a traditional standing collar or a more relaxed shawl collar. Experiment with different collar styles to create a kimono robe that reflects your personal taste and style.
With the collar added, your kimono robe is nearly complete. The next step is to finish the hems of the garment for a polished appearance.
Hemming the Kimono Robe
The final step in completing your kimono robe is to hem the edges for a clean and finished look. Follow these steps to hem the kimono:
- Start by trying on the kimono robe to determine your desired hem length. Mark this length with pins or fabric chalk on each of the sleeve openings and the bottom hem.
- Trim the excess fabric, leaving about 1 inch of fabric below the marked hemline for folding and hemming.
- Fold the fabric up to the marked hemline, aligning the raw edge with the fold. Pin the hem in place to secure it.
- Using a straight stitch or a blind hem stitch on your sewing machine, sew along the folded edge of the hem, leaving no more than ½ inch between each stitch. Alternatively, you can hand stitch the hem using a slip or blind stitch for an invisible finish.
- Once the hem is sewn, carefully remove any visible pins and press the hem with an iron. This will help set the stitches and create a crisp and smooth finish.
- Repeat the same process for hemming the sleeve openings.
By hemming the kimono robe, you provide a polished and professional touch to the garment. The finished hem adds structure and ensures that the fabric edges do not fray over time.
When hemming, take your time to sew straight and even stitches. Remember to backstitch at the beginning and end of each seam for added durability.
Once the hemming is complete, give the entire kimono robe a final press with an iron, being careful not to press too heavily on any delicate fabrics or embellishments.
With the hemming done, your kimono robe is now ready to wear or gift to someone special. The finishing touches will truly bring your creation to life and add those personal and unique elements.
Finishing Touches
Now that your kimono robe is complete, it’s time to add those final special touches that will truly make it one-of-a-kind. Here are some finishing touches you can consider:
- Add a belt or tie: Enhance the silhouette of your kimono robe by including a belt or tie closure. You can make a fabric belt using the same material as the kimono, or opt for a contrasting color or pattern for a unique look.
- Embellish with embroidery or appliqué: If you want to personalize your kimono robe further, consider adding some embroidery or appliqué. This can be done by hand or with a sewing machine, and it allows you to showcase your creativity and add a touch of intricate detail to the garment.
- Add lace or trim: For an extra touch of femininity or elegance, consider adding lace or trim to the edges of the kimono sleeves, neckline, or hem. This delicate addition can take your kimono robe to the next level and make it even more visually appealing.
- Include pockets: If practicality is important to you, consider adding pockets to your kimono robe. They can be inserted along the side seams or as patch pockets on the front of the robe. Having pockets will not only add functionality but also make your kimono robe more versatile and convenient.
- Experiment with fabric combinations: If you have multiple fabrics that you love, consider using them to create a unique and eye-catching kimono robe. You can mix and match different fabrics for the sleeves, body, and collar, creating a truly personalized and eclectic design.
When adding these finishing touches, be mindful of the overall aesthetic of the kimono robe. Ensure that the additional elements complement the fabric and design, creating a harmonious and cohesive look.
Don’t be afraid to get creative and let your imagination guide you when adding the finishing touches. This is your opportunity to make the kimono robe truly yours and reflect your unique style and personality.
With the finishing touches complete, step back and admire your handmade kimono robe. Whether you’re keeping it for yourself or gifting it to someone special, this bespoke garment is a testament to your creativity and sewing skills.
Conclusion
Congratulations on completing your very own kimono robe! Through the process of taking measurements, drafting a pattern, cutting fabric, sewing the sleeves and body, adding the collar, hemming, and adding finishing touches, you have created a unique and personalized garment that reflects your individual style.
Making a kimono robe pattern allows you to unleash your creativity and explore different fabrics, colors, and design elements. It’s a rewarding project that not only results in a beautiful garment but also builds your sewing skills and confidence.
Remember, the key to a successful kimono robe lies in attention to detail, taking accurate measurements, and sewing with precision. Take your time, follow the steps carefully, and enjoy the process of bringing your vision to life.
Now that you have a stunning kimono robe, you can enjoy the elegance and comfort it brings to your wardrobe. Relax in style at home, use it as a layering piece for a special occasion, or gift it to someone you care about.
As you continue on your sewing journey, don’t hesitate to explore different variations of the kimono robe pattern. Experiment with different fabrics, lengths, and design elements to continue honing your skills and creating garments that are truly unique.
Thank you for joining us on this creative adventure. We hope you enjoyed making your kimono robe and that it becomes a cherished piece in your wardrobe for years to come.