Home>How-to Guides>For All>How To Make A Harry Potter Robe
For All
How To Make A Harry Potter Robe
Modified: July 30, 2023
Learn how to make a Harry Potter robe for all aspiring wizards and witches. Get step-by-step instructions and create your own magical costume.
(Many of the links in this article redirect to a specific reviewed product. Your purchase of these products through affiliate links helps to generate commission for Under-tec.com, at no extra cost. Learn more)
Table of Contents
Introduction
Are you a die-hard fan of the magical world of Harry Potter? Do you want to embrace your inner wizard or witch by donning an authentic Harry Potter robe? Well, you’re in luck! In this article, we will guide you through the process of making your very own Harry Potter robe, allowing you to feel like you’ve stepped straight out of Hogwarts.
Whether you’re attending a costume party, going to a convention, or simply looking to add a touch of magic to your everyday wardrobe, a Harry Potter robe is the perfect choice. Not only will it make you stand out, but it will also let you connect with the beloved characters from J.K. Rowling’s iconic series.
Don’t worry if you’re not an expert seamstress or if you don’t have a magical sewing machine. This DIY project is designed to be accessible to all skill levels, allowing anyone with a passion for all things Harry Potter to create their own customized robe.
But before we dive into the step-by-step process of making a Harry Potter robe, let’s gather all the materials you’ll need to bring this enchanting project to life.
Materials Needed
Before you begin making your Harry Potter robe, it’s essential to gather all the necessary materials. Here’s a list of what you’ll need:
- Fabric: Choose a fabric that closely resembles the robes worn by the characters in the Harry Potter series. Dark-colored fabrics such as black or dark gray are commonly used for the robe. You’ll need enough fabric to fit your measurements.
- Sewing Machine: A sewing machine will make the process much easier and faster. However, if you don’t have access to one, you can also hand-sew the robe.
- Thread: Select a thread color that matches or complements the fabric you’ve chosen.
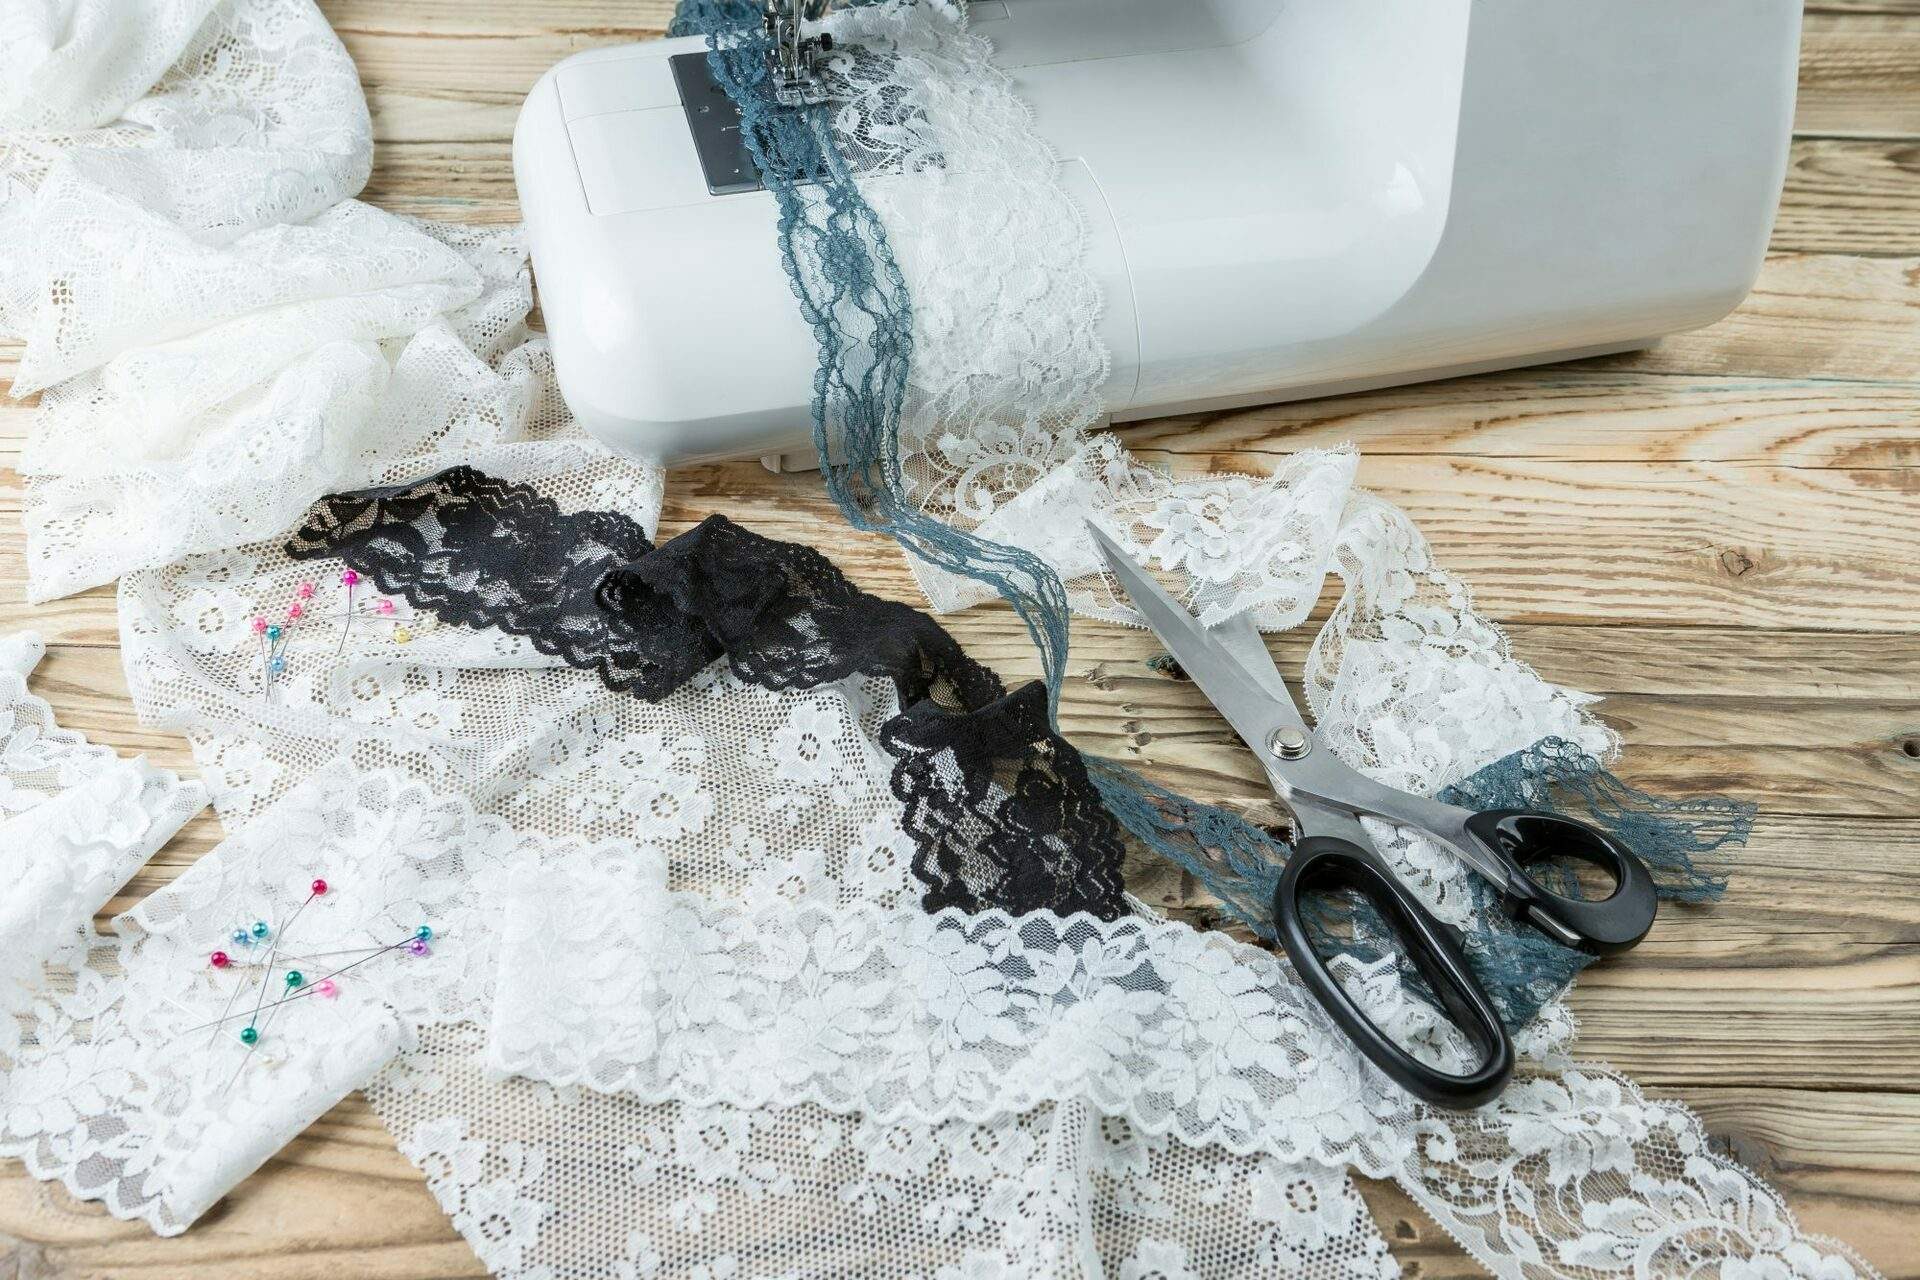
- Scissors: Make sure to have a sharp pair of scissors for cutting the fabric.
- Measuring Tape: You’ll need a measuring tape to take accurate measurements of your body.
- Pins: Pins are essential for securing the fabric in place as you sew.
- Iron: An iron is necessary for pressing the fabric and creating crisp seams.
- Buttons or Fasteners: Depending on the style of robe you want, you may need buttons or other fasteners to secure the robe.
- Embroidery Supplies (Optional): If you want to add any Harry Potter-themed embroidery or patches to your robe, gather the necessary embroidery supplies.
Make sure you have all the materials ready before you start crafting your robe. Now that you’re well-prepared let’s move on to the first step: taking measurements.
Step 1: Taking Measurements
The first step in creating your Harry Potter robe is taking accurate measurements of your body. This ensures that the robe will fit you perfectly and provides a comfortable wearing experience. Here’s how you can do it:
- Wear a thin layer of clothing, such as a t-shirt and leggings, that represents how you would normally dress under the robe.
- Stand in front of a full-length mirror and position yourself in a relaxed, natural stance.
- Use a measuring tape to measure the following areas:
- Shoulder Width: Place the measuring tape across the back of your shoulders, from one edge to the other.
- Bust/Chest: Wrap the measuring tape around the fullest part of your bust or chest.
- Waist: Measure around the narrowest part of your waist.
- Hip: Measure around the fullest part of your hips.
- Arm Length: Extend one arm out to the side, and measure from the top of the shoulder down to the wrist bone.
- Robe Length: Decide how long you want your robe to be and measure from the base of your neck to the desired length.
- Write down your measurements, making sure to double-check for accuracy.
By taking precise measurements, you’ll be able to create a Harry Potter robe that fits you just right. Now that you have your measurements ready, let’s move on to the next step: cutting the fabric.
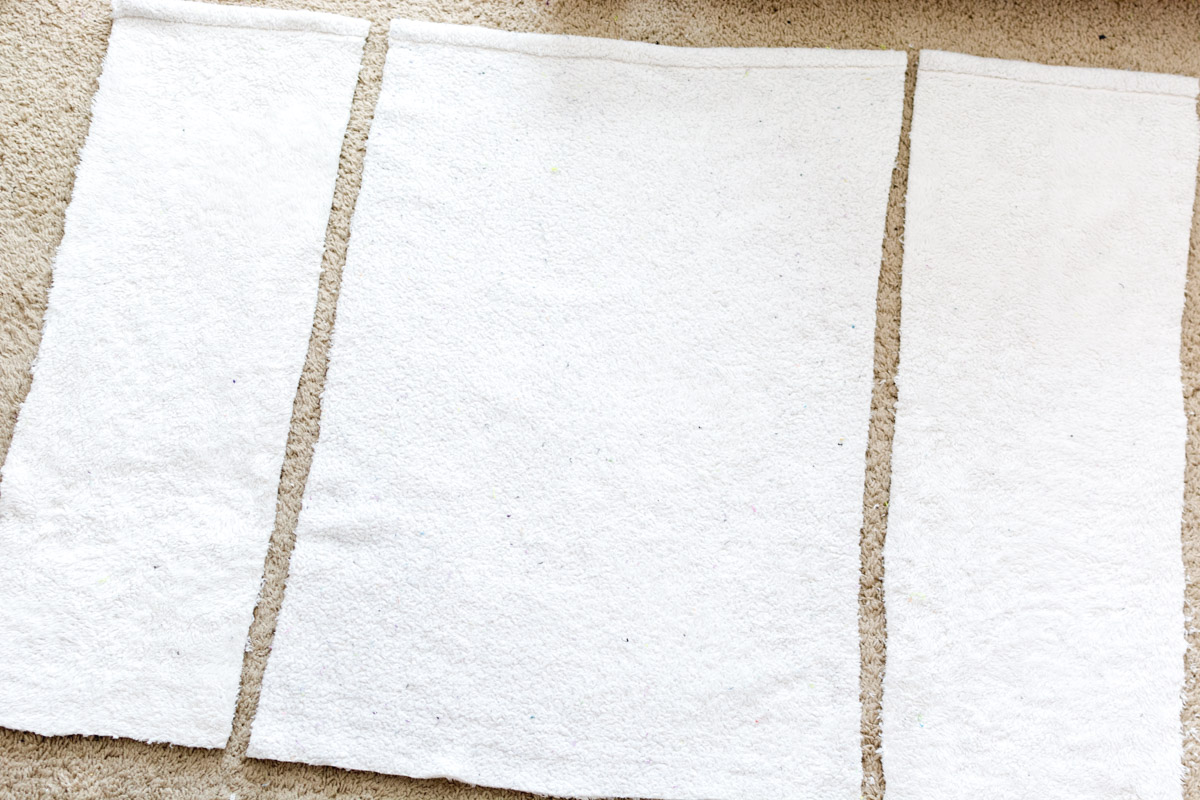
Step 2: Cutting the Fabric
Now that you have your measurements, it’s time to cut the fabric for your Harry Potter robe. Follow these steps to ensure accurate and clean cuts:
- Prepare your fabric by laying it flat on a clean, spacious surface. Ensure that there are no wrinkles or folds.
- Using your measurements, mark the dimensions of the robe on the fabric using tailor’s chalk or fabric marker. Make sure to include the width, length, and any additional measurements for sleeves or collar.
- Carefully cut along the marked lines using sharp fabric scissors. Take your time and make smooth, straight cuts to ensure the best results.
- For the main body of the robe, cut a rectangular piece that matches the length and width needed, allowing extra fabric for seam allowance.
- If your robe requires sleeves, cut two rectangular pieces of fabric according to the arm length measurement, allowing extra fabric for seam allowance.
- If your robe has a collar, cut a separate piece of fabric in the desired shape, allowing extra fabric for seam allowance.
- Double-check all the cut pieces against your measurements to ensure accuracy before moving on to the next step.
Remember to handle the fabric with care to avoid fraying or tearing. Keep your cuts clean and precise to achieve professional-looking results. Once you have your fabric pieces cut and ready, it’s time to move on to the next step: sewing the robe.
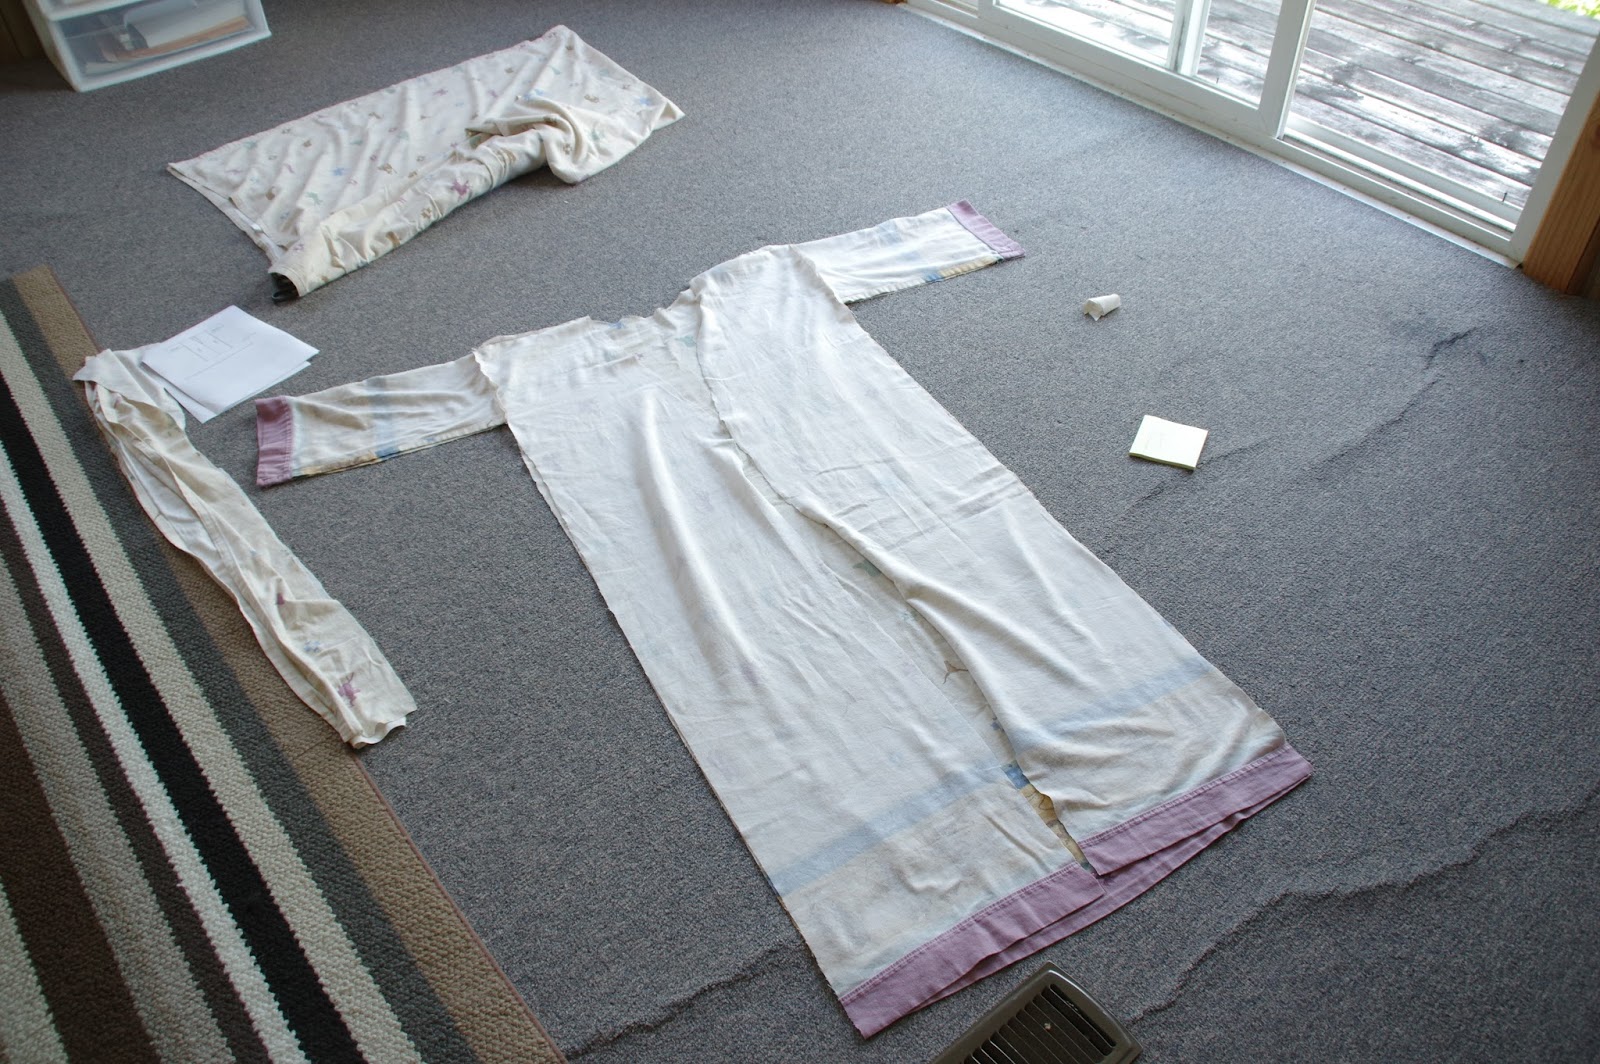
Step 3: Sewing the Robe
Now that you have your fabric pieces cut and prepared, it’s time to bring your Harry Potter robe to life by sewing it together. Follow these steps to sew the robe:
- Start with the main body of the robe. Pin the fabric pieces together along the shoulders and sides, matching the right sides together.
- Using a sewing machine or hand stitching, sew along the pinned edges with a straight stitch, leaving the arm openings and bottom hem open.
- If you prefer a more finished look, you can finish the raw edges with a serger or a zigzag stitch.
- Once the main body is sewn together, try it on and make any necessary adjustments for fit. You can pin and sew darts or take in the sides if needed.
- If your robe has sleeves, pin them onto the arm openings, matching the raw edges. Sew along the pinned edges, attaching the sleeves to the body of the robe.
- For added durability, reinforce the arm openings and bottom hem by sewing a second line of stitching or using a decorative stitch.
- If your robe has a collar, pin it onto the neckline, matching the raw edges. Sew along the pinned edges, attaching the collar to the robe.
- Turn the robe right side out and iron the seams to create a polished appearance.
Remember to sew with care and take your time to ensure clean and secure stitches. Once the robe is fully sewn together and pressed, you’re ready to move on to the next step: adding sleeves.
Step 4: Adding Sleeves
Adding sleeves to your Harry Potter robe can give it a more authentic and finished look. Follow these steps to attach the sleeves:
- Before attaching the sleeves, double-check that you have the correct sleeve pieces and have distinguished the left and right sleeves if applicable.
- On the robe’s main body, measure equal distances from the shoulder seams to determine the placement of the sleeves.
- Pinning the sleeves at the shoulder seams, match the raw edges and distribute any gathers evenly.
- Sew along the pinned edges, securely attaching the sleeves to the robe. Use a straight stitch and backstitch at the beginning and end to reinforce the seams.
- Try on the robe to ensure that the sleeves are comfortable and properly attached. Make any adjustments if needed.
- Finish the raw edges of the sleeves by folding them over and sewing a straight stitch, or by using a serger or a zigzag stitch for a neater finish.
Adding sleeves to your Harry Potter robe can elevate its appearance and give it a more tailored look. Take your time to ensure that the sleeves are attached accurately and symmetrically. Once the sleeves are securely sewn, you can move on to the next step: attaching the collar.
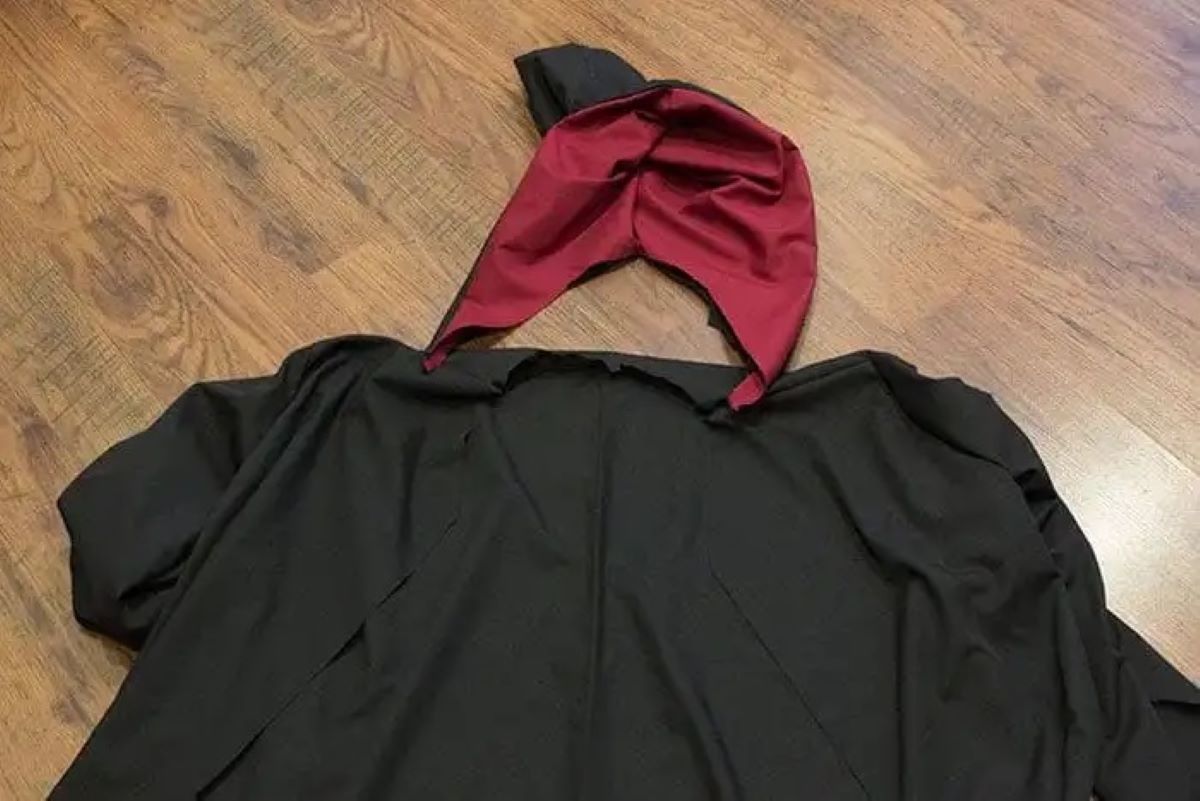
Step 5: Attaching the Collar
The collar of your Harry Potter robe adds another layer of authenticity to its design. Follow these steps to attach the collar:
- Begin by double-checking that you have the correct collar piece and that it matches the neckline of the robe.
- Place the collar piece on the robe, aligning the collar’s raw edges with the neckline. The right sides of the fabric should be facing each other.
- Pin the collar in place, ensuring that it is evenly distributed around the neckline and that everything is aligned.
- Sew along the pinned edges, attaching the collar to the robe. Use a straight stitch and backstitch at the beginning and end for added stability.
- Once the collar is sewn on, carefully trim any excess fabric or seam allowance to reduce bulk.
- Press the collar and the surrounding area to create a polished, finished look.
Attaching the collar is a pivotal step in bringing your Harry Potter robe to life. Take your time to ensure that the collar is positioned correctly and securely sewn. Once the collar is attached, you’re ready to move on to the next step: adding the finishing details.
Step 6: Adding Details
Adding details to your Harry Potter robe can truly elevate its authenticity and make it unique. Here are some ideas for adding those special touches:
- Embellishments: Consider adding patches, embroidery, or appliques that represent the different Hogwarts houses, the Hogwarts crest, or any other Harry Potter-related symbols or designs. Sew or iron them onto the robe in a visually pleasing arrangement.
- Trim and Accents: You can enhance the look of your robe by adding decorative trim along the sleeves, hemline, or collar. Choose trim that complements the fabric and gives it an extra touch of magic.
- Pockets: To make your robe more practical, you can sew in pockets. Choose a coordinating fabric for the pocket lining and carefully stitch them onto the robe’s sides.
- Buttons or Closures: If your robe has a front opening, consider adding buttons or other closures that match the aesthetic. Choose buttons that resemble those seen on Hogwarts robes or go for unique, magical-inspired closures.
- Personalization: Feel free to add your name, initials, or any other personalization to the robe. This will make it truly your own and add a personalized touch.
When adding details, ensure that they are securely attached and complement the overall design of the robe. Take your time to plan out the placement and arrangement of the details, ensuring they enhance the overall aesthetic. Once you have added the desired details, your robe is almost complete!
Step 7: Final Touches
Now that you have completed the main construction of your Harry Potter robe, it’s time to add the final touches to give it that extra touch of magic. Here are some final steps to complete your robe:
- Press and Steam: Use an iron or steamer to carefully press and steam your robe. This will help eliminate any wrinkles and give it a polished, professional look.
- Inspect and Reinforce: Take a close look at your robe and check for any loose threads or areas that may need reinforcing. Use a needle and thread to secure any loose stitches and ensure that your robe is sturdy and durable.
- Try it On: Put on your finished Harry Potter robe and ensure that it fits you comfortably and looks as you envisioned. Make any final adjustments if needed.
- Accessorize: To complete your Harry Potter look, consider adding accessories such as a wand, a tie representing your chosen Hogwarts house, or glasses to truly immerse yourself in the magical world.
Remember, the final touches are what truly bring your Harry Potter robe to life. Take your time and pay attention to the details to create a robe that captures the essence of the beloved series. Once you’re satisfied with the final touches, you’re ready to showcase your homemade Harry Potter robe!
Conclusion
Congratulations! You have successfully embarked on a magical journey to create your very own Harry Potter robe. By following the steps outlined in this guide, you have crafted a garment that reflects your love for the wizarding world and allows you to channel your inner wizard or witch.
From taking accurate measurements to cutting the fabric, sewing the robe, adding sleeves, attaching the collar, and adding those final enchanting details, each step was crucial in creating a truly authentic and personalized Harry Potter robe.
Remember, don’t be afraid to let your creativity shine by adding your own unique touches, such as special embellishments or personalized details. This will make your robe a one-of-a-kind masterpiece that showcases your passion for all things Harry Potter.
Whether you’re wearing your robe to a costume party, a Harry Potter-themed event, or simply embracing the magic in your day-to-day life, your handmade robe is sure to draw attention and make you feel like a part of the wizarding world.
So go ahead, don your robe, grab your wand, and immerse yourself in the enchanting world of Harry Potter. Let the magic unfold as you proudly wear your creation and embrace the spirit of adventure and imagination that the series has brought into our lives.
Remember, the power of a Harry Potter robe lies not only in its physical appearance but also in the memories and emotions it represents. Now, it’s time for you to step into your own magical story and create your own magical moments while wearing your very own Harry Potter robe.