Home>How-to Guides>For All>How To Make A Robe From Bath Towels

For All
How To Make A Robe From Bath Towels
Modified: August 24, 2023
Learn how to make a cozy robe from bath towels for all. Transform your towels into a stylish and comfortable garment with this easy tutorial.
(Many of the links in this article redirect to a specific reviewed product. Your purchase of these products through affiliate links helps to generate commission for Under-tec.com, at no extra cost. Learn more)
Table of Contents
Introduction
Welcome to the wonderful world of DIY crafts, where creativity and practicality merge to create unique and personalized creations. If you’re looking to add a touch of luxury and comfort to your loungewear collection, there’s no better project than making your own robe from bath towels. Not only is it a fun and rewarding experience, but it also allows you to customize your robe to suit your style and preferences.
In this guide, we’ll take you through the step-by-step process of creating your very own bath towel robe. Whether you’re a seasoned DIY enthusiast or a beginner looking to embark on your first sewing project, this tutorial will provide you with all the guidance you need.
Creating a robe from bath towels not only saves you money compared to purchasing a ready-made one, but it also gives you the freedom to choose the colors, patterns, and fabric quality that you desire. Plus, there’s something special about wearing a robe that you personally crafted, infused with your own unique style.
So, gather your materials and get ready to dive into this exciting DIY adventure. By the end of this tutorial, you’ll be wrapped in your very own soft and cozy bath towel robe, ready to indulge in moments of relaxation and comfort.
Materials Needed
Before you begin your bath towel robe project, it’s important to gather all the necessary materials. Here’s what you’ll need:
- Two large bath towels – Choose towels that are soft, absorbent, and of a size that will fit comfortably around your body.
- Matching thread – Opt for a thread color that complements the color of your bath towels.
- Sewing machine – A sewing machine will make the sewing process faster and more efficient, but you can also sew by hand if you prefer.
- Sewing pins – These will come in handy for holding the fabric in place while sewing.
- Fabric scissors – Make sure you have a sharp pair of scissors for cutting the towels.
- Measuring tape – You’ll need a measuring tape to ensure accurate measurements throughout the construction process.
- Elastic band – This will be used to create the waistband of the robe for a snug fit.
- Ribbon or fabric for the belt – Choose a ribbon or fabric that matches the style and color of your robe.
- Iron and ironing board – Ironing the fabric will help create crisp and neat edges.
- Optional: Decorative trims or embellishments – If you want to add a personal touch to your robe, consider adding decorative trims or embellishments like lace, ribbons, or appliques.
Make sure you have all these materials ready before you begin your robe-making journey. Having everything prepared in advance will ensure a smooth and hassle-free construction process.
Step 1: Gathering the Bath Towels
The first step in creating your bath towel robe is gathering the bath towels you will be using. Choose two large bath towels that are soft, absorbent, and of a size that will fit comfortably around your body.
Consider the color and pattern of the towels to ensure they match your personal style and preferences. Whether you prefer bold and vibrant colors or elegant and muted tones, selecting towels that align with your aesthetic will enhance your enjoyment of the final product.
It’s important to note that the quality of the towels can greatly impact the comfort and longevity of your robe. Look for towels made from high-quality materials with a good thread count. This will ensure durability and a plush feel against your skin.
If you’re looking for extra warmth, you can choose towels that have a terry cloth texture or a thicker fabric. However, keep in mind that this may affect the ease of sewing and movement when wearing the robe.
Once you have selected your bath towels, give them a good wash and dry them thoroughly. This will not only ensure cleanliness but also remove any excess lint or fibers that may interfere with the sewing process.
By carefully selecting and preparing your bath towels, you’re now ready to move on to the next step of turning them into a fabulous robe.
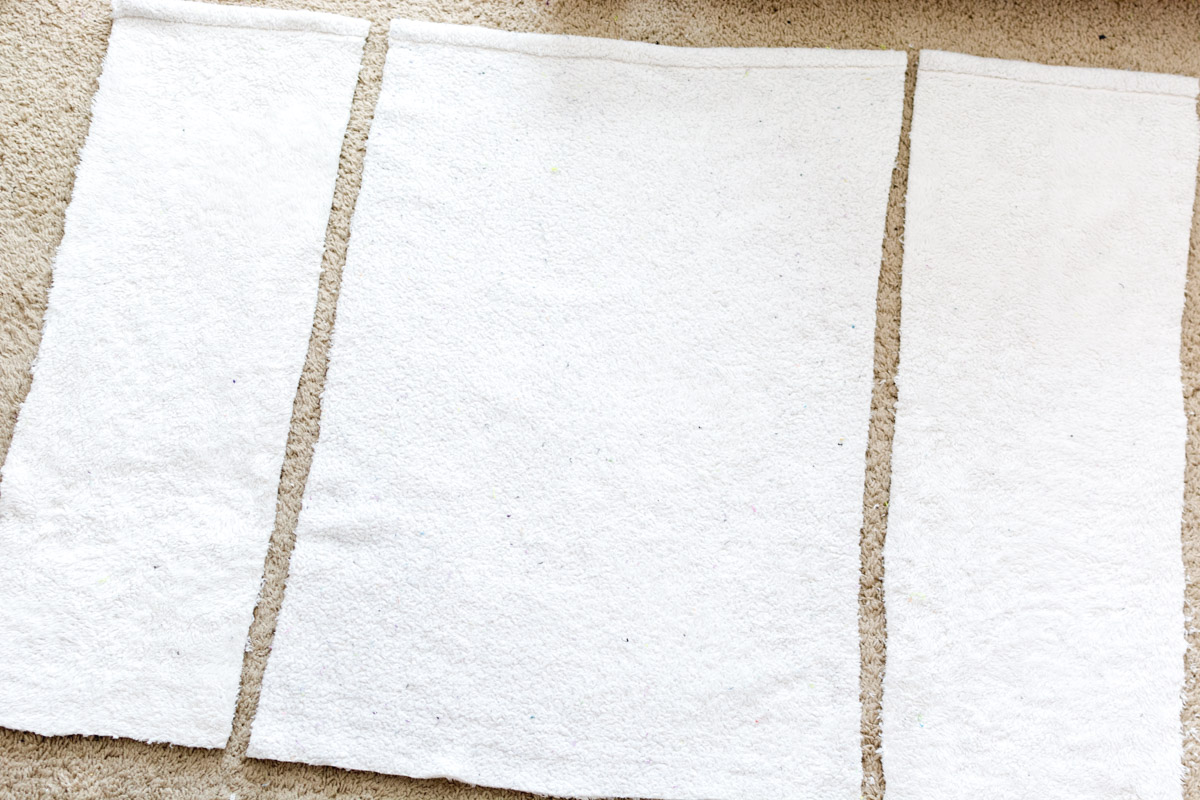
Step 2: Cutting the Towels
Now that you have gathered your bath towels, it’s time to start transforming them into the components of your robe. In this step, you will be cutting the towels to create the main body and sleeves of the robe.
Begin by laying one of the bath towels flat on a clean, spacious surface. Smooth out any wrinkles or folds to ensure accurate measurements.
Measure and mark the desired length of your robe. Typically, a robe falls just below the knee, but you can adjust the length to your preference. Use a measuring tape and make a small mark at the desired length.
Next, measure and mark the width of the robe. This measurement will depend on how loose or fitted you want your robe to be. For a loose and comfortable fit, add a few inches to your actual body measurements. Keep in mind that you will be sewing the sides together, so the width will be halved when the robe is constructed.
Using fabric scissors, carefully cut along the marked line to create the main body of the robe. Make sure the cut is straight and even to ensure a neat finished product.
Now, it’s time to create the sleeves. Fold the remaining bath towel in half lengthwise, with the shorter ends aligned. Again, smooth out any wrinkles to ensure accurate measurements.
Measure and mark the width of the sleeve. The width can vary based on personal preference, but a length of around 24-26 inches is common. This measurement will determine how wide the sleeves will be when sewn. Cut along the marked line to create two identical sleeve pieces.
At this stage, you should have the main body and sleeves of your robe cut from the bath towels. Set aside the sleeve pieces for now, as we’ll focus on sewing the main body together in the next step.
Step 3: Sewing the Pieces Together
Now that you have cut the bath towels into the main body and sleeves of your robe, it’s time to sew the pieces together to create the base of your cozy loungewear.
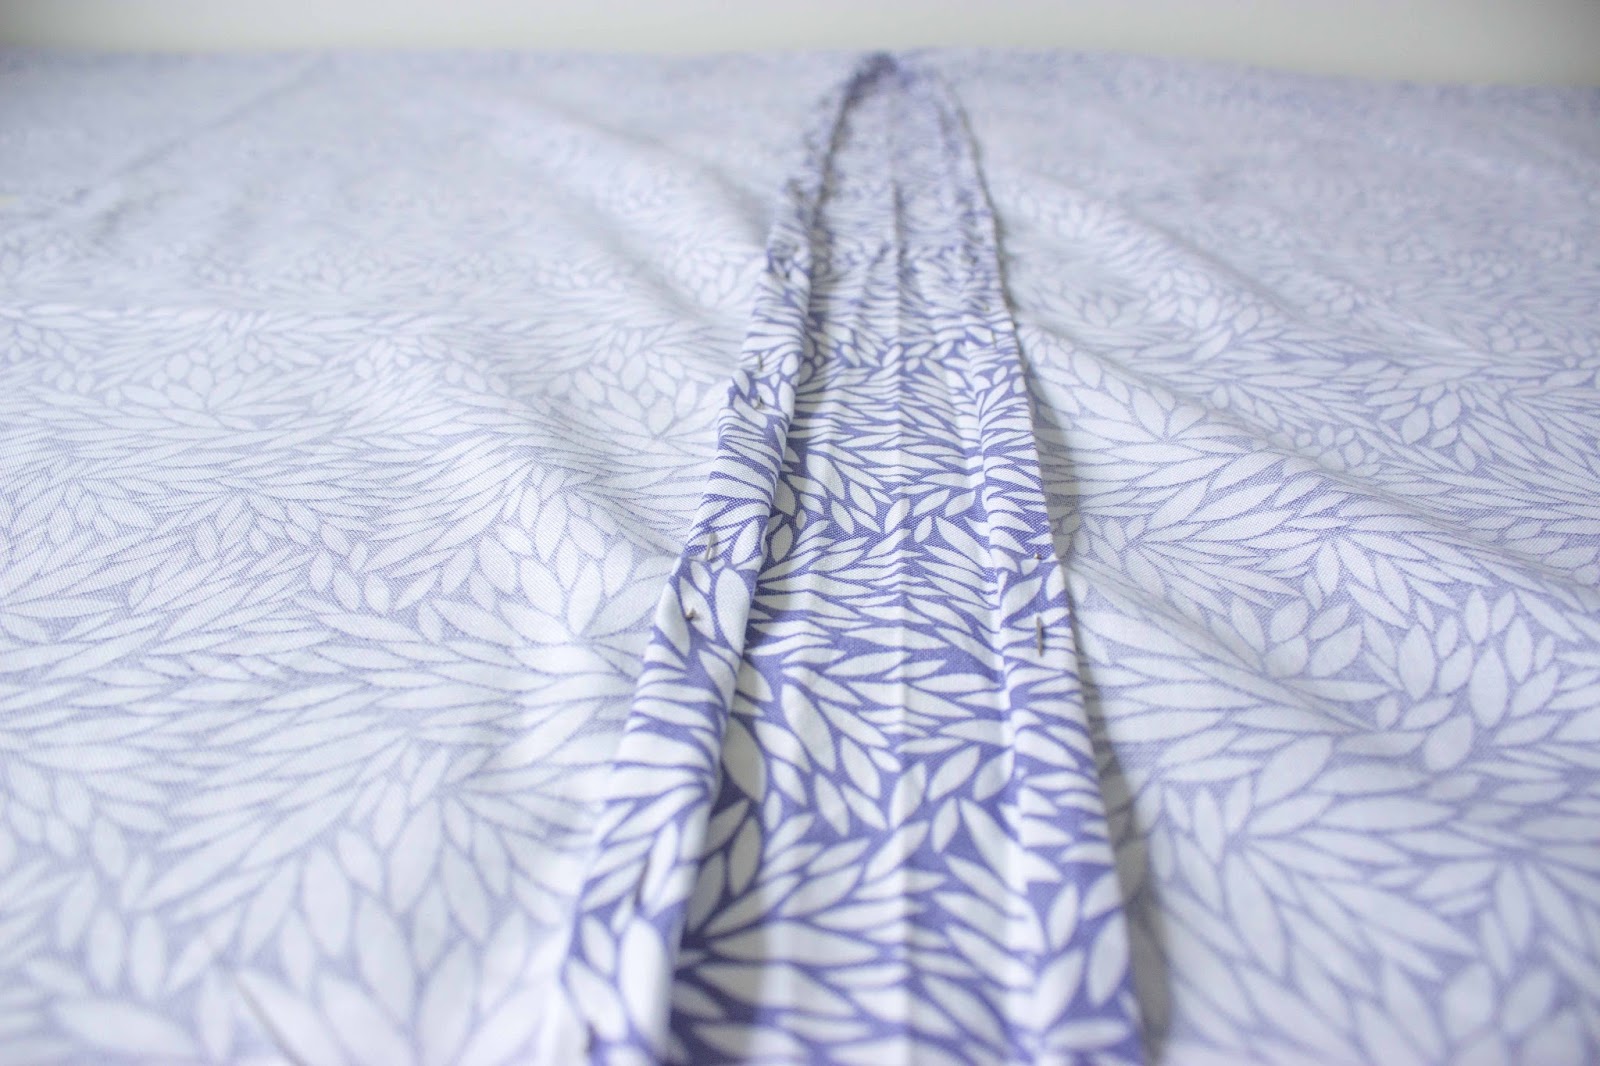
Start by folding the main body of the robe in half lengthwise, with the right sides of the fabric facing each other. Align the edges and pin them in place to secure the fabric for sewing.
Using a sewing machine or a needle and thread, sew along the pinned edges. Make sure to leave an opening of a few inches at the top of the robe for the neckline.
If using a sewing machine, stitch along the edges with a straight stitch, backstitching at the beginning and end to reinforce the seams. If sewing by hand, use a sturdy backstitch to securely join the fabric together.
Once you have sewn the sides together, turn the robe right side out through the opening you left for the neckline. Use your fingers or a blunt object to gently push out the corners and ensure the edges are crisp and neat.
Now, it’s time to attach the sleeves to the robe. Lay the robe flat, with the seams of the main body facing up and the sleeves positioned on the side edges of the robe.
Align the straight edges of the sleeves with the armholes of the robe, ensuring the right sides of the fabric are facing each other. Pin the sleeves in place, making sure they are evenly distributed and centered.
Starting at the armpit area, sew along the pinned edges to attach the sleeves to the robe. Use a straight stitch and backstitch at the beginning and end to secure the seams. Repeat the process for the other sleeve.
Once the sleeves are attached, turn the robe inside out again to work on the neckline. Fold the raw edge of the fabric towards the inside by approximately half an inch and press with an iron to create a clean edge.
You can choose to finish the neckline by either stitching it down with a straight stitch or adding a bias tape for a more polished look. If using a bias tape, pin it along the folded edge of the neckline and sew it in place.
Now that the pieces are sewn together, turn the robe right side out and marvel at the progress you’ve made. Your robe is starting to take shape!
Step 4: Adding the Belt
A robe wouldn’t be complete without a belt to cinch and secure it around your waist. In this step, we’ll guide you through adding a belt to your homemade bath towel robe.
First, measure around your waist to determine the length of the belt. Add a few extra inches to allow for tying the belt comfortably. Keep in mind that the width of the belt is also a matter of personal preference.
Next, cut a strip of fabric or a ribbon to the desired length and width for your belt. If using fabric, you may choose to create a self-fabric belt by cutting a long and narrow strip from one of the bath towels.
To add a professional touch to the belt, fold the raw edges of the fabric towards the center and press with an iron. Then, fold the strip in half lengthwise and press again, creating a neat edge.
Now, it’s time to attach the belt to your robe. Find the center of the back of the robe and place the center of the belt at that point. Make sure the belt is straight and aligned with the back seam of the robe.
Pin the belt in place, ensuring that the ends of the belt are even with the bottom hem of the robe. Sew the belt securely to the robe, either by stitching it directly onto the fabric or by creating belt loops on the sides of the robe to thread the belt through.
If you’ve chosen to create belt loops, measure and mark the positions on each side of the robe. Cut small strips of fabric or ribbon, fold them in half, and sew them to the robe at the marked positions, ensuring they are wide enough to fit the belt through.
Once the belt is attached, give it a test by tying it around your waist. Adjust the position and tightness of the belt to your liking. Now, your bath towel robe not only looks great but also fits securely and comfortably.
Adding the belt is the final touch that brings the robe together, giving it a polished and finished appearance. It’s time to move on to the last step, where we add the finishing touches to your homemade creation.
Step 5: Adding the Finishing Touches
Congratulations! You’re in the final stretch of creating your very own bath towel robe. In this step, we’ll focus on adding the finishing touches to elevate the look and feel of your handmade creation.
If desired, you can add decorative trims or embellishments to enhance the aesthetic appeal of your robe. Consider options such as lace, ribbons, or appliques that match the style and color of your robe. Attach these embellishments along the edges of the sleeves, neckline, or even along the hemline to add a touch of personality to your robe.
To attach the decorative trims or embellishments, use a sewing machine or hand stitch them in place. Ensure that they are securely fastened to withstand regular wear and washing.
Additionally, you may wish to customize your robe further by adding pockets. Pockets can be practical for holding small items, such as your phone, keys, or a tissue. To add pockets, simply cut fabric pieces in the desired shape and size, fold the edges under to create clean edges, and stitch them onto the front of the robe near the waistline.
Once you have finished adding any optional decorative elements, give your robe a final press with an iron. This will smooth out any wrinkles and creases, giving it a polished and professional appearance.
Now, take a moment to try on your bath towel robe. Adjust the fit and make any final modifications if necessary. This is your chance to make sure the robe feels comfortable and fits you perfectly.
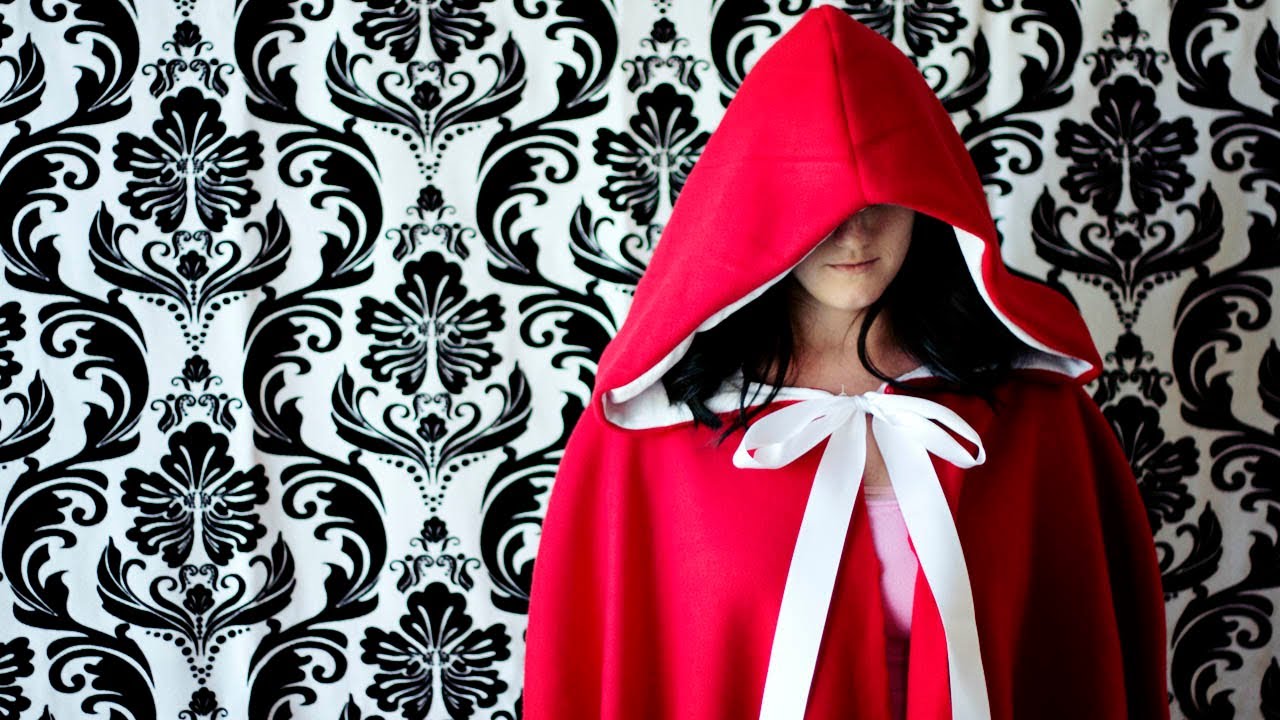
With the finishing touches complete, you now have a delightful, handmade bath towel robe that reflects your personal style and creativity. It’s time to enjoy the ultimate comfort and relaxation as you lounge in your newly crafted loungewear masterpiece.
Remember, making your own robe from bath towels not only allows you to express your individuality but also saves you money compared to purchasing one from a store. The satisfaction and pride in creating something with your own hands are unmatched.
So, go ahead, slip into your cozy robe, and revel in the joy of your DIY accomplishment. You deserve it!
Conclusion
Creating your own bath towel robe is a rewarding and enjoyable DIY project that allows you to express your creativity while adding a touch of luxury to your loungewear collection. With just a few simple steps, you can transform ordinary bath towels into a personalized robe that fits your style and preferences.
Throughout this guide, we’ve walked you through the process of gathering the materials, cutting the towels, sewing the pieces together, adding the belt, and finishing off with any optional decorative touches. By following these steps, you’ve successfully crafted a unique and comfortable bath towel robe.
Making your own robe offers several advantages. Not only does it give you the freedom to choose the colors, patterns, and fabric quality that suit your taste, but it also saves you money compared to purchasing a ready-made robe. Plus, there’s a special satisfaction in wearing something that you’ve personally crafted.
Remember to have fun during the creation process and don’t be afraid to add your own personal flair, whether it’s through decorative trims, pockets, or other embellishments. The possibilities are endless, and the result will be a one-of-a-kind piece that reflects your style and personality.
So, gather your materials, sharpen your scissors, and let your creativity flow as you embark on the wonderful journey of making your own bath towel robe. Snuggle up in the comfort and elegance of your homemade creation, and embrace the sense of accomplishment that comes with crafting something with your own hands.
Enjoy the relaxation and comfort that your new bath towel robe brings and relish in the knowledge that you have the skills and creativity to create beautiful and practical items. Keep exploring the world of DIY crafts and let your imagination guide you to even more exciting projects in the future.