Home>How-to Guides>For All>How To Make A Buddhist Robe
For All
How To Make A Buddhist Robe
Modified: July 30, 2023
Discover the step-by-step process of creating a Buddhist robe for all practitioners. Explore the traditional techniques and sacred symbolism behind this sacred attire.
(Many of the links in this article redirect to a specific reviewed product. Your purchase of these products through affiliate links helps to generate commission for Under-tec.com, at no extra cost. Learn more)
Table of Contents
Introduction
Welcome to the world of Buddhism, where simplicity and mindfulness are valued. One of the iconic symbols of Buddhist practitioners is the traditional robe, also known as a “kāṣāya” or “kesa.” These robes represent humility, detachment from worldly possessions, and dedication to the spiritual path. Making your own Buddhist robe can be a deeply fulfilling and meditative experience, connecting you to the ancient traditions of the religion while also expressing your creativity.
In this article, we will guide you through the process of making a Buddhist robe. Whether you are a devoted practitioner or simply curious about Buddhism, this project can offer a unique opportunity to engage with the teachings of the Buddha and cultivate a deeper understanding of the Buddhist way of life. By following these steps and using the right materials, you can create a beautiful and meaningful garment that reflects the essence of Buddhism.
Before we begin, it’s essential to remember that making a Buddhist robe is not just a matter of fashion or design. It is a spiritual practice in itself, requiring mindfulness, attentiveness, and respect. As you embark on this journey, approach the process with a humble and open heart, allowing the garment to become a physical manifestation of your commitment to the teachings of the Buddha.
Now, let’s gather the materials you will need for this special project.
Materials Needed
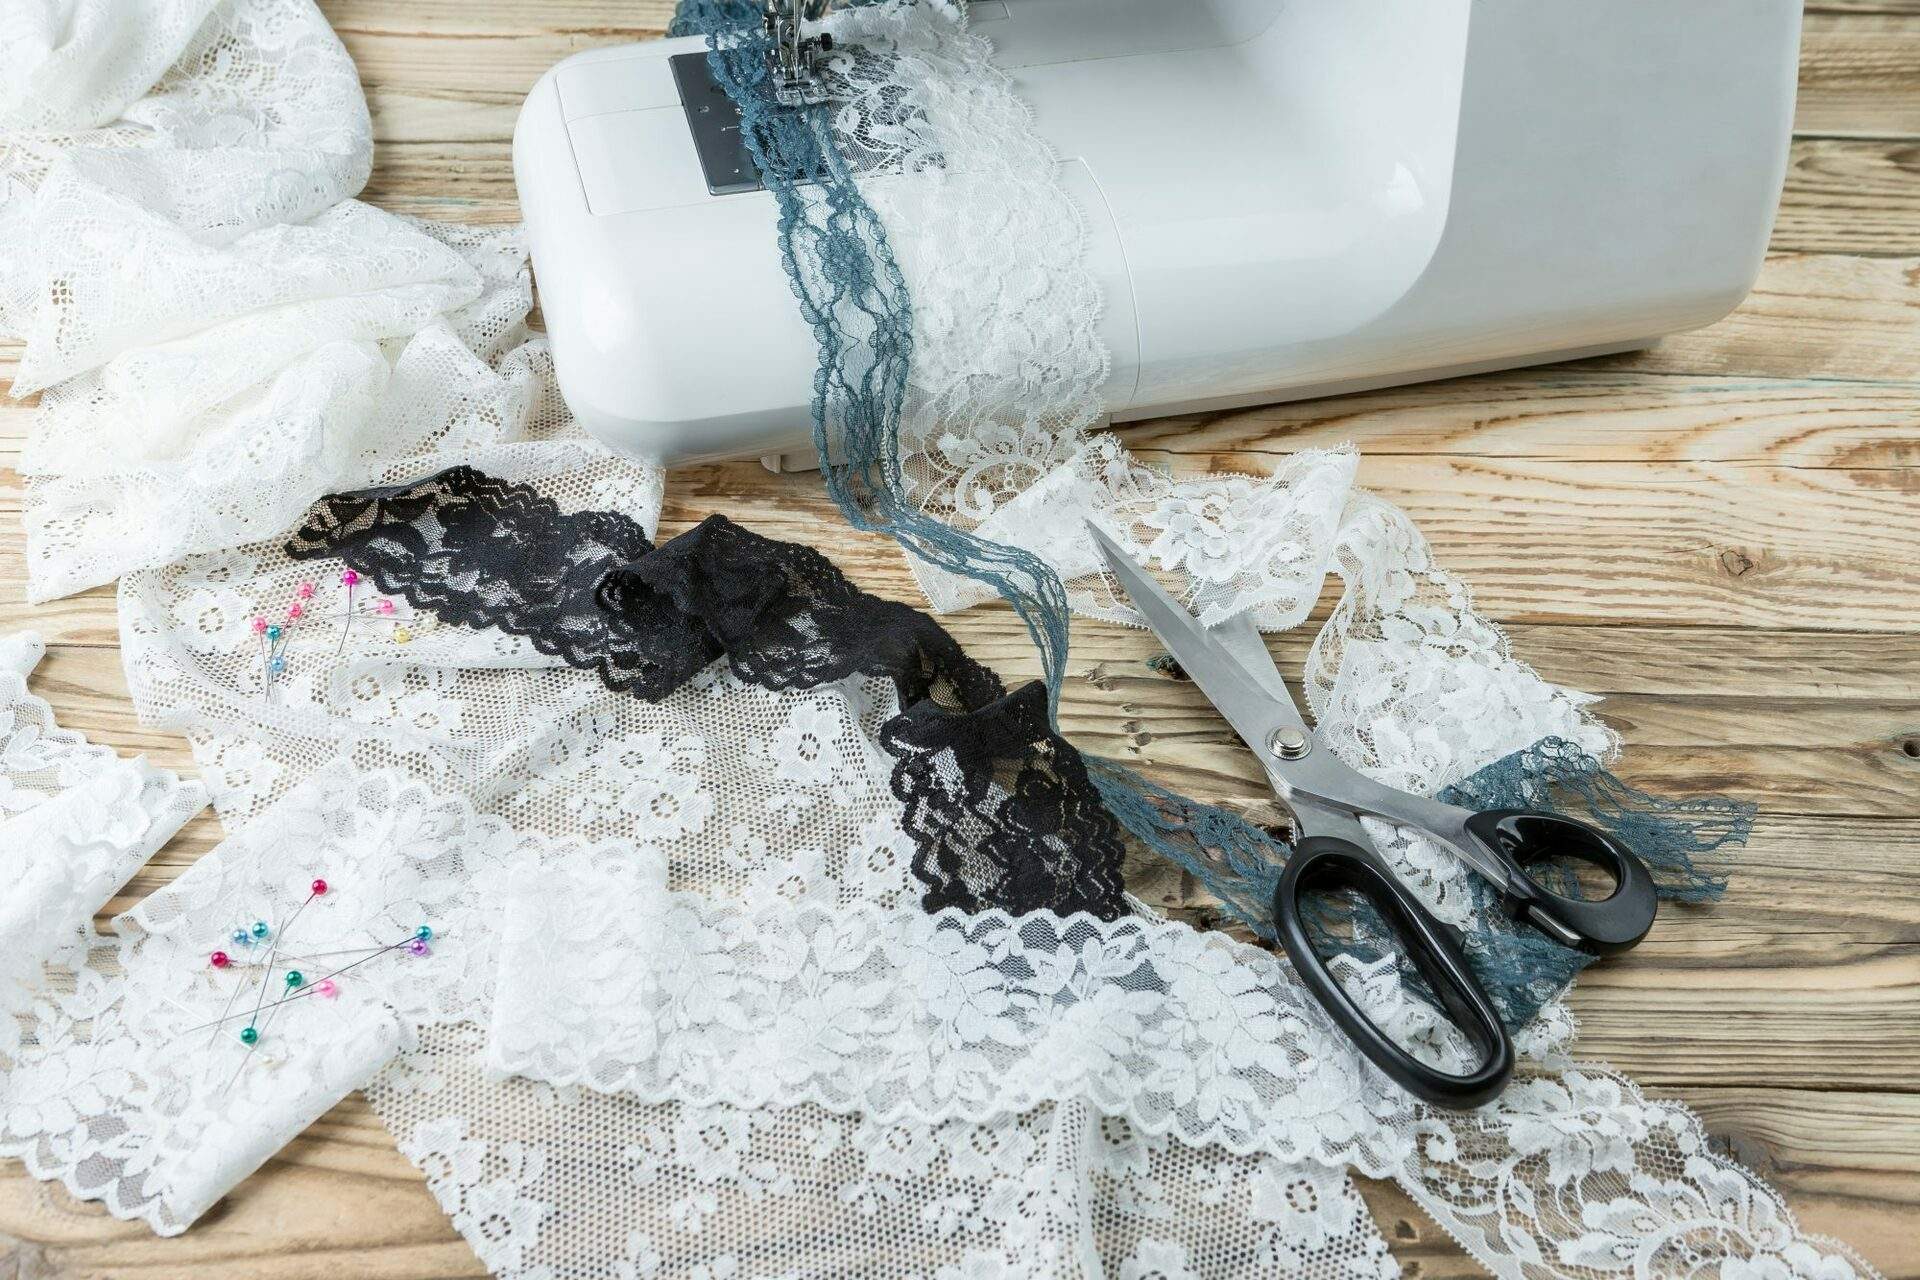
Before you begin making a Buddhist robe, it’s important to gather all the necessary materials. Here’s a list of items you’ll need for this project:
- Fabric: Choose a high-quality, breathable fabric that is appropriate for robes, such as cotton or linen. The amount of fabric required will depend on your measurements, so it’s best to consult a pattern or guide for the specific dimensions.
- Measuring Tape: This will be used to take accurate measurements of your body.
- Scissors: Invest in a good pair of fabric scissors to ensure clean and precise cuts.
- Thread: Select thread that matches the color of your fabric to create seamless stitching.
- Pins: These will be helpful for holding fabric pieces together during the sewing process.
- Needles: Have a variety of hand sewing needles on hand for different tasks, such as hemming and attaching details.
- Sewing Machine (optional): If you have access to a sewing machine, it can speed up the process.
- Iron: A steam iron will be essential for pressing and creating crisp seams.
- Marking Tool: This can be a washable fabric pen or tailor’s chalk for marking measurements and sewing lines on the fabric.
- Pattern or Guide: Having a pattern or step-by-step guide will be invaluable for understanding the construction of the robe and ensuring accurate measurements.
These materials will provide you with the foundation you need to create a beautiful and authentic Buddhist robe. Once you have everything prepared, you can move on to the next step: choosing the fabric.
Step 1: Choosing the Fabric
When it comes to selecting the fabric for your Buddhist robe, it’s important to prioritize comfort, breathability, and durability. Traditional Buddhist robes are typically made from natural fibers such as cotton or linen, which offer a lightweight and breathable option for practitioners.
Consider the following factors when choosing your fabric:
- Weight: Opt for a fabric that is lightweight and drapes well. Heavy fabrics can be uncomfortable to wear and restrict movement.
- Color: Buddhist robes are often in shades of deep maroon, brown, or gray. However, you can also choose other colors that resonate with your personal preferences or the traditions of your particular Buddhist lineage.
- Weave: Look for a fabric with a tight weave to ensure durability and longevity. Avoid fabrics that are too sheer or prone to snags.
- Maintenance: Consider the fabric’s care instructions. Robes should be easy to wash and require low maintenance since they need to be cleaned frequently.
If you have access to a local fabric store, visit it! This will enable you to physically examine the materials, feel their texture, and better visualize how they will look as a finished robe.
Alternatively, you can also shop for fabric online. Many online fabric retailers provide detailed descriptions, close-up photos, and customer reviews to assist you in making a more informed decision. Remember to order swatches if available, so you can assess the color and texture of the fabric in person.
Once you have decided on the fabric, ensure you purchase enough material to accommodate your measurements and any additional design elements you may want to incorporate. It’s always better to have extra fabric than to run out during the sewing process.
With your fabric chosen, you are ready to embark on the next step: taking measurements for your Buddhist robe.
Step 2: Taking Measurements
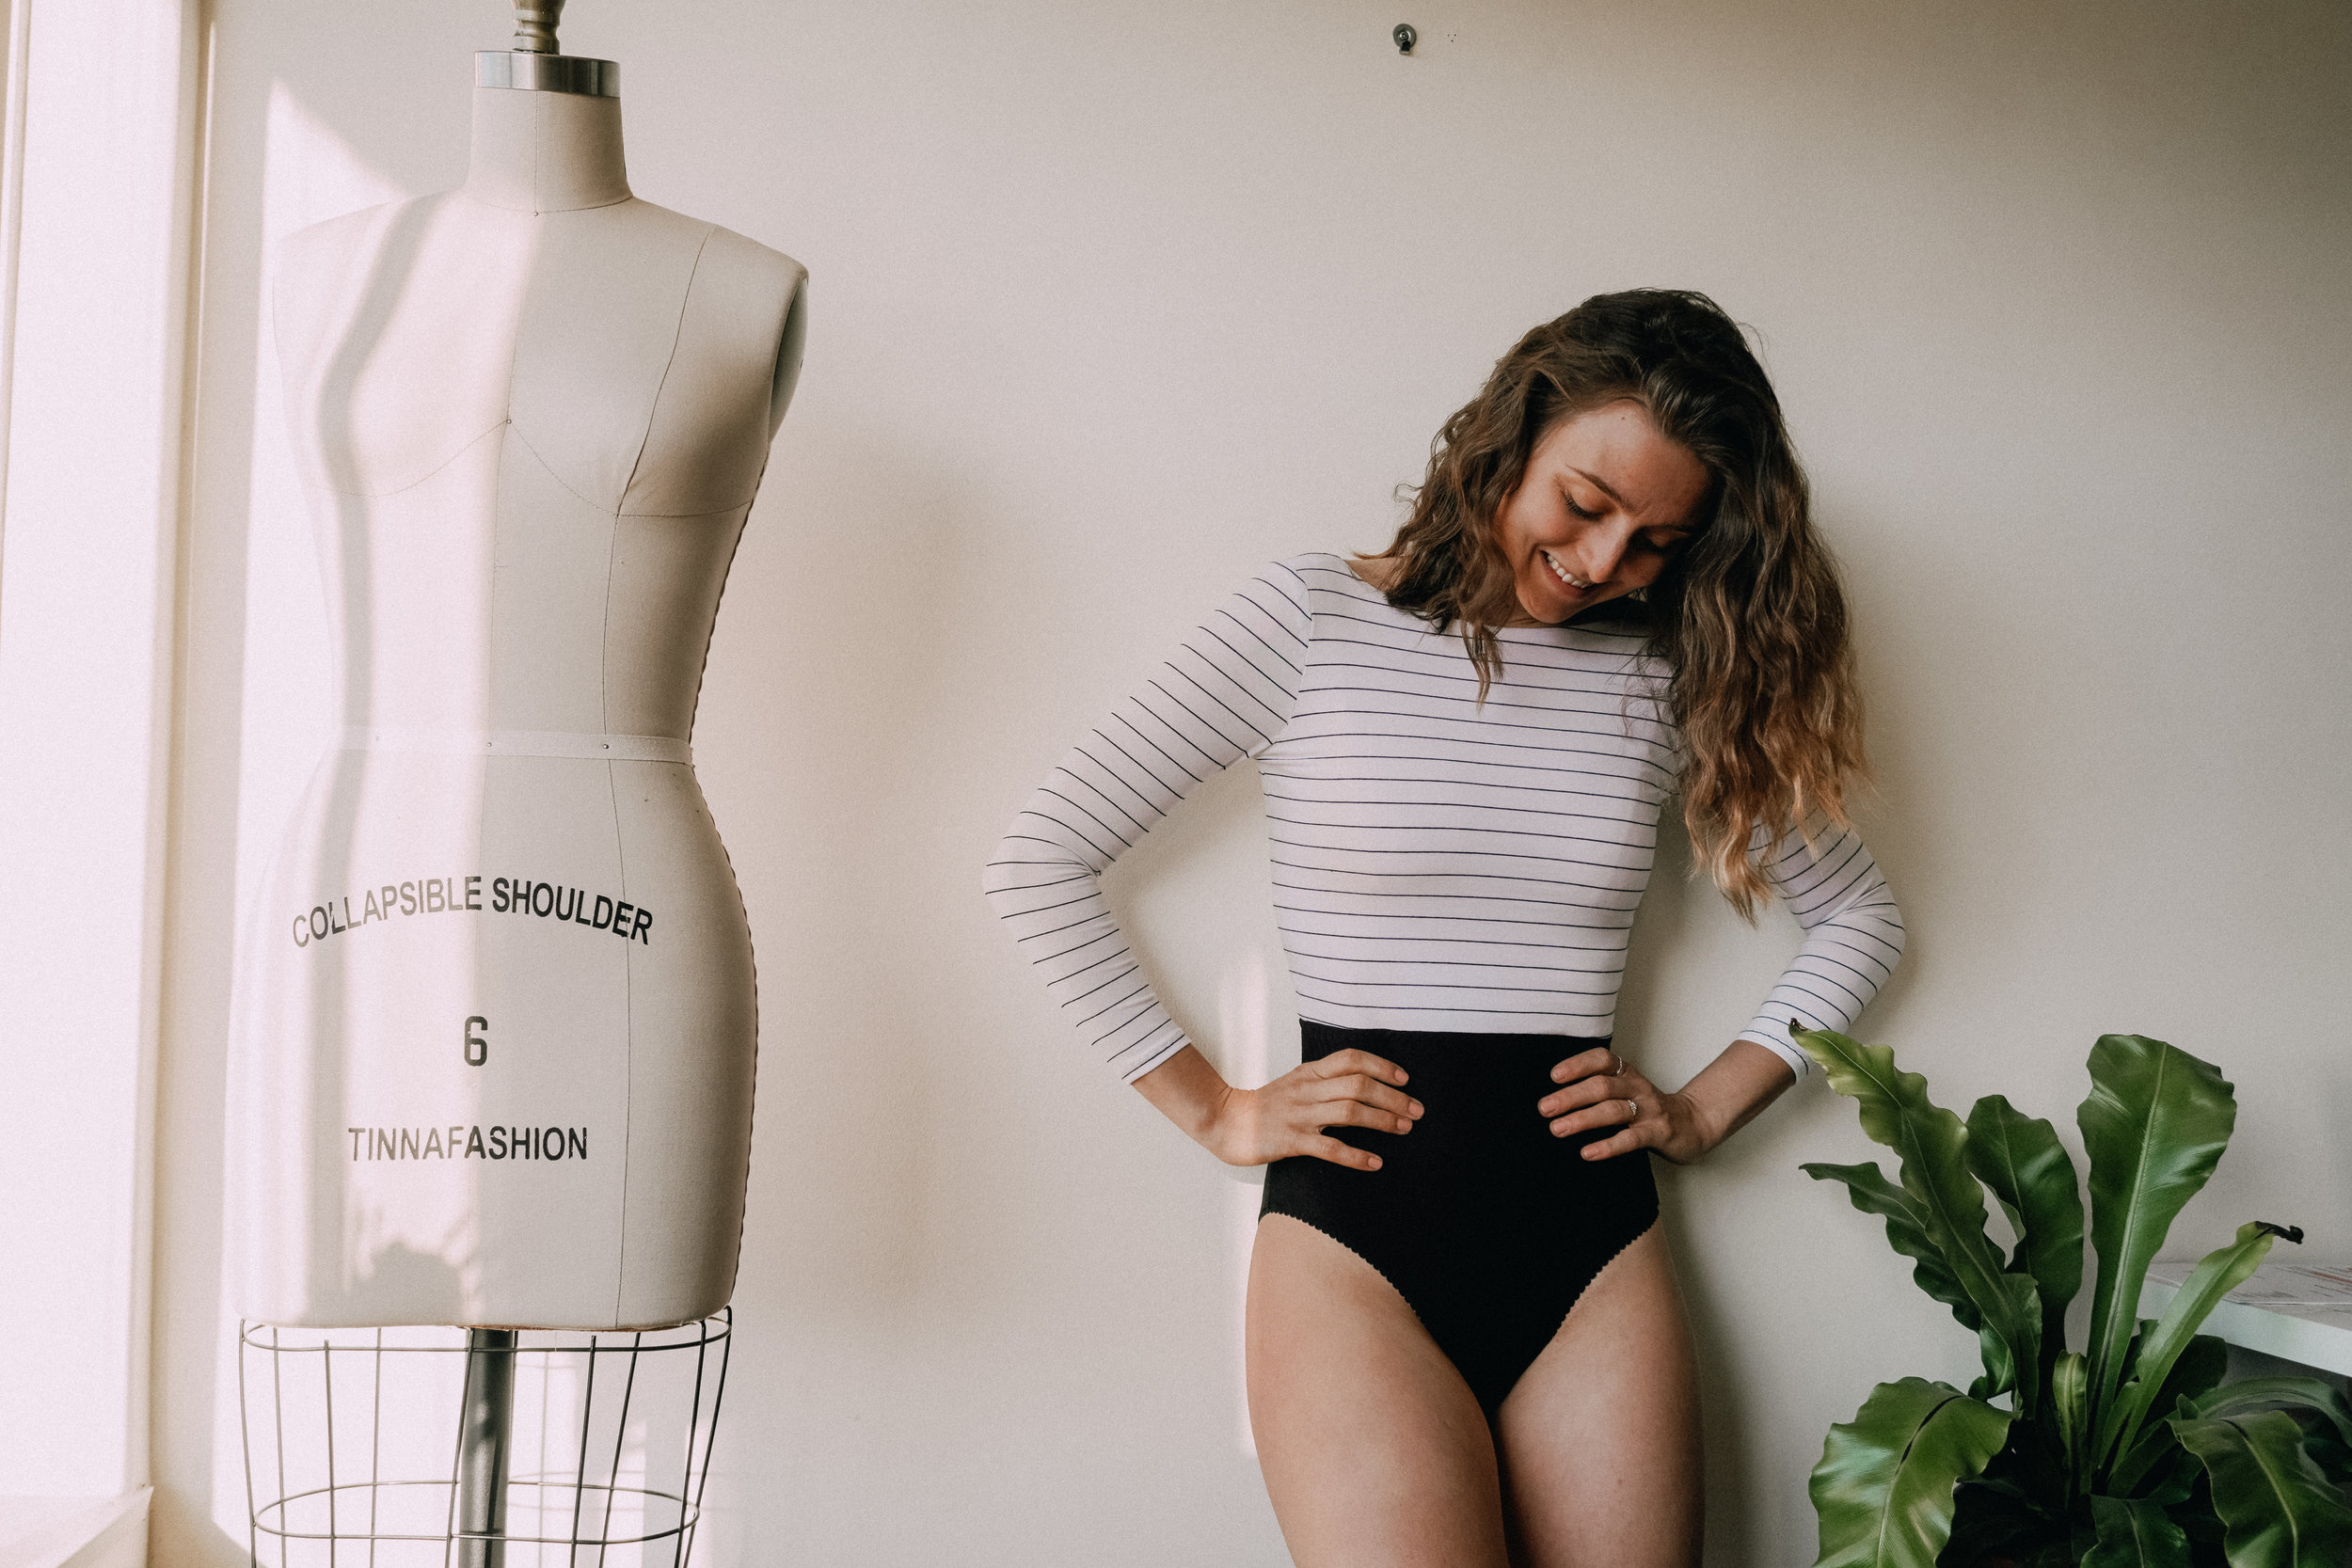
Accurate measurements are crucial when creating a well-fitted Buddhist robe. Taking accurate measurements will help ensure that the final garment fits comfortably and flatters your body shape. Follow these steps to take precise measurements:
- Chest: Place the measuring tape under your armpits and around the fullest part of your chest. Keep the tape parallel to the floor and ensure it is snug but not tight.
- Shoulder Width: Measure from the tip of one shoulder to the tip of the other, across your upper back.
- Arm Length: Measure from the point where your shoulder meets your arm to your wrist. For a full-length robe, the measurement should reach your wrist bone.
- Robe Length: Decide on the desired length of your robe. Measure from your shoulder down to the desired hemline, whether it’s ankle-length or a different length that is meaningful to you.
- Bust: Measure around the fullest part of your bust, ensuring that the tape is parallel to the floor and snug but not tight.
- Waist: Measure around the narrowest part of your waist, typically located above the belly button and below the ribcage. Keep the measuring tape parallel to the floor and comfortable but not overly tight.
- Hip: Measure around the widest part of your hips, ensuring the tape is parallel to the floor and not too tight.
Remember to stand up straight, relax your shoulders, and breathe normally while taking measurements to get the most accurate results. Consider enlisting the help of a friend or family member to assist in measuring, as this can lead to more precise and consistent results.
Don’t worry if your measurements fall between sizes or differ from standard measurements. The beauty of making your own Buddhist robe is the ability to customize it to fit your unique body shape and preferences.
Once you have obtained your measurements, you can move on to the next step: cutting the fabric for your robe.
Step 3: Cutting the Fabric
Now that you have your measurements, it’s time to cut the fabric for your Buddhist robe. This step is crucial in creating the foundation for your garment, so take your time and work with precision. Follow these steps to ensure accurate cutting:
- Prepare your fabric: Lay out your fabric on a large, clean, and flat surface. If there are any wrinkles, use an iron to gently press them out, ensuring the fabric is smooth and flat.
- Refer to your pattern or guide: If you are using a pattern or guide for your robe, carefully follow the instructions regarding the placement of the pattern pieces on the fabric. Pay close attention to the grainline indicated on the pattern to ensure the fabric drapes properly.
- Mark the fabric: Use a washable fabric pen or tailor’s chalk to mark the outline of the pattern onto the fabric. Follow the measurements you took earlier, marking the appropriate lengths and widths for the different pieces of the robe.
- Cut the fabric: Using sharp fabric scissors, carefully cut along the marked lines. Take your time to ensure clean and precise cuts, as these will impact the overall appearance and fit of the robe.
- Organize the fabric pieces: As you cut each piece, separate and organize them to avoid confusion during the sewing process. Use small labels or pins to indicate which piece is which, especially if there are similar shapes or sizes.
It’s essential to double-check your measurements and the accuracy of your cuts before moving on to the next step. Taking your time during this step will help ensure that your Buddhist robe turns out well-fitted and visually appealing.
With the fabric cut and prepared, you are now ready to proceed to the next step: sewing the main pieces of your robe.
Step 4: Sewing the Main Pieces
Now that you have cut the fabric for your Buddhist robe, it’s time to sew the main pieces together. This step will bring your robe to life and transform the individual fabric pieces into a cohesive garment. Follow these steps to sew the main pieces:
- Refer to your pattern or guide: If you are using a pattern or guide, carefully follow the instructions for sewing the main pieces together. Pay attention to any specific stitching techniques or seam allowances indicated in the instructions.
- Join the shoulder seams: Place the front and back pieces of the robe together, right sides facing each other. Pin and sew along the shoulder seams, using a straight stitch or a stitching method recommended by your pattern or guide.
- Join the side seams: With the shoulder seams sewn, pin and sew the side seams of the robe, ensuring that the right sides of the fabric are facing each other. This will create the basic shape of the robe.
- Finish the seams: Consider finishing the raw edges of the fabric to prevent fraying. You can do this by using a serger, pinking shears, or a zigzag stitch on a regular sewing machine. Alternatively, you can sew French seams for a neat and clean finish.
- Press the seams: After sewing, use an iron to press the seams open or to one side. This will create a crisp and professional-looking finish.
Throughout this process, it’s important to maintain careful attention to detail and accuracy. Take your time when pinning, sewing, and pressing the fabric to ensure that the seams are straight and the edges align properly.
If you are new to sewing or feel unsure about the techniques involved, consider seeking guidance from a more experienced sewer or consulting online sewing resources for additional tips and visual tutorials.
Once you have sewn the main pieces of your robe together, you’re ready to move on to the next step: sewing the sleeves.
Step 5: Sewing the Sleeves
Sewing the sleeves is an important step in creating a well-fitted and comfortable Buddhist robe. Follow these steps to sew the sleeves onto the main body of your robe:
- Prepare the sleeves: Make sure you have the fabric pieces cut for the sleeves as indicated in your pattern or guide. If necessary, finish the raw edges of the sleeves using a serger, pinking shears, or zigzag stitch.
- Pin the sleeves: With the right sides of the fabric facing each other, align the edges of the sleeve with the armhole of the main body of the robe. Pin the sleeve in place, easing any excess fabric as needed to create a smooth and even fit.
- Sew the sleeves: Using a straight stitch or the recommended stitching method, sew along the pinned edges of the sleeve, attaching it to the body of the robe. Start at the underarm seam and sew towards the shoulder, ensuring that the sleeve is securely attached and that there are no puckers or gathers along the seam.
- Finish the seams: After sewing, finish the raw edges of the sleeve seam using the same method you used for the main body seams. This will help prevent fraying and give your robe a professional finish.
- Press the seams: Use an iron to press the sleeve seams, either towards the body of the robe or open, depending on the instructions provided in your pattern or guide. Pressing will give your sleeves a clean and polished look.
Pay attention to alignment and smoothness as you pin and sew the sleeves. It’s important to create a seamless integration between the sleeves and the main body of the robe for a comfortable fit.
If you prefer a more relaxed and flowing style, you can choose to leave space between the sleeve and the body of the robe by sewing a smaller portion of the armhole, or by incorporating a gusset or panel. This will provide flexibility and ease of movement.
Once you have sewn the sleeves, you can proceed to the next step: adding the collar to your Buddhist robe.
Step 6: Adding the Collar
The collar is an essential component of a Buddhist robe, providing structure and framing the face. Here’s how to add a collar to your robe:
- Prepare the collar pieces: Cut out the fabric pieces for the collar according to the measurements and shape indicated in your pattern or guide. If necessary, finish the raw edges of the collar using a serger, pinking shears, or zigzag stitch.
- Pin the collar: Place the collar pieces on the neckline of the robe, with the right sides of the fabric facing each other. Make sure the collar aligns evenly around the neckline, and pin it in place, starting from the center back and working your way around.
- Sew the collar: Using a straight stitch or the recommended stitching method, sew along the pinned edges of the collar, attaching it to the robe neckline. Take care to sew close to the edge to create a clean finish.
- Finish the collar seams: After sewing, finish the raw edges of the collar seam to prevent fraying. You can use a serger, pinking shears, or a zigzag stitch.
- Press the collar: Use an iron to press the collar, either towards the body of the robe or away from it, depending on the desired appearance and the instructions in your pattern or guide. Pressing will give your collar a crisp and professional look.
When adding the collar, make sure it lies flat and follows the curve of the neckline smoothly. Avoid stretching or pulling the fabric during sewing, as this can distort the shape of the collar.
If you prefer a more decorative or elaborate collar, you can experiment with different designs and techniques, such as adding pleats, trimmings, or embroidered details. Let your creativity guide you while staying faithful to the essence of the Buddhist robe.
Once you have added the collar, you are ready to move on to the next step: hemming the robe.
Step 7: Hemming the Robe
The hem of a Buddhist robe adds the finishing touch to the garment, giving it a polished and neat appearance. Follow these steps to hem your robe:
- Prepare the hem: Fold and press the raw edge of the fabric towards the inside of the robe. The width of the hem will depend on your personal preference or the instructions provided in your pattern or guide.
- Pin the hem: Once the edge is pressed, pin the hem in place to secure it. Make sure the fabric is smooth and the hem is even all around the bottom edge of the robe.
- Sew the hem: Using a straight stitch or a blind hem stitch, sew along the folded edge of the hem, ensuring that the stitches are as invisible as possible from the outside of the robe. Take your time to maintain a straight and consistent stitch line.
- Finish the hem: Trim any excess fabric or threads and finish the raw edges of the hem, depending on your preferred method. This step will prevent fraying and add durability to your robe.
- Press the hem: After sewing, carefully press the hem with an iron, using steam if necessary, to create a crisp and clean edge. This will enhance the overall appearance and give your robe a professional finish.
As you hem the robe, pay attention to the consistency of the width and the overall symmetry of the garment. It’s important to maintain a straight and even hemline to achieve a polished look.
Adding a decorative touch to the hem is optional but can enhance the aesthetic appeal of your robe. You can consider sewing a contrasting fabric trim or adding traditional Buddhist symbols or motifs using embroidery or fabric painting techniques.
With the hem complete, you are ready to move on to the next step: adding any extra details you may desire.
Step 8: Adding Extra Details (Optional)
Once you have completed the main construction of your Buddhist robe, you may choose to add additional details to personalize and enhance its aesthetic appeal. This step allows you to incorporate unique elements that hold significance to you or reflect the traditions of your Buddhist practice. Here are some ideas for adding extra details to your robe:
- Embroidery: Consider adding embroidered motifs, symbols, or mantras to your robe. These can be stitched by hand or using a sewing machine. Choose thread colors that complement the fabric and thread types that provide the desired level of intricacy.
- Trim and Accents: Sew on decorative trims, such as ribbon, lace, or fabric borders, along the edges of the robe, sleeves, collar, or hem. This can add a touch of elegance or cultural flair to your garment.
- Pockets: If you find them useful, you can add pockets to your robe. Determine the desired size and placement, and sew them onto the garment considering both functionality and aesthetics.
- Buttons, Ties, or Fasteners: You may choose to add buttons, ties, or other fastening methods to your robe for practical purposes or to create a distinctive style. Ensure that these additions align with the design and functionality of the robe.
- Colorful Trims: Use contrasting fabric or ribbon to create colorful trims along the seams, cuffs, or neckline of your robe. This can create a visual impact and highlight different parts of the garment.
Remember to approach the addition of extra details with mindfulness and intention. Consider their significance within the context of Buddhism and your own spiritual practice. Balance the desire for personalization with the desire to respect the simplicity and tradition of the Buddhist robe.
Lastly, ensure that any extra details are securely attached to the robe and do not interfere with the comfort and functionality of the garment. Take the time to sew them with care and attention to detail.
Once you have added the desired extra details, you can proceed to the final steps: making any necessary final touches and cleaning your Buddhist robe.
Step 9: Final Touches and Cleaning
As you near the completion of your Buddhist robe, there are a few final touches and cleaning steps to consider. These will ensure that your robe is pristine and ready for use. Here’s what you should do:
- Inspect and reinforce: Take a close look at your robe and inspect the seams, hems, and any added details. Ensure that all stitches are secure and that there are no loose threads or weak points. Reinforce any areas that may need additional stitching for durability.
- Clean and press: If your fabric allows, it’s a good idea to gently hand wash or machine wash your robe using a delicate cycle and mild detergent. Follow the care instructions provided for your fabric and ensure that any added details can withstand the cleaning process. Once clean, press your robe with an iron to remove any wrinkles and create a crisp appearance.
- Try it on and make adjustments (if necessary): Put on your finished robe and ensure it fits comfortably and drapes well on your body. If any adjustments are needed, such as taking in the sides or shortening the length, make those alterations now to achieve your desired fit.
- Store with care: When not in use, store your Buddhist robe in a cool, dry place away from direct sunlight and moisture. Consider using a garment bag or wrap it in acid-free tissue paper to protect it from dust and insects.
With these final touches and cleaning steps completed, your Buddhist robe is now ready to be worn with reverence and respect. As you wear your robe, remember the significance it holds in your spiritual practice, and allow it to be a reminder of the principles and teachings of Buddhism.
Congratulations on successfully creating your own Buddhist robe! May it serve as a source of inspiration and support on your spiritual journey.
Conclusion
Crafting your own Buddhist robe is a deeply meaningful and enriching experience that connects you to the traditions and teachings of Buddhism. Through the careful selection of fabric, precise measurements, and meticulous sewing, you have created a garment that reflects your dedication to mindfulness and simplicity.
As you engaged in the step-by-step process, you delved into the principles of Buddhism, embracing patience, attention to detail, and creativity. Each stitch became an opportunity to embody mindfulness, dedicating your time and energy to manifesting a physical expression of your spiritual practice.
This journey allowed you to personalize your robe by adding meaningful details, such as embroidery, trims, or other artistic elements. These extra touches serve as a reminder of your unique path and the symbolism that resonates with your own spiritual journey.
Now, as you don your meticulously crafted Buddhist robe, cherish the connection it brings to the teachings of Buddhism and the community of practitioners. Allow it to serve as a tangible reminder of the values and principles that guide your life.
Remember, the process of creating a Buddhist robe is not just about fashion and design; it is a spiritual practice in itself. Approach each step with mindfulness, patience, and reverence, allowing the robe to become a physical manifestation of your dedication and commitment to the Buddhist way of life.
May your Buddhist robe be a source of comfort, inspiration, and a reminder of the path you have chosen. As you wear it, embrace the simplicity it represents and let it be a symbol of your ongoing journey towards enlightenment.
Thank you for embarking on this creative and spiritual endeavor. May it bring you joy and deepened connection to your practice. Farewell, and may your Buddhist robe accompany you on your path toward inner peace and wisdom.