Home>How-to Guides>For All>How To Make A Robe Out Of A Blanket
For All
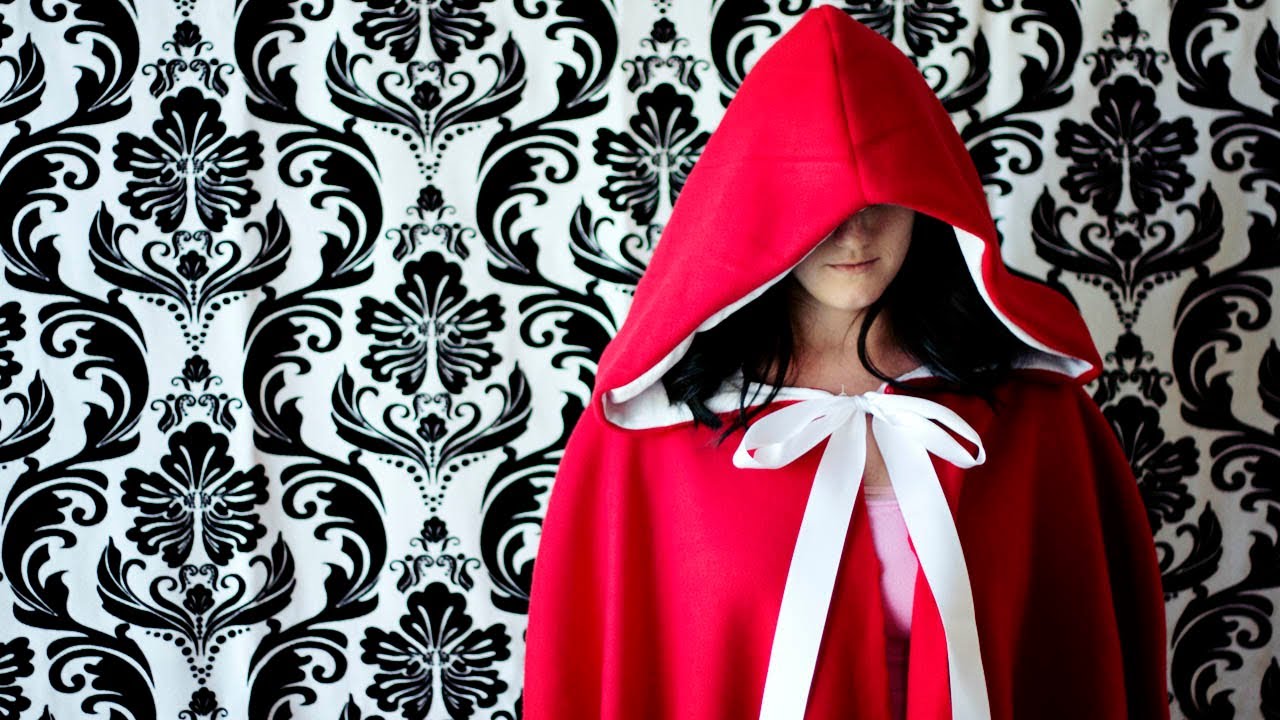
How To Make A Robe Out Of A Blanket
Modified: July 30, 2023
Learn how to create a cozy robe using just a blanket with our step-by-step guide. Perfect for all ages and skill levels.
(Many of the links in this article redirect to a specific reviewed product. Your purchase of these products through affiliate links helps to generate commission for Under-tec.com, at no extra cost. Learn more)
Table of Contents
Introduction
Have you ever found yourself wanting to relax in the comfort of a cozy robe, only to realize you don’t have one on hand? Well, fear not! With a simple blanket and a little bit of creativity, you can easily make your own robe in no time. Not only is this a fun and practical project, but it also allows you to repurpose an old blanket and give it a whole new lease of life.
In this article, we will guide you through the steps to create a robe out of a blanket. Whether you’re a beginner or an experienced DIY enthusiast, this project is suitable for anyone with basic sewing skills. So, gather your materials and let’s dive in!
Note: Before we get started, it’s important to choose a blanket that you are willing to transform into a robe. Consider selecting a blanket that is soft, cozy, and large enough to wrap around your body comfortably.
Materials Needed
In order to make a robe out of a blanket, you will need the following materials:
- A large blanket: Choose a blanket that is soft, comfortable, and big enough to wrap around your body.
- Measuring tape: Essential for taking accurate measurements of your body and the blanket.
- Scissors: Make sure to use sharp scissors for precise cutting.
- Sewing machine or needle and thread: Depending on your preference and sewing skills, you can either use a sewing machine or sew by hand.
- Pins: These will help to secure the fabric in place during the sewing process.
- Iron: Used for pressing the fabric and creating crisp edges.
- Optional: Decorative trim, buttons, or a belt/tie to add a personal touch to your robe.
Make sure you have all the materials ready before you begin, as it will make the process go smoothly and efficiently.
Step 1: Choosing the Right Blanket
The first step in making a robe out of a blanket is to choose the perfect blanket to transform. Look for a blanket that is soft, cozy, and large enough to wrap comfortably around your body.
Consider the thickness and weight of the blanket. If you live in a colder climate, you may want a thicker or flannel blanket to provide warmth. For a lighter robe, opt for a lighter-weight blanket made of cotton or a blend of fabrics.
Additionally, think about the color and pattern of the blanket. Would you like a solid-colored robe or one with a fun and vibrant pattern? Choose a blanket that aligns with your personal style and preference.
Don’t be afraid to repurpose an old blanket that you no longer use. This way, you can give it a new purpose and save it from ending up in the landfill.
Once you’ve chosen the perfect blanket, give it a quick wash to ensure it’s clean and ready for transformation into your cozy robe.
Remember, the right blanket will contribute to the comfort and aesthetic appeal of your finished robe. So take your time to find the perfect one that matches your style and preferences.
Step 2: Measuring and Marking
Once you have your chosen blanket, it’s time to take measurements and mark the areas where you’ll be cutting and sewing. This step is crucial to ensure a proper fit for your robe.
Start by measuring your body to determine the length and width of the robe. Measure from your shoulders down to your desired robe length, and around the widest part of your body to determine the width. Keep in mind that the robe should be slightly larger than your body measurements to allow for movement and comfort.
Next, lay the blanket flat and smooth out any wrinkles. Using your measurements, mark the cutting lines on the blanket with fabric chalk or pins. Make sure to leave additional fabric for seam allowance.
For the length of the robe, mark a straight line from the top edge of the blanket down to your desired length measurement. If you prefer a shorter robe, mark the line accordingly. As for the width, mark two lines parallel to the length line, ensuring they are spaced apart according to your desired robe width.
Be precise and double-check your measurements and markings before proceeding to the next step. It’s better to take a little extra time to ensure accuracy, as it will greatly impact the final result of your robe.
Remember, the key is to create a harmonious balance between comfort and style, so adjust the measurements to best suit your body and preferences.
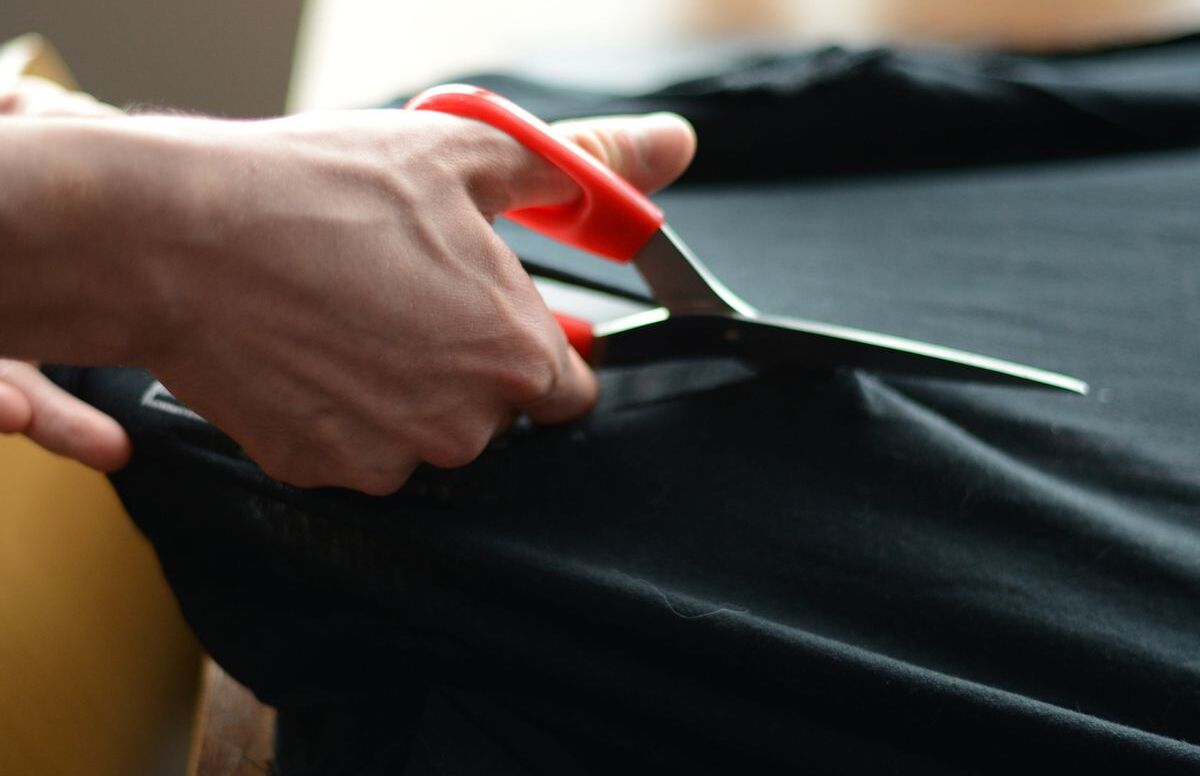
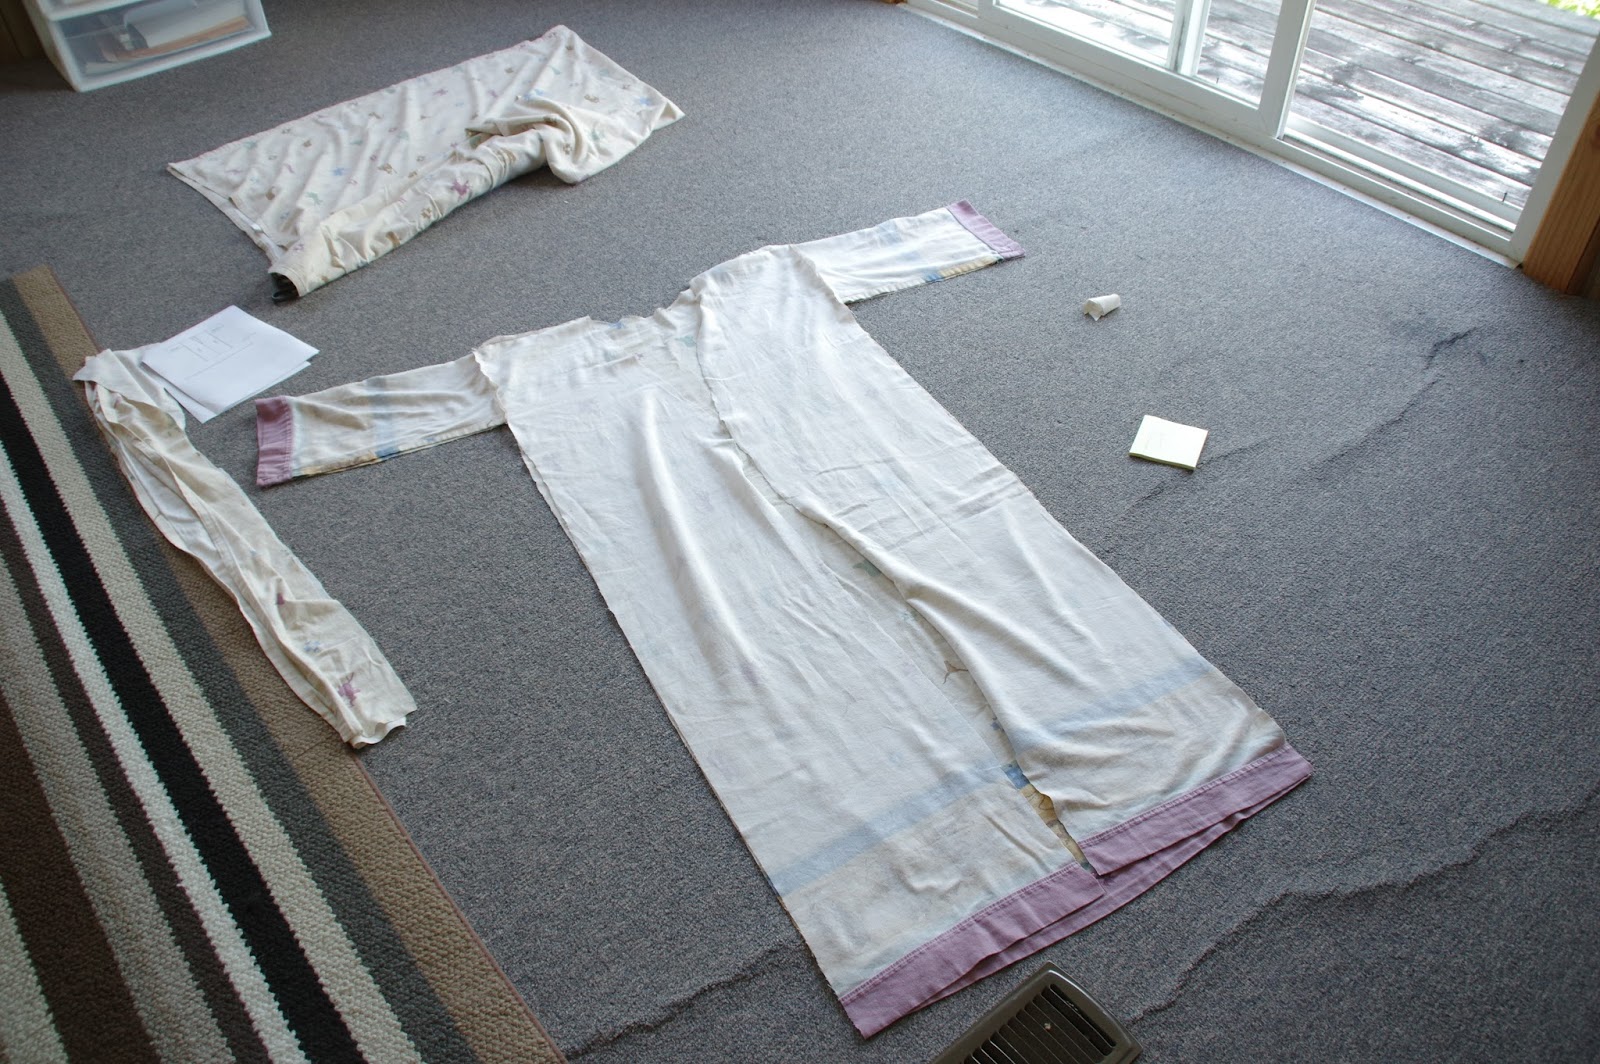
Step 3: Cutting the Blanket
With your measurements and markings in place, it’s time to move on to cutting the blanket. Use a pair of sharp scissors and follow the cutting lines you marked in the previous step.
Be careful and precise while cutting to ensure clean and straight edges for your robe. Take your time and make slow, deliberate cuts along the marked lines. If you prefer, you can fold the blanket in half lengthwise to ensure symmetry and cut both sides simultaneously.
Remember to leave extra fabric for seam allowance as you cut. This additional fabric will be used later when you sew the edges of your robe.
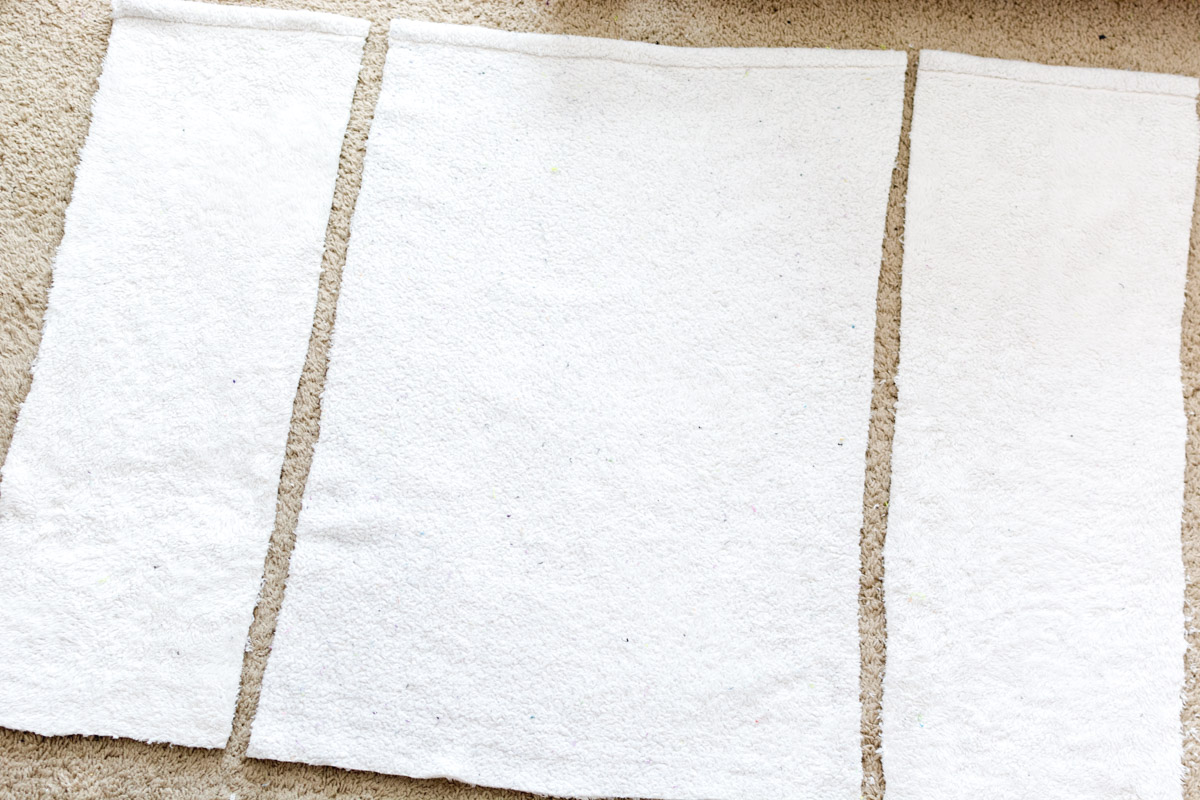
Once you have completed the cutting process, set aside any leftover fabric that you may have. You can use it for later projects or creative purposes, reducing waste and making the most of your materials.
After cutting, take a moment to inspect the edges of your robe. If there are any jagged or uneven areas, trim them carefully to maintain a neat and professional appearance.
Now you’re one step closer to transforming your blanket into a cozy robe. With the cutting complete, the next step is to create armholes for added comfort and freedom of movement.
Step 4: Creating the Armholes
Now that you’ve cut the blanket to the desired shape, it’s time to create the armholes for your robe. This step will allow for greater mobility and comfort while wearing the garment.
Start by folding your robe in half, with the front sides facing each other. This will ensure symmetry for the armholes.
Next, locate the upper corners of the folded blanket where the shoulders would be. These points will serve as the starting points for your armholes.
Measure about 7-8 inches down from the top edge and make a mark on the folded edges with fabric chalk or pins. This will determine the depth of the armhole. Adjust the measurement based on your personal preference and comfort.
Once marked, use your scissors to carefully cut out the armhole shapes. You can create a gentle curve or a more rounded edge, depending on the style you prefer.
As you cut the armholes, make sure to cut through both layers of fabric to ensure that they are symmetrical. Be cautious and follow the markings to keep the armholes consistent in size and shape.
After cutting the armholes, unfold your robe and inspect the armhole openings. Ensure that they are smooth and evenly shaped. If necessary, trim any uneven edges or adjust the shape to achieve a pleasing appearance.
Congratulations! You have successfully created the armholes for your robe. The next step is to sew the edges to give your robe a polished finish.
Step 5: Sewing the Edges
With the armholes created, it’s time to sew the edges of your robe for a clean and finished look. Depending on your preference and sewing skills, you can choose to use a sewing machine or sew by hand with a needle and thread.
Start by folding the edges of the robe about half an inch to the inside. Press the folded edges with an iron to create a crisp crease.
If using a sewing machine, set it to a straight stitch and sew along the folded edges, securing them in place. Remember to backstitch at the beginning and end of your seam to reinforce it.
If sewing by hand, use a needle and thread to create small, even stitches along the folded edges. Make sure your stitches are secure and evenly spaced to ensure the durability of your robe.
As you sew, take your time and be mindful of the fabric. Ensure the stitches are not too tight to allow for movement and comfort.
Continue sewing along all the folded edges of your robe, including the sides, bottom hem, and neckline. Once you’ve completed the sewing, inspect the seams to ensure they are secure and tidy.
After sewing, give your robe a thorough check for any loose threads or uneven stitching. Trim any excess threads and make any necessary adjustments to ensure a polished end result.
Now that the edges are sewn, your robe is taking shape! The next step is to add a belt or tie to provide closure and adjustability.
Step 6: Adding a Belt or Tie
Adding a belt or tie to your robe will not only provide closure but also allow you to adjust the fit and style of the garment. You have several options for this step, depending on your personal preference and creativity.
If you have extra fabric from the blanket, you can use it to create a matching fabric belt. Cut a strip of fabric that is long enough to wrap around your waist and wide enough to tie comfortably. Fold the strip in half lengthwise, right sides together, and sew along the long edge, leaving the ends open. Once sewn, turn the fabric right side out, press it flat, and your fabric belt is ready to be attached to your robe.
Alternatively, you can repurpose a belt or tie that you already have. Look for a belt or tie that complements the color and style of your robe. Simply thread it through the robe’s waistline and adjust it to your desired fit.
If you prefer a more casual look, you can opt for a simple rope or cord. Choose a rope or cord that is sturdy and long enough to be tied around your waist comfortably. Attach it to the robe by creating small belt loops on either side of the waistline. Sew the loops securely to ensure they can hold the rope or cord in place.
Feel free to get creative with your choice of belt or tie. You can embellish it with decorative trim, beads, or tassels to add a personal touch and enhance the overall look of your robe.
Once you have attached the belt or tie, tie it securely around your waist, and adjust it to your desired tightness. This final step adds functionality, style, and customization to your robe.
Now that you have added a belt or tie, your robe is almost complete. It’s time to add those finishing touches and make any necessary adjustments.
Step 7: Finishing Touches
With your robe taking shape, it’s time to add those final touches to make it truly special and personalized. These finishing touches will elevate the overall look and make your robe unique to you.
One option is to add decorative trim along the edges of your robe. Choose a trim that complements the color and style of your robe. Attach it using a sewing machine or by hand, ensuring that it is securely stitched in place. This small detail can add a pop of color or texture, giving your robe a polished and professional finish.
You can also consider adding pockets to your robe for added functionality. Cut out pocket shapes from leftover fabric or a contrasting fabric if you prefer. Sew the pockets onto the robe at the desired height, making sure they are symmetrical. Secure them with even stitches to ensure durability.
Another idea is to embellish your robe with embroidered details or appliques. Whether it’s a monogram, a favorite symbol, or a delicate pattern, adding these handmade touches will make your robe truly one-of-a-kind. Use embroidery thread or fabric glue to attach these decorative elements in a way that aligns with your vision.
Lastly, give your robe one final check for any loose threads or uneven stitching. Trim any excess threads and make any necessary adjustments to ensure a clean and polished appearance.
Once you’ve completed the finishing touches, it’s time to try on your newly transformed robe and bask in the satisfaction of creating something beautiful and functional with your own hands.
Remember, these finishing touches are an opportunity to let your creativity shine. Customize your robe to reflect your personal style and make it a unique garment that brings you joy every time you wear it.
Congratulations! You have successfully completed all the steps to make a robe out of a blanket. Enjoy the comfort, warmth, and satisfaction that comes from wearing a handmade garment that is both practical and stylish.
Conclusion
Congratulations on successfully transforming a blanket into your very own cozy robe! By following the steps outlined in this article, you have created a practical and stylish garment that allows you to relax in comfort and style.
Throughout the process, you learned how to choose the right blanket, take precise measurements, cut and sew the fabric, and add those final touches to make your robe unique. This project not only allows you to repurpose an old blanket but also showcases your creativity and sewing skills.
Remember, each robe you create can be customized to fit your personal style and preferences. Experiment with different fabrics, colors, and embellishments to make your robe truly one-of-a-kind.
Now that you have your very own homemade robe, take some time to enjoy its warmth and comfort. Whether you’re lounging at home, on a cozy weekend getaway, or enjoying a spa day, your robe will make you feel pampered and relaxed.
Feel proud of your accomplishment and share your DIY robe-making journey with friends and family. They might be inspired to create their own unique robes as well.
So, put on your new robe, snuggle up, and embrace the comfort and luxury it brings. Remember, with a little creativity and sewing skills, you can continue to repurpose items and create beautiful, practical pieces for yourself and your loved ones.
Happy robe-making!