Home>How-to Guides>For Men>How To Make A Tank Top Out Of T Shirt

For Men
How To Make A Tank Top Out Of T Shirt
Published: July 31, 2023
Learn how to make a tank top for men out of a t-shirt easily. Step-by-step guide to create your own stylish tank top for a cool and casual look.
(Many of the links in this article redirect to a specific reviewed product. Your purchase of these products through affiliate links helps to generate commission for Under-tec.com, at no extra cost. Learn more)
Table of Contents
Introduction
Welcome to this step-by-step guide on how to make a tank top out of a t-shirt. If you have an old t-shirt lying around that you never wear, or if you’re looking for a funky and budget-friendly way to upgrade your wardrobe, then this tutorial is for you. With just a few simple supplies and a little creativity, you can transform that plain old t-shirt into a stylish and trendy tank top.
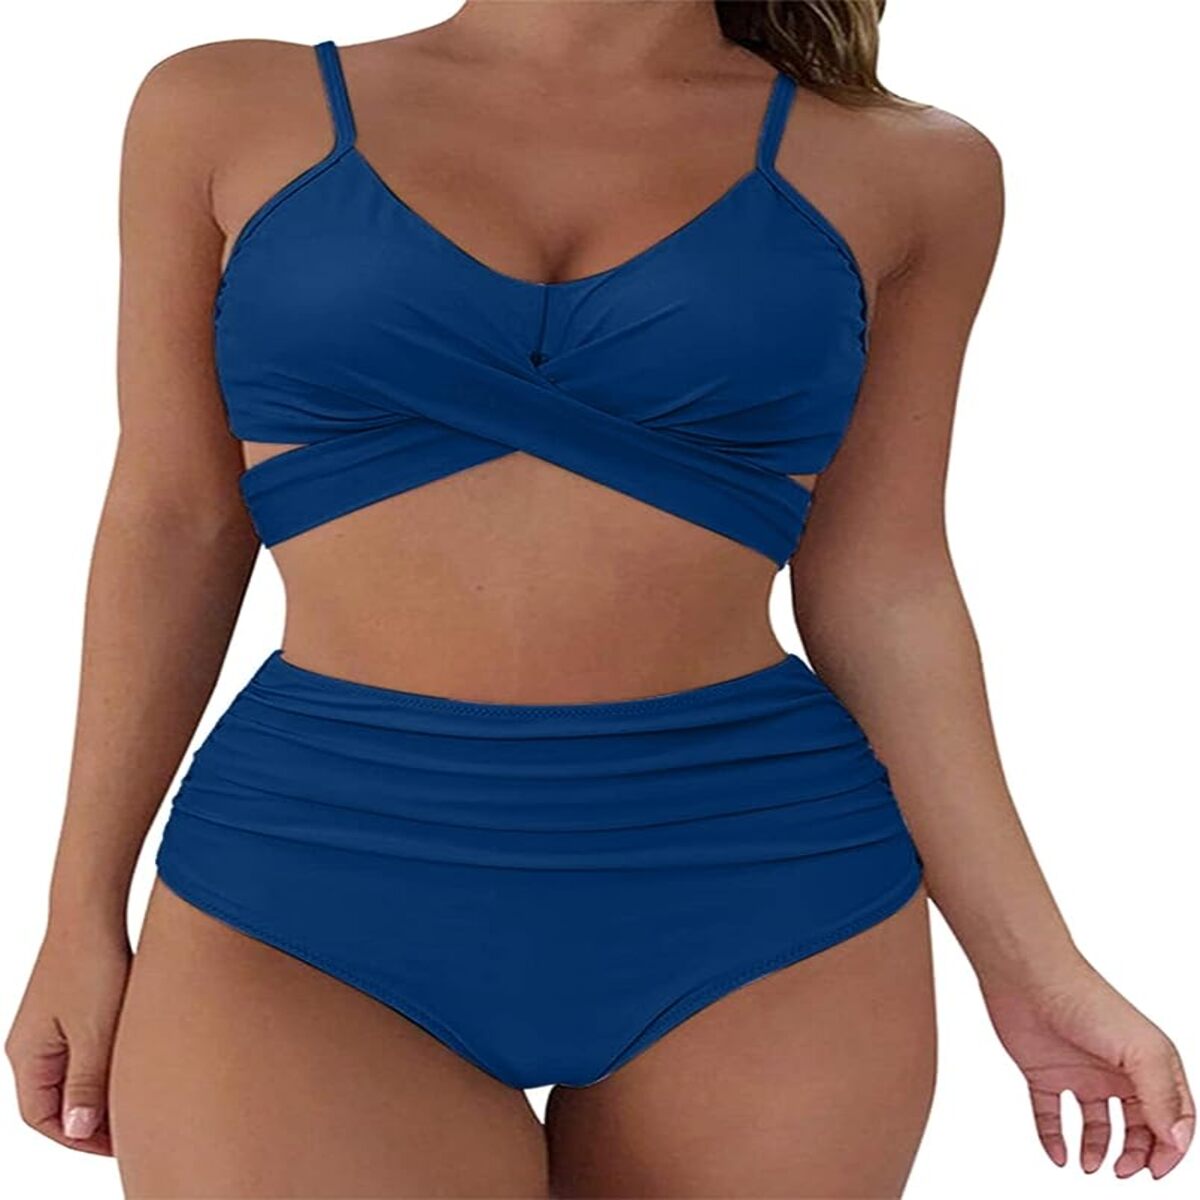
Whether you’re heading to the beach, hitting the gym, or simply lounging around on a hot summer day, a tank top is a versatile clothing item that can be dressed up or down. Plus, by repurposing an old t-shirt, not only are you reducing waste and giving new life to your clothes, but you’re also getting the satisfaction of creating something unique to reflect your personal style.
In this guide, we’ll walk you through each step of the process, from gathering the necessary supplies to customizing your tank top. You don’t need to be a sewing expert to tackle this project. Just a pair of scissors and a little patience are all you need to create your very own tank top masterpiece.
So, let’s get started! Follow these simple instructions, and in no time, you’ll have a fabulous tank top that’ll have everyone asking where you got it.
Materials Needed
Before you begin making your tank top, it’s important to gather all the necessary supplies. The good news is that you probably already have most of them at home. Here are the materials you’ll need:
- A t-shirt: Choose an old t-shirt that you no longer wear or one that you’re willing to transform.
- A pair of sharp scissors: Make sure your scissors are sharp and clean for a clean cut.
- A fabric marker or chalk: This will be useful for marking where you want to make your cuts.
- A ruler or tape measure: Use this to ensure precise measurements and straight lines.
- Pins (optional): If you have sewing pins, they can be handy for temporarily securing layers of fabric.
- Sewing machine or needle and thread (optional): If you want to finish the edges with a more polished look, you’ll need a sewing machine or a needle and thread.
That’s it! With these simple supplies, you’re ready to start transforming your t-shirt into a trendy tank top. If you’re missing any of the items, don’t worry. This project is quite versatile, and you can always adapt to what you have on hand. Now that you have everything you need, let’s move on to the next step.
Step 1: Gather the Supplies
Before diving into the process of creating your tank top, make sure you have all the necessary supplies gathered in one place. This will help you stay organized and ensure a smooth and hassle-free DIY experience.
The first item you’ll need is a t-shirt. Look for a t-shirt that you no longer wear or one that you’re willing to transform. It’s a great opportunity to repurpose an old t-shirt and give it new life. Choose a t-shirt that fits you well and is comfortable to wear.
Next, make sure you have a pair of sharp scissors. The key to successful t-shirt cutting is using sharp scissors that can smoothly glide through the fabric. Dull scissors may result in jagged edges, which can affect the overall look of your tank top. If your scissors aren’t sharp, consider sharpening them before starting the project.
You’ll also need a fabric marker or chalk. These tools will come in handy for marking where you want to make your cuts on the t-shirt. Choose a color that is easily visible on your t-shirt so that you can accurately mark the cutting lines.
Additionally, having a ruler or tape measure will help ensure precise measurements and straight lines when making your cuts. This will result in a neater and more professional-looking tank top. If you don’t have a ruler or tape measure, you can also use a straight object as a guide.
Lastly, while not essential, sewing pins can be useful for temporarily securing layers of fabric during the cutting process. They can help prevent the fabric from shifting or sliding, allowing for more accurate cuts. If you don’t have sewing pins, you can use clips or even paperclips as an alternative.
Now that you have gathered all the necessary supplies, you’re one step closer to creating your own unique tank top. Let’s move on to the next step: cutting off the sleeves!
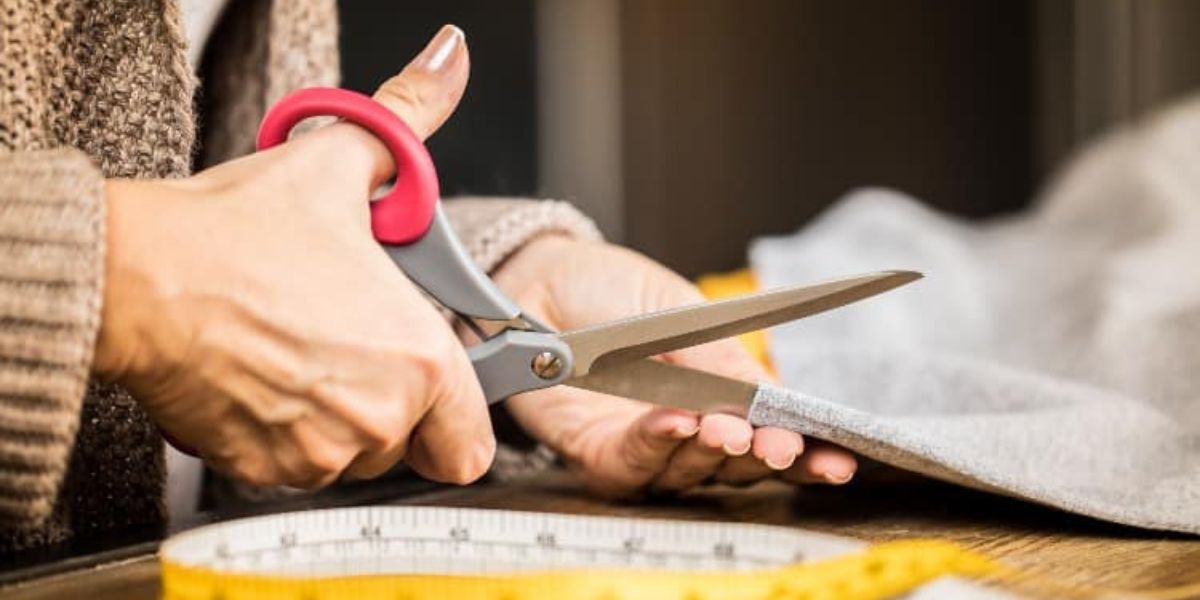
Step 2: Cut off the Sleeves
Now that you have all your supplies ready, it’s time to get started on transforming your t-shirt into a stylish tank top. The first step in this process is cutting off the sleeves.
Start by laying your t-shirt flat on a clean and flat surface. Smooth out any wrinkles or folds so that you have a clear view of the sleeve area. Take a moment to visualize the desired sleeve length and style you want for your tank top.
Using your scissors, carefully cut along the seam that connects the sleeve to the body of the t-shirt. Cut as close to the seam as possible to ensure a clean and seamless result. Take your time and make slow, precise cuts to avoid any mistakes or unevenness.
If you want a traditional tank top style with wide armholes, cut along the seams that extend from the sleeve down towards the bottom of the t-shirt. However, if you prefer a more narrow and fitted look, you can cut in a curved shape towards the underarm area.
Remember to cut both sleeves in the same manner, ensuring symmetry and balance. This will help in creating a professional and well-finished tank top.
Once the sleeves are completely cut off, shake the t-shirt gently to remove any loose threads or fabric remnants. It’s important to keep your workspace tidy throughout the process to ensure a smooth and enjoyable DIY experience.
Congratulations! You have successfully completed the second step in transforming your t-shirt into a tank top. Now, let’s move on to the next step: cutting the neckline.
Step 3: Cut the Neckline
After cutting off the sleeves, the next step in creating your tank top is to cut the neckline. This will give your tank top a fresh and modern look.
Start by folding your t-shirt in half vertically, ensuring that the shoulder seams are aligned. This will help you create a symmetrical neckline with even cuts on both sides.
Using your fabric marker or chalk, mark the desired neckline shape. You can choose from various options such as a scoop neck, V-neck, or even a high neckline depending on your preference.
Carefully cut along the marked line, making sure to follow the shape you’ve chosen. Take your time, as precision is important in creating a clean and well-defined neckline.
If you want to add some personal flair to your tank top, you can experiment with different neckline styles. For example, you can create a stylish cutout design by making small slits along the neckline or opt for a unique asymmetrical shape.
Once you have finished cutting the neckline, unfold the t-shirt and give it a gentle shake to remove any loose threads or fabric remnants.
Remember, the neckline is a prominent feature of your tank top, so take some time to envision the look you want and make deliberate cuts to achieve your desired style.
Great job! You have completed the third step in the DIY process of making your tank top. Now, let’s move on to step four: trimming the sides.
Step 4: Trim the Sides
Now that you have cut off the sleeves and adjusted the neckline, it’s time to trim the sides of your t-shirt to refine the fit of your tank top. This step will help create a more flattering and tailored look.
Start by laying your t-shirt flat on a clean surface and smooth out any wrinkles or folds. Take a moment to visualize the desired width for your tank top. Do you want it to be form-fitting or slightly loose?
Using your fabric marker or chalk, mark a line on each side of the t-shirt to indicate where you’ll be making your cuts. For a more fitted look, you can trim the sides closer to your body contour. If you prefer a looser fit, you can opt for a slightly wider cut.
Before cutting, make sure you’re starting the lines at the same level on both sides to maintain symmetry. Use a ruler or tape measure to ensure accuracy if needed.
Carefully cut along the marked lines, making straight and clean cuts. Take your time and cut a little at a time, as it’s always easier to trim more if needed rather than cutting too much initially.
Trimming the sides of your tank top will not only refine the fit but also give it a more polished appearance. It’s important to remember that the width of the sides will affect the overall style and comfort of your tank top, so be mindful of your preferences and desired end result.
Once you have finished trimming the sides, give the t-shirt a gentle shake to remove any loose threads or fabric remnants.
Excellent work! You have completed the fourth step in creating your tank top. Now, let’s move on to step five: creating the tank top shape.
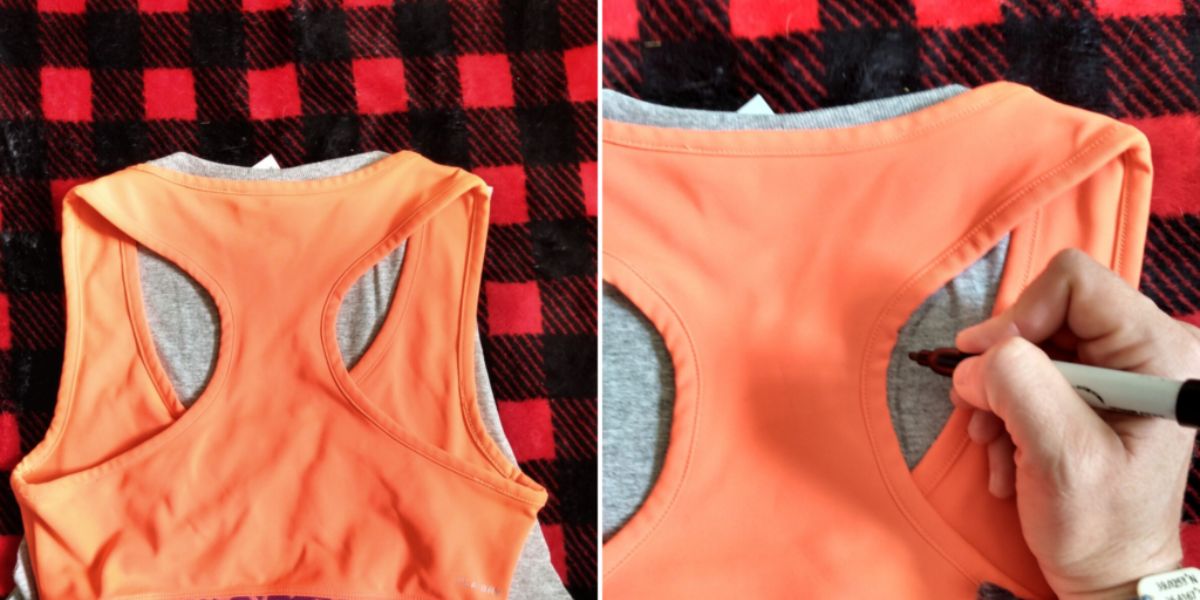
Step 5: Create the Tank Top Shape
With the sides trimmed, it’s time to shape your t-shirt into a tank top silhouette. This step will give your creation the distinct and stylish look of a tank top.
Start by folding your t-shirt in half vertically, ensuring that the side seams are aligned. This will help you create a symmetrical shape for the tank top.
Next, use your fabric marker or chalk to mark a gentle curve from the outer edge of the shoulder down towards the underarm area. This curve will define the tank top shape and create the desired armhole shape.
When making the curve, it’s important to remember that the depth of the armhole will affect the overall fit and comfort of the tank top. If you prefer a more fitted look, create a narrower curve. For a looser fit, a wider curve will be more suitable.
Once you’ve marked the curve on one side, unfold the t-shirt and assess the symmetry. If adjustments are needed, make them before moving on to the cutting process.
Carefully cut along the marked curve, making slow and precise cuts to create a smooth and even tank top shape. Repeat this process on the other side to maintain symmetry.
Remember, it’s always better to start with a smaller curve and make adjustments as needed, rather than cutting too much off initially. You can always trim more if necessary.
After cutting, give your tank top a gentle shake to remove any loose threads or fabric remnants.
By creating the tank top shape, you’re taking your t-shirt transformation to the next level. It’s an essential step in achieving the desired tank top look and enhancing the overall style of your creation.
Well done! You have completed the fifth step in making your tank top. Now, let’s move on to step six: finishing the edges.
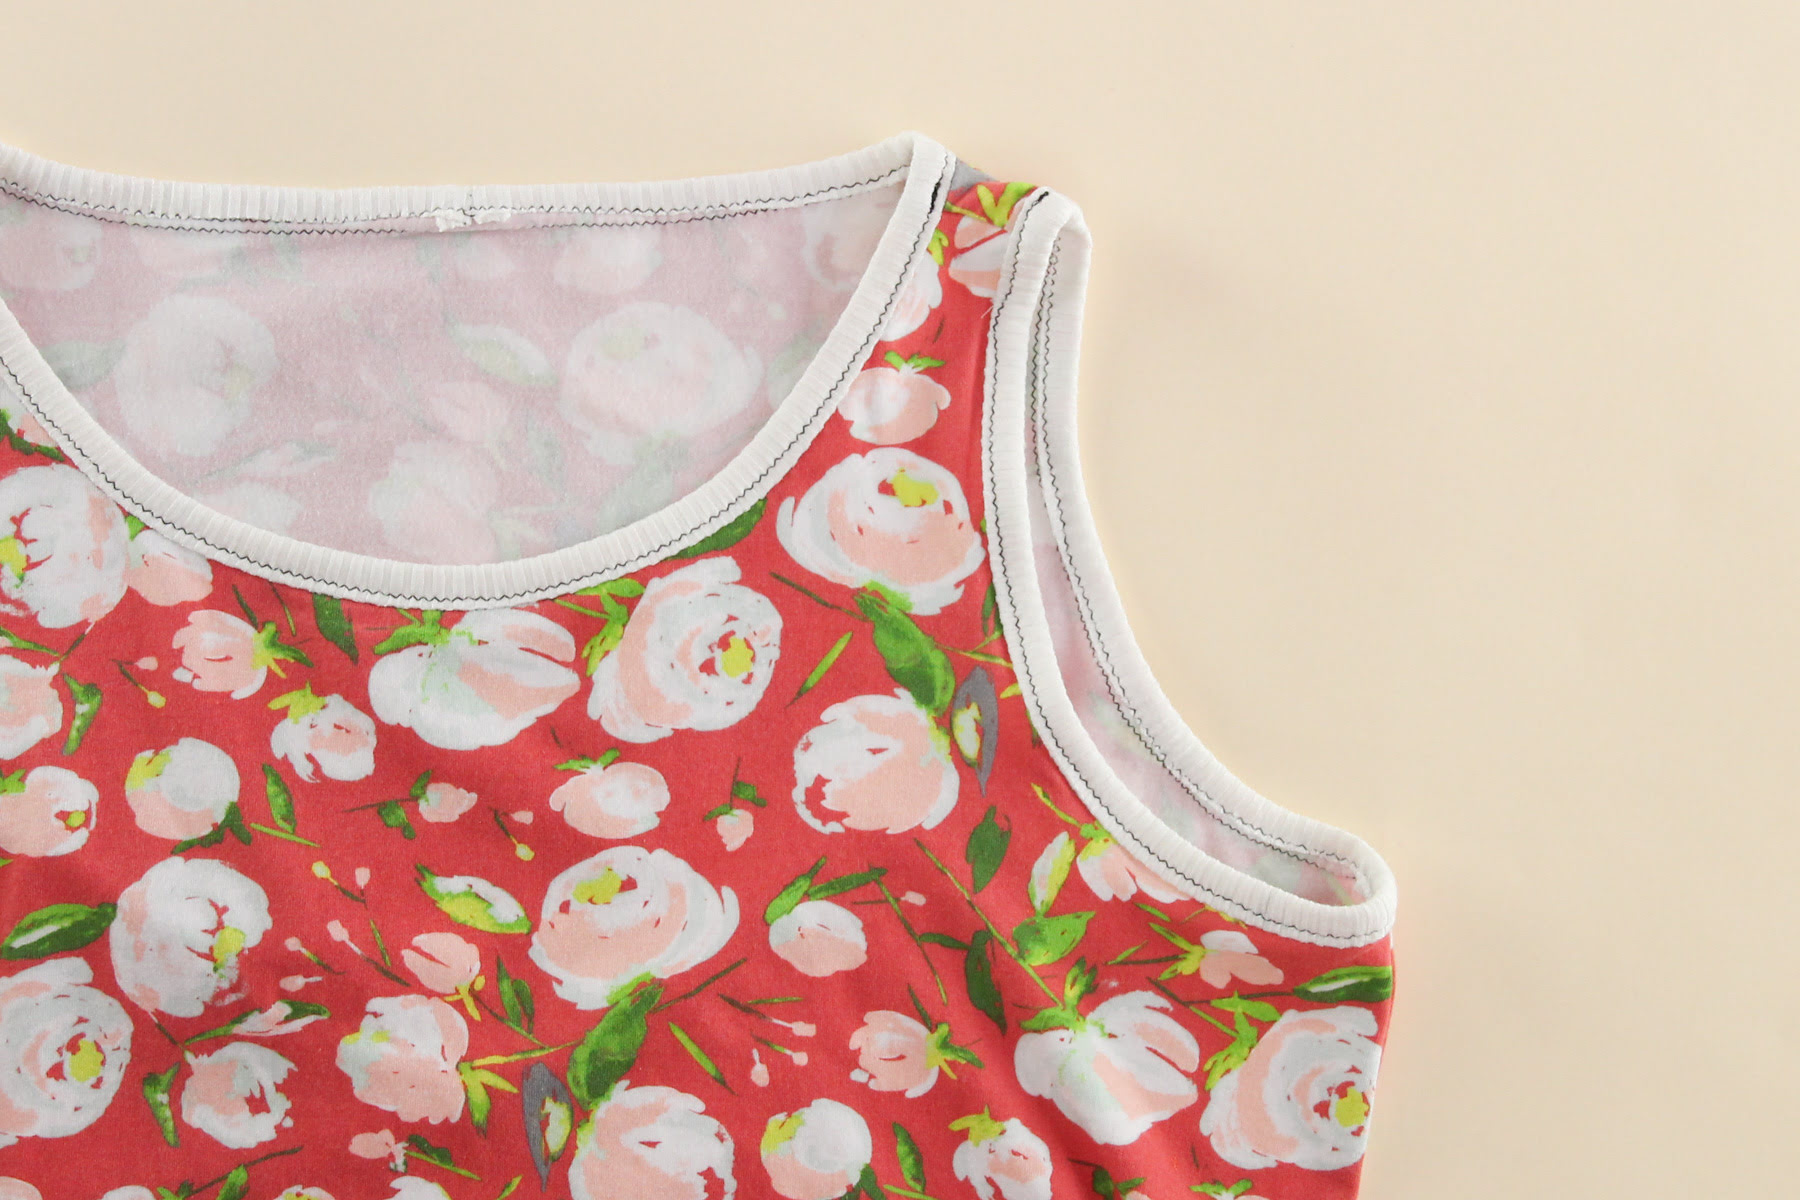
Step 6: Finish the Edges
Now that you have shaped your t-shirt into a tank top, it’s time to give it a polished and finished look by addressing the edges. While this step is optional, finishing the edges will enhance the durability and overall appearance of your creation.
If you have a sewing machine, you can use it to sew a straight stitch along the edges of the armholes and neckline. This will prevent the fabric from fraying and give the tank top a clean and professional finish.
If you don’t have access to a sewing machine, don’t worry! You can still achieve a finished look by using a needle and thread. Thread your needle with a color that matches your tank top and secure the end of the thread with a knot.
Starting at one end of the edge, use a simple running stitch or a whip stitch to sew along the edge. Make sure your stitches are even and secure. Continue sewing until you reach the other end of the edge.
Remember to backstitch at the beginning and end of your sewing to reinforce the stitches and prevent them from unraveling.
If you prefer a more subtle approach, you can also use fabric glue to seal the edges. Simply apply a small amount of fabric glue along the edges and use your fingers to press the fabric together until the glue sets. Allow the glue to dry completely before wearing your tank top.
Whether you choose to sew or use fabric glue, the goal is to create a finished edge that will prevent fraying and maintain the integrity of your tank top.
Once you have finished the edges, give your tank top a final shake to remove any loose threads or fabric remnants.
Great job! You have completed the sixth step in creating your tank top. Now, let’s move on to step seven: trying on your newly fashioned tank top!
Step 7: Try on the Tank Top
Now that you’ve completed all the necessary cutting and finishing, it’s time to try on your newly created tank top and see how it looks and fits on you!
Put on your tank top and take a moment to assess the fit and overall look. How does it feel? Does it align with your original vision? If there are any adjustments you’d like to make, now is the time to identify them.
Take a look in the mirror and evaluate the length, fit, and style. Are you happy with the overall design? If not, you can consider making further modifications, such as adjusting the length, altering the armholes, or adding additional embellishments to personalize the tank top.
Also, consider how the tank top pairs with various bottoms in your wardrobe. Experiment with different combinations and get creative with your styling. A tank top can be a versatile piece of clothing that works well with jeans, shorts, skirts, and even layered with jackets or cardigans.
Another important factor to consider is the comfort of the tank top. Move around, stretch your arms, and ensure that the fit allows for ease of movement. If the tank top feels too tight or restrictive, you may want to make adjustments or consider recreating it using a different-sized t-shirt.
Ultimately, the goal is to have a tank top that not only looks good but also feels comfortable and reflects your personal style.
So, take a moment to assess your creation and make any final adjustments if needed. Once you’re satisfied with the fit and look, you’re ready to rock your new tank top and show off your creative DIY skills!
Congratulations! You have successfully completed all the steps in creating your tank top. Now, enjoy wearing your unique and stylish creation!
Step 8: Customize (Optional)
Once you have transformed your t-shirt into a tank top, you have the option to further personalize and customize it. This step allows you to unleash your creativity and make your tank top even more unique and special.
There are various ways you can customize your tank top, depending on your preferences and skillset. Here are a few ideas to get you started:
- Adding embellishments: You can enhance your tank top by sewing or attaching decorative elements like sequins, beads, patches, or fabric appliques. These embellishments can add a touch of glamour, fun, or individuality to your tank top.
- Tie-dye or dyeing: Get creative with colors by tie-dyeing or dyeing your tank top. Experiment with different dyeing techniques or mix and match colors to create unique patterns and designs.
- Stenciling or screen printing: Create your own stencil or use pre-made ones to add designs or graphics onto your tank top. You can use fabric paint or fabric markers to bring your designs to life.
- Cropping or cutting: If you want to further modify the length or style of your tank top, you can crop it further, create a high-low hem, or experiment with different cutting techniques to add asymmetry or fringe.
- Adding straps or racerback: If you prefer a different style of tank top, you can create or attach straps or convert it into a racerback style by cutting and tying the fabric at the back.
These are just a few ideas, and the possibilities for customization are endless. Let your imagination run wild, and feel free to combine different techniques to create a one-of-a-kind tank top that truly reflects your personality and style.
Remember to take your time and enjoy the creative process. Customizing your tank top allows you to make it truly your own and stand out from the crowd.
Once you have personalized your tank top to your satisfaction, give it a gentle shake to remove any loose threads or excess embellishments. Then, it’s time to showcase your custom creation to the world!
Congratulations! You have completed the final step in making your tank top. Enjoy the process of customizing and making it uniquely yours.
Conclusion
Congratulations on successfully transforming an old t-shirt into a trendy and personalized tank top! By following the step-by-step guide in this article, you’ve learned how to repurpose your clothing and create a unique fashion piece. Not only have you saved money, but you’ve also contributed to reducing waste and promoting sustainable fashion.
Throughout the process, you gathered the necessary supplies, cut off the sleeves, adjusted the neckline, trimmed the sides, shaped the tank top, finished the edges, tried it on, and even had the option to customize it to match your style and personality.
Remember, the key to creating the perfect tank top lies in taking your time, visualizing your desired look, and making deliberate cuts. Whether you prefer a fitted or loose style, a classic or edgy look, your tank top is a reflection of your creativity and individuality.
Now that you have your custom tank top ready, don’t be afraid to experiment with different ways to style it. Dress it up with accessories and pair it with your favorite bottoms to create versatile and chic outfits for various occasions.
Continue to explore your creativity and embrace the joy of DIY projects. With a little imagination, you can transform more old clothes into new fashion pieces and expand your wardrobe in a sustainable and budget-friendly way.
So go ahead, wear your new tank top with pride and let it be a reminder of your ability to transform and create. Happy DIY-ing!