Home>How-to Guides>For Women>How To Make A T-Shirt Bikini
For Women
How To Make A T-Shirt Bikini
Modified: August 10, 2023
Learn how to make a stylish and trendy t-shirt bikini for women. Step-by-step guide on creating your own unique swimwear for a fun and fashionable summer.
(Many of the links in this article redirect to a specific reviewed product. Your purchase of these products through affiliate links helps to generate commission for Under-tec.com, at no extra cost. Learn more)
Table of Contents
Introduction
Welcome to the world of DIY fashion! Making your own T-shirt bikini is not only a fun and creative project, but it also allows you to customize a swimsuit that perfectly fits your style and body shape. Whether you’re headed to the beach or planning a poolside getaway, a T-shirt bikini is the ultimate combination of comfort and style.
In this article, we will guide you through the step-by-step process of creating your own T-shirt bikini. With just a few basic materials and some simple crafting techniques, you’ll be able to transform an ordinary T-shirt into a one-of-a-kind swimsuit that will make you feel confident and fabulous.
Not only is making a T-shirt bikini a great way to express your personal style, but it’s also a sustainable and eco-friendly alternative to buying mass-produced swimwear. By upcycling an old T-shirt, you’re reducing waste and giving a new life to an item that would have otherwise ended up in a landfill.
No matter your sewing or crafting skills, this project is suitable for beginners and experienced DIY enthusiasts alike. So gather your materials, grab your scissors, and let’s dive into the world of DIY T-shirt bikini making!
Materials Needed
Before we get started, let’s gather all the materials you’ll need to create your T-shirt bikini:
- A large, preferably oversized T-shirt – Choose a T-shirt in a color or pattern that you love. Make sure it’s made of a stretchy fabric like cotton or jersey to ensure a comfortable fit.
- A pair of sharp fabric scissors – These will be essential for cutting your T-shirt into the desired bikini shape.
- A ruler or measuring tape – This will help you create clean and precise cuts.
- Pins – These will be used to hold the fabric in place during the cutting and sewing process.
- A sewing machine or needle and thread – Depending on your preference and skill level, you can either use a sewing machine or hand-sew your bikini. If you choose to hand-sew, make sure to have a needle and thread that matches the color of your T-shirt.
- Elastic bands – These will be used to create the straps and provide added support to your bikini.
- Optional: Decorative elements – If you want to add some flair to your bikini, consider getting some beads, charms, or fabric markers to personalize your creation.
Make sure to gather all these materials before you begin the project. Having everything on hand will make the process smoother and more enjoyable.
Step 1: Choosing the Right T-shirt
The first step in creating your T-shirt bikini is selecting the perfect T-shirt. Look for a T-shirt that you no longer wear or one that you’ve found at a thrift store. Choosing an oversized T-shirt will give you more fabric to work with, and you can always adjust the fit later.
Consider the color, pattern, and fabric of the T-shirt. You want a fabric that is stretchy and comfortable to wear as a bikini. Cotton or jersey fabrics are ideal choices. Additionally, pick a T-shirt with a design or pattern that you love, as it will add personality to your final creation.
If you’re feeling adventurous, you can even mix and match T-shirts to create a unique and eclectic design. Don’t be afraid to get creative and experiment with different colors and patterns to make your T-shirt bikini truly one-of-a-kind.
Remember to wash and iron the T-shirt before starting the project. This will ensure that the fabric is clean and wrinkle-free, making it easier to cut and sew.
Once you have selected the perfect T-shirt, lay it flat on a table or any smooth surface. Smooth out any wrinkles or folds, ensuring that the fabric is even and taut.
With the right T-shirt in hand, you’re ready to move on to the next step – cutting the T-shirt and transforming it into a bikini that fits you perfectly.
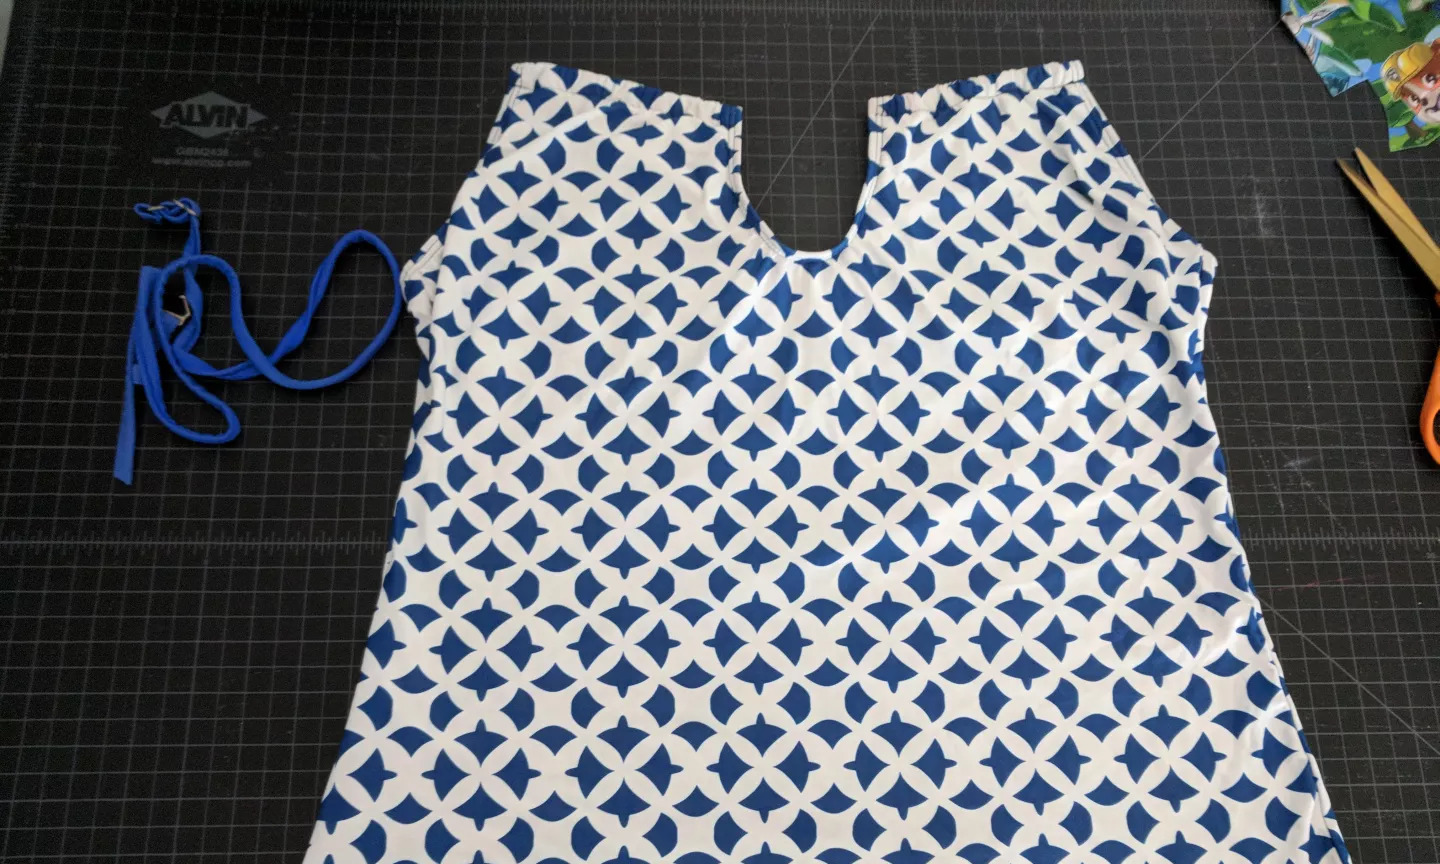
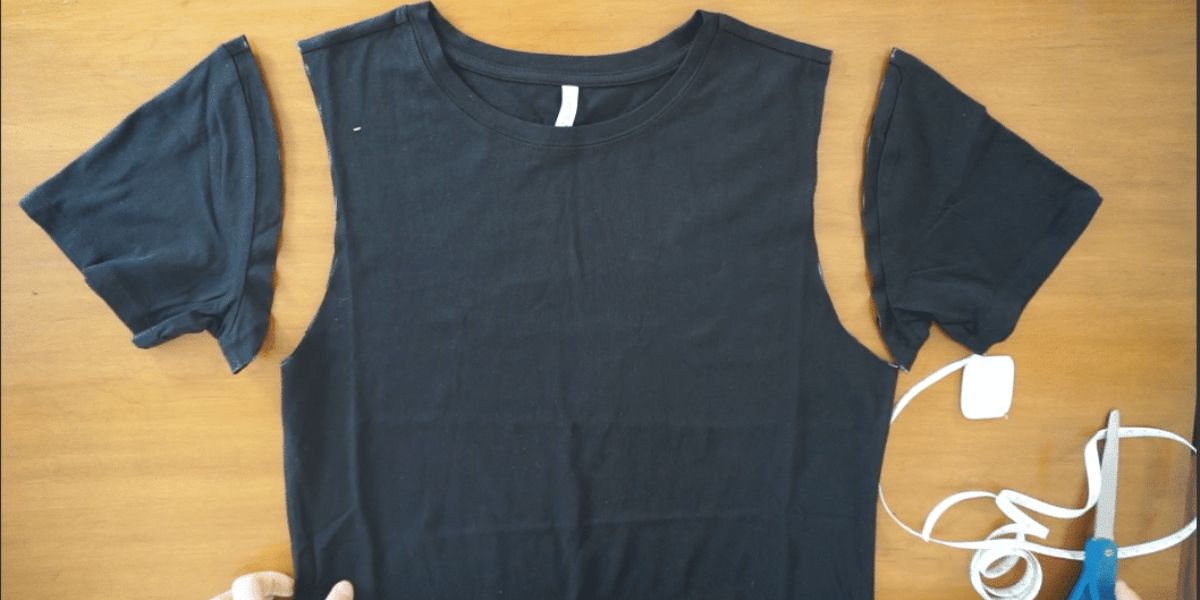
Step 2: Cutting the T-shirt
With your chosen T-shirt laid flat and smooth, it’s time to start cutting it into the desired shape for your bikini. Follow these steps:
- Decide whether you want a two-piece bikini or a one-piece swimsuit. For a two-piece bikini, you’ll need to cut the T-shirt into separate pieces for the top and the bottom. For a one-piece swimsuit, you’ll only need to cut the T-shirt once.
- Starting with the top, measure how much fabric you want to take off from the bottom of the T-shirt to create the length of the bikini top. It’s best to try the T-shirt on and mark your desired length with a pin or chalk.
- Carefully cut the T-shirt along the marked line, ensuring you’re cutting through both the front and back layers of the fabric. Don’t worry about the raw edges just yet; we’ll take care of those in later steps.
- For the bottom piece, you have the option to either cut the T-shirt into a bikini brief-style bottom or create a more customized design. Measure and mark where you want the leg openings and waistband to be and cut accordingly.
- Remember that it’s better to cut a bit more conservatively at first. You can always trim more fabric off later if desired.
Take your time with the cutting process and double-check your measurements before you make any cuts. It’s always better to be cautious and make smaller cuts than to accidentally cut off too much fabric.
Once you’ve completed the cutting step, you’ll have the basic shape of your bikini. The next step is to refine the design and add any necessary adjustments to ensure the perfect fit.
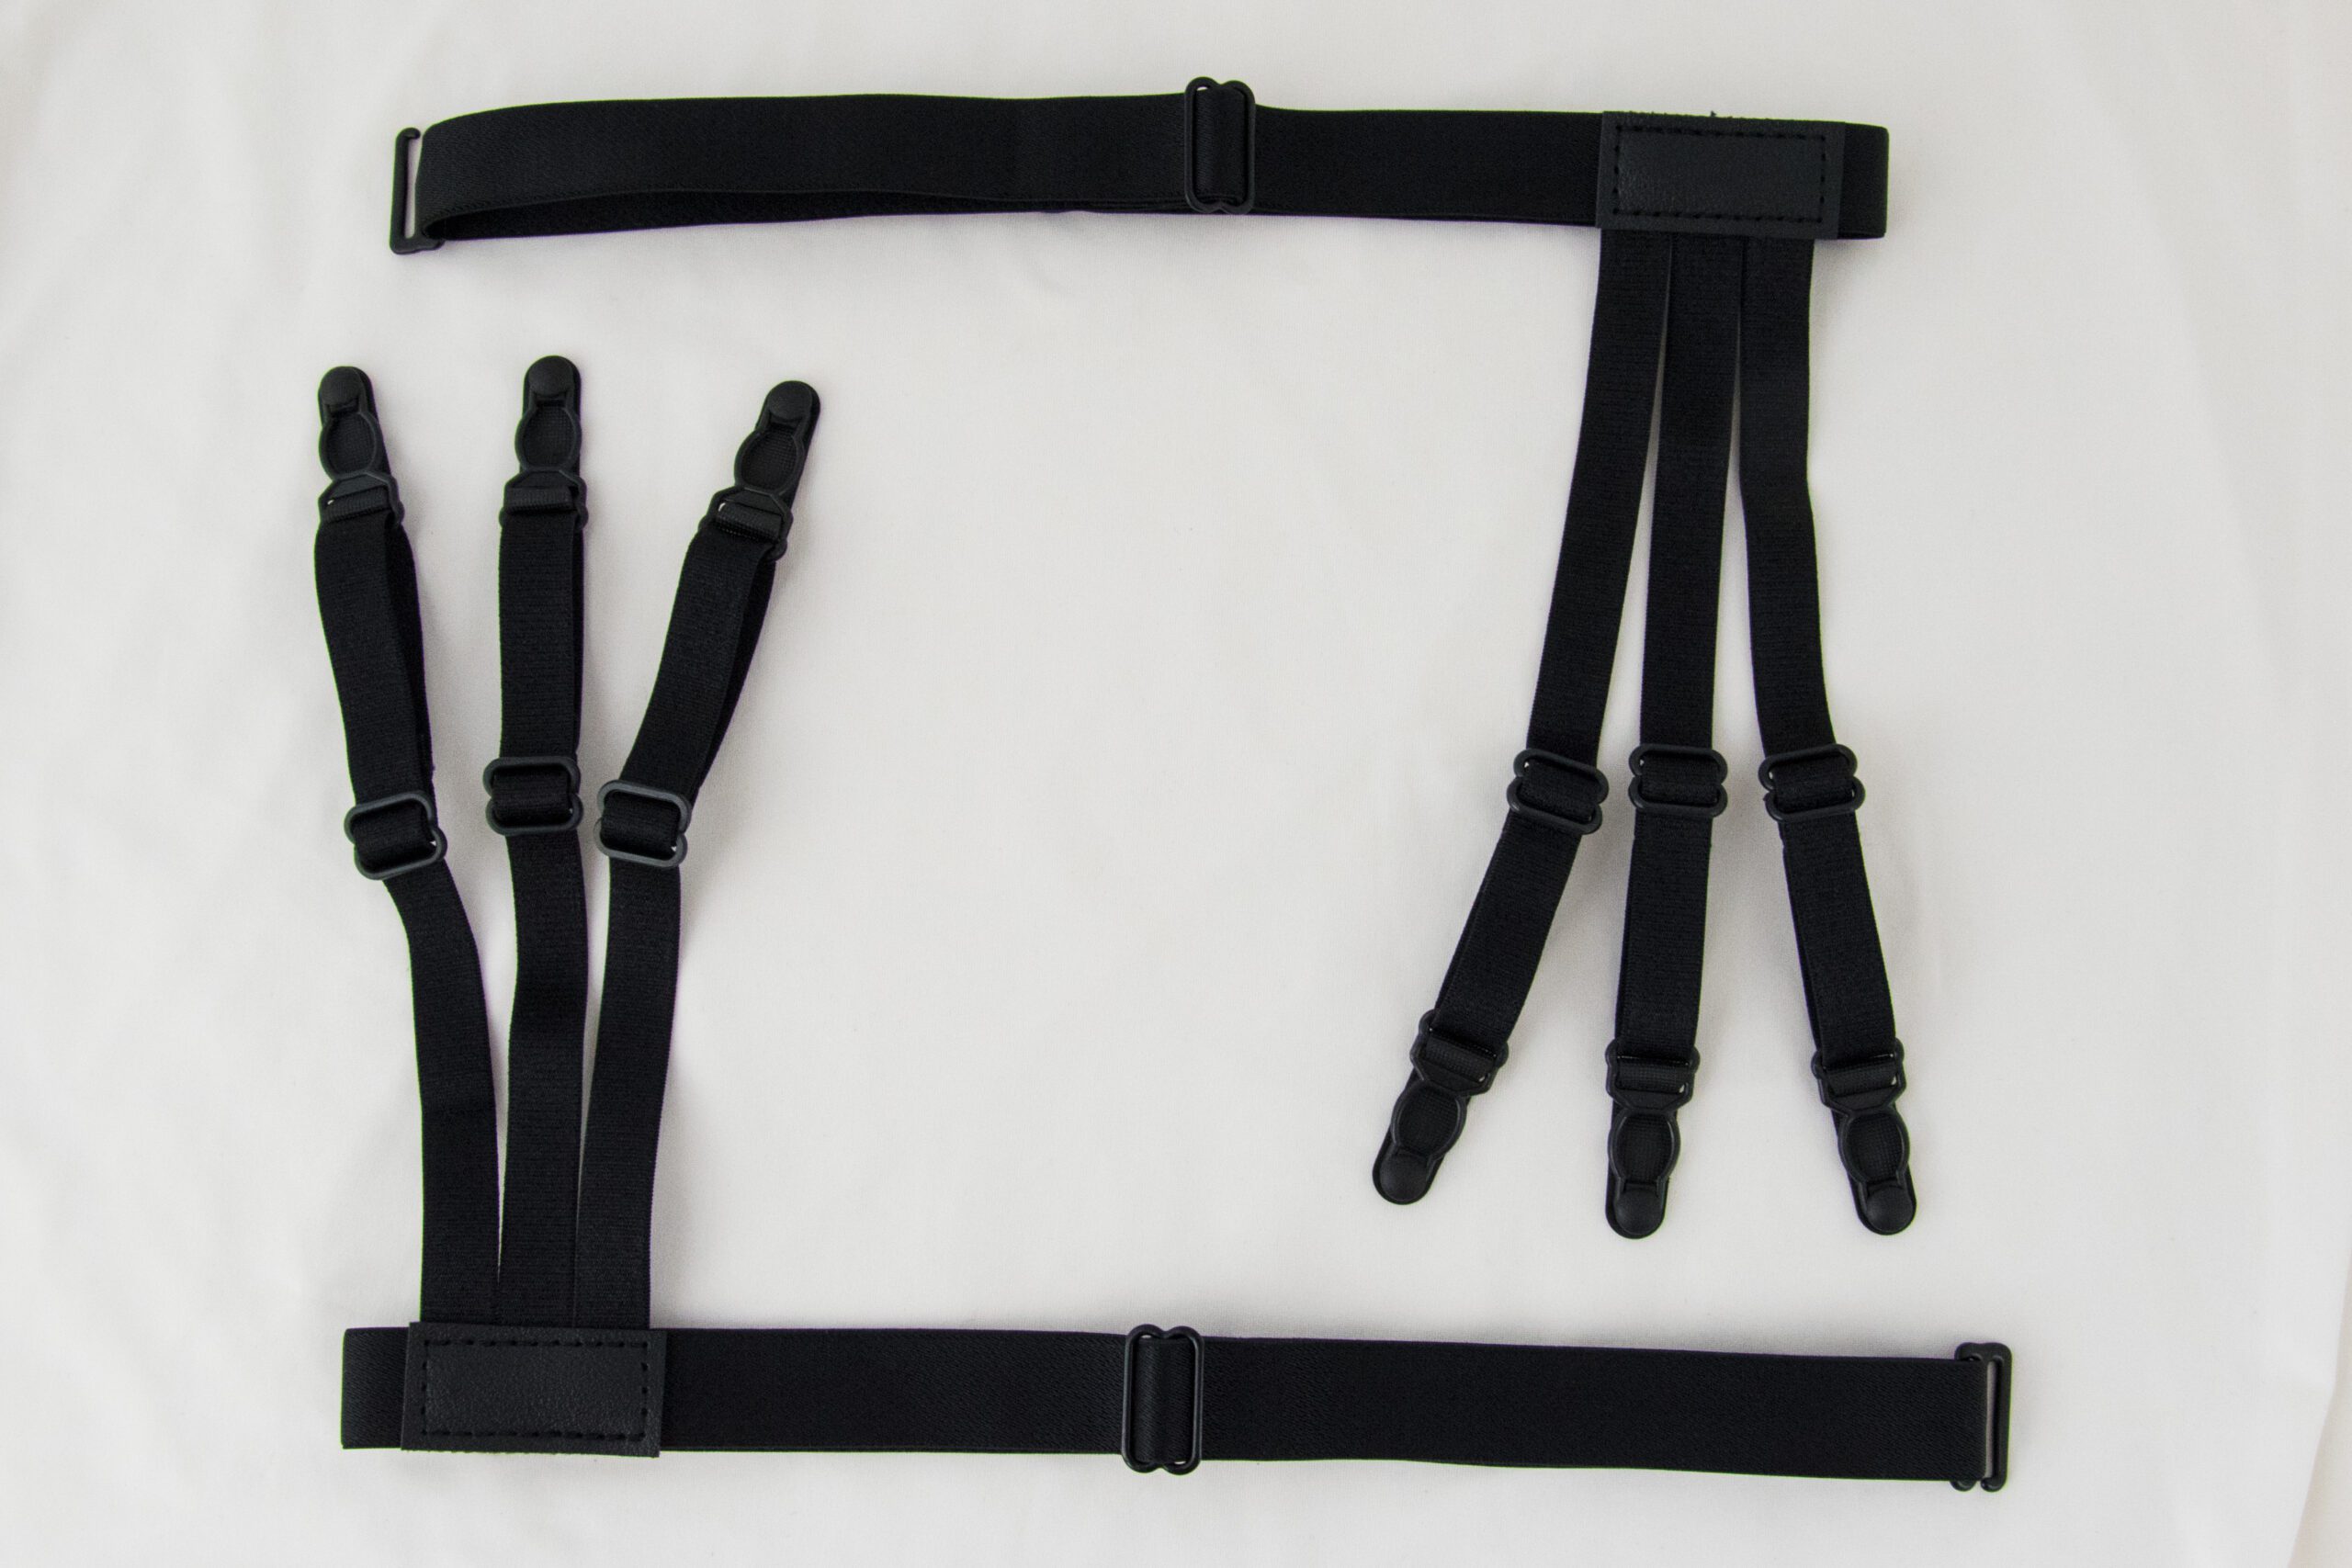
Step 3: Preparing the Straps
Now that you have your T-shirt cut into the desired shape for your bikini, it’s time to prepare the straps. The straps are crucial for providing support and ensuring a comfortable fit. Here’s how you can make them:
- Decide on the width and length of your straps. Thinner straps create a more delicate and feminine look, while wider straps provide additional support.
- Measure and mark the desired length for each strap. Keep in mind that you’ll need two straps for the bikini top and two additional straps for the bikini bottom.
- Using a ruler or measuring tape, carefully cut out the straps from the remaining fabric of the T-shirt. Make sure each strap is of equal length to maintain symmetry.
- Once you have cut out the straps, it’s time to reinforce them for durability. Fold each strap in half lengthwise, with the right side of the fabric facing outwards.
- Using a sewing machine or a needle and thread, stitch along the open side of each strap to secure the fold. This will prevent the straps from fraying and unraveling over time.
- If desired, you can also add decorative elements to the straps, such as beads, charms, or fabric flowers, to personalize your T-shirt bikini.
By preparing the straps in advance, you’ll have them ready to attach to the bikini top and bottom in the next steps. Well-made and durable straps will ensure the longevity of your T-shirt bikini, allowing you to enjoy it for many beach seasons to come.
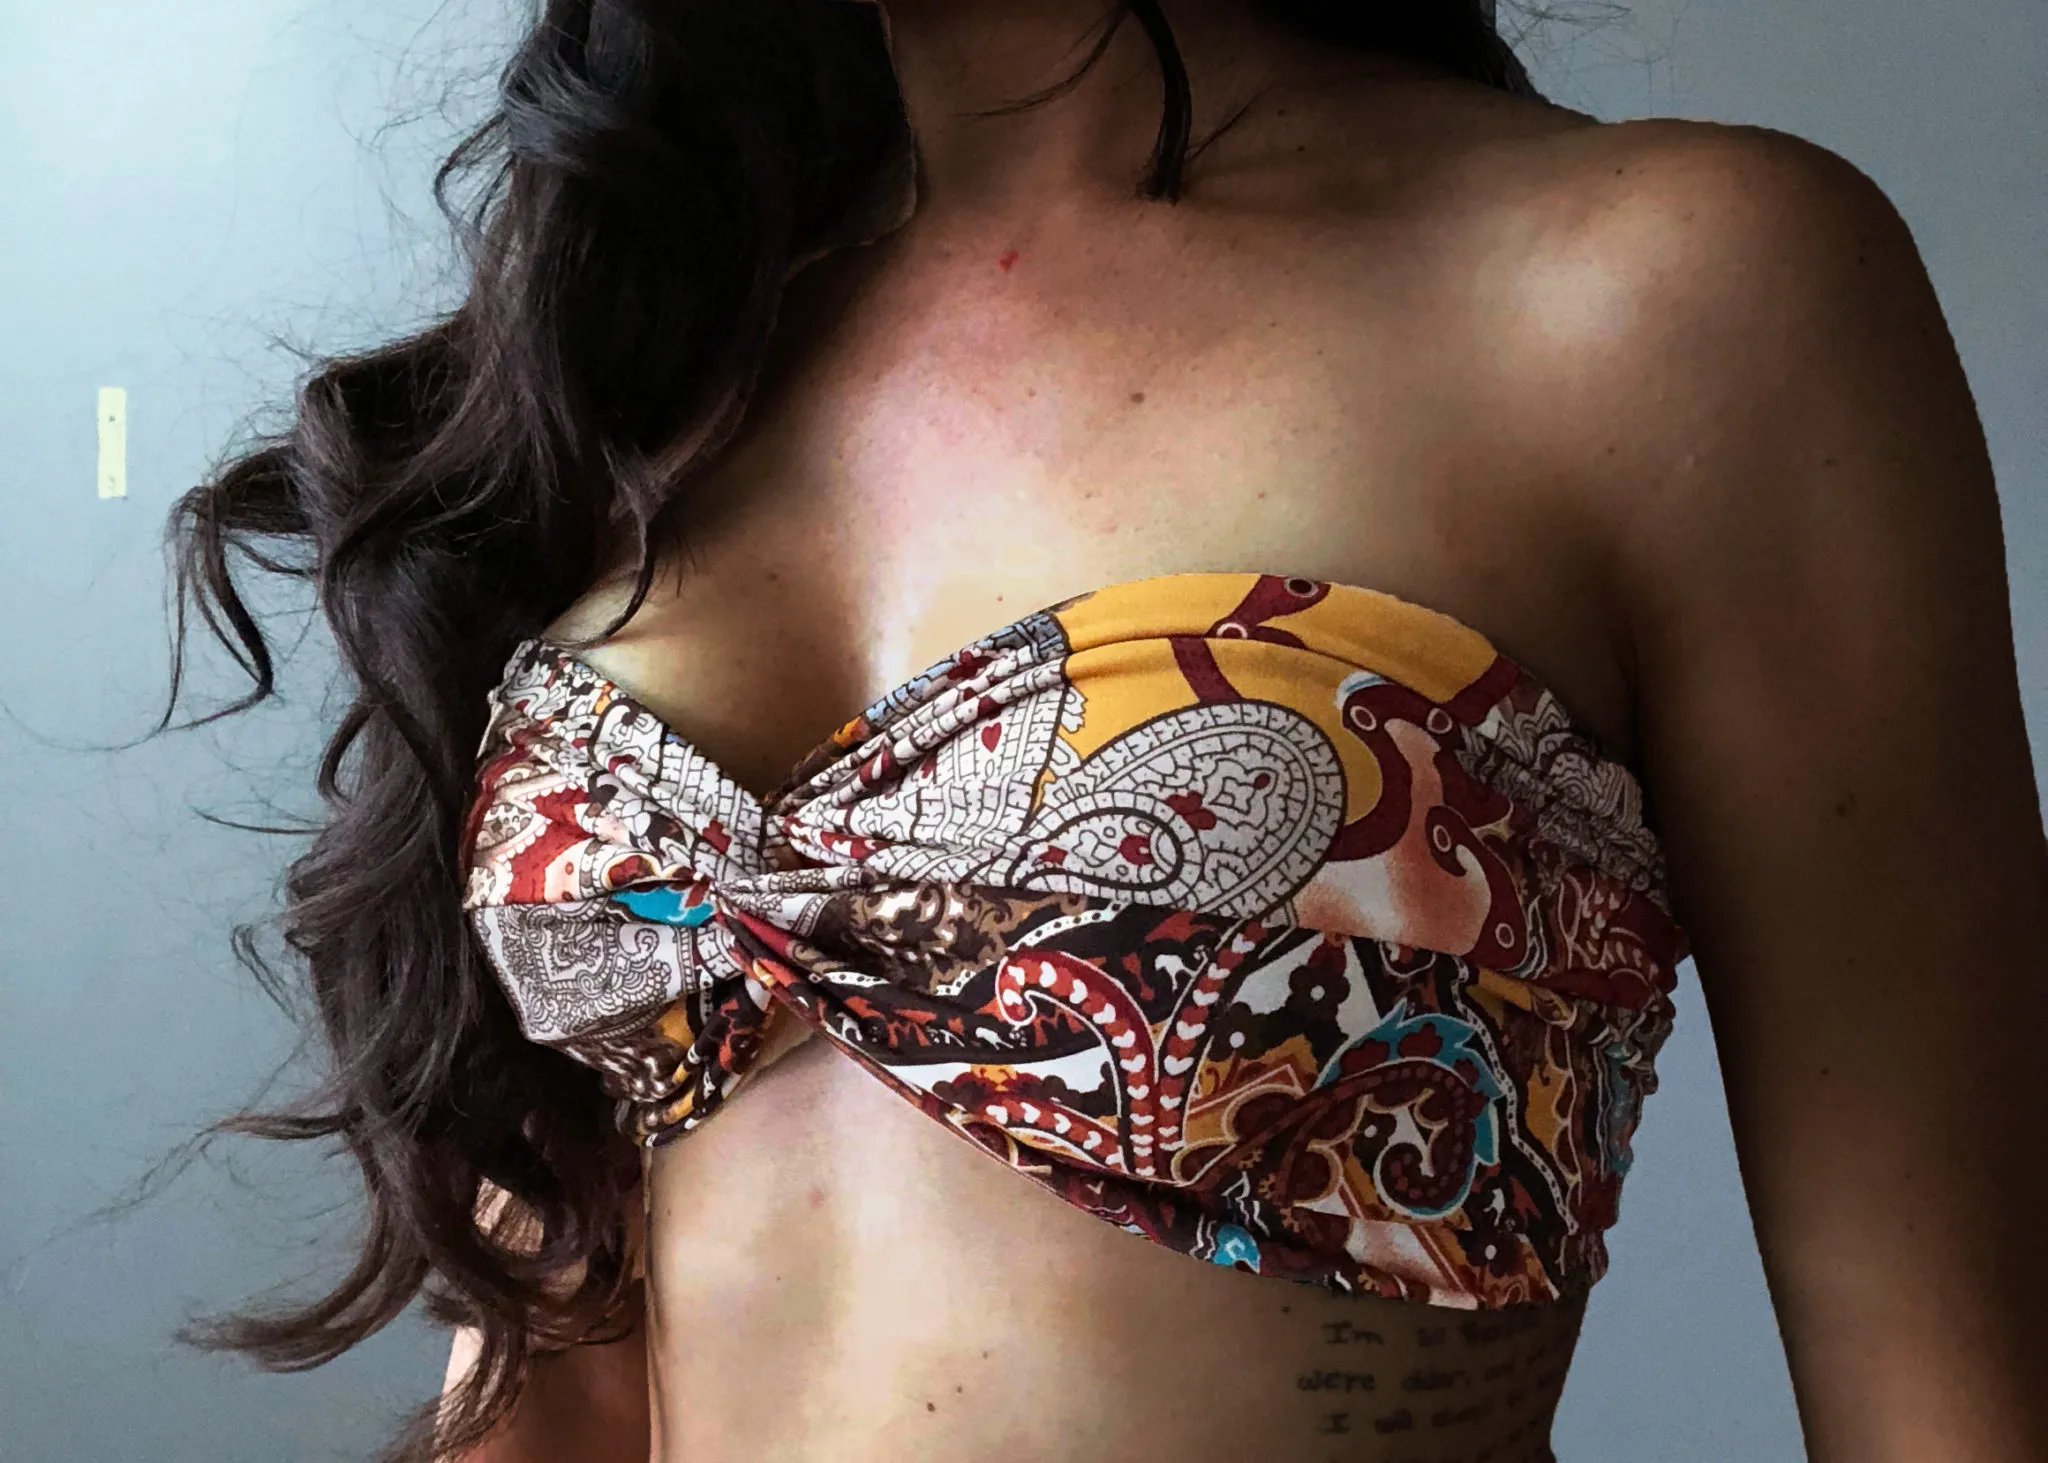
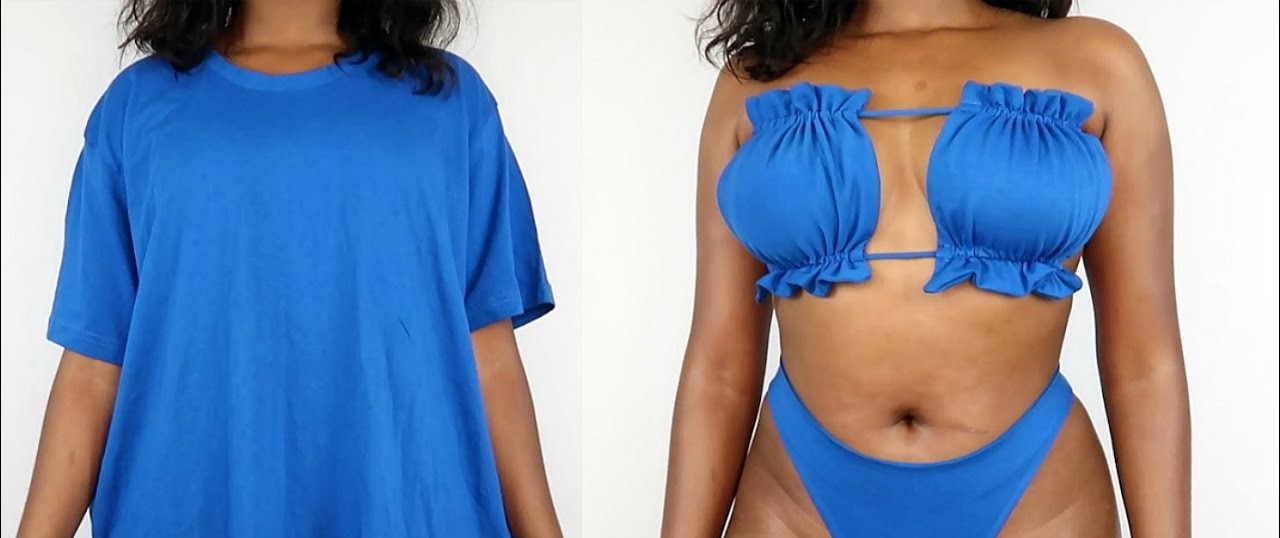
Step 4: Creating the Bikini Top
Now that you have prepared the straps, it’s time to create the bikini top. Follow these steps to complete this part of the process:
- Take your T-shirt cutout for the bikini top and lay it flat on a table or any flat surface.
- Position the straps on the front of the bikini top, placing them where you want them to be attached. The straps should be evenly spaced and align with the edge of the top.
- Pin the straps in place, perpendicular to the edge of the bikini top. Make sure to secure all layers of fabric to prevent slippage during the sewing process.
- Using a sewing machine or a needle and thread, carefully sew the straps to the bikini top. You can use a straight stitch or a zigzag stitch for added reinforcement.
- Take this opportunity to try on the bikini top and make any necessary adjustments. If the fit or placement of the straps doesn’t feel right, now is the time to make changes.
- Double-check that all seams are properly secured, and trim any excess thread for a neat finish.
Once you complete these steps, you’ll have a fully functional and customized bikini top. The straps will provide the necessary support, and you can confidently strut your stuff on the beach or by the pool.
Now that the bikini top is complete, it’s time to move on to creating the bikini bottom. Let’s dive right in!
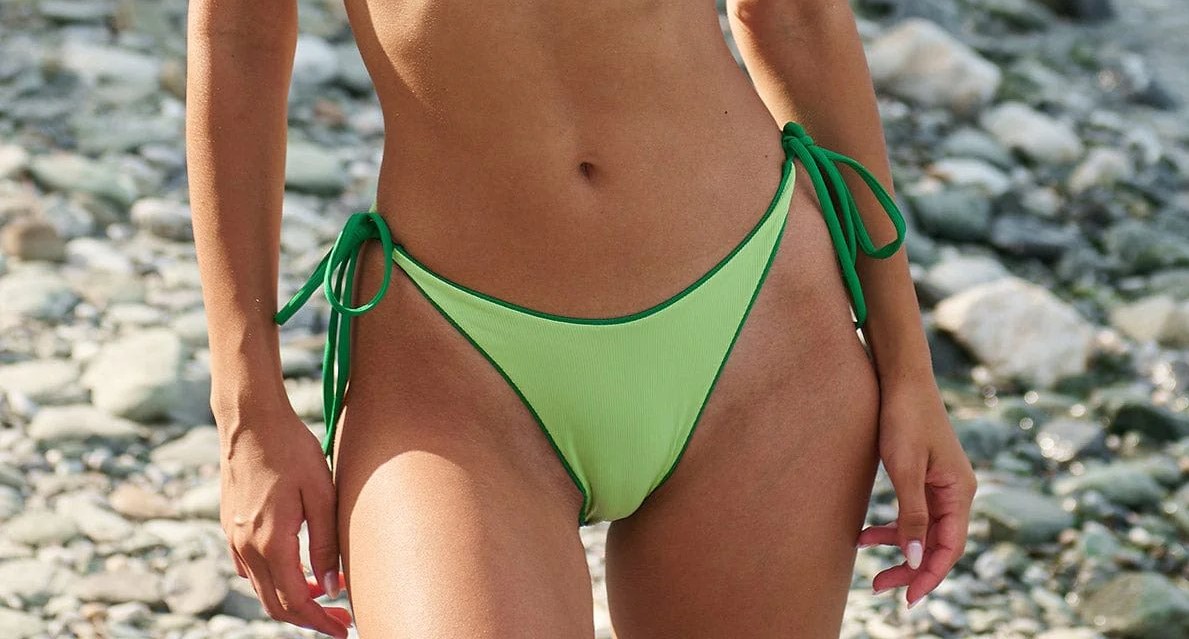
Step 5: Making the Bikini Bottom
Now that the bikini top is completed, it’s time to move on to crafting the bikini bottom. Follow these steps to create the perfect fit:
- Take your T-shirt cutout for the bikini bottom and lay it flat on a table or any flat surface.
- Fold the bottom piece in half, ensuring that the front and back align with each other.
- Position the straps for the bikini bottom, placing them where you want them to be attached. The straps should be evenly spaced and align with the edges of the bottom piece.
- Pin the straps in place, perpendicular to the edge of the bottom piece.
- Using a sewing machine or a needle and thread, sew the straps to the bikini bottom, making sure to secure all layers of fabric.
- Similar to the bikini top, try on the bikini bottom to ensure the straps are in the right place and the fit is comfortable.
- Make any necessary adjustments by repositioning the straps or trimming excess fabric to achieve your desired fit.
- Double-check that all seams are securely sewn and trim any excess thread.
By following these steps, you’ll have a bikini bottom that fits you perfectly and matches the style and design of your bikini top. The straps will provide support and ensure your comfort and confidence while enjoying your time in the water.
Now that both the bikini top and bottom are complete, it’s time to add the finishing touches and make any final adjustments.
Step 6: Adding Finishing Touches
With the bikini top and bottom crafted, it’s time to add the final touches and make any necessary adjustments. Here are some finishing touches to consider:
- If you prefer a more defined shape for your bikini top, consider adding removable padding or cups. These can be inserted into the lining of the bikini top to provide extra support and enhance your curves.
- Personalize your T-shirt bikini by adding decorative elements. You can sew on beads, sequins, or fabric patches to create a unique and eye-catching design.
- For added comfort and durability, reinforce the edges of the bikini with a zigzag stitch or a serger machine. This will ensure that the fabric doesn’t fray and the seams remain intact.
- Try on the complete bikini and make any final adjustments. If the fit isn’t perfect, you can make alterations such as tightening or loosening the straps or trimming excess fabric.
- Take your time to examine your creation and make sure all the stitches are secure, and the overall look is how you envisioned it.
Remember, the finishing touches are what make your T-shirt bikini truly unique and reflective of your personal style. Be creative and experiment with different ways to embellish and customize your creation.
Once you’re satisfied with the final result, your T-shirt bikini is ready to be shown off at the beach or poolside. Enjoy the satisfaction of wearing a swimsuit crafted with your own hands and get ready to turn heads with your creativity!
Conclusion
Congratulations! You have successfully created your own T-shirt bikini. By following the step-by-step process outlined in this article, you have transformed an ordinary T-shirt into a stylish and personalized swimsuit that fits your body perfectly.
Making a T-shirt bikini is not only a fun and creative project, but it also allows you to express your personal style and contribute to a more sustainable fashion industry. By upcycling an old T-shirt, you have given it a new life and reduced waste – a small yet significant step towards a more eco-friendly wardrobe.
Throughout the process, you have learned valuable skills such as cutting fabric, sewing straps, and adding finishing touches to your creation. Whether you’re a seasoned DIY enthusiast or a beginner, this project provides an opportunity to unleash your creativity and immerse yourself in the world of DIY fashion.
Now, it’s time to dive into the water and enjoy your new T-shirt bikini. Feel confident, comfortable, and empowered as you rock your handmade swimsuit at the beach or by the pool. Remember to embrace your unique style and enjoy the compliments that are sure to come your way!
Don’t stop at just one T-shirt bikini – experiment with different fabrics, colors, and designs to create a collection of swimwear that reflects your personality. With your newfound skills and creativity, the possibilities are endless.
So, gather your materials, unleash your creativity, and get started on your next T-shirt bikini project. Enjoy the process, have fun, and make a splash with your one-of-a-kind creations!