Home>How-to Guides>For Women>How To Make A Thong Out Of At Shirt
For Women
How To Make A Thong Out Of At Shirt
Modified: August 23, 2023
Learn how to transform your regular t-shirt into a stylish and comfortable thong for women with this easy step-by-step guide.
(Many of the links in this article redirect to a specific reviewed product. Your purchase of these products through affiliate links helps to generate commission for Under-tec.com, at no extra cost. Learn more)
Table of Contents
Introduction
Welcome to the world of DIY fashion! Are you tired of the same old underwear options available in stores? Do you want to add a touch of creativity to your lingerie collection? Look no further! In this article, we will walk you through the process of creating a thong using a simple t-shirt. Yes, you read that right! With just a few materials and some basic sewing skills, you can transform an ordinary t-shirt into a stylish thong that is both comfortable and unique.
Creating your own thong allows you to personalize your lingerie to match your style and preferences. Plus, it’s a great way to repurpose an old t-shirt and give it a new lease on life. Whether you’re a beginner or an experienced DIY enthusiast, this project is perfect for unleashing your creativity and adding a personal touch to your intimate wear.
In the following sections, we will guide you step by step through the process of making a thong out of a t-shirt. We’ll start with gathering the necessary materials, move on to cutting and shaping the fabric, and finish with attaching the elastic bands. By the end of this article, you’ll have a beautiful and comfortable thong that you can proudly wear.
So, grab your scissors, prepare your sewing kit, and let’s dive into the exciting world of DIY lingerie! Get ready to unleash your creativity and make a thong that perfectly reflects your unique style and personality.
Materials Needed
Before getting started on your DIY thong project, make sure you have the following materials on hand:
- A t-shirt: Choose a t-shirt that you no longer wear or one that you don’t mind repurposing into lingerie. You can select a t-shirt in any color or print that matches your style.
- Scissors: Make sure you have a pair of sharp fabric scissors to easily cut through the t-shirt fabric.
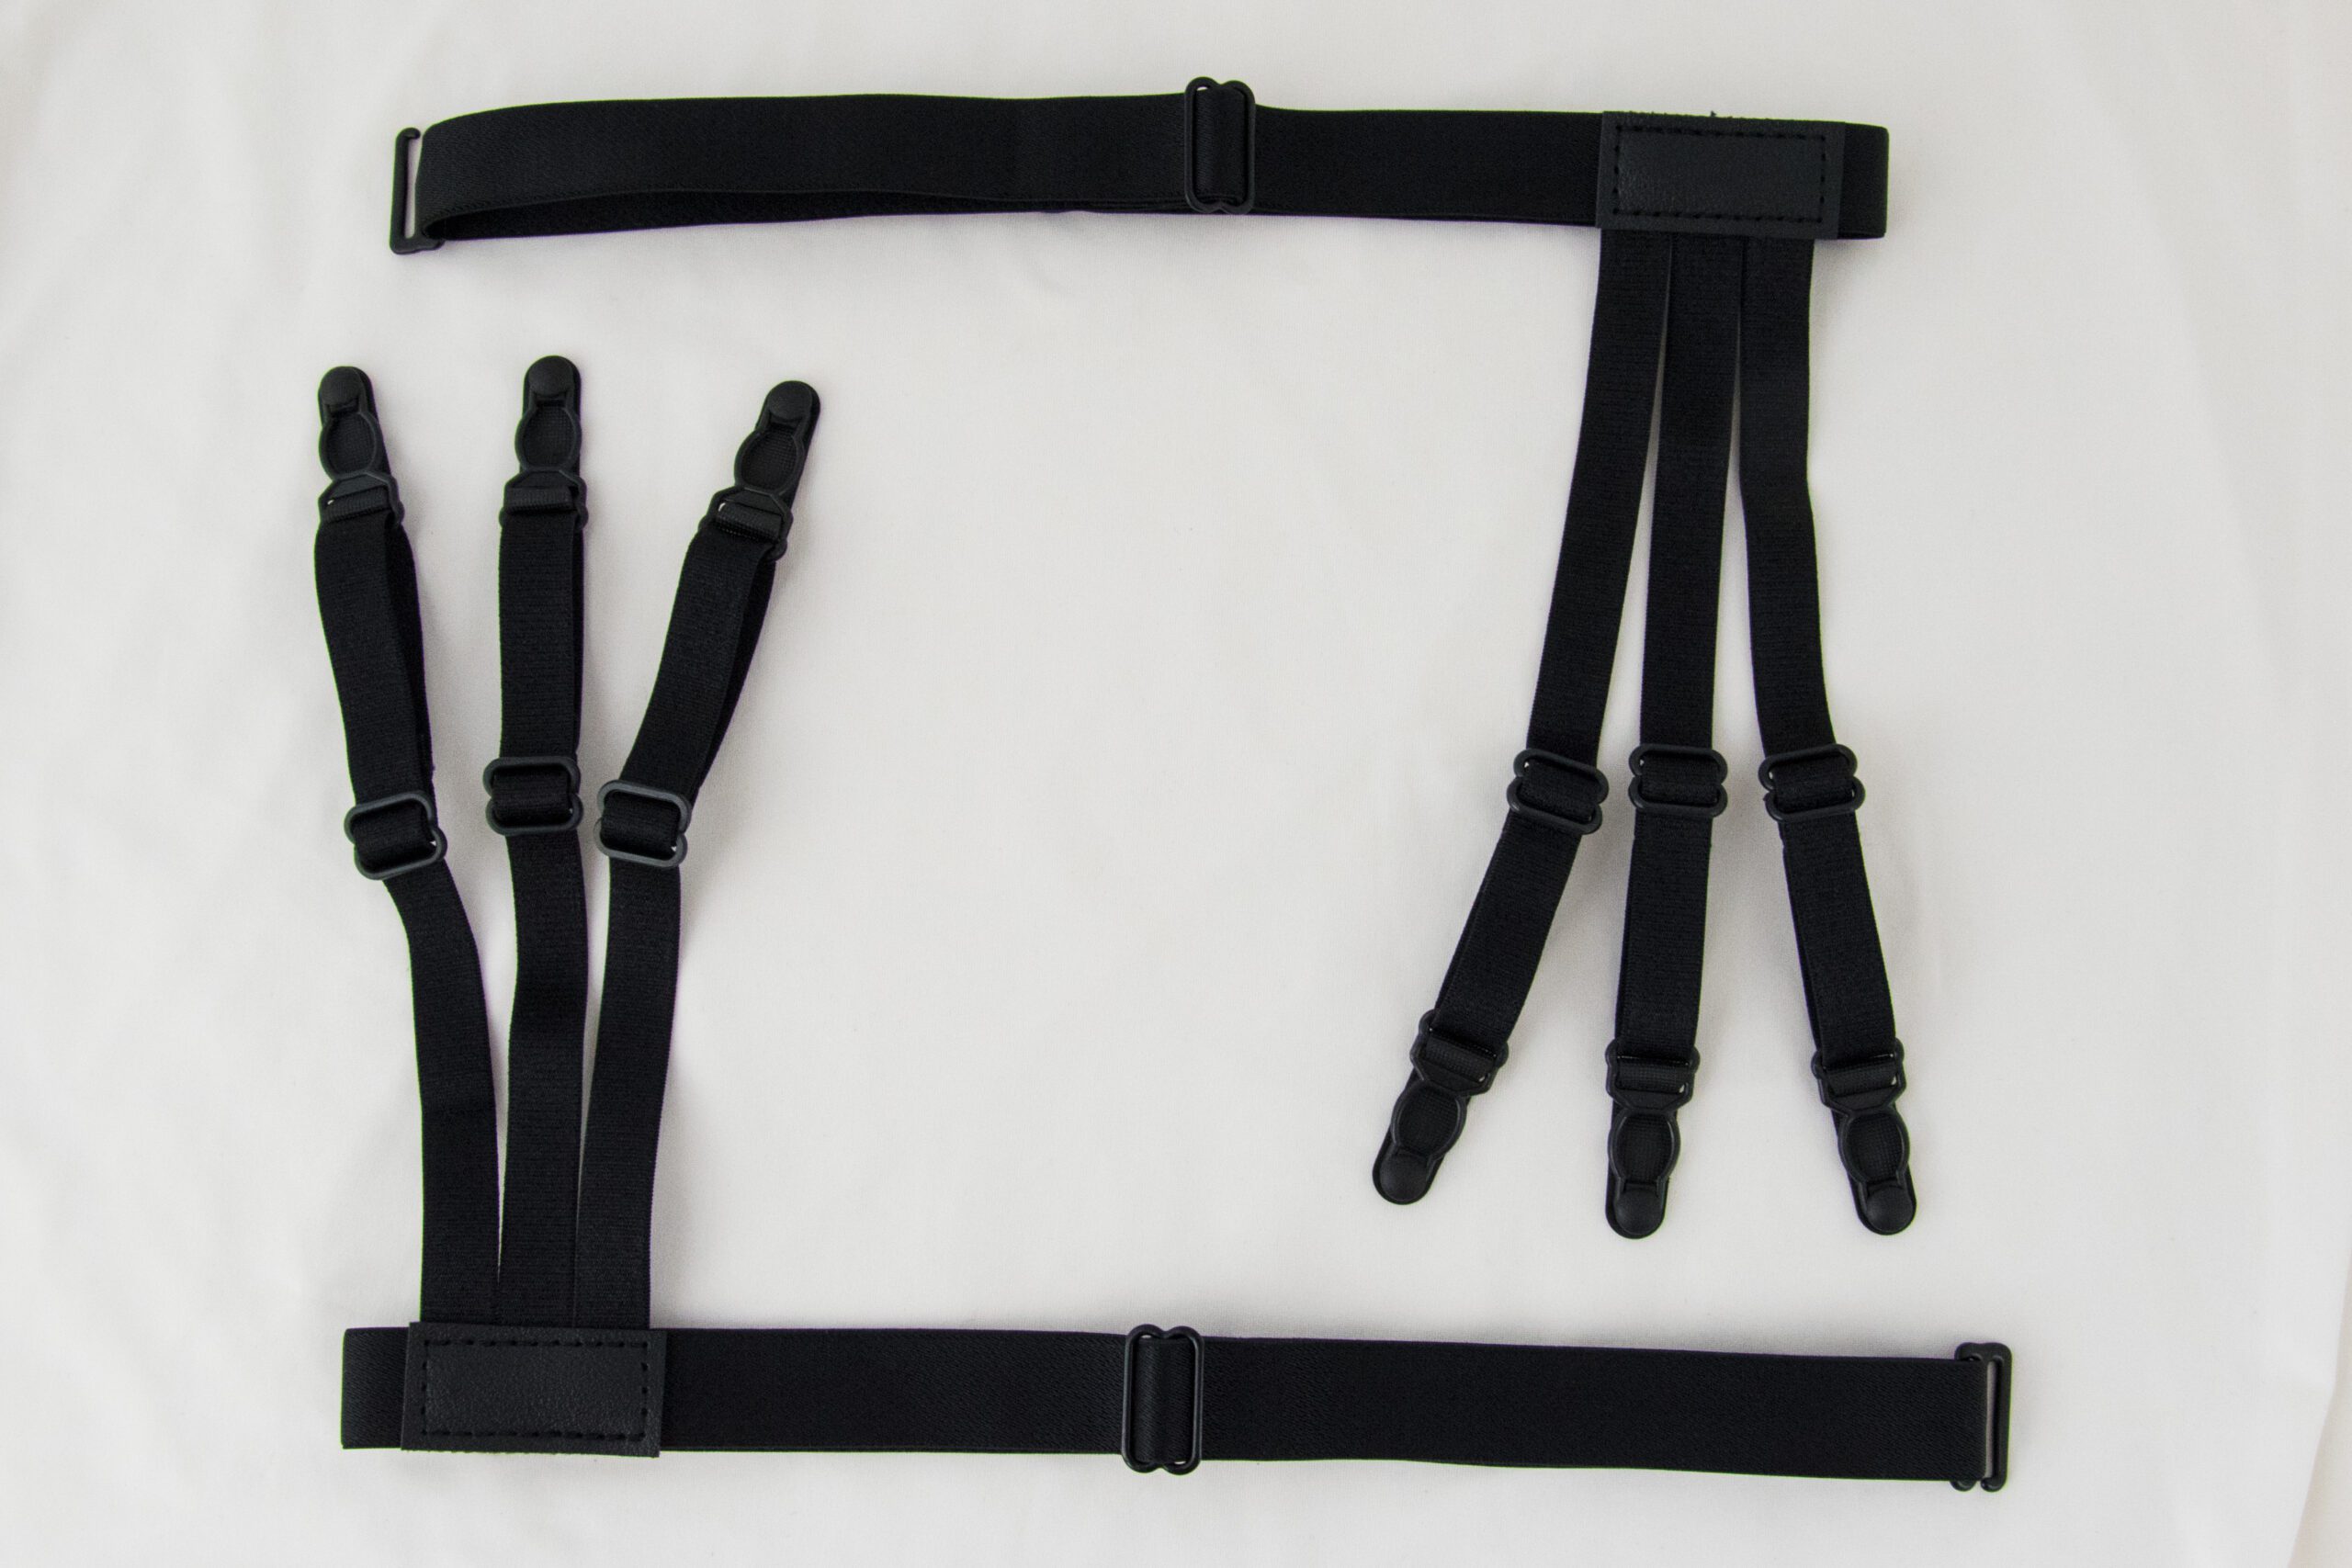
- Elastic bands: These will be used to give your thong its stretchy and comfortable fit. Choose elastic bands that are about 1/4 inch wide for the best results.
- Sewing machine or needle and thread: Depending on your sewing skills and preferences, you can use a sewing machine or sew by hand using a needle and thread. Both methods will work well for this project.
- Pins: These will be helpful for securing fabric layers together while sewing.
- Measuring tape or ruler: You’ll need this to accurately measure and mark the fabric for cutting.
Make sure to gather all the materials before starting the project to ensure a smooth and uninterrupted process. Once you have everything ready, it’s time to move on to the next step: cutting the shirt!
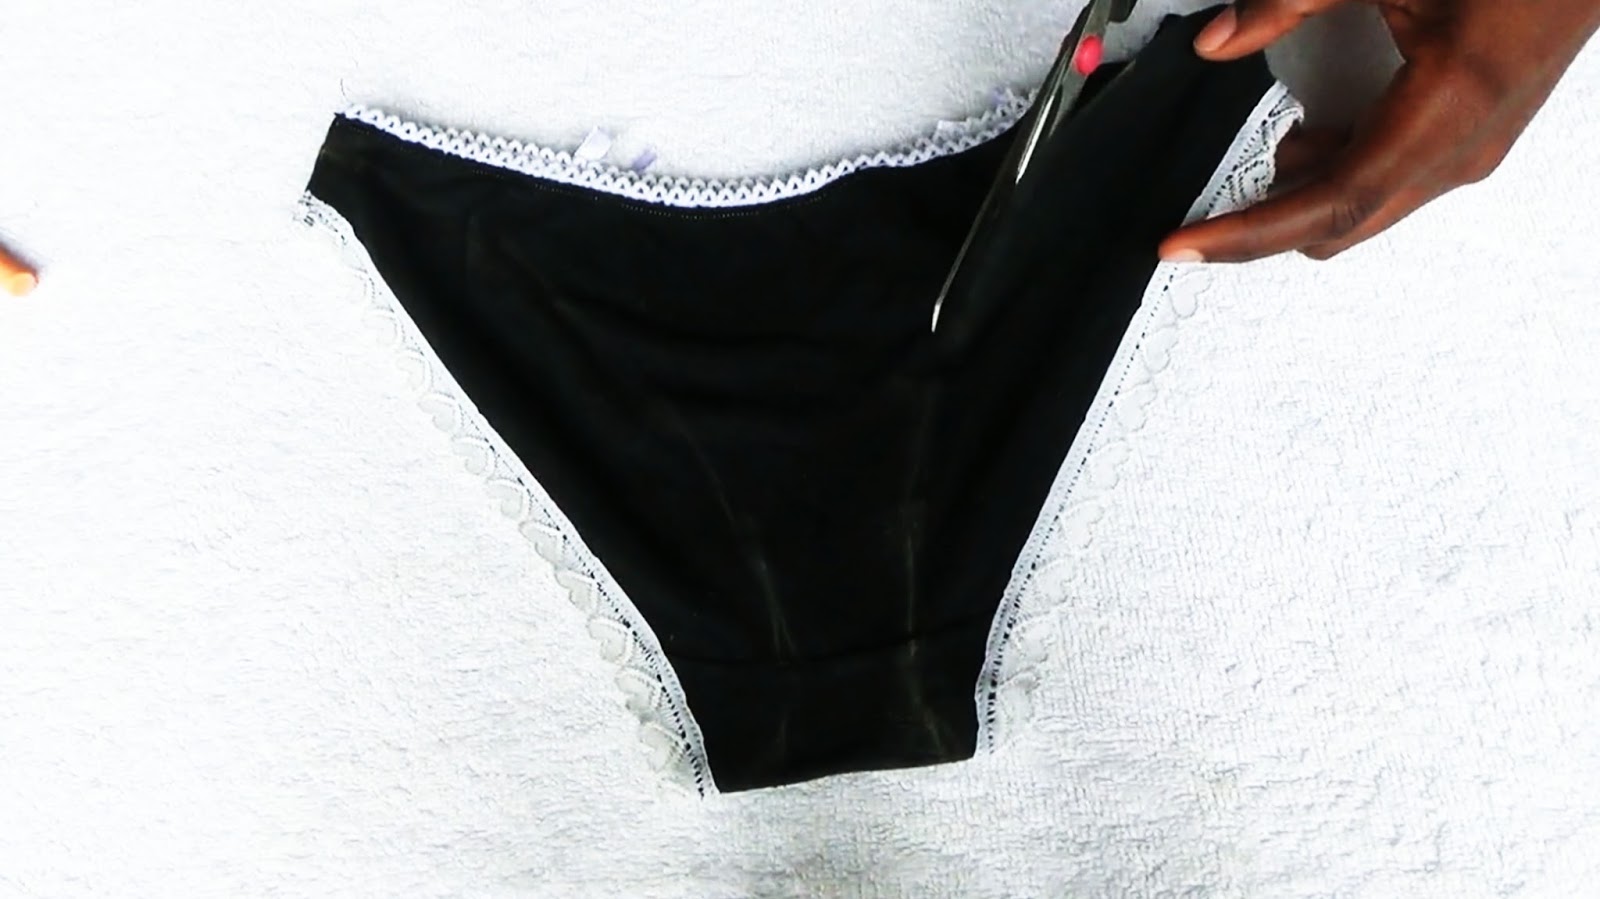
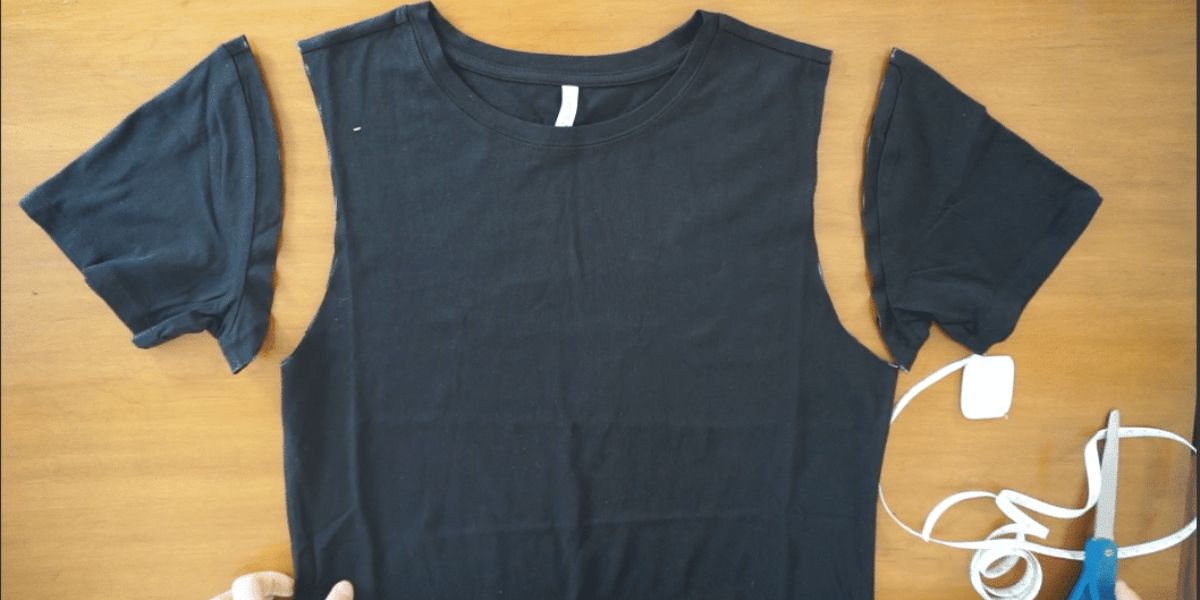
Step 1: Cutting the Shirt
The first step in making your DIY thong is to prepare the t-shirt by cutting it into the desired shape and size. Follow these simple instructions:
- Lay the t-shirt flat on a smooth surface, ensuring that all wrinkles are smoothed out. If there are any seams or hems, make sure they are facing up.
- Using your fabric scissors, cut off the hem of the t-shirt. This will give you a smooth edge to work with.
- Next, decide on the width of the thong you want to create. Starting from the bottom of the t-shirt, measure and mark the desired width on both sides with a fabric marker or chalk. Connect the marks to create a straight line across the fabric.
- To create the back part of the thong, make a diagonal cut from the bottom corner of the fabric to the point where the width measurement ends. Repeat this on both sides to create a V-shape.
- For the front part of the thong, measure and mark the desired length of the waistband from the top of the fabric. This will determine how high or low the thong will sit on your hips. Make sure the length is consistent on both sides.
- Draw a straight line across the fabric using the marks as a guide. This will be the top edge of the thong.
Once you have made all the necessary cuts, you should be left with a triangular-shaped piece of fabric, with the wider end representing the back of the thong and the narrower end representing the front. Now that you have successfully cut the shirt, it’s time to move on to the next step: measuring and marking.
Step 2: Measuring and Marking
Now that you have cut the t-shirt into a thong shape, it’s time to measure and mark the fabric to ensure a perfect fit. Follow these steps:
- Place the fabric on a flat surface and smooth out any wrinkles or creases.
- Using a measuring tape or ruler, measure the width of your hips or waist, depending on where you want the thong to sit. This will be the measurement for the elastic band.
- Add an extra inch to the measurement to account for seam allowance and comfort. This will be your final elastic measurement.
- Divide the final elastic measurement by 2 to determine the length for each elastic band. For example, if your final measurement is 30 inches, you will need two 15-inch long elastic bands.
- Using a fabric marker or chalk, mark the points on each side of the fabric where the elastic bands will be attached. These marks should be evenly spaced and parallel to the top edge of the thong.
- If desired, you can also mark the midpoint of the front and back of the thong to ensure even placement of the elastic bands.
Take your time to measure and mark accurately, as this will ensure a comfortable and well-fitting thong. Once you have measured and marked the fabric, you’re ready to move on to the next step: cutting the thong shape.
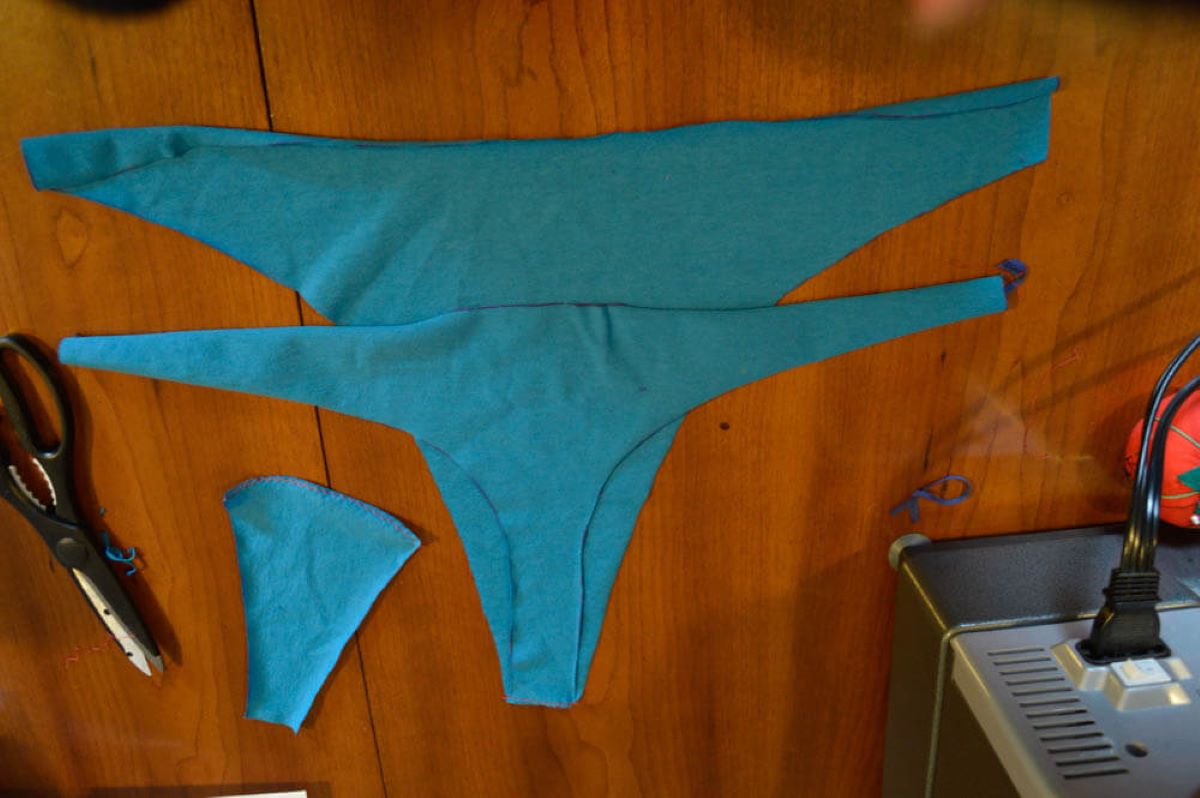
Step 3: Cutting the Thong Shape
With the fabric measured and marked, it’s time to cut the thong shape to create the perfect fit. Follow these instructions:
- Using your fabric scissors, carefully cut along the marked lines to shape the fabric into a thong.
- Start by cutting the sides of the fabric, following the marked lines. This will form the triangular shape of the back part of the thong, with the wider end at the bottom.
- Next, cut along the top edge of the fabric to create the waistband. Follow the marked line to ensure an even shape.
- Pay attention to any curved areas. Take your time to cut along the curve, maintaining a smooth and clean edge.
- Once you have finished cutting, you should be left with a thong shape that is ready for the next step.
Make sure to be precise while cutting to achieve a well-defined thong shape. Take your time and carefully follow the marked lines. Once you have successfully cut the thong shape, you’re ready to move on to the next step: attaching the elastic bands.
Step 4: Attaching the Elastic Bands
Now that you have cut the thong shape, it’s time to attach the elastic bands for a secure and comfortable fit. Follow these simple steps:
- Take one of the elastic bands and fold it in half. This will help you find the center point.
- Pin the center point of the elastic band to one of the marked points on the fabric. Make sure the elastic band is aligned with the top edge of the thong.
- Stretch the elastic band gently as you pin it to the fabric. This will ensure a snug fit and prevent the thong from slipping.
- Continue pinning the elastic band to the fabric, easing the tension as needed to fit the fabric. Make sure to distribute the fabric evenly along the elastic.
- Repeat the process with the second elastic band, pinning it to the other marked point on the fabric.
- Once both elastic bands are pinned in place, sew them onto the fabric using a sewing machine or needle and thread. Start at one end of the elastic and backstitch for added durability.
- Sew along the edge of the elastic, stretching it gently as you sew to match the length of the fabric.
- Continue sewing until you reach the other end of the elastic. Again, backstitch to secure the stitching.
- Repeat the sewing process for the second elastic band, ensuring that both bands are securely attached.
Take your time while sewing the elastic bands to ensure a neat and secure finish. Make sure to backstitch at the beginning and end of each elastic band for added strength. Once the elastic bands are attached, you’re ready for the final step: trying on the thong and making any necessary adjustments.
Step 5: Trying on and Adjustments
Now that your DIY thong is almost complete, it’s time to try it on and make any necessary adjustments for the perfect fit. Follow these steps:
- Put on the thong and assess how it fits on your body. Pay attention to the waistband and the elastic bands for any discomfort or tightness.
- If the thong feels too tight or uncomfortable, you can make adjustments by loosening the elastic bands. Remove any stitches that secure the elastic bands and reposition them to achieve a more comfortable fit.
- If the thong feels too loose, you may need to tighten the elastic bands. Remove the stitches, gather the excess fabric along the elastic, and resew to create a snugger fit.
- Make sure to try on the thong multiple times during the adjustment process to ensure you achieve the desired fit.
- If necessary, you can also make adjustments to the overall shape and length of the thong by trimming the fabric. Just make sure to leave enough seam allowance and test the fit after each adjustment.
Remember, everyone’s body shape is unique, so it’s important to customize the thong to fit your specific measurements and comfort level. Take your time and make the necessary adjustments until you achieve the ideal fit for your DIY thong.
Once you’re satisfied with the fit, you can secure the elastic bands by sewing them in place. Use a zigzag stitch to prevent the fabric from fraying and ensure the longevity of your DIY thong.
Congratulations! You’ve successfully created your very own thong out of a t-shirt. Enjoy wearing your unique and personalized lingerie creation!
Conclusion
Creating your own thong out of a t-shirt is a fun and creative way to add a unique piece to your lingerie collection. By repurposing an old t-shirt and using simple materials, you can personalize your intimate wear to match your style and preferences. Not only does this DIY project allow you to unleash your creativity, but it also gives you the opportunity to reduce waste and repurpose garments that would otherwise be discarded.
Throughout this article, we’ve guided you through the step-by-step process of making a thong out of a t-shirt. From cutting the fabric to attaching the elastic bands, each step ensures that you achieve a comfortable and well-fitting thong.
Remember to take your time with each step, ensuring accuracy and precision. Measure and mark the fabric carefully, and adjust the fit as needed to create a thong that feels and looks perfect on your body.
Now that you have completed your DIY thong, enjoy the satisfaction of wearing lingerie that is uniquely yours. Show off your creativity and personal style with confidence. Whether you wear it for yourself or for someone special, your DIY thong is sure to leave a lasting impression.
So, go ahead and explore your inner fashion designer by creating more custom lingerie pieces. Let your imagination run wild and experiment with different t-shirts, fabrics, and embellishments to create a collection that is truly one-of-a-kind.
Remember, the key to successful DIY projects is to have fun and embrace your creativity. Enjoy the process, and with each new creation, you’ll become more skilled and confident in your ability to personalize your wardrobe.
Now, start rummaging through your closet, grab your scissors and sewing kit, and get ready to transform an old t-shirt into a fabulous thong. Happy crafting!