Home>How-to Guides>For Women>How To Make Your Own Thong Without Sewing
For Women
How To Make Your Own Thong Without Sewing
Modified: July 30, 2023
Learn how to create your own thong for women without the need for sewing. Follow our simple step-by-step guide to DIY lingerie.
(Many of the links in this article redirect to a specific reviewed product. Your purchase of these products through affiliate links helps to generate commission for Under-tec.com, at no extra cost. Learn more)
Table of Contents
Introduction
Welcome to the world of DIY fashion! Have you ever found yourself in a situation where you need a thong but don’t have the time or resources to go out and buy one? Well, worry no more! In this article, we will show you how to make your own thong without sewing. Yes, you heard it right, no sewing required!
Whether you’re looking for a quick fix for a wardrobe malfunction or simply enjoy crafting your own intimate apparel, this step-by-step guide will help you create a thong that is comfortable, stylish, and uniquely yours.
Rest assured, making your own thong is not as complicated as it may seem. With just a few materials and some basic measurements, you’ll be on your way to creating a customizable and fashionable thong in no time. Plus, the best part is that you can choose the fabric and design that match your personal style perfectly.
So, get ready to unleash your creativity and dive into the world of DIY thong making. Whether you’re a novice or a seasoned crafter, this guide will walk you through the step-by-step process, ensuring that you have all the information you need to make your own thong without breaking a sweat or even picking up a needle and thread.
Now let’s gather our materials and dive into this exciting DIY adventure!
Materials Needed
Before we dive into the DIY process, let’s gather the materials you’ll need to make your own thong without sewing. Don’t worry, these materials are easily accessible and budget-friendly. Here’s what you’ll need:
- Stretchy Fabric: Look for a fabric that has some give and stretch to ensure a comfortable fit. You can choose from options like cotton, jersey, or spandex.
- Elastic: You’ll need a thin strip of elastic to create the waistband of the thong. Make sure it’s soft and stretchy but still provides support.
- Fabric Glue: This will be your go-to adhesive for securing the fabric together. Look for a fabric glue that dries clear and remains flexible.
- Scissors: A good pair of scissors will come in handy for cutting the fabric and elastic.
- Ruler or Measuring Tape: Accurate measurements are key to ensure a well-fitting thong, so having a ruler or measuring tape on hand is essential.
- Marker or Chalk: Use a marker or chalk to mark the measurements on the fabric before cutting.
That’s it! With these basic materials, you’re ready to start creating your own thong without sewing. It’s always a good idea to gather all the materials before beginning the DIY process to avoid any interruptions. Now that we have everything we need, let’s move on to the next step – choosing the fabric!
Step 1: Choosing the Fabric
When it comes to selecting the fabric for your DIY thong, it’s important to choose a stretchy and comfortable material. You want something that will feel great against your skin and allow for easy movement. Here are a few options to consider:
- Cotton: Cotton is a popular choice for underwear due to its breathability and softness. Look for a cotton jersey or interlock fabric that has a good amount of stretch.
- Jersey: Jersey is a lightweight and stretchy fabric that is often used for activewear. It comes in a variety of prints and colors, allowing you to customize your thong to your liking.
- Spandex: If you want a fabric that offers maximum stretch and flexibility, spandex is a great choice. It provides a snug and form-fitting feel, perfect for a thong.
- Lace: For a touch of elegance and femininity, consider using lace fabric for the front panel of your thong. It adds a delicate and sensual touch to the design.
When choosing the fabric, it’s also essential to consider the thickness and opacity. Thicker fabrics may provide more coverage and support, while thinner fabrics can offer a more lightweight and breathable feel. Additionally, make sure the fabric is sturdy enough to withstand daily wear and washing.
Once you’ve decided on the type of fabric you want to use, consider getting a small swatch or sample before purchasing a larger piece. This will allow you to test the stretch and feel of the fabric, ensuring that it meets your expectations.
Remember, the choice of fabric is entirely up to you – so have fun with it! Pick a color or pattern that resonates with your personal style and makes you feel confident. With the fabric selected, we’re ready to move on to the next step – measuring and cutting.
Step 2: Measuring and Cutting
Now that you have your fabric ready, it’s time to take accurate measurements and cut the fabric to the desired size. Follow these steps:
- Measurements: Start by measuring your waist and hips using a measuring tape. Take note of these measurements as they will determine the size of your thong. You may also want to measure the desired length of the front and back panels of the thong.
- Marking the Fabric: Lay the fabric flat on a clean surface. Use a marker or chalk to mark the measurements on the wrong side of the fabric. Be sure to add seam allowance to the measurements to allow for a comfortable fit.
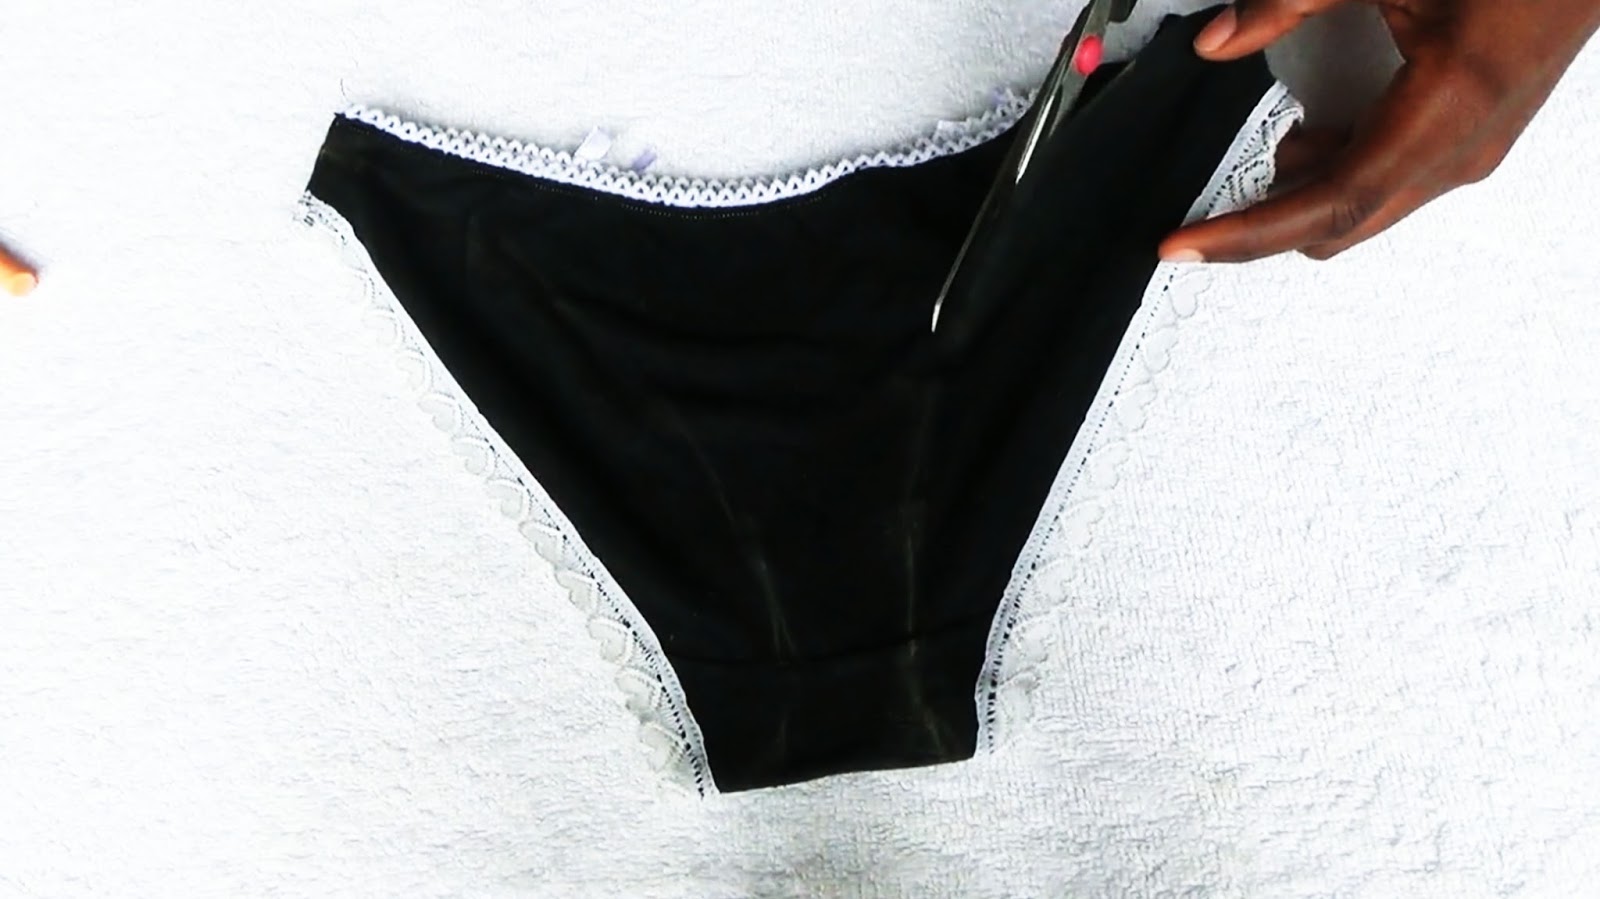
- Cutting: Using a sharp pair of scissors, carefully cut along the marked lines. Take your time to ensure clean and precise cuts. If you’re using different fabrics for the front and back panels, cut them separately.
- Elastic: Measure a piece of elastic that is slightly shorter than your waist measurement. This will be used to create the waistband. Cut the elastic and set it aside for later.
It’s important to note that everyone’s body is unique, so be sure to measure and cut the fabric according to your own measurements. The goal is to create a thong that fits comfortably and flatters your figure.
Once you have the fabric and elastic cut to the appropriate size, you’re ready to move on to the next step – creating the waistband. This is where the thong starts to take shape, so let’s dive in!
Step 3: Creating the Waistband
The waistband is an essential component of a thong, providing support, comfort, and a secure fit. Here’s how you can create the waistband for your DIY thong:
- Position the Elastic: Take the elastic strip that you measured and cut in the previous step. Place it around your waist to ensure it fits comfortably. Adjust the length if needed.
- Overlap: With the elastic positioned around your waist, overlap the ends of the elastic by about half an inch. This overlapping will be secured later to create a seamless waistband.
- Fabric Glue: Apply a small amount of fabric glue to the inside of one end of the elastic. Press the other end onto the glued side, making sure they are well-aligned and secure.
- Allow to Dry: Give the fabric glue some time to dry, following the instructions on the product packaging. This will ensure a strong bond between the elastic ends, creating a seamless waistband.
Once the fabric glue has completely dried, try the waistband on again to ensure a comfortable fit. It should be snug but not too tight, allowing for ease of movement. If needed, make any adjustments to the elastic length before proceeding.
Congratulations! You’ve successfully created the waistband for your thong. The next step is to move on to creating the front panel, which will add style and coverage to your handmade thong. Let’s continue our DIY journey!
Step 4: Making the Front Panel
The front panel of your thong is where you can get creative and add a personal touch to the design. Here’s how you can make the front panel:
- Fabric Selection: Choose the fabric you want to use for the front panel. You might opt for a contrasting color or a delicate lace to add a touch of elegance. Lay the fabric flat on a clean surface.
- Measurements: Using your waist and hip measurements as a guide, mark the desired width and length for the front panel. Remember to add seam allowance for a comfortable fit.
- Cutting: Carefully cut along the marked lines to create the front panel of your thong. Take your time to ensure clean and precise cuts, especially if you’re working with delicate fabrics like lace.
- Shape the Panel: To add a more flattering shape to the front panel, you can cut a slight curve at the top edge. This will mimic the natural curves of your body and enhance the fit.
Once you’ve cut the fabric into the desired shape, you now have the front panel of your thong. Take a moment to admire your work and envision how it will look when completed.
With the front panel complete, the next step is to move on to constructing the back panel. This is where the thong truly takes shape and provides coverage. So, let’s continue our DIY journey and move on to the next step!
Step 5: Constructing the Back Panel
The back panel of your thong is what provides coverage and comfort. Let’s dive into how you can construct the back panel:
- Measurements: Using your hip measurement as a guide, mark the desired width for the back panel. Keep in mind that the back panel will be narrower than the front panel to create the thong shape.
- Cutting: Carefully cut along the marked lines to create the back panel. Again, take your time to ensure clean and precise cuts.
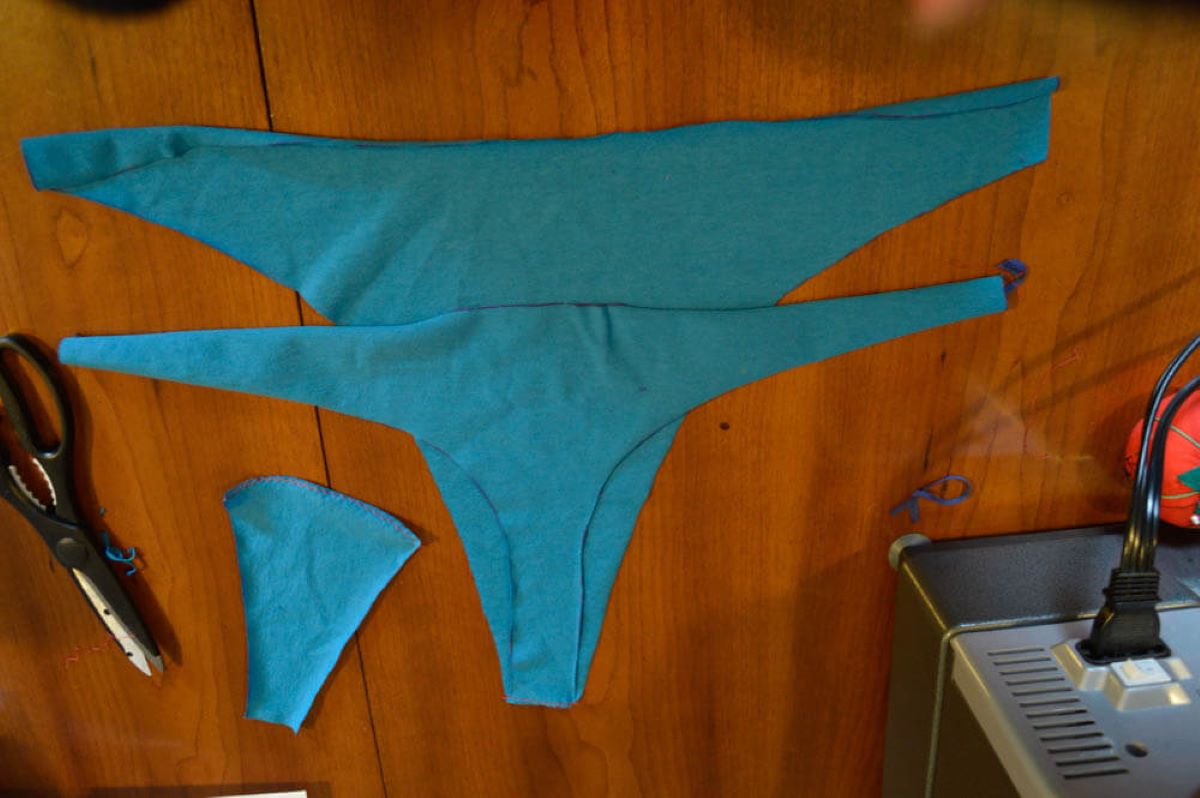
- Shape the Panel: To create the thong shape, you’ll need to cut a narrow triangle from the bottom center of the back panel. This triangle should be wide enough to provide coverage while still maintaining the thong style.
Once you’ve completed these steps, you’ll have the back panel of your thong ready to be attached to the front panel. It’s important to ensure that both panels are symmetrical and properly aligned.
Take a moment to appreciate the progress you’ve made so far. You’re getting closer to completing your own handmade thong! Now, let’s move on to the next step, which is attaching the front and back panels together.
Step 6: Attaching the Front and Back Panels
Now that you have both the front and back panels ready, it’s time to join them together to create the final structure of your handmade thong. Follow these steps:
- Align the Panels: Lay the front and back panels flat with their right sides facing each other. Make sure the edges are aligned as accurately as possible. This will ensure a clean and seamless finish.
- Fabric Glue or Adhesive: Apply a thin line of fabric glue or adhesive along the edges of the panels that will be joined together. Be sure to leave the leg openings unglued for comfort.
- Press and Secure: Gently press the glued edges of the front and back panels together. Hold them firmly for a few moments to allow the adhesive to bond the fabric. Follow the instructions on the fabric glue to determine the drying time.
- Check and Adjust: Once the glue has dried, check the seam to ensure it is secure. If needed, apply more adhesive and press the fabric together again. It’s important to have a sturdy connection between the two panels to ensure durability.
By following these steps, you have successfully joined together the front and back panels of your thong. Take a moment to admire your handiwork. Your thong is beginning to take shape and is almost complete!
Now, let’s move on to the final step – adding the finishing touches to your handmade thong.
Step 7: Finishing Touches
Congratulations! You’re in the final step of creating your own thong without sewing. Now, let’s add those finishing touches to complete your DIY masterpiece:
- Trim any Excess: Carefully trim any excess fabric or threads along the edges of your thong. This will give it a clean and professional look.
- Try it On: Put on your newly crafted thong and make sure it fits comfortably. Adjust the elastic waistband if necessary to ensure a perfect fit.
- Personalize: If desired, you can add some additional embellishments to make your thong even more unique. Consider adding decorative bows, lace trim, or small charms to enhance the aesthetics.
- Final Check: Before wearing your thong, give it one last inspection. Check the seams to ensure they are securely bonded and will withstand regular use.
By following these steps, you have successfully made your own thong without sewing. You have a piece of intimate apparel that is customized to fit your style and body.
Now it’s time to flaunt your creation confidently! Wear your thong with pride and enjoy the comfort and satisfaction of knowing that you crafted it with your own hands.
Remember, this DIY thong-making process is just a starting point. Feel free to experiment with different fabrics, designs, and embellishments to create even more unique and customized thongs in the future.
Thank you for joining us on this DIY journey. We hope you found this guide helpful and that you enjoy making and wearing your own thongs. Happy crafting!
Conclusion
Congratulations on successfully creating your own thong without sewing! By following this step-by-step guide, you’ve learned how to make a customized and comfortable thong using simple materials and techniques. Now, you have a unique piece of intimate apparel that fits your personal style and body perfectly.
Throughout this DIY process, you’ve explored choosing the right fabric, measuring and cutting accurately, creating the waistband, making the front and back panels, attaching them together, and adding those final finishing touches. Each step was designed to help you create a thong that is not only functional but also reflects your creativity and individuality.
Remember, this guide serves as a starting point for your DIY thong-making journey. Feel free to experiment with different fabrics, colors, shapes, and embellishments to create more varieties of thongs that suit your preferences. The beauty of making your own thong is the ability to personalize it to your liking.
By making your own thong without sewing, you’re not only saving money but also engaging in a sustainable and empowering practice. You’re embracing the satisfaction of creating something with your own hands and expressing your unique style in every aspect of your wardrobe.
So, go ahead and rock your handmade thongs with confidence. Let your creativity shine and enjoy the comfort and uniqueness of the thongs you’ve crafted. Happy DIYing!