Home>How-to Guides>For Women>How To Make A Thong Out Of Underwear Without Sewing
For Women
How To Make A Thong Out Of Underwear Without Sewing
Modified: August 2, 2023
Discover how to create a comfortable thong using underwear, without the need for sewing. Perfect for women seeking an affordable and creative lingerie option.
(Many of the links in this article redirect to a specific reviewed product. Your purchase of these products through affiliate links helps to generate commission for Under-tec.com, at no extra cost. Learn more)
Table of Contents
Introduction
Welcome to the world of DIY fashion! Have you ever found yourself in need of a thong but didn’t want to go out and buy one? Well, you’re in luck! In this article, we will guide you through the process of making a thong out of underwear, and the best part is, you won’t even need to sew anything!
Whether you’re looking to create a sexy lingerie piece for a special occasion or just want a comfortable and unique underwear option, making a thong out of your existing underwear is a fun and creative project. With a few simple steps, you can transform your regular panties into a stylish and flattering thong.
Not only is making your own thong a great money-saving alternative, it also allows you to customize the fit and style according to your preferences. Plus, the process is quick and easy, so you can have your own handmade thong in no time!
In this article, we will walk you through the materials you’ll need, the step-by-step process, and provide you with some tips and tricks to ensure your homemade thong is comfortable and well-fitted. So, let’s dive in and learn how to make a thong out of underwear without sewing!
Materials Needed
Before we get started, let’s gather all the materials you’ll need to make a thong out of underwear without sewing. Don’t worry, you probably have most of these items at home already! Here’s what you’ll need:
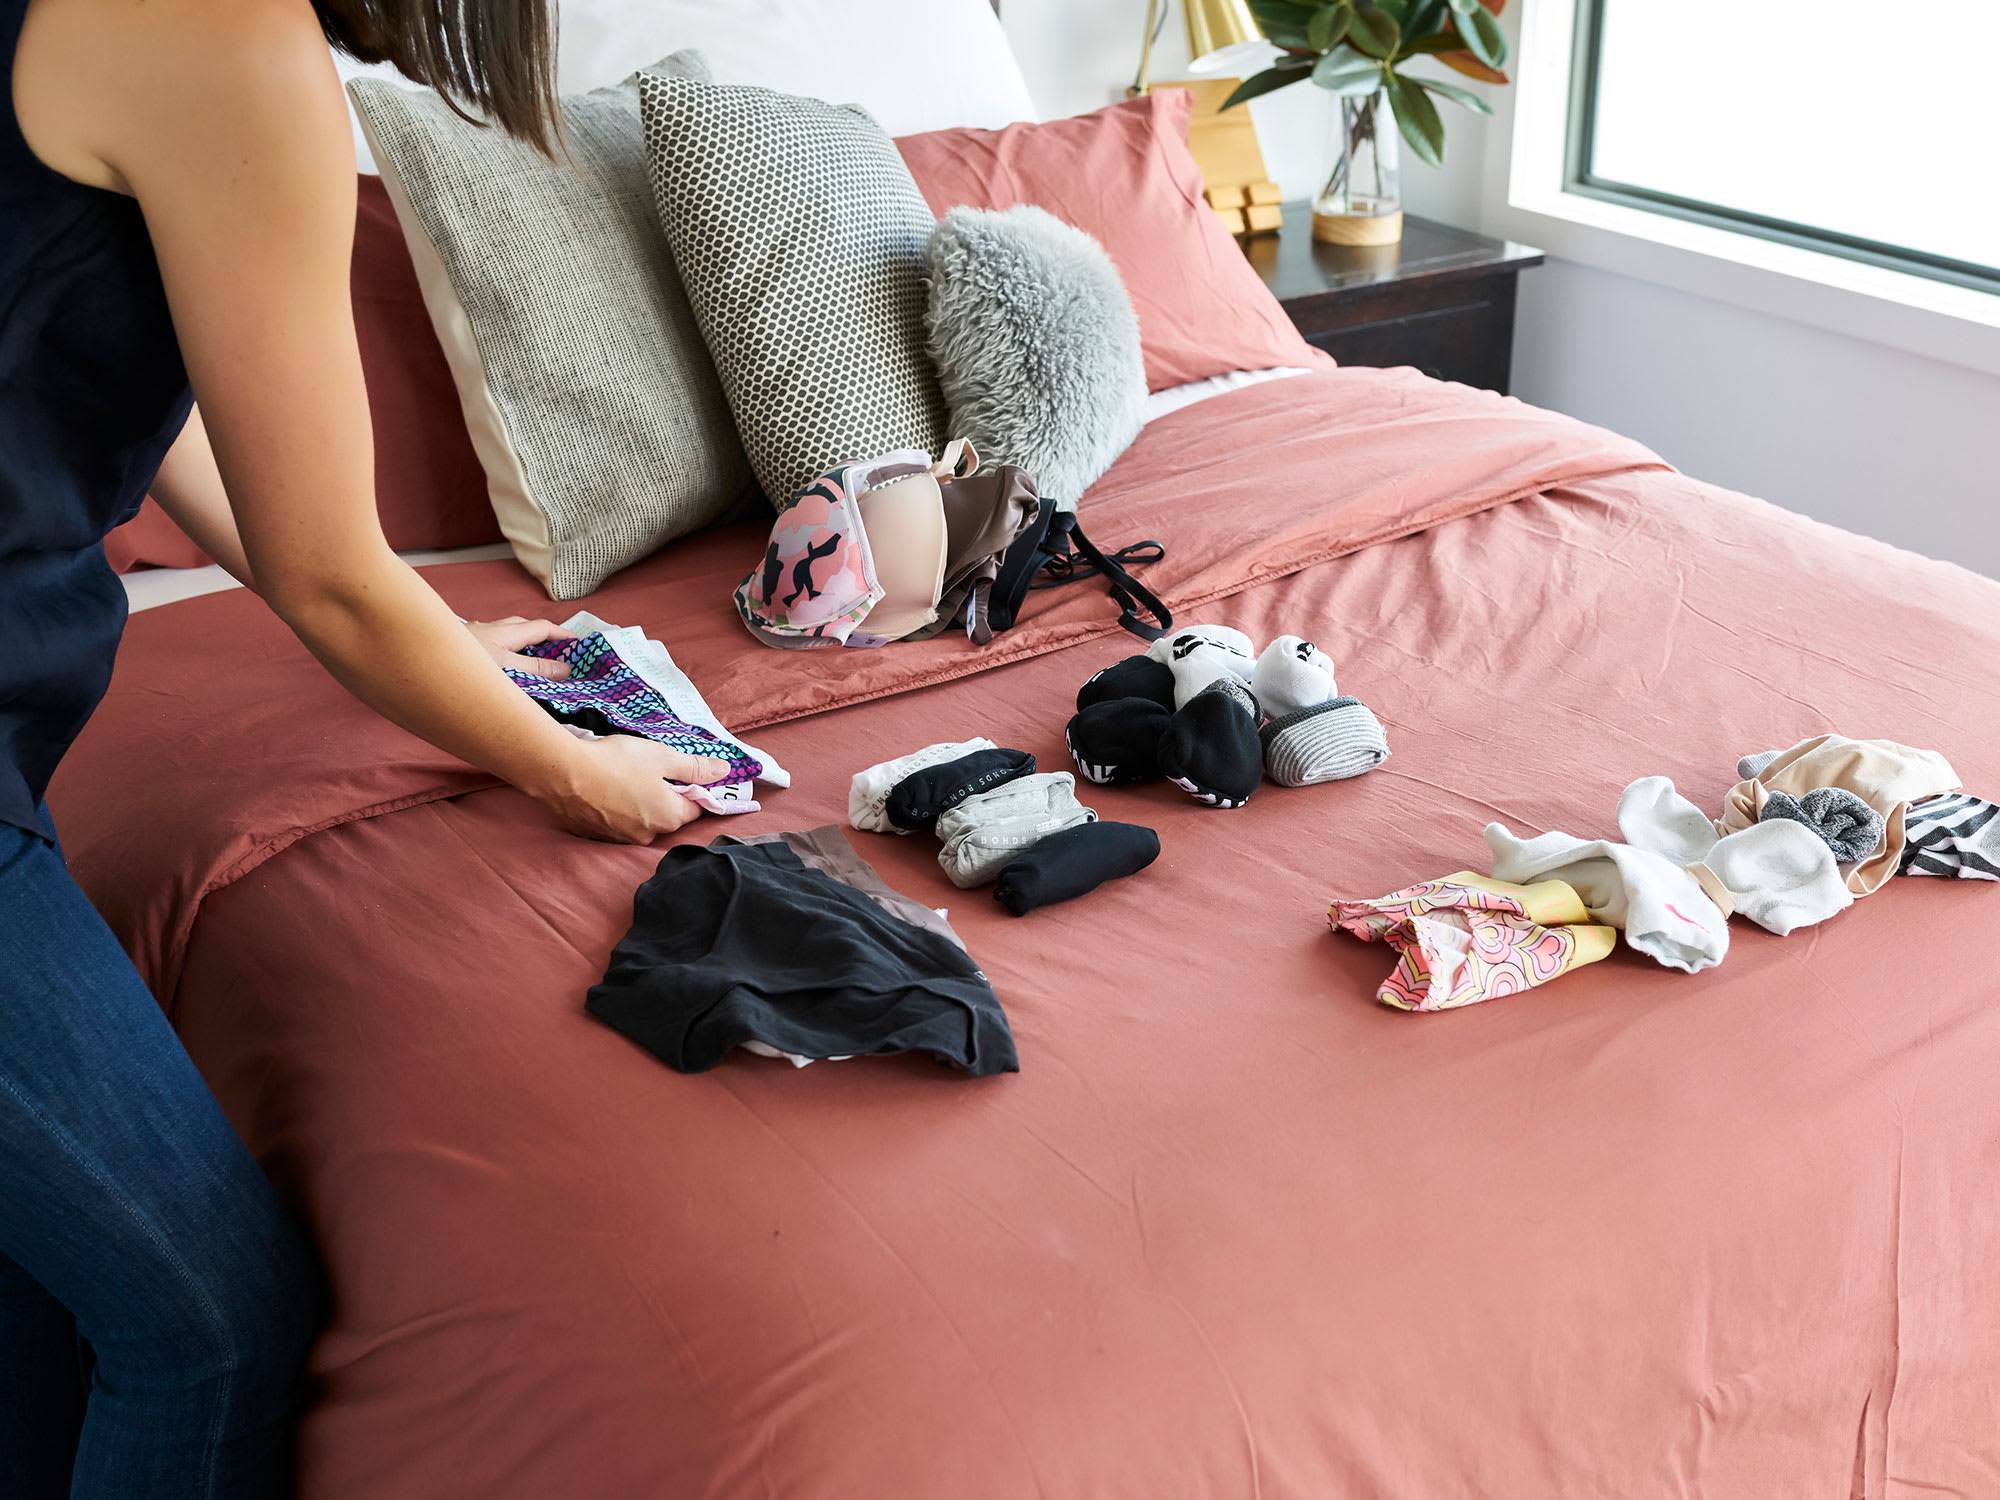
- A pair of underwear: Choose a pair that you’re willing to transform into a thong. It can be a bikini brief, hipster, or any style you prefer.
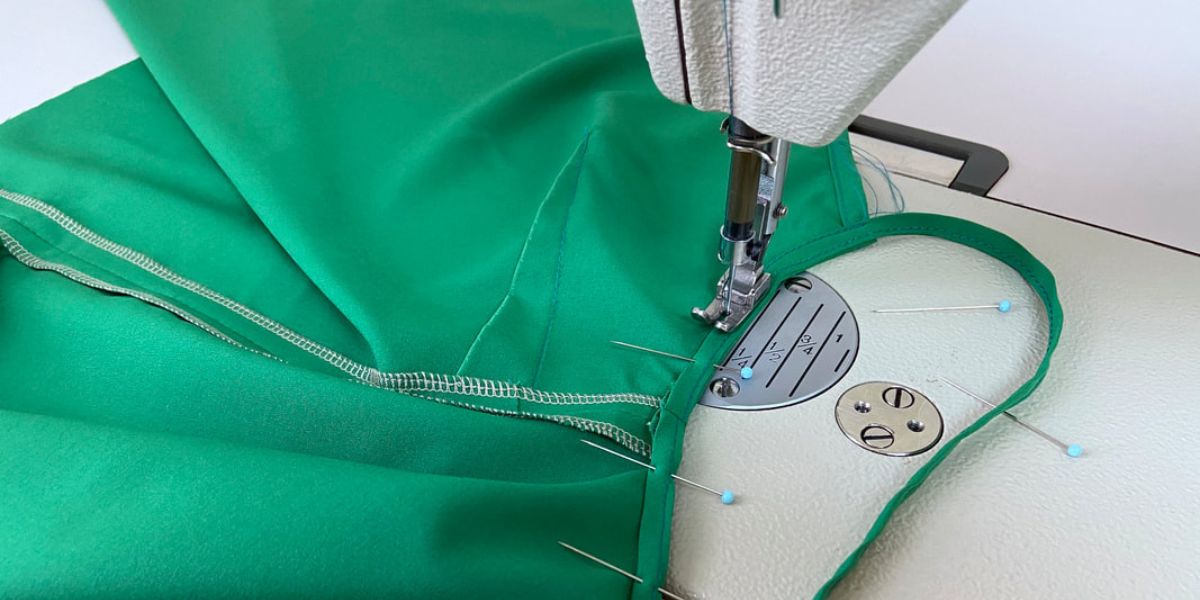
- Sharp scissors: Make sure you have a pair of scissors that are sharp enough to cut through fabric.
- Measuring tape: This will come in handy when you need to measure and adjust the size of your thong.
- Fabric adhesive or double-sided tape: This will be used to secure the edges of the thong without the need for sewing.
- Optional: Ribbon or decorative elastic: If you want to add a touch of creativity to your thong, you can use ribbon or decorative elastic to enhance the aesthetic appeal.
That’s it! With these basic materials, you’re all set to begin the process of turning your regular underwear into a fashionable and comfortable thong.
Now that we’ve gathered our materials, let’s move on to the step-by-step process of making a thong out of underwear without sewing.
Step 1: Choosing the Right Underwear
The first step in making a thong out of underwear is choosing the right pair of panties to transform. Consider the following factors when selecting your underwear:
- Comfort: Look for underwear that feels comfortable and fits well. Remember, you’ll still want your thong to feel comfortable after the transformation.
- Fabric: Opt for underwear made of breathable fabrics like cotton or microfiber, as they will provide better comfort and hygiene.
- Elasticity: Make sure the waistband and leg openings of the underwear have enough elasticity to ensure a secure fit.
- Style: Select a pair of underwear that you like the design of, as it will determine the overall look of your thong.
While any style of underwear can be transformed into a thong, some styles might be more suitable than others. Bikini briefs or hipster panties tend to work well for this project, but ultimately, the choice is up to your personal preference and comfort.
Remember, you’ll be altering the shape and fit of the underwear, so it’s important to choose a pair that you are willing to modify. Once you have selected the perfect pair, we can move on to the next step: cutting the underwear.
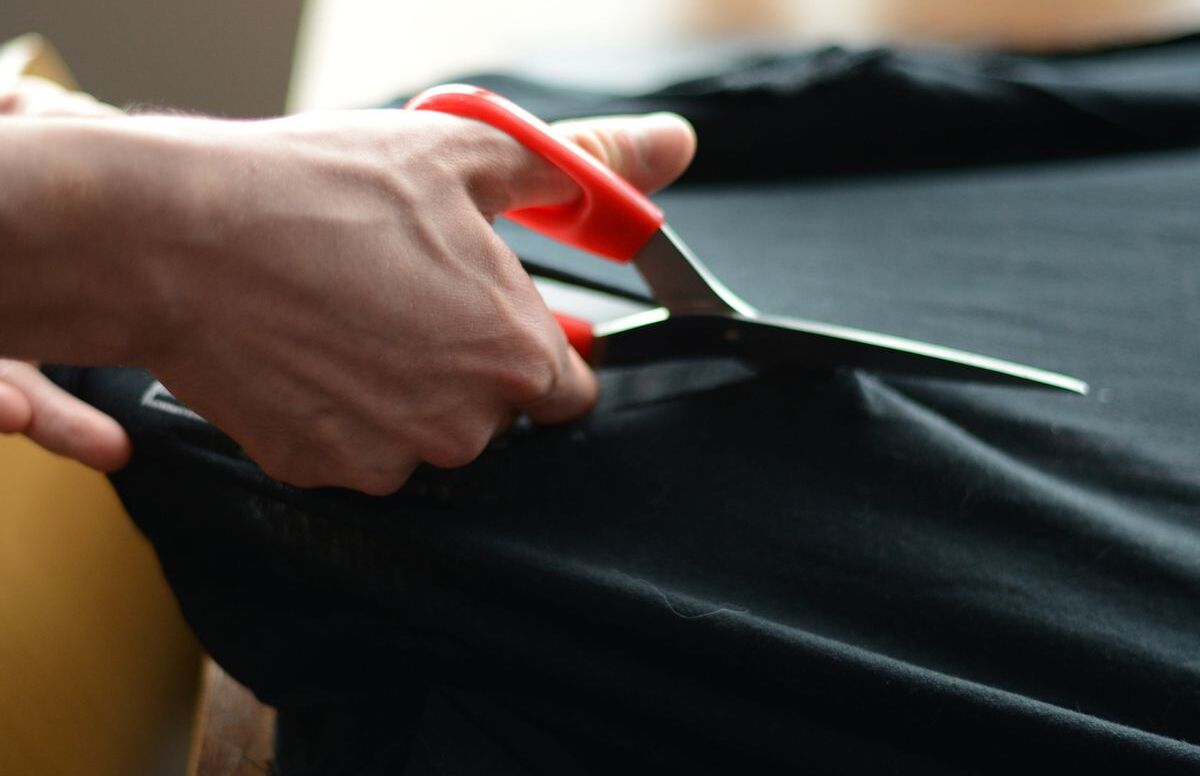
Step 2: Cutting the Underwear
Now that you have chosen your underwear, it’s time to start the transformation process by cutting it into a thong shape. Follow these steps to get started:
- Put on the underwear: Before you begin cutting, put on the pair of underwear to ensure a proper fit and align the fabric correctly.
- Mark the desired thong shape: Use a pen or fabric chalk to mark the areas you want to cut to create the thong shape. Start by marking a horizontal line where you want the top of the thong to be.
- Cut off the excess fabric: Using sharp scissors, carefully cut along the marked lines. Start by cutting off the excess fabric on the backside of the underwear. Remember to leave enough fabric at the front to create the desired shape and coverage.
- Trim the leg openings: If your underwear has a high leg opening, you may want to trim it slightly to create a more flattering thong shape.
Be sure to take your time and cut slowly and accurately to achieve the desired result. It’s always better to cut off less fabric initially as you can go back and trim more if needed.
Once you have finished cutting the underwear into the basic thong shape, we can move on to the next step: adjusting the size to ensure a perfect fit.
Step 3: Adjusting the Size
After cutting the underwear into a thong shape, it’s time to focus on the fit and size. This step is crucial to ensure that your homemade thong is both comfortable and flattering. Follow these steps to adjust the size:
- Try on the thong: Put on the modified underwear and assess how it fits. Pay attention to the waistband, leg openings, and the overall comfort.
- Measure for adjustments: If the thong feels too loose or tight, use a measuring tape to determine the necessary changes. Measure the waist and leg openings to determine the desired size.
- Make necessary adjustments: If the thong is too loose, tighten the waistband and leg openings by trimming off a small amount of fabric. If it’s too tight, you may need to add additional fabric or create small slits in strategic places to allow for more stretch.
Remember to make gradual adjustments and try on the thong after each modification to ensure the perfect fit. Taking your time in this step will result in a well-fitted and comfortable thong.
Once you are satisfied with the adjusted size, it’s time to move on to the next step: creating the thong shape.
Step 4: Creating the Thong Shape
Now that you have adjusted the size of your thong, it’s time to focus on creating the desired thong shape. Follow these steps to achieve the perfect shape:
- Enhance the front shape (optional): If you prefer a more flattering shape for the front of your thong, you can make small modifications. Consider trimming the fabric into a V shape or creating a curved cut to accentuate your natural curves.
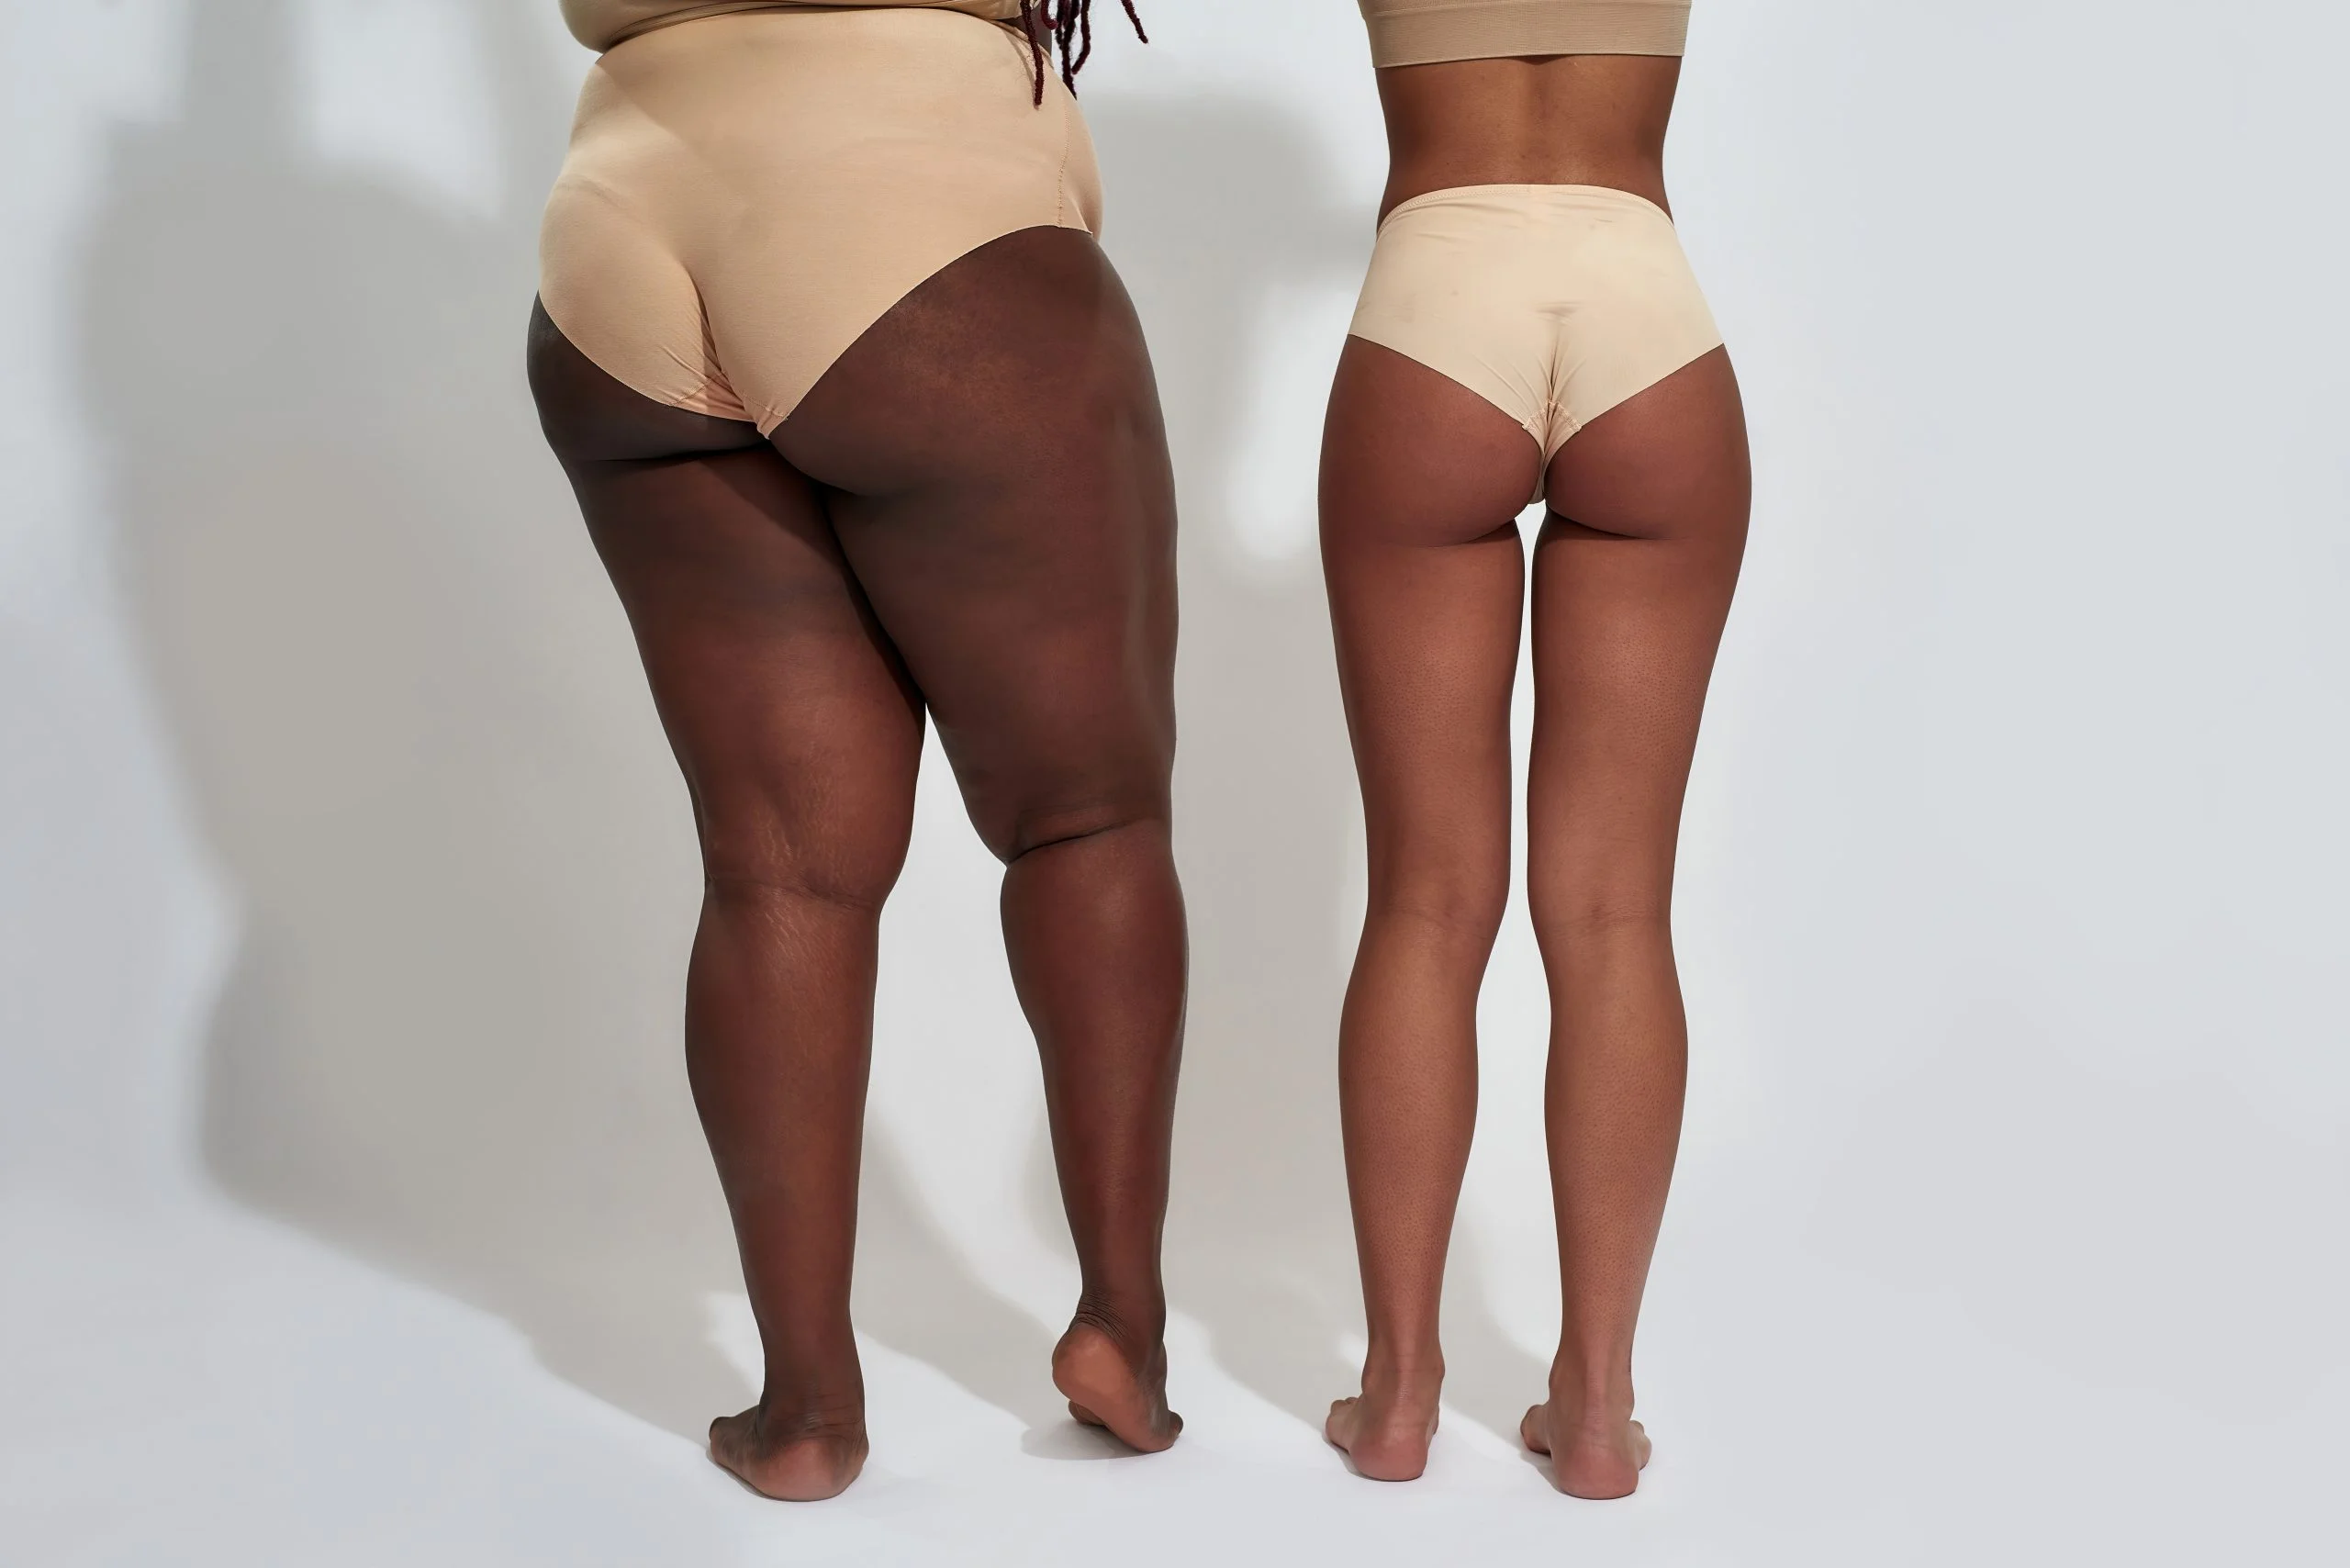
- Create a narrow back strap: To create a traditional thong look, trim the fabric at the back of the underwear to create a narrow strip that will form the back of the thong. Be sure to leave enough fabric for comfort and coverage.
- Adjust the leg openings: Take a look at the leg openings of the thong. If they feel too wide, you can trim and reshape them slightly to create a more snug and flattering fit.
- Smooth out the edges: After making all necessary cuts, take some time to ensure that all edges are smooth and free of any frayed threads. This will ensure both comfort and durability.
Keep in mind that the goal is to create a thong shape that is comfortable, flattering, and suits your personal preferences. Feel free to experiment with different shapes and modifications until you achieve the desired outcome.
With the thong shape now ready, it’s time to move on to the next step: securing the thong to ensure it stays in place.
Step 5: Securing the Thong
Now that you have created the thong shape, it’s important to secure it to ensure that it stays in place while you wear it. Follow these steps to securely fasten your thong:
- Remove the underwear: Take off the thong and lay it flat on a clean surface.
- Apply fabric adhesive or double-sided tape: Use fabric adhesive or double-sided tape along the cut edges of the fabric. This will help hold the thong together and prevent any fraying. Be sure to apply the adhesive carefully and evenly, ensuring that all edges are secured.
- Press the fabric together: After applying the adhesive, gently press the fabric together to create a secure bond. Make sure to hold the fabric in place for a few seconds to allow the adhesive to set properly.
By using fabric adhesive or double-sided tape, you can avoid sewing and still achieve a secure and durable thong. However, keep in mind that the adhesive may wear off after multiple washes, so it’s a good idea to reapply it periodically if needed.
With the thong now securely fastened, it’s time to move on to the final step: testing and making any necessary adjustments.
Step 6: Testing and Adjusting
Once you have secured the thong, it’s important to test it out and make any necessary adjustments to ensure a comfortable and well-fitted end result. Follow these steps to test and adjust your homemade thong:
- Put on the thong: Wear the thong and move around to see how it feels. Pay attention to the fit, comfort, and any areas that may need further adjustments.
- Check the back strap: Ensure that the narrow back strap stays in place and doesn’t dig into your skin. If it feels uncomfortable, you may need to trim it or make small modifications to improve the fit.
- Test the leg openings: Assess the fit of the leg openings. If they feel too tight or too loose, make small adjustments as needed to improve the overall comfort.
- Make additional modifications (optional): If you notice any areas that need further adjustments, such as the waistband or coverage, feel free to make additional modifications to achieve the desired fit.
Remember, everyone’s body is unique, so the adjustments needed will vary from person to person. Take your time to fine-tune the thong until it fits comfortably and suits your preferences.
Once you are satisfied with the fit and feel of your homemade thong, congratulations! You have successfully transformed your underwear into a stylish and comfortable thong without the need for sewing.
Now, it’s time to enjoy wearing your unique creation and flaunt your DIY fashion skills with confidence!
Conclusion
Congratulations on successfully making a thong out of your underwear without sewing! This creative DIY project allows you to achieve a stylish and comfortable thong tailored to your preferences, all while saving money and reducing waste. By following the step-by-step process, you transformed a regular pair of panties into a unique and fashionable piece of lingerie.
Throughout the process, you learned the importance of choosing the right underwear, cutting and adjusting the size, creating the desired thong shape, securing it without sewing, and thoroughly testing and adjusting for the perfect fit. These skills can be applied to future projects, allowing you to further explore your creativity and enhance your lingerie collection.
Remember, the key to a successful homemade thong is taking your time, being patient, and paying attention to detail. Additionally, don’t be afraid to experiment with different styles, fabrics, and decorative elements to create truly personalized thongs that reflect your own unique taste.
Whether you’re making a thong for a special occasion or simply want to add some variety to your underwear drawer, this DIY project empowers you to express yourself through fashion and embrace your individuality.
Now that you have the knowledge and skills to make a thong out of underwear without sewing, go ahead and get creative! Enjoy the process, have fun experimenting, and embrace your inner fashion designer. Who knows, you may even inspire others to try their hand at DIY lingerie. Happy crafting!