Home>How-to Guides>For Women>How To Sew Tank Top
For Women
How To Sew Tank Top
Modified: August 5, 2023
Learn how to sew a stylish tank top for women with this step-by-step guide. Create your own unique designs and express your personal style.
(Many of the links in this article redirect to a specific reviewed product. Your purchase of these products through affiliate links helps to generate commission for Under-tec.com, at no extra cost. Learn more)
Table of Contents
Introduction
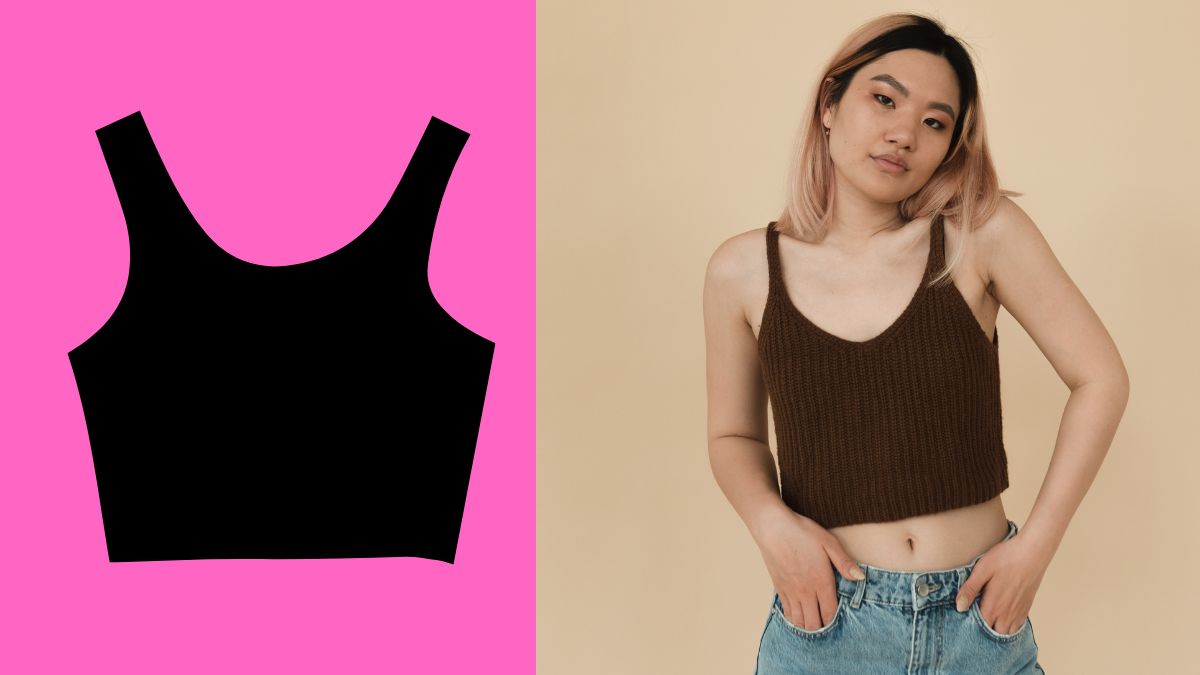
Are you looking to update your wardrobe with a trendy and versatile piece? Look no further than a tank top! Tank tops are a staple in any woman’s wardrobe, offering comfort and style all year round. Whether you want to wear it on its own during the warm summer months or layer it under a cardigan or blazer in the cooler seasons, a well-fitted and beautifully sewn tank top is a must-have item.
In this article, we will guide you through the step-by-step process of sewing your very own tank top. It’s a beginner-friendly project that requires basic sewing skills and a few hours of your time. By following this tutorial, you will not only create a customized tank top that fits you perfectly, but you will also develop your sewing abilities and gain a sense of accomplishment.
But before we dive into the sewing process, let’s go over the essential materials you’ll need to get started.
Materials Needed
Before you begin sewing your tank top, gather the following materials:
- Fabric: Choose a lightweight and breathable fabric that suits your style and comfort. Cotton, linen, or jersey knit are popular choices for tank tops.
- Matching Thread: Use high-quality thread that matches the color of your fabric to ensure a professional finish.
- Scissors: A sharp pair of fabric scissors is essential for cutting the fabric accurately.
- Pins: Use straight pins to hold the fabric in place while sewing.
- Sewing Machine: A sewing machine makes the sewing process faster and easier. However, if you don’t have a sewing machine, you can still sew a tank top by hand.
- Measuring Tape: A measuring tape will help you take accurate measurements for cutting the fabric.
- Marking Tool: Use a washable or disappearing fabric marking tool to mark the sewing lines on the fabric.
- Iron and Ironing Board: Pressing the fabric at various stages of the sewing process is crucial for precise and professional-looking results.
- Elastic (optional): If you want a fitted tank top with added support, you may need elastic for the straps or the underbust area.
- Embroidery or Trim (optional): If you want to add decorative elements to your tank top, consider embroidery threads or trim that complements your fabric.
By having these materials ready beforehand, you can streamline your sewing process and ensure that you have everything you need to create a stunning tank top.
Cutting the Fabric
Now that you have gathered all your materials, it’s time to cut the fabric for your tank top. Follow these steps:
- Wash and iron your fabric: Before cutting, make sure to pre-wash and iron your fabric to prevent shrinkage later on.
- Take your measurements: Use a measuring tape to measure your bust, waist, and hip circumference. Take note of these measurements as they will guide you in cutting the fabric.
- Prepare your pattern: If you have a pattern for a tank top, trace and cut it out on paper. If you don’t have a pattern, you can use a well-fitting tank top from your wardrobe as a template. Lay it on your fabric and trace around it with a fabric marking tool, leaving a seam allowance of about 1/2 inch.
- Pin the pattern: Pin the pattern on the fabric securely, making sure it is aligned with the grainline and folded correctly, if needed.
- Cut the fabric: Using sharp fabric scissors, carefully cut along the outline of the pattern, removing the excess fabric.
- Mark any necessary notches: If your pattern includes notches for matching pieces later during the sewing process, mark them on the fabric using your fabric marking tool.
Remember to cut on a flat, smooth surface and take your time to ensure precise cuts. Double-check that you have all the necessary pattern pieces cut out before moving on to the next step.
Once you have finished cutting the fabric, you are ready to move on to sewing the side seams.
Sewing the Side Seams
With your fabric pieces cut out, it’s time to sew the side seams of your tank top. Follow these steps:
- Place the fabric pieces right sides together, aligning the side edges.
- Pin the side edges: Pin the fabric together along the side edges to ensure they stay aligned while sewing.
- Using a sewing machine or a needle and thread, sew a straight stitch from the armhole down to the bottom hem. Use a ½ inch seam allowance.
- Backstitch at the beginning and end of each seam to secure the stitches.
- Trim any excess fabric or loose threads.
After sewing the side seams, turn the tank top right side out and try it on to check the fit. If any adjustments or alterations are needed, now is the time to make them. Remember, it’s always easier to make modifications before moving on to the next step.
Once you are satisfied with the fit, you can proceed to sew the shoulder seams.
Sewing the Shoulder Seams
Now that the side seams are sewn, it’s time to focus on sewing the shoulder seams of your tank top. Here’s how:
- With your tank top still turned inside out, align the shoulder edges of the front and back pieces, right sides together.
- Pin the shoulder edges together to secure them in place.
- Using a sewing machine or needle and thread, sew a straight stitch along the shoulder edges, using a ½ inch seam allowance. You can reinforce the stitches by backstitching at the beginning and end of the seams.
- Trim any excess fabric or loose threads once the shoulder seams are sewn.
Once again, it’s a good idea to try on the tank top at this stage to check the fit and make any necessary adjustments. If you need to make alterations to the shoulder seams, you can easily do so before moving on to the next step.
With the shoulder seams complete, you’re ready to move on to creating the neckline.
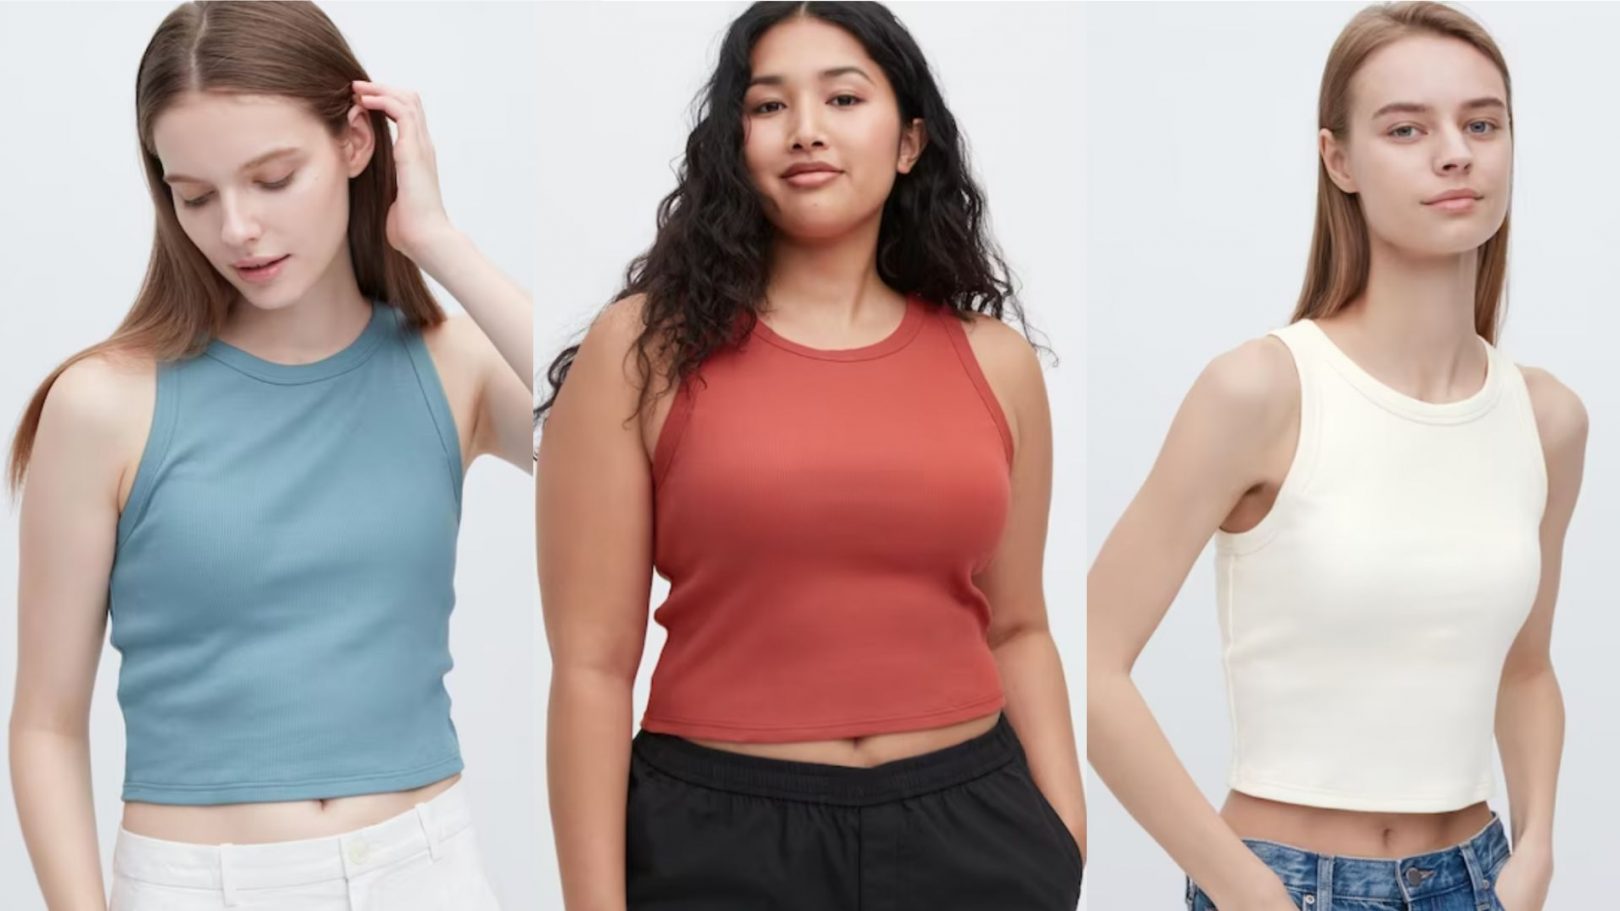
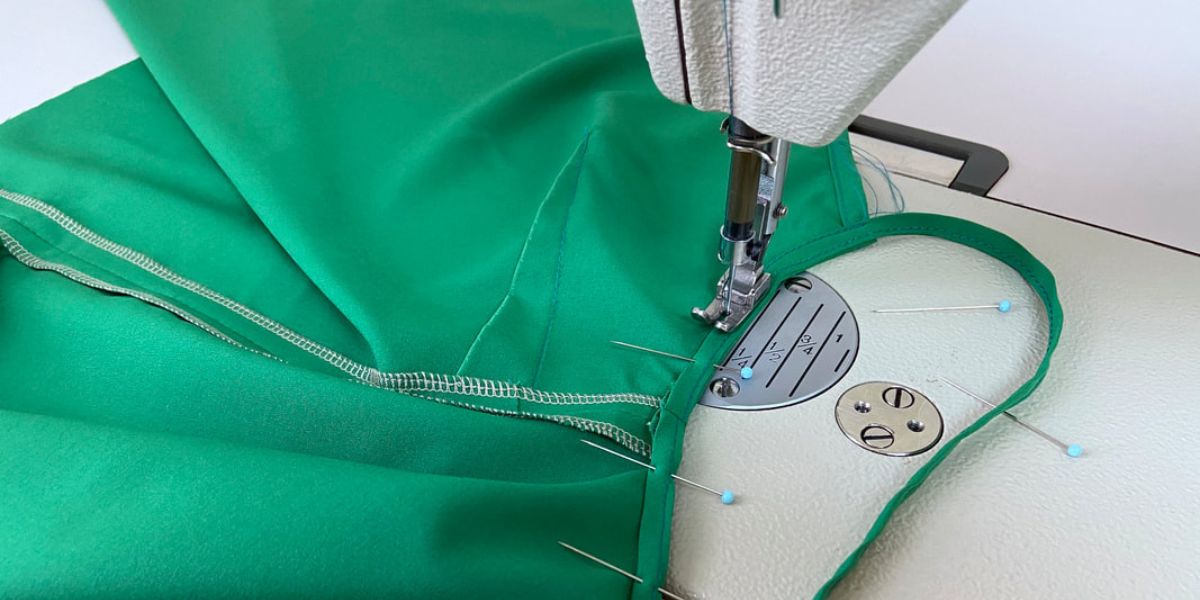
Creating the Neckline
The neckline of your tank top adds a finishing touch and defines the overall look of the garment. Follow these steps to create the neckline:
- Decide on the desired shape of your neckline. You can choose from various options such as round, V-neck, scoop neck, or even a square neckline.
- Using a fabric marking tool, mark the desired neckline shape on the fabric.
- Carefully cut along the marked line, following the shape of your chosen neckline.
- If you are using a woven fabric, you may need to finish the raw edge of the neckline by folding it over and sewing a narrow hem. This will help prevent fraying.
- If you are using a stretchy knit fabric, you can skip the hemming step as knits generally don’t fray.
- An optional step is to add bias binding along the neckline to give it a clean and professional finish. Cut a strip of bias binding that matches your fabric and sew it along the raw edge of the neckline.
- Press the neckline to ensure a smooth and polished look.
Creating a well-finished neckline adds a touch of elegance to your tank top. Take your time, be patient, and remember that practice makes perfect. With the neckline complete, it’s time to move on to hemming the bottom edge.
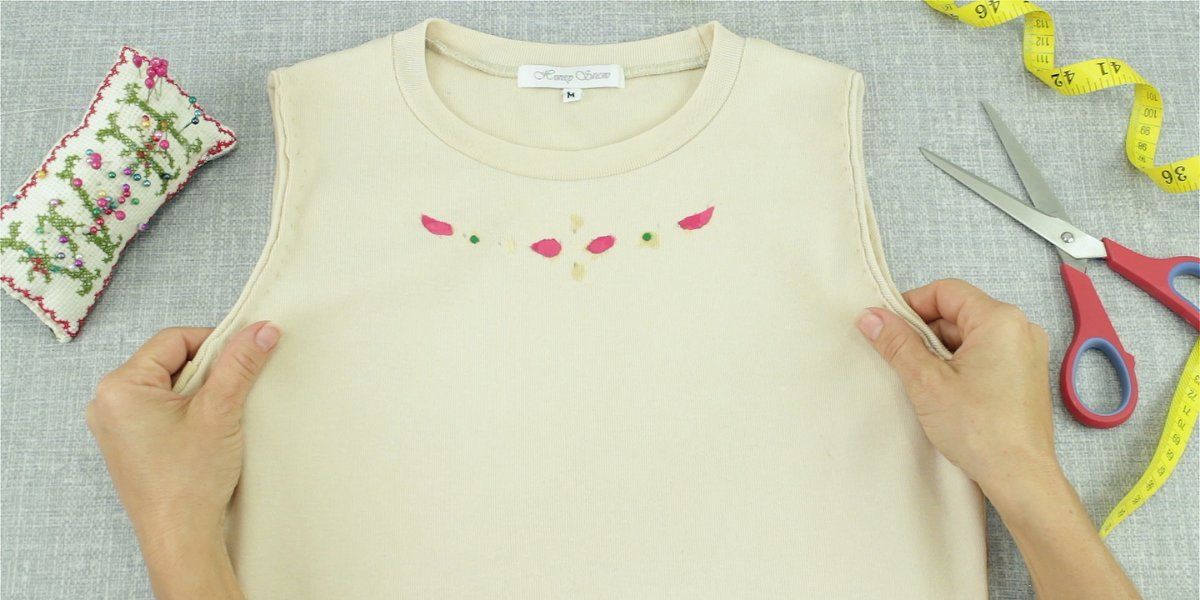
Hemming the Bottom Edge
The final step in sewing your tank top is hemming the bottom edge. Here’s how to do it:
- Turn your tank top inside out.
- Fold the bottom edge of the tank top up towards the inside by about ¼ inch. Press the fold with an iron to create a crease.
- Fold the bottom edge up again, this time by ½ inch, enclosing the raw edge. Press the fold once more.
- Pin the folded edge in place to keep it secure while sewing.
- Using a straight stitch on your sewing machine or a needle and thread, sew along the folded edge, stitching close to the inner fold to create a neat and clean hem.
- Backstitch at the beginning and end of your stitching to secure the thread.
- Trim any stray threads and remove any pins.
Once you have hemmed the bottom edge, turn your tank top right side out and give it a final press with an iron to smooth out any wrinkles. Your tank top is now complete and ready to be worn!
Feel free to experiment with different hemming techniques or add extra embellishments if desired. Personalize your tank top to reflect your style and make it uniquely yours.
Congratulations on sewing your very own tank top! Now you can enjoy the satisfaction of wearing a garment that fits you perfectly and showcases your sewing skills.
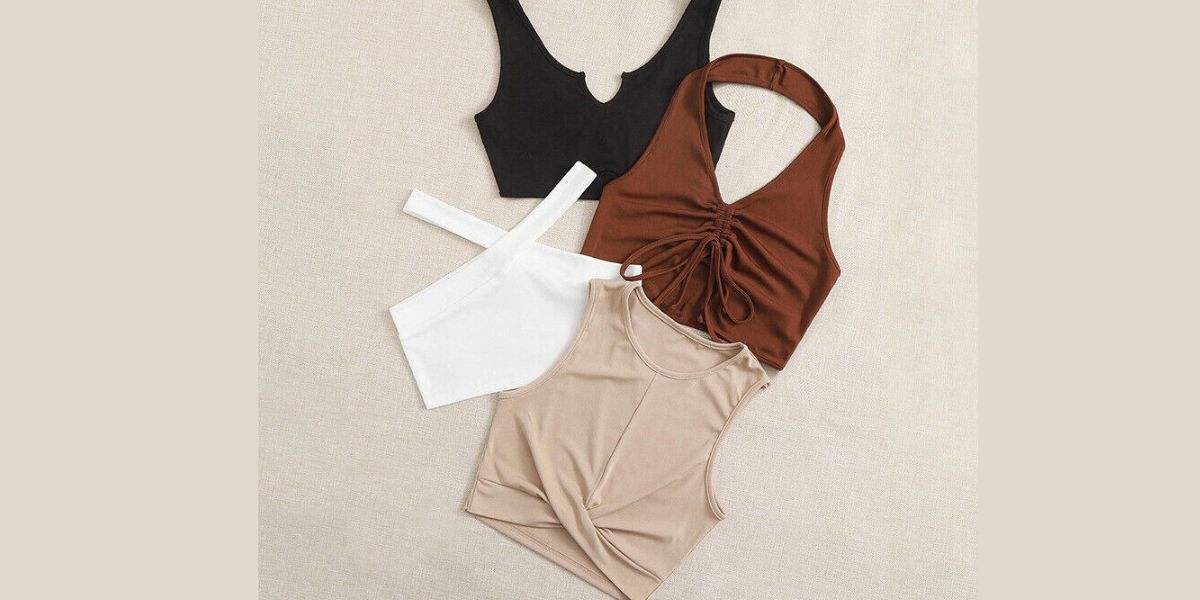
Adding Optional Finishing Touches
While your tank top is finished and ready to wear after hemming the bottom edge, you can take it a step further by adding some optional finishing touches to enhance its style and uniqueness. Here are a few ideas:
- Embroidery or Applique: Add a touch of individuality to your tank top by adding embroidery or applique designs. You can choose to embroider a small motif or applique a fabric shape onto the front or back of the tank top.
- Lace or Trim: Incorporate lace or decorative trims along the neckline, shoulder straps, or even at the hem for a feminine and delicate touch.
- Elastic Straps: If you prefer extra support, you can sew elastic straps onto the shoulder seams. Cut two strips of elastic to your desired length, and sew them onto the shoulder seams by stretching them slightly as you sew.
- Pocket: Add a functional and stylish element by sewing a small pocket onto the front of your tank top. You can use a contrasting fabric or even a patterned fabric to make it stand out.
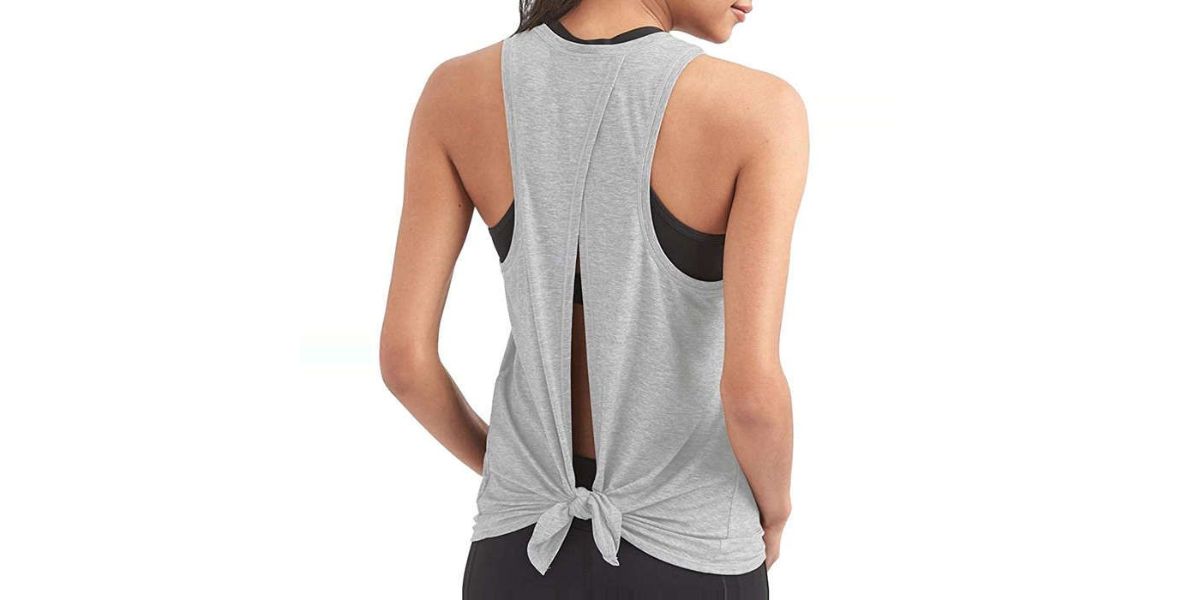
- Tie Detail: Create a trendy and adjustable fit by adding tie details to the shoulder straps or at the sides of your tank top. This adds a touch of versatility and allows you to customize the fit.
- Sequin or Bead Embellishments: If you want to add a bit of sparkle to your tank top, consider sewing sequins or beads onto the front or around the neckline for a glamorous and eye-catching effect.
These optional finishing touches provide endless opportunities to showcase your creativity and make your tank top truly unique. Remember to consider the fabric and style of your tank top when choosing these embellishments to ensure a cohesive and balanced look.
Once you’ve completed these finishing touches, step back and admire your work. You now have a beautifully crafted tank top that’s a true reflection of your personal style and sewing skills!
Conclusion
Congratulations on successfully sewing your very own tank top! By following the step-by-step instructions in this article, you have learned how to create a stylish and customized garment that fits you perfectly. Whether you’re a beginner or experienced sewer, this project allows you to showcase your sewing skills and express your personal style.
We started by gathering the necessary materials and cutting the fabric to the desired size. Then, we sewed the side seams, shoulder seams, and created the neckline. After hemming the bottom edge, we explored optional finishing touches such as embroidery, lace, or even adding elastic straps.
Through each step of the process, you engaged your creativity and attention to detail. You took the time to ensure precise cuts, secure seams, and smooth finishes. The end result is a tank top that is not only fashionable but also a true expression of your individuality.
Remember, don’t be afraid to experiment and make this project your own. Play with different fabrics, colors, and embellishments to create a diverse collection of tank tops that suit your style and preferences.
By mastering the art of sewing tank tops, you have gained valuable sewing skills that can be applied to other projects. The confidence and knowledge you have gained will motivate you to tackle more challenging sewing projects in the future.
So, wear your newly sewn tank top with pride and let it be a reminder of your creativity and sewing accomplishments. Whether you’re wearing it casually with jeans or dressing it up with a skirt and accessories, your tank top will surely become a go-to piece in your wardrobe.
Happy sewing and enjoy the satisfaction of wearing your unique and handmade tank tops!