Home>How-to Guides>For Women>How To Make A Tank Top Into A Halter
For Women
How To Make A Tank Top Into A Halter
Modified: August 5, 2023
Transform your tank top into a stylish halter for women with our step-by-step guide. Stay on-trend and create a fashionable look with ease.
(Many of the links in this article redirect to a specific reviewed product. Your purchase of these products through affiliate links helps to generate commission for Under-tec.com, at no extra cost. Learn more)
Table of Contents
Introduction
Welcome to our guide on how to transform a tank top into a stylish halter! If you have ever wanted to give your old tank tops a fresh new look, this DIY project is perfect for you. Converting a tank top into a halter not only allows you to repurpose an item you may no longer wear, but it also adds a trendy and unique touch to your wardrobe.
The process is simple, and with just a few materials and some basic sewing skills, you can easily create your own halter tops. Whether you’re looking to update your summer wardrobe or want to try out a new fashion trend, this project is a fun and creative way to bring new life to your clothes.
By following our step-by-step instructions, you’ll be able to transform your tank tops into stylish halters in no time. We’ll guide you through the process from start to finish, providing helpful tips along the way. Get ready to unleash your creativity and give your old tank tops a fashionable twist!
Step 1: Gather Materials
Before you begin the transformation process, it’s important to gather all the necessary materials. Here’s what you’ll need:
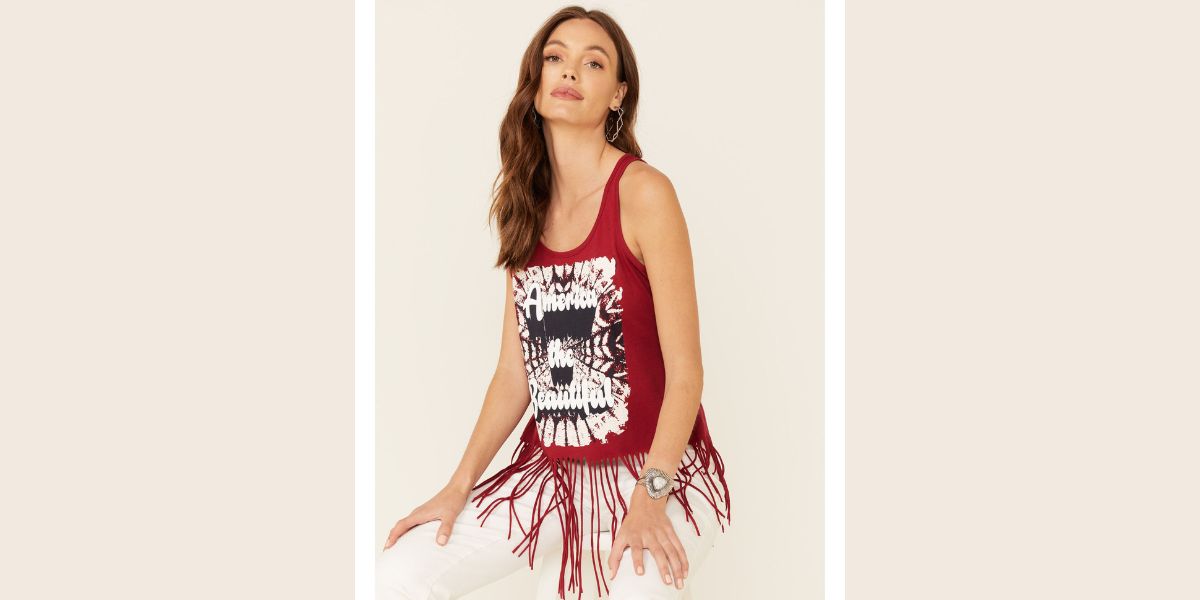
- A tank top: Choose a tank top that you no longer wear or want to give a new look. Opt for a solid color or a pattern that you love.
- Scissors: Make sure you have a sharp pair of fabric scissors. These will be used to cut the straps of the tank top.
- Measuring tape: You’ll need a measuring tape to determine the placement of the halter straps.
- All-purpose thread: Select a thread color that matches or complements the color of your tank top.
- Sewing machine or needle: You can choose to hand sew or use a sewing machine for this project.
- Pins: Pins are useful for holding the fabric in place while sewing.
- Iron: An iron will help you press the fabric and achieve crisp edges.
Make sure you have all the materials ready before you start the transformation process. This will make the process smoother and more efficient, ensuring that you have everything you need to create your halter top.
Step 2: Prepare the Tank Top
Before you begin cutting and sewing, it’s essential to properly prepare the tank top to ensure a clean and professional-looking transformation. Here’s how to prepare the tank top:
- Wash and iron the tank top: Start by washing and ironing the tank top to remove any wrinkles or dirt. This will make it easier to work with and ensure a neat finished product.
- Lay the tank top flat on a flat surface: Find a clean, flat surface to work on and lay the tank top flat. Smooth out any wrinkles or folds in the fabric.
- Measure and mark the desired length: Determine how long you want your halter top to be. Measure from the bottom hem of the tank top and mark the desired length with a fabric pen or chalk.
- Cut off the bottom of the tank top: Use your scissors to carefully cut along the marked line, removing the bottom portion of the tank top. This will create a more cropped look for your halter top.
- Try on the tank top: Once you have cut off the bottom, try on the tank top to see how it fits. Make any necessary adjustments before moving on to the next step.
By preparing the tank top beforehand, you’ll have a clean canvas to work with and a better idea of how the transformed halter top will look. Take your time during this step to ensure accuracy and a comfortable fit.
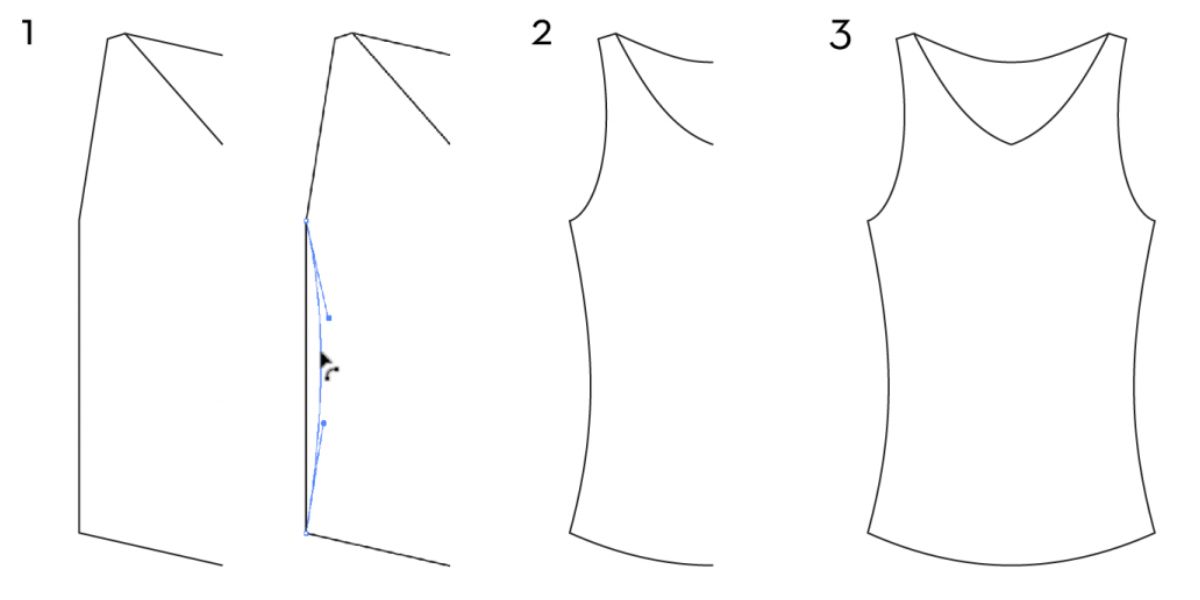
Step 3: Determine Halter Placement
The next step in transforming your tank top into a halter is to determine the placement for the halter straps. This step is crucial as it will affect the overall fit and style of the halter top. Here’s how to determine the halter placement:
- Put the tank top on: Put the tank top on and adjust it so that it fits comfortably.
- Take the measuring tape: Take your measuring tape and wrap it around your neck, positioning it where you want the halter straps to sit. Hold the ends of the measuring tape in place to measure the desired strap length.
- Make adjustment marks: While still wearing the tank top, use a fabric pen or chalk to make small marks on the shoulder straps. These marks will indicate where the halter straps will be attached.
- Ensure even placement: Double-check that the marks you made on both shoulder straps are symmetrical and even. This will create a balanced look and ensure a comfortable fit.
Take your time during this step and experiment with different halter strap lengths and placements until you find the style that suits you best. Don’t be afraid to try different options and make adjustments according to your personal preferences.
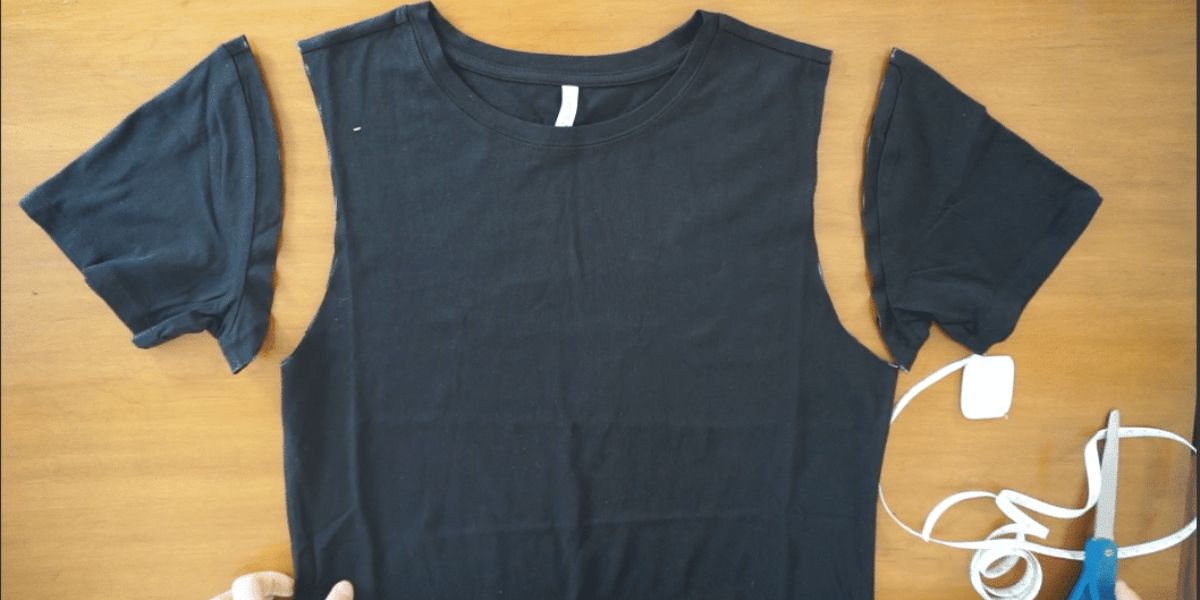
Step 4: Cut the Straps
Once you have determined the placement of the halter straps, it’s time to cut the tank top to create the straps. Here’s how to cut the straps:
- Remove the tank top: Take off the tank top and lay it flat on a surface.
- Start at the back: Begin cutting at the back of the tank top, where the shoulder straps meet the back of the top.
- Follow the marked lines: Using your scissors, carefully cut along the marked lines that indicate the halter strap placement. Make straight, even cuts to ensure a clean and professional finish.
- Continue to the front: Cut all the way to the front of the tank top, following the line you marked for the strap placement.
Remember to take your time and be cautious while cutting the straps. It’s better to make small, precise cuts rather than cutting too much off at once. You can always trim the straps later if needed, but it’s difficult to add fabric back once it’s been cut.
Once you have finished cutting the straps, make sure to set aside any excess fabric. You may need it for future adjustments or to create additional embellishments for your halter top.
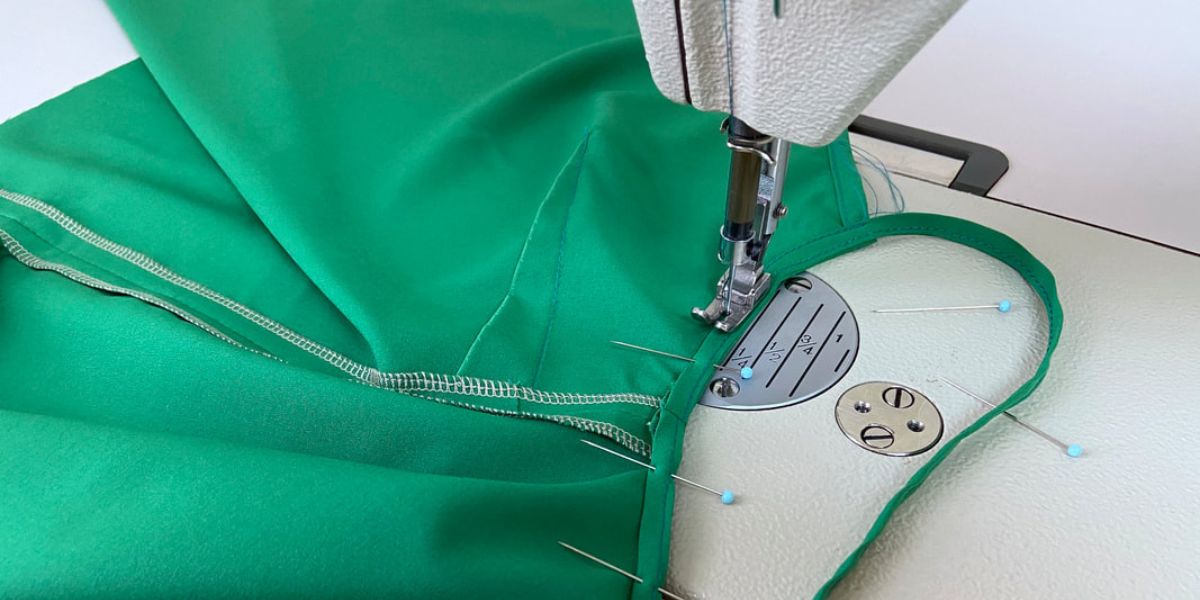
Step 5: Sew the Straps
Now that you have cut the halter straps, it’s time to sew them in place to secure the transformation. Here’s how to sew the straps:
- Thread your sewing machine or needle: Load your sewing machine with the appropriate thread color or thread your needle with a matching thread. Make sure to secure the thread with a knot at the end.
- Pin the straps in place: Take one strap and fold it in half lengthwise. Align the raw edges of the strap with the markings on the tank top and pin it in place. Repeat with the other strap.
- Sew the straps: Using a straight stitch, sew along the raw edges of the straps, securing them to the tank top. Start sewing from the bottom of the strap and work your way up to the top, ensuring a secure attachment.
- Backstitch at the beginning and end: To reinforce the straps, make sure to backstitch at the beginning and end of your sewing line. This will prevent the stitches from coming undone.
- Trim any excess thread: After sewing the straps, trim any excess thread to give your halter top a clean and polished look.
If you’re hand sewing the straps, use a small running stitch or a backstitch for added durability. Take your time and sew carefully to ensure a strong seam that will withstand regular use.
Once the straps are securely sewn in place, try on the halter top to check the fit. Make any necessary adjustments to the strap length or tightness before moving on to the next step.
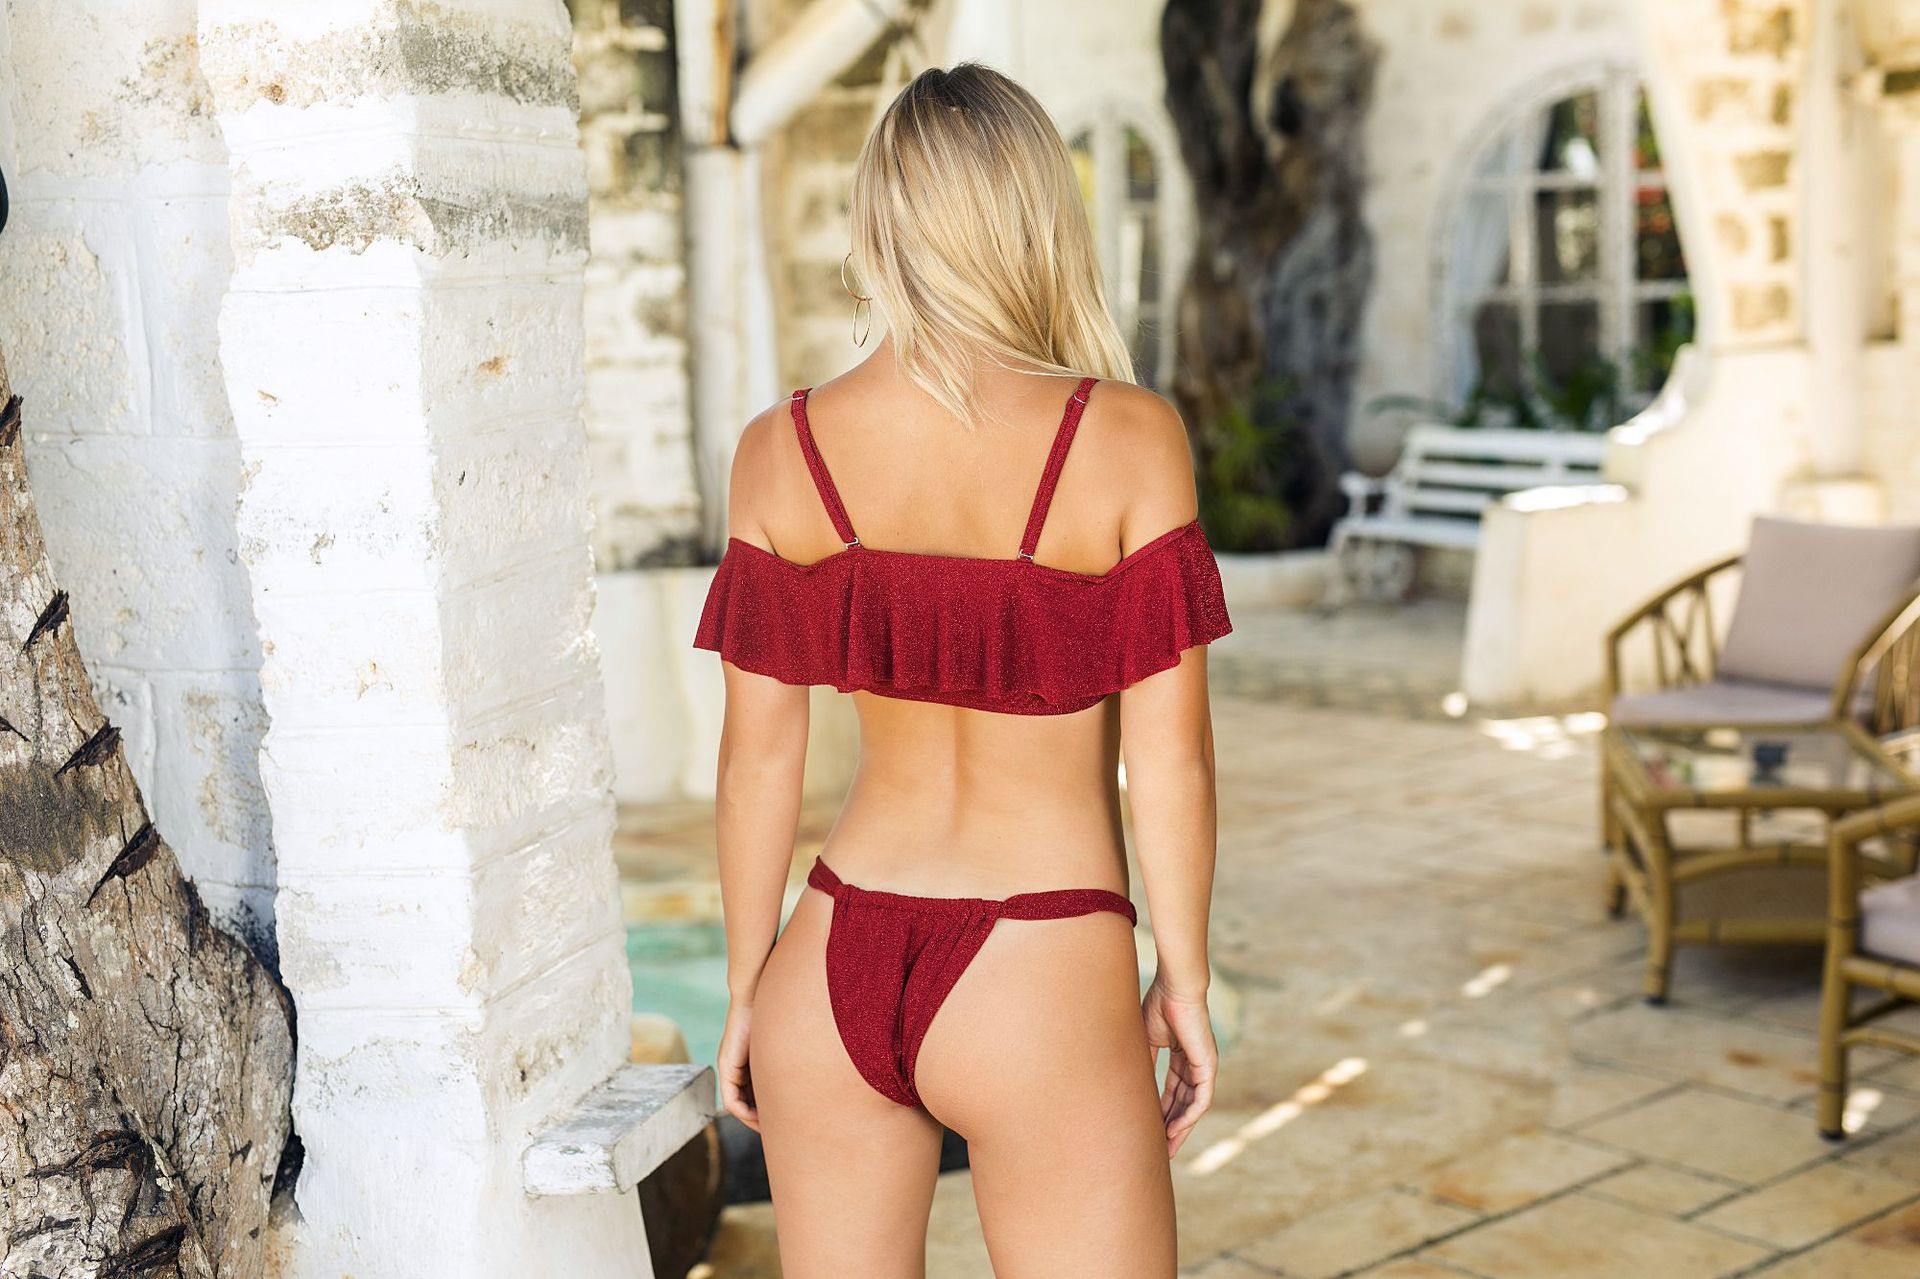
Step 6: Try on and Adjust
After sewing the halter straps, it’s important to try on the transformed tank top and make any necessary adjustments for the perfect fit. Here’s how to try on and adjust the halter top:
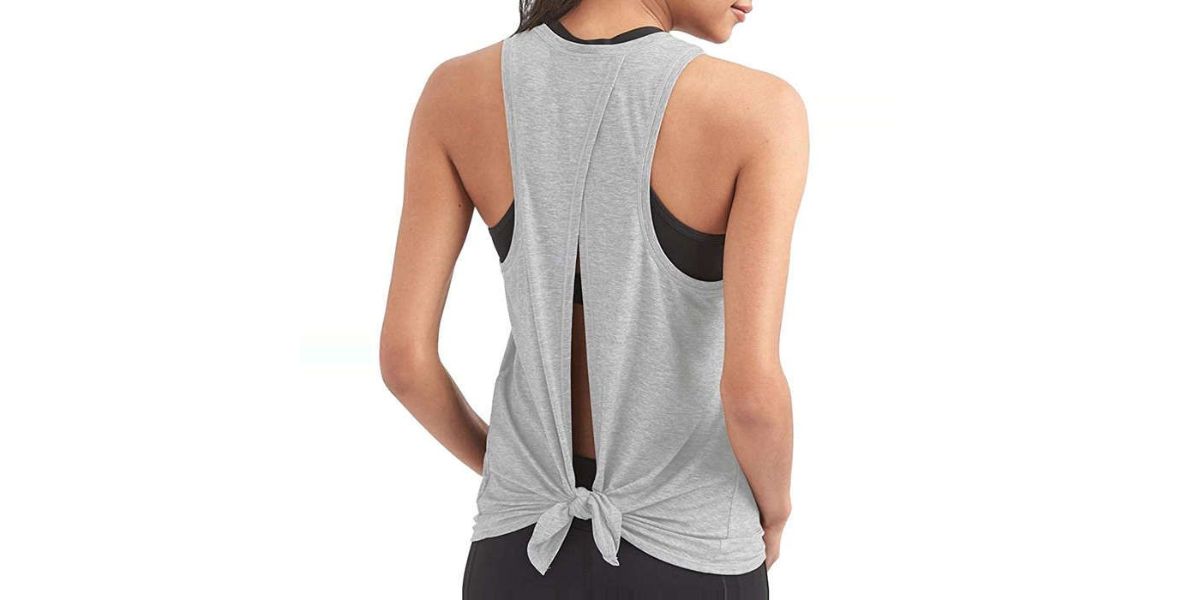
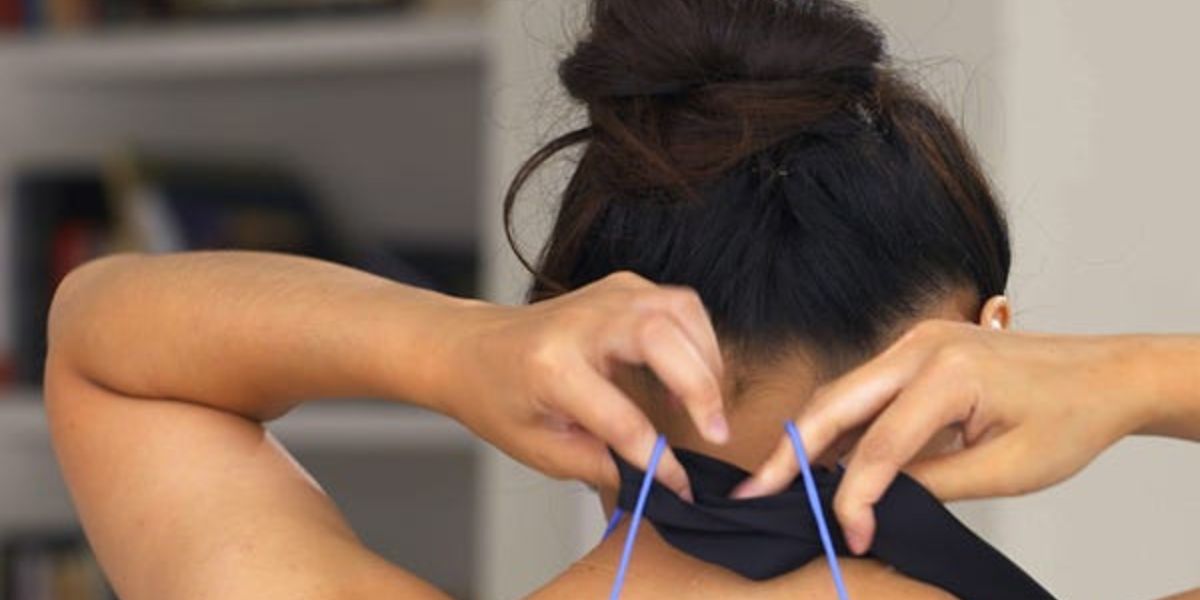
- Put on the halter top: Slip the transformed tank top over your head and adjust the halter straps by tying them together at the back of your neck. Ensure that the top fits comfortably and securely.
- Check the strap length: Take a look in the mirror and assess the length of the straps. If they feel too long or too short, now is the time to make adjustments.
- Shorten the straps: If the straps are too long, carefully remove the stitching, trim the excess length, and re-sew them in place. Make sure to try on the top again after making adjustments.
- Lengthen the straps: If the straps are too short, you have a few options. You can add fabric extensions to the ends of the straps or attach decorative ribbons for a unique touch. Experiment with different materials until you achieve the desired length.
- Secure the adjustments: Once you have made the necessary adjustments, make sure to securely sew or tie the strap ends to prevent them from coming undone during wear.
Take your time during this step to ensure a comfortable fit that will stay in place when you wear the halter top. Trying on the top and making adjustments as needed will ensure that you feel confident and stylish in your transformed creation.
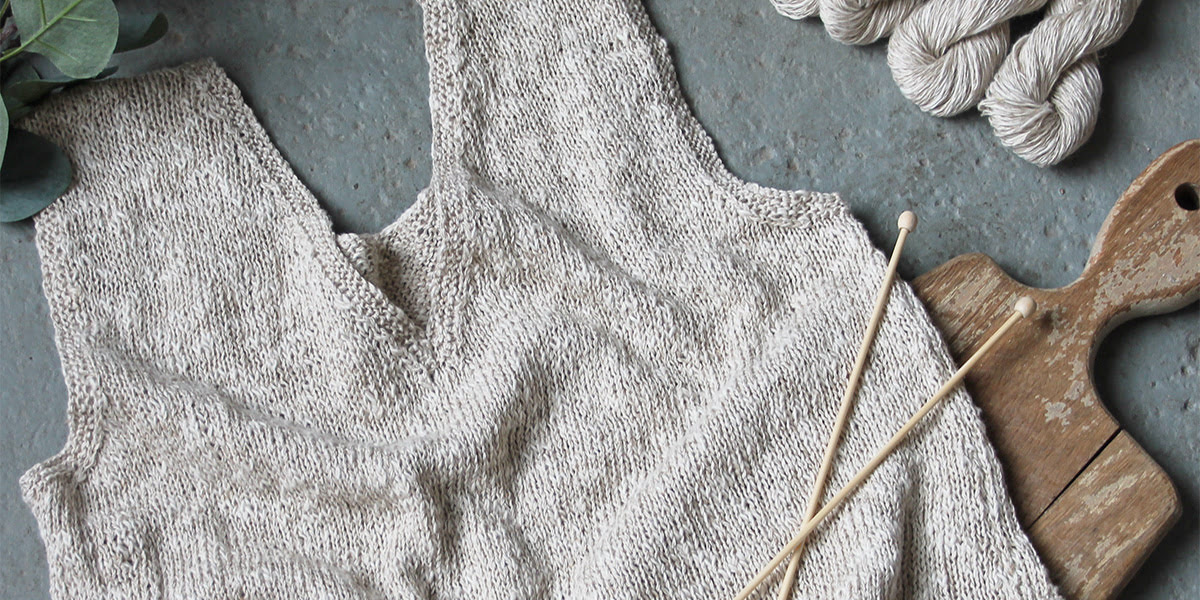
Step 7: Finish the Edges (Optional)
Finishing the edges of your transformed halter top is an optional step, but it can add a polished and professional touch to the final product. Here’s how to finish the edges:
- Assess the edges: Examine the raw edges of the halter top where you made the cuts. If you prefer a clean and neat finish, this step is for you.
- Choose your finishing method: There are a few different ways to finish the edges, depending on your preference and sewing skills.
- Use a zigzag stitch: If you have a sewing machine, you can use a zigzag stitch along the raw edges to prevent fraying. This will create a clean finish and help the fabric stay intact over time.
- Create a rolled hem: Alternatively, you can create a rolled hem by folding the raw edge over twice and sewing it in place. This method is more time-consuming but gives a more polished look to the edges.
- Consider binding or bias tape: Another option is to use binding or bias tape to encase the raw edges. This can add a decorative element to your halter top while providing a finished edge.
Choose the finishing method that best suits your style and skill level. Remember to take your time and sew carefully for a professional-looking result. Finishing the edges will not only add durability to the garment but also elevate its overall appearance.
Once you have finished the edges, give your halter top a final press with an iron to ensure it looks crisp and ready to wear.
Conclusion
Congratulations! You have successfully transformed your tank top into a chic and stylish halter top. By following the step-by-step instructions in this guide, you have breathed new life into your old wardrobe staple, creating a trendy and unique piece that reflects your personal style.
Remember, this DIY project allows you to unleash your creativity and experiment with different fabrics, patterns, and embellishments. Don’t be afraid to customize your halter top to make it truly your own.
Whether you’re heading to the beach, a summer picnic, or a night out, your new halter top will make a fashion statement wherever you go. Be sure to show off your creation and inspire others to tackle their own DIY fashion projects.
We hope this guide has empowered you to confidently transform your tank tops into fashionable halters and have fun in the process. Embrace your creativity, take your time, and enjoy the satisfaction of wearing your unique and stylish halter tops.
Now go ahead and show off your fashion prowess with your one-of-a-kind halter tops!