Home>How-to Guides>For Men>How To Make Tank Top
For Men
How To Make Tank Top
Modified: August 5, 2023
Discover the ultimate guide on how to make tank tops for men. Get step-by-step instructions and unleash your creativity to create stylish tank tops that suit your personal style.
(Many of the links in this article redirect to a specific reviewed product. Your purchase of these products through affiliate links helps to generate commission for Under-tec.com, at no extra cost. Learn more)
Table of Contents
Introduction
When it comes to men’s fashion, a well-fitting tank top is a versatile and essential wardrobe staple. Whether you’re hitting the gym, lounging at home, or heading out for a casual day with friends, a tank top can provide comfort and style. While there are plenty of tank tops available in stores, making your own allows you to customize the fit, fabric, and design according to your preferences.
In this article, we will guide you through the process of making your own tank top from scratch. We’ll cover everything from choosing the right fabric to adding those finishing touches that will make your tank top stand out.
Materials needed:
- Fabric (cotton, jersey, or a blend)
- Sewing machine or needle and thread
- Measuring tape
- Fabric scissors
- Pins
- Iron
- Chalk or fabric marker
- Optional: Ribbing or bias tape for neckline and armholes
Now that you have all the necessary materials, let’s dive into the step-by-step process of making your own tank top.
Materials needed
Before you begin making your tank top, it’s important to gather all the necessary materials. Here’s what you’ll need:
- Fabric: Choose a fabric that is suitable for tank tops, such as cotton, jersey, or a blend of these materials. Look for a fabric that is breathable and comfortable to wear.
- Sewing machine or needle and thread: A sewing machine will make the process faster and more efficient, but if you don’t have one, you can sew the tank top by hand using a needle and thread.
- Measuring tape: A measuring tape is essential for taking accurate measurements of your body and the fabric.
- Fabric scissors: You’ll need a pair of fabric scissors to cut the fabric neatly.
- Pins: Pins will help you hold the fabric in place while sewing.
- Iron: An iron is necessary for pressing the fabric and creating crisp seams.
- Chalk or fabric marker: These tools are used to mark the fabric before cutting and sewing.
- Optional: Ribbing or bias tape for neckline and armholes: If you want to add a professional finish to your tank top, you can use ribbing or bias tape to bind the neckline and armholes.
Gathering all these materials before you start will ensure a smooth and efficient DIY tank top project. Once you have everything you need, you’re ready to move on to the next step: choosing the fabric for your tank top.
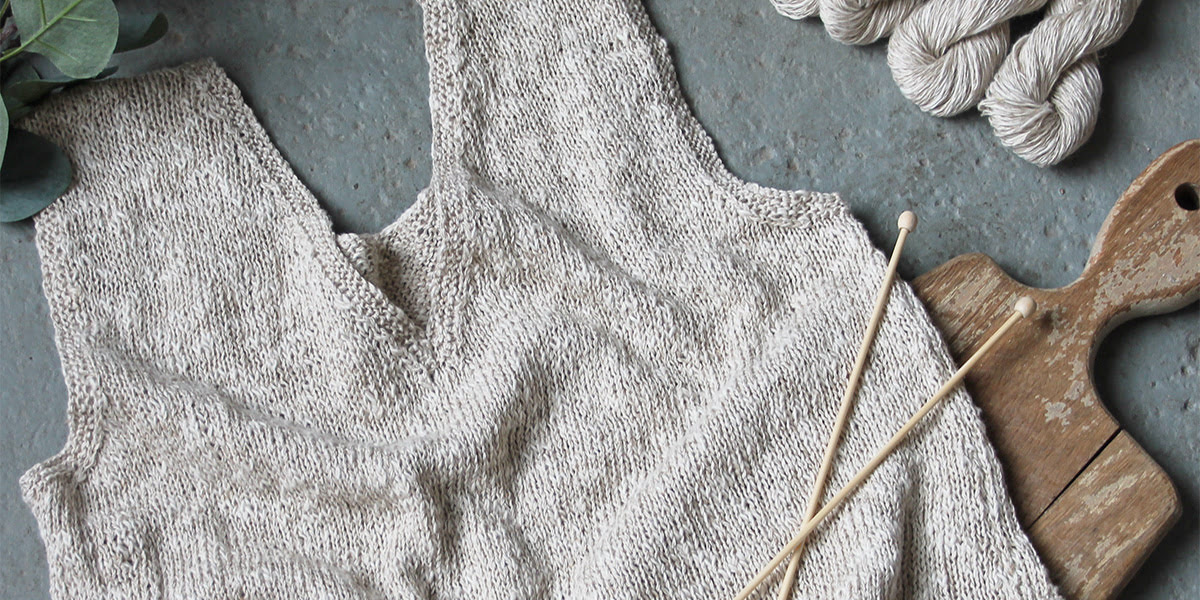
Step 1: Choosing the fabric
Choosing the right fabric is crucial for your tank top as it will determine the overall comfort and durability of the garment. Here are a few factors to consider when selecting the fabric:
Breathability: Opt for fabrics that are breathable and lightweight, such as cotton or jersey. These fabrics allow air to circulate, keeping you cool even on hot days.
Stretch: Look for fabrics with a good amount of stretch, as they will provide freedom of movement and ensure a comfortable fit. Fabrics with a blend of cotton and spandex or elastane are ideal for tank tops.
Durability: Consider the durability of the fabric to ensure that your tank top will last. Look for fabrics that can withstand regular wear and washing without losing their shape or color.
Prints and patterns: Think about the aesthetic you want for your tank top. Whether you prefer solid colors or bold prints, choose a fabric that aligns with your personal style and can complement your existing wardrobe.
Care instructions: Check the care instructions for the fabric to ensure that it can be easily maintained. Fabrics that are machine washable and don’t require special handling are preferable for everyday tank tops.
Once you have a clear idea of the type of fabric you want for your tank top, visit your local fabric store or search online to find the perfect fabric. It’s a good idea to touch and feel the fabric before making a purchase to ensure its quality and texture.
Remember, the fabric you choose will determine the overall feel and look of your tank top. So take your time in selecting the right fabric that combines comfort, style, and durability. With the fabric in hand, you’re now ready to move on to the next step: taking measurements.
Step 2: Taking measurements
Accurate measurements are essential for ensuring a well-fitting tank top. Here’s how you can take the measurements needed:
Chest: Measure the circumference around the fullest part of your chest. Make sure the measuring tape is level and not too tight or too loose, as this will affect the fit of your tank top.
Waist: Measure the circumference around your natural waistline, which is typically located just above your belly button. Again, ensure that the measuring tape is level and comfortable.
Hip: Measure the circumference around the fullest part of your hips. This measurement is important if you want the tank top to fit well around your waist and hips.
Length: Determine how long you want your tank top to be. Measure from the point where the shoulder meets the neck down to your desired length. Keep in mind that you can always adjust the length later if needed.
Armhole: Measure the circumference of your armhole by measuring around the fullest part of your underarm. This is essential if you plan on using ribbing or bias tape to finish the armholes.
Take note of these measurements as you will need them when cutting the fabric and sewing the tank top. It’s helpful to write them down or save them digitally for easy reference during the sewing process.
Remember to measure yourself accurately and to double-check your measurements before proceeding to the next step. Taking precise measurements will result in a tank top that fits you perfectly and flatters your body shape.
With your measurements in hand, it’s time to move on to the next step: cutting the fabric for your tank top.
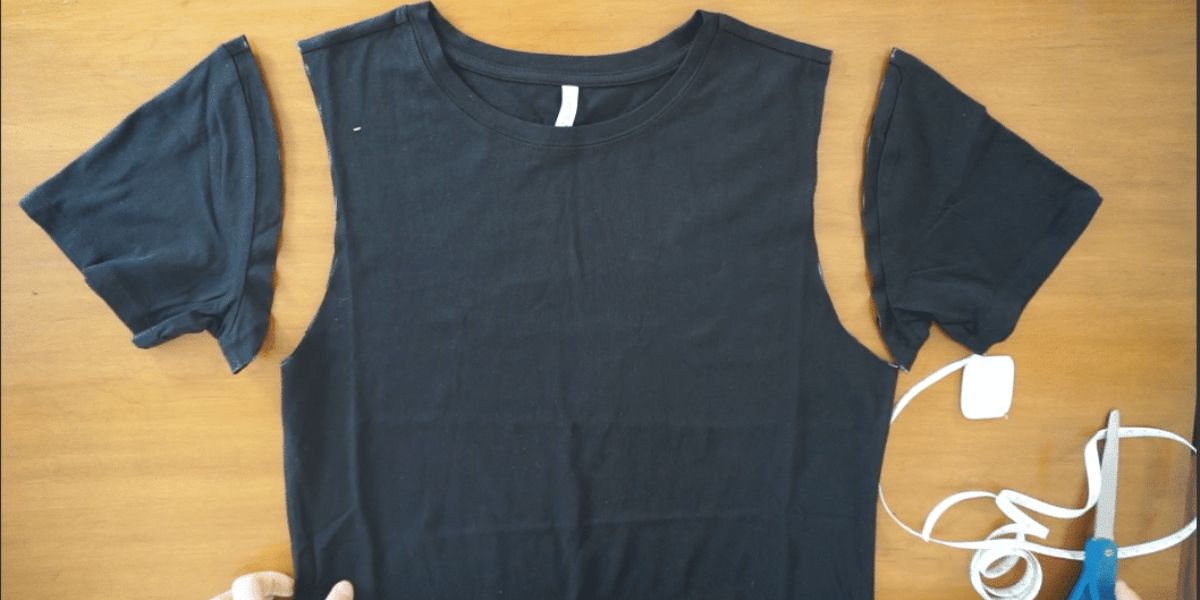
Step 3: Cutting the fabric
Now that you have your measurements, it’s time to cut the fabric for your tank top. Follow these steps to ensure accurate and clean cuts:
Wash and prepare the fabric: Before cutting the fabric, it’s advisable to prewash it to prevent any shrinkage that may occur later. Follow the fabric care instructions to properly wash and dry it. Iron the fabric to remove any wrinkles and ensure a smooth cutting surface.
Mark the fabric: Use chalk or a fabric marker to mark the measurements on your fabric. Start by marking the length of the tank top, measured from the shoulder down. Then, mark the width based on the chest and waist measurements, making sure to add ease for a comfortable fit.
Cut the fabric: Using sharp fabric scissors, carefully cut along the marked lines. Take your time to ensure clean and straight cuts. Remember to cut two mirrored pieces for the front and back of the tank top.
Armhole and neckline: If you prefer a finished look for the armholes and neckline, you can use the measurements you took earlier to cut ribbing or bias tape. Cut strips of ribbing or bias tape to match the length of the armholes and neckline.
Once you have completed cutting the fabric and any additional strips for the armholes and neckline, you’re now ready to move on to the next step: sewing the shoulder seams of your tank top.
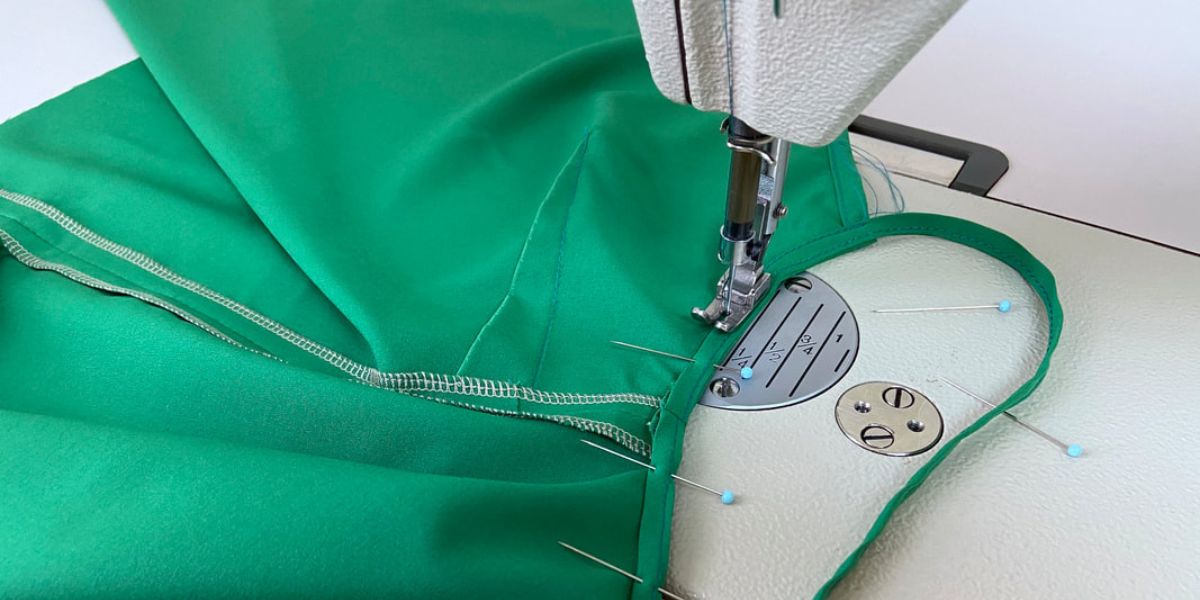
Step 4: Sewing the shoulder seams
With the fabric pieces cut, it’s time to start sewing your tank top. The first step is to sew the shoulder seams together. Follow these steps to sew the shoulder seams:
- Place the fabric pieces: Take the front and back fabric pieces and lay them right sides together, aligning the shoulder edges. Pin the shoulder edges in place to secure them for sewing.
- Sew the shoulder seams: Using a sewing machine or needle and thread, sew along the pinned shoulder edges with a straight stitch. Make sure to backstitch at the beginning and end to secure the stitches. Remove the pins as you sew.
- Press the seams: Once the shoulder seams are sewn, use an iron to press the seams open. This will create a cleaner and more professional finish.
At this point, your tank top will start taking shape as the shoulder seams come together. Take a moment to inspect the seams and make any necessary adjustments to ensure they are sewn securely and evenly.
With the shoulder seams complete, you can now move on to the next step: sewing the side seams of your tank top.
Step 5: Sewing the side seams
After sewing the shoulder seams, it’s time to move on to sewing the side seams of your tank top. Follow these steps to sew the side seams:
- Position the fabric: Lay the fabric right sides together, aligning the side edges. Make sure the shoulder seams are matching up accurately.
- Pin the side seams: Use pins to secure the side edges together, ensuring that the fabric is aligned and the edges are matched up evenly.
- Sew the side seams: Starting from the armhole down to the hem, sew along the pinned side edges using a straight stitch. Remember to backstitch at the beginning and end to secure the stitches. Remove the pins as you sew.
- Press the seams: Once the side seams are sewn, use an iron to press the seams open. Pressing the seams will give your tank top a professional and polished look.
Take your time while sewing the side seams to ensure that the edges align well and the stitches are even. It’s important to maintain a steady and consistent seam allowance throughout the sewing process.
With the side seams sewn, your tank top is starting to come together. The next step is to move on to hemming the edges for a clean and finished look.
Step 6: Hemming the edges
Hemming the edges of your tank top will give it a polished and finished look. Follow these steps to hem the edges:
- Prepare the edges: Fold the bottom edge of your tank top up by ¼ inch (0.6 cm) towards the wrong side of the fabric. Press the fold with an iron to create a crease.
- Fold and press again: Fold the same edge up again, this time by ¾ inch (1.9 cm), enclosing the raw edge. Press the fold with an iron to create a crisp crease.
- Secure the hem: Pin the folded and pressed edge in place to secure it. You can add more pins along the hem to hold it evenly in place.
- Stitch the hem: Using a sewing machine or needle and thread, sew a straight stitch along the folded edge of the hem. Sew close to the inner folded edge to secure the hem in place. Remove the pins as you sew.
- Repeat for armholes and neckline: If you want to add a finished look to the armholes and neckline, follow the same process of folding, pressing, pinning, and sewing the edges. Attach ribbing or bias tape to these edges to create a clean finish.
Hemming the edges of your tank top not only gives it a professional appearance but also helps prevent the fabric from fraying over time. Take your time while hemming to ensure neat and even stitches.
Now that the edges are hemmed, it’s time to add the finishing touches to your tank top.
Step 7: Adding finishing touches
With the main construction of your tank top complete, it’s time to add those final touches that will elevate its overall look. Here are some finishing touches you can consider:
Topstitching: Adding topstitching along the seams and edges of your tank top can give it a professional and detailed finish. Use a contrasting thread color to make the topstitching stand out or match it to the fabric for a seamless look.
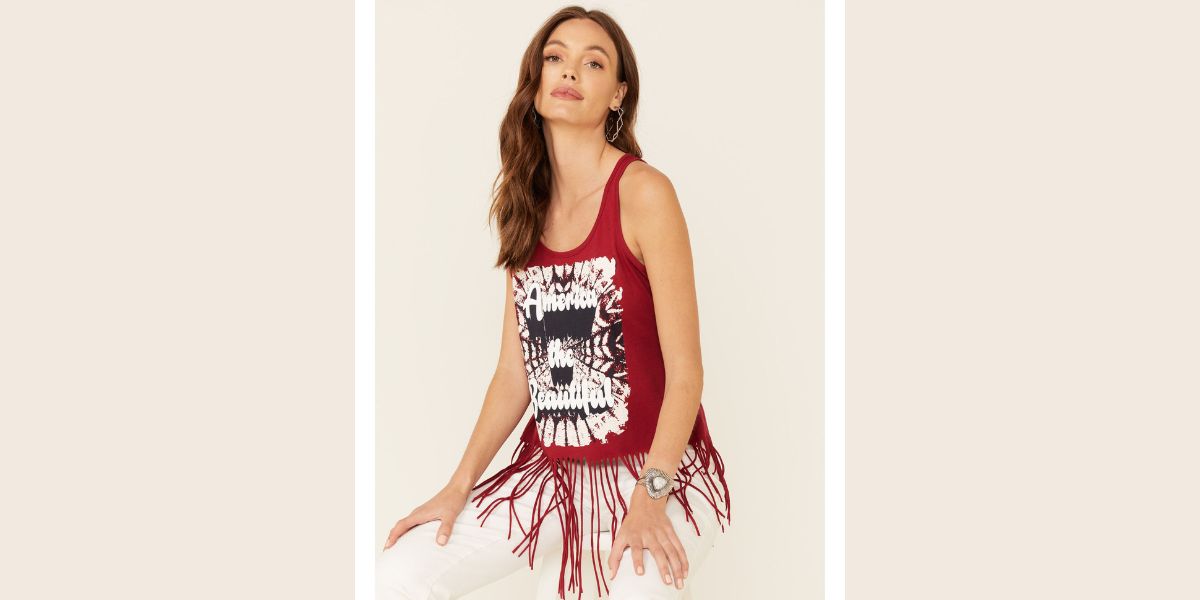
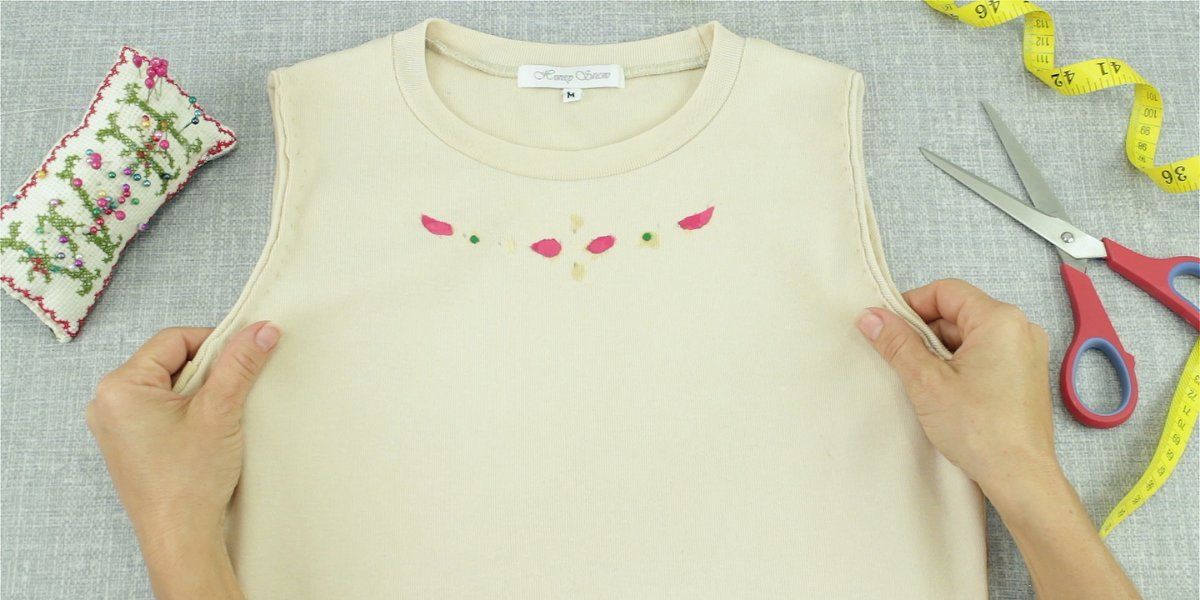
Decorative details: If you want to personalize your tank top, you can add decorative elements such as buttons, patches, or embroidery. Get creative and choose embellishments that reflect your personal style or interests.
Label or tag: Sewing in a label or tag with your name or brand can give your handmade tank top a personalized touch. This is especially great if you plan on gifting or selling your creations.
Try it on: Once you’ve added the finishing touches, take a moment to try on your tank top and assess the fit. Make any necessary adjustments by taking in the side seams or readjusting the hem length to ensure a perfect fit.
Remember, these finishing touches are optional, and you can choose to keep your tank top simple and minimalistic. The goal is to create a garment that you feel comfortable and confident in, reflecting your personal style.
Congratulations! You’ve now completed all the steps to make your own tank top from scratch. Take pride in your creation and enjoy wearing your unique and customized piece of clothing.
From choosing the fabric to adding the finishing touches, this DIY project allows you to showcase your creativity and sewing skills. Whether you’re a beginner or experienced sewer, making your own tank top is a rewarding endeavor that allows you to have complete control over the fit, style, and overall look of the garment.
So, go ahead and rock your newly-made tank top with confidence! Embrace your unique style and enjoy the comfort of a perfectly-fitted garment tailored just for you.
Conclusion
Congratulations on successfully creating your own tank top! By following the step-by-step guide and infusing your personal style into the process, you’ve produced a unique and custom-made garment that fits you perfectly.
Making your own tank top allows you to express your creativity, customize the fit, and experiment with different fabrics and designs. Whether you’re a novice or an experienced sewer, this DIY project gives you the freedom to create a personalized piece of clothing that suits your individual taste.
Throughout the process, we’ve covered essential steps like choosing the right fabric, taking accurate measurements, cutting the fabric, sewing the shoulder and side seams, hemming the edges, and adding finishing touches. These foundational techniques can be applied to future sewing projects as well, empowering you to expand your skills and create more garments.
Remember, the journey to making your own clothes is just as rewarding as the end result. Embrace any challenges and mistakes along the way, as they present valuable opportunities to learn and grow as a DIY enthusiast.
Now that you have the knowledge and confidence to create your own tank tops, feel free to explore different styles, colors, and patterns. Experiment with different necklines, lengths, and decorative elements to make each tank top truly your own.
Whether you’re looking to revamp your wardrobe, create unique gifts for friends and family, or even start a small-scale business, the possibilities are endless when it comes to making your own tank tops.
So, grab your sewing machine or needle and thread, select your favorite fabric, and embark on this exciting DIY journey. Embrace your creativity, enjoy the process, and revel in the satisfaction of wearing a garment that you’ve crafted with your own hands.
Happy sewing and take pride in your new handmade tank tops!