Home>How-to Guides>For Women>How To Twist A Tank Top
For Women
How To Twist A Tank Top
Modified: August 5, 2023
Learn how to twist a tank top for women with this easy step-by-step tutorial. Create unique and trendy looks for any occasion.
(Many of the links in this article redirect to a specific reviewed product. Your purchase of these products through affiliate links helps to generate commission for Under-tec.com, at no extra cost. Learn more)
Table of Contents
Introduction
Welcome to the world of fashion and creativity! If you’re looking to add a unique twist to your wardrobe, literally, then this article is for you. In this guide, we will show you how to transform a plain tank top into a trendy and eye-catching piece by adding twists. Whether you’re a fashion enthusiast or just looking for a fun DIY project, this step-by-step tutorial will help you achieve the desired twist effect.
Gone are the days when tank tops were considered basic and boring. With a little twist, quite literally, you can give your tank tops a chic and stylish upgrade. Twisted tank tops are all the rage right now, and for good reason. They add texture, depth, and a touch of uniqueness to any outfit, making you stand out in a crowd.
The best part? Twisting a tank top doesn’t require any advanced sewing skills or complicated techniques. All you need is a plain tank top, a few basic materials, and a creative mindset. This project is perfect for beginners and can be completed in just a few simple steps.
Ready to get started? Grab your tank top and let’s dive into the world of twisting!
Materials Needed
Before we begin, let’s gather the materials you will need to twist a tank top:
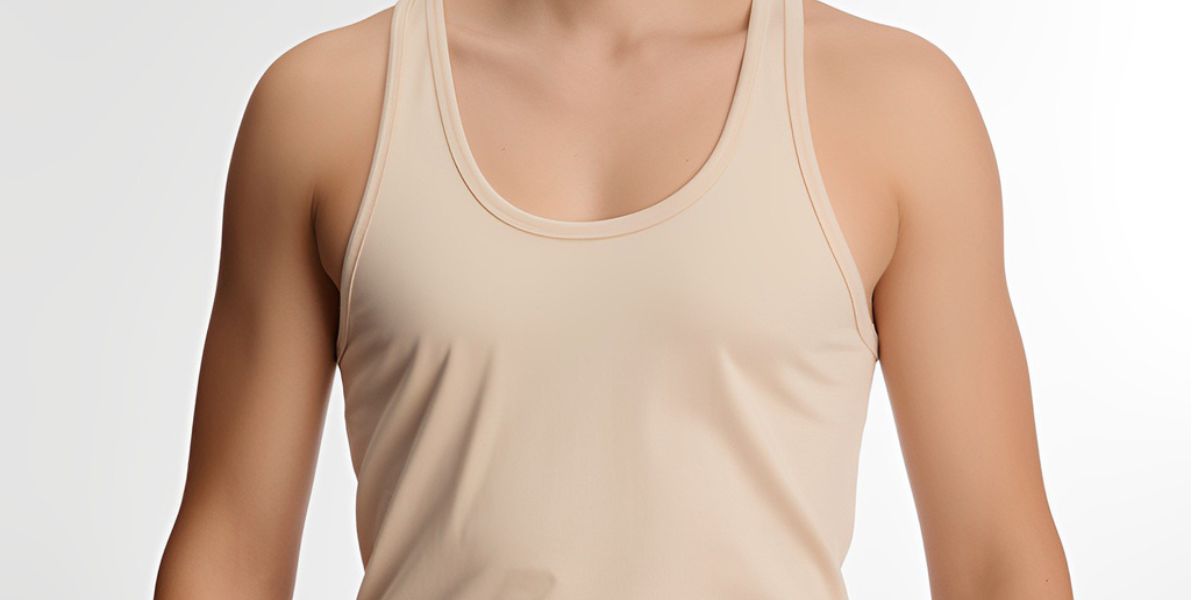
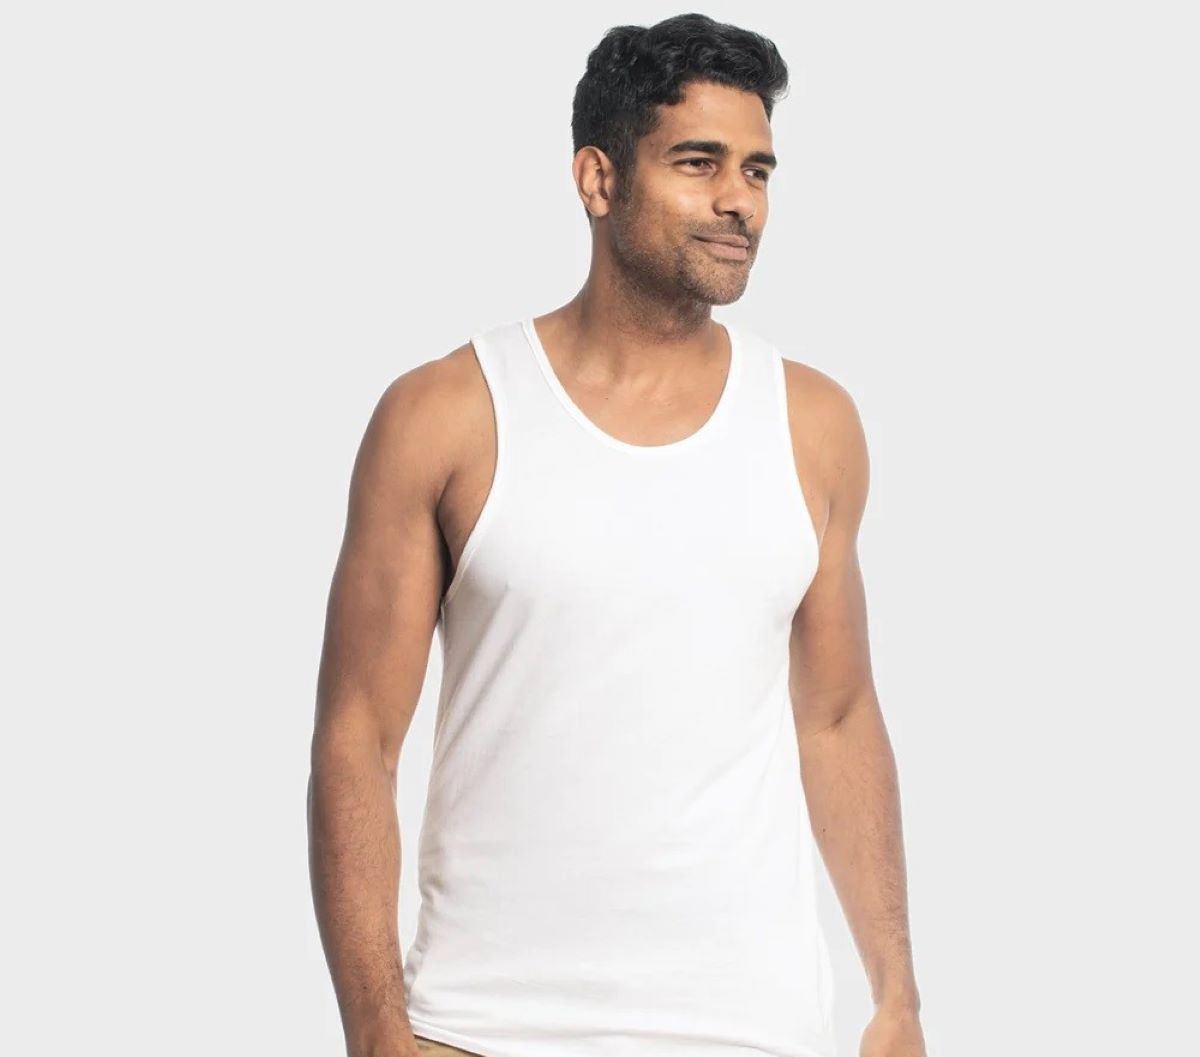
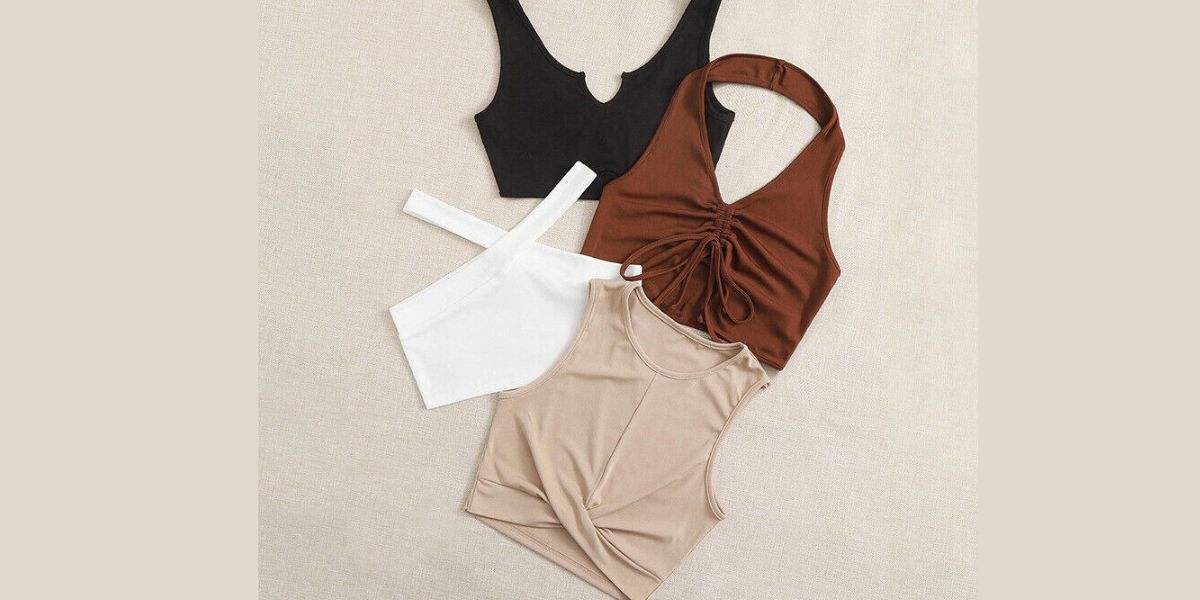
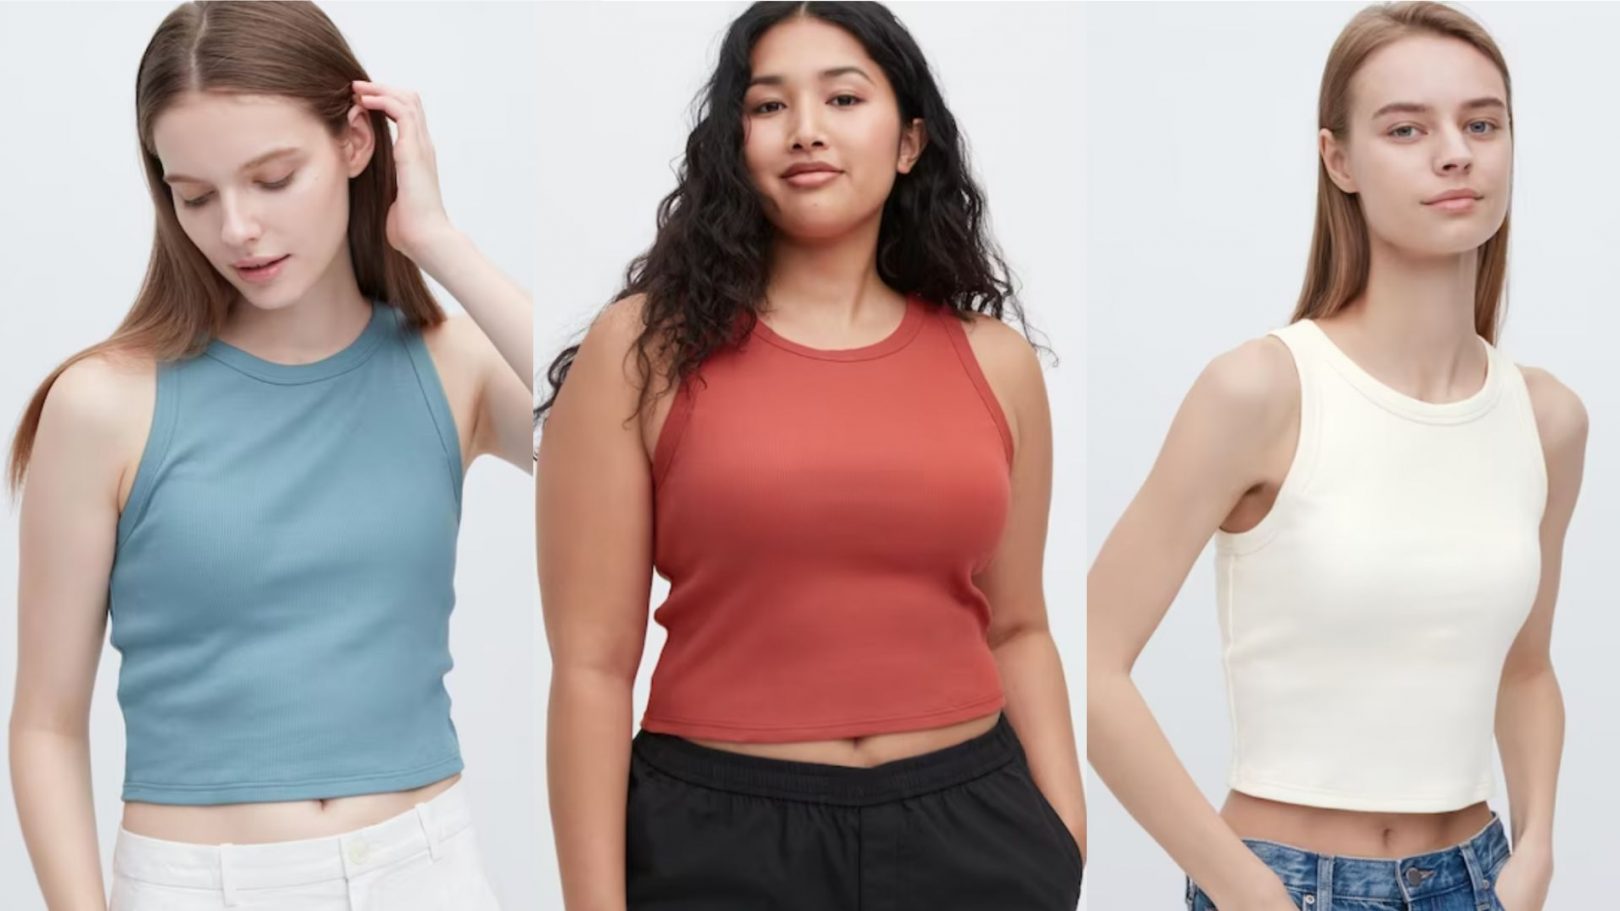
- A plain tank top: Choose a tank top in your preferred color and size. Opt for a stretchy fabric for better maneuverability during the twisting process.
- Scissors: You’ll need a pair of sharp scissors to cut the fabric if necessary.
- Pins: Pins will come in handy when securing the twists in place.
- Needle and thread: If you want to add some additional stitching or secure the twists more firmly, keep a needle and thread nearby.
- Marker or chalk: Use a marker or chalk to mark the areas where you want to create the twists.
- Optional embellishments: If you want to take your twisted tank top to the next level, consider adding embellishments like buttons, patches, or beads. Get creative and let your personal style shine!
Once you have gathered these materials, you’re all set to transform your plain tank top into a stylish twisted masterpiece. So let’s move on to the next step!
Step 1: Preparing the Tank Top
Before we dive into creating twists, it’s important to prepare your tank top for the transformation. Follow these steps to ensure a smooth and successful twisting process:
- Wash and iron the tank top: Start by washing and ironing your tank top to remove any wrinkles or dirt. This will ensure a clean and flawless finished product.
- Lay the tank top flat: Find a smooth surface and lay your tank top flat. Smooth out any wrinkles or folds to have a clear canvas for your twists.
- Mark the twisting points: Grab a marker or chalk and mark the areas where you want to create the twists. You can experiment with different placements, such as at the sides, front, or back of the tank top. These marks will serve as your guide during the twisting process.
- Optional: Cut or crop the tank top (if desired): If you want to customize the length of your tank top or add some trendy cutouts, now is the time to do it. Use a pair of sharp scissors to carefully cut along the marked lines. Take your time and ensure that the cuts are neat and even.
Once you have prepared your tank top, you’re ready to move on to the exciting part – creating twists! So let’s jump into the next step and start adding some flair to your tank top.
Step 2: Creating the First Twist
Now that you have prepared your tank top, it’s time to start adding those captivating twists. Follow these steps to create the first twist:
- Locate the first marked twisting point: Begin by finding the first mark you made on the tank top, indicating where you want the twist to be placed.
- Hold the fabric at the twisting point: Pinch the fabric at the marked point and hold it firmly between your fingers. Make sure to hold both the front and back layers of the tank top together.
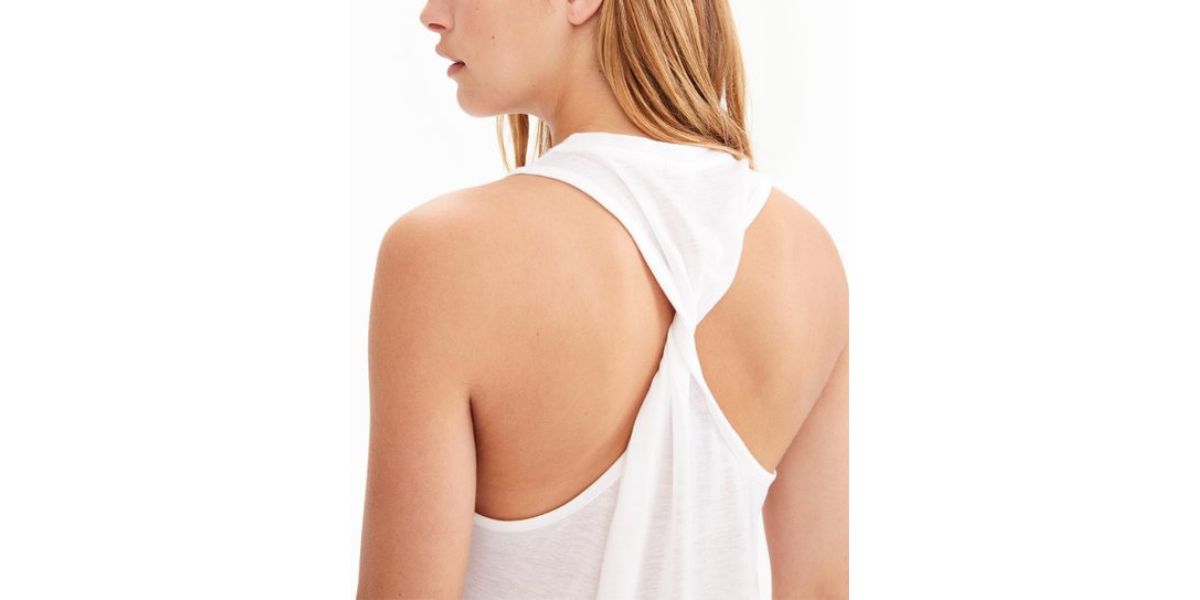
- Start twisting: Begin twisting the fabric in a clockwise or counterclockwise direction, depending on your preference. Keep twisting until the fabric forms a tight spiral around itself.
- Secure the twist with pins: Once you have created the desired twist, use pins to secure the twisted fabric in place. Insert the pins through all layers of the tank top to hold the twist firmly.
- Repeat the twisting process: Move on to the next marked twisting point and repeat the steps above to create additional twists. You can create as many twists as you like, depending on the design you envision for your tank top.
Remember to take your time and ensure that each twist is secure and visually appealing. Feel free to adjust the tightness and size of the twists to achieve the desired effect. Don’t be afraid to get creative and experiment with different twisting patterns.
Now that you have created the first twist, it’s time to move on to the next step and add more twists to your tank top. So let’s continue to the next step and see your design come to life!
Step 3: Creating Additional Twists
With the first twist in place, it’s time to add more dimension and visual interest to your tank top. Follow these steps to create additional twists:
- Identify the next twisting point: Look for the next marked point on your tank top where you want to create a twist. This could be on the front, back, or sides of the tank top.
- Pinch and hold the fabric: Once you’ve located the twisting point, pinch the fabric firmly between your fingers, ensuring you’re holding both layers of the tank top.
- Continue twisting: Similar to the first twist, start twisting the fabric in a clockwise or counterclockwise direction, depending on your preference. Aim for a tight and neat spiral, adjusting the tightness as desired.
- Secure with pins: Once you’ve achieved the desired twist, use pins to hold the twist in place. Insert the pins through all layers of the tank top to ensure the twist stays secure.
- Repeat the process: Move on to the remaining marked points and repeat the steps above to create more twists. Feel free to vary the size, tightness, and placement of the twists to add variation to your design.
As you create additional twists, step back and evaluate the overall design. Consider the placement and balance of the twists to achieve a visually appealing and cohesive look. Don’t be afraid to make adjustments or add twists in different areas if you feel it would enhance the overall appearance of your tank top.
Remember, the beauty of this DIY project is that you have the freedom to design your tank top according to your personal style and preferences. So let your creativity flow and create a unique piece that reflects your individuality.
Now that you have created multiple twists, it’s time to move on to the next step to ensure that your twists stay in place and maintain their stunning appeal.
Step 4: Securing the Twists
With your twists beautifully created, it’s important to secure them in place to ensure they don’t unravel. Follow these steps to secure the twists:
- Remove the pins: Carefully remove the pins that were holding the twists temporarily in place. Take your time to avoid snagging or damaging the fabric.
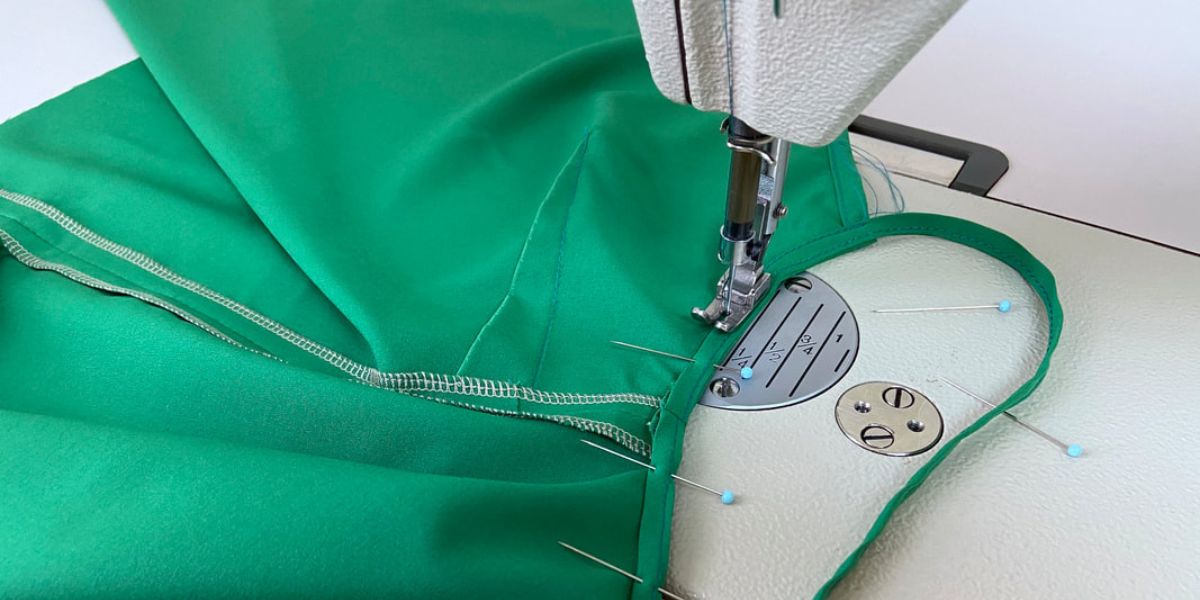
- Secure the twists with thread (optional): If you want to add extra security to the twists, you can use a needle and thread to stitch through the layers of fabric at the base of each twist. This will help keep the twists in place even during active movements.
- Tie knots at the base of each twist: Another way to reinforce the twists is by tying knots at the base of each twist. Securely tie a knot at the bottom of each twist, ensuring it is tight enough to hold the fabric in place.
- Trim any excess fabric (optional): If you find that there is excess fabric hanging from the knots or twists, you can use scissors to carefully trim it off, ensuring not to cut too close to the twisted area.
By securing the twists, you can be confident that they will remain intact even after multiple wears and washes. This step is especially crucial if you plan to wear the twisted tank top during physical activities or events where movement is involved.
Remember, the level of security you add to the twists is up to your personal preference. If you’re confident that the twists are secure without the need for stitching or knotting, feel free to skip those steps and move on to the final step.
Now that you have secured the twists in place, it’s time to add the finishing touches and style your beautifully transformed tank top. Let’s move on to the next and final step.
Step 5: Styling the Twisted Tank Top
Congratulations, you’ve successfully transformed your plain tank top into a stylish and unique piece with twists! Now, let’s explore how you can style and incorporate your twisted tank top into your everyday outfits:
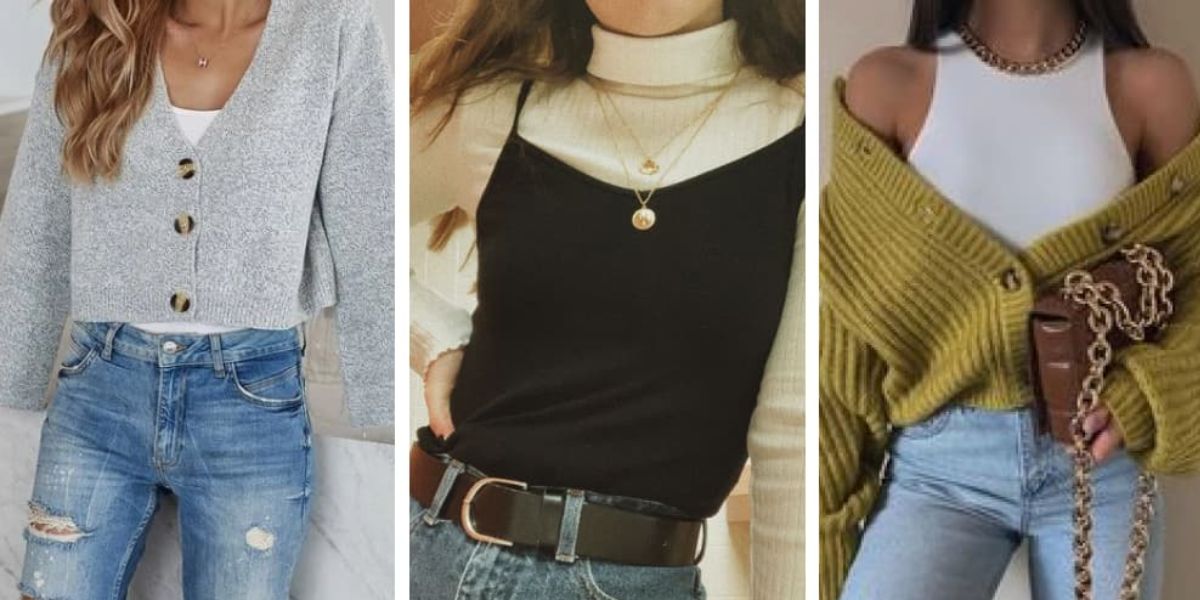
- Pair it with high-waisted bottoms: Whether it’s a skirt, shorts, or jeans, high-waisted bottoms complement twisted tank tops perfectly. Tuck the front of the tank top into the waistband to showcase the twists while creating a flattering silhouette.
- Accessorize with statement jewelry: Enhance the style of your twisted tank top by accessorizing with bold and eye-catching statement jewelry. Chunky necklaces or large hoop earrings can amp up your outfit and draw attention to the twists.
- Experiment with different bottoms: Don’t be afraid to mix and match your twisted tank top with various bottoms, such as flowy maxi skirts, tailored pants, or even leather leggings. The twists will add an unexpected twist (pun intended) to any outfit combination.
- Dress it up or down: Depending on the occasion, you can dress up or down your twisted tank top. Pair it with heels and a blazer for a sophisticated look or with sneakers and denim shorts for a casual and effortless vibe.
Remember, styling is all about expressing your personal style and creativity, so feel free to experiment with different combinations and accessories that reflect your unique taste.
Now that you have styled your twisted tank top, it’s time to rock your fabulous creation with confidence and embrace the compliments that come your way!
Conclusion
Congratulations on successfully twisting your plain tank top into a trendy and captivating piece! By following the steps outlined in this guide, you have learned how to add twists to your tank top, creating a unique and personalized look. With just a few materials and a touch of creativity, you have transformed a basic wardrobe staple into a fashion-forward statement.
Twisted tank tops are an excellent way to showcase your individuality and add a touch of flair to your outfits. Whether you’re heading out for a casual day with friends or attending a special event, your twisted tank top will undoubtedly turn heads. The twists add depth, texture, and a touch of visual interest to an otherwise ordinary garment.
Remember to unleash your creativity when designing your twisted tank top. Experiment with different twisting patterns, consider adding embellishments, and explore various styling options to truly make it your own. The possibilities are endless, and each twist tells a unique story.
Now that you have mastered the art of twisting tank tops, don’t be afraid to expand your creativity to other pieces of clothing, such as t-shirts, dresses, or even skirts. Embrace the joy of DIY fashion and let your imagination run wild!
Thank you for following this comprehensive guide on how to twist a tank top. We hope you enjoyed the process and are thrilled with the end result. Get ready to rock your twisted tank top with confidence and showcase your personal style to the world! Happy twisting!