Home>How-to Guides>For Women>How To Cut A Tank Top Into A Crop Top
For Women
How To Cut A Tank Top Into A Crop Top
Modified: August 5, 2023
Discover how to easily transform a tank top into a trendy crop top for women. Step-by-step guide on cutting and styling your tank tops. Don't wait, try it now!
(Many of the links in this article redirect to a specific reviewed product. Your purchase of these products through affiliate links helps to generate commission for Under-tec.com, at no extra cost. Learn more)
Table of Contents
- Introduction
- Materials Needed
- Step 1: Choose the Right Tank Top
- Step 2: Measure and Mark
- Step 3: Cut the Bottom Hem
- Step 4: Determine the Desired Length
- Step 5: Cut the Body of the Tank Top
- Step 6: Create a Raw Edge Finish (Optional)
- Step 7: Try on and Make Adjustments
- Step 8: Finish the Edges (Optional)
- Conclusion
Introduction
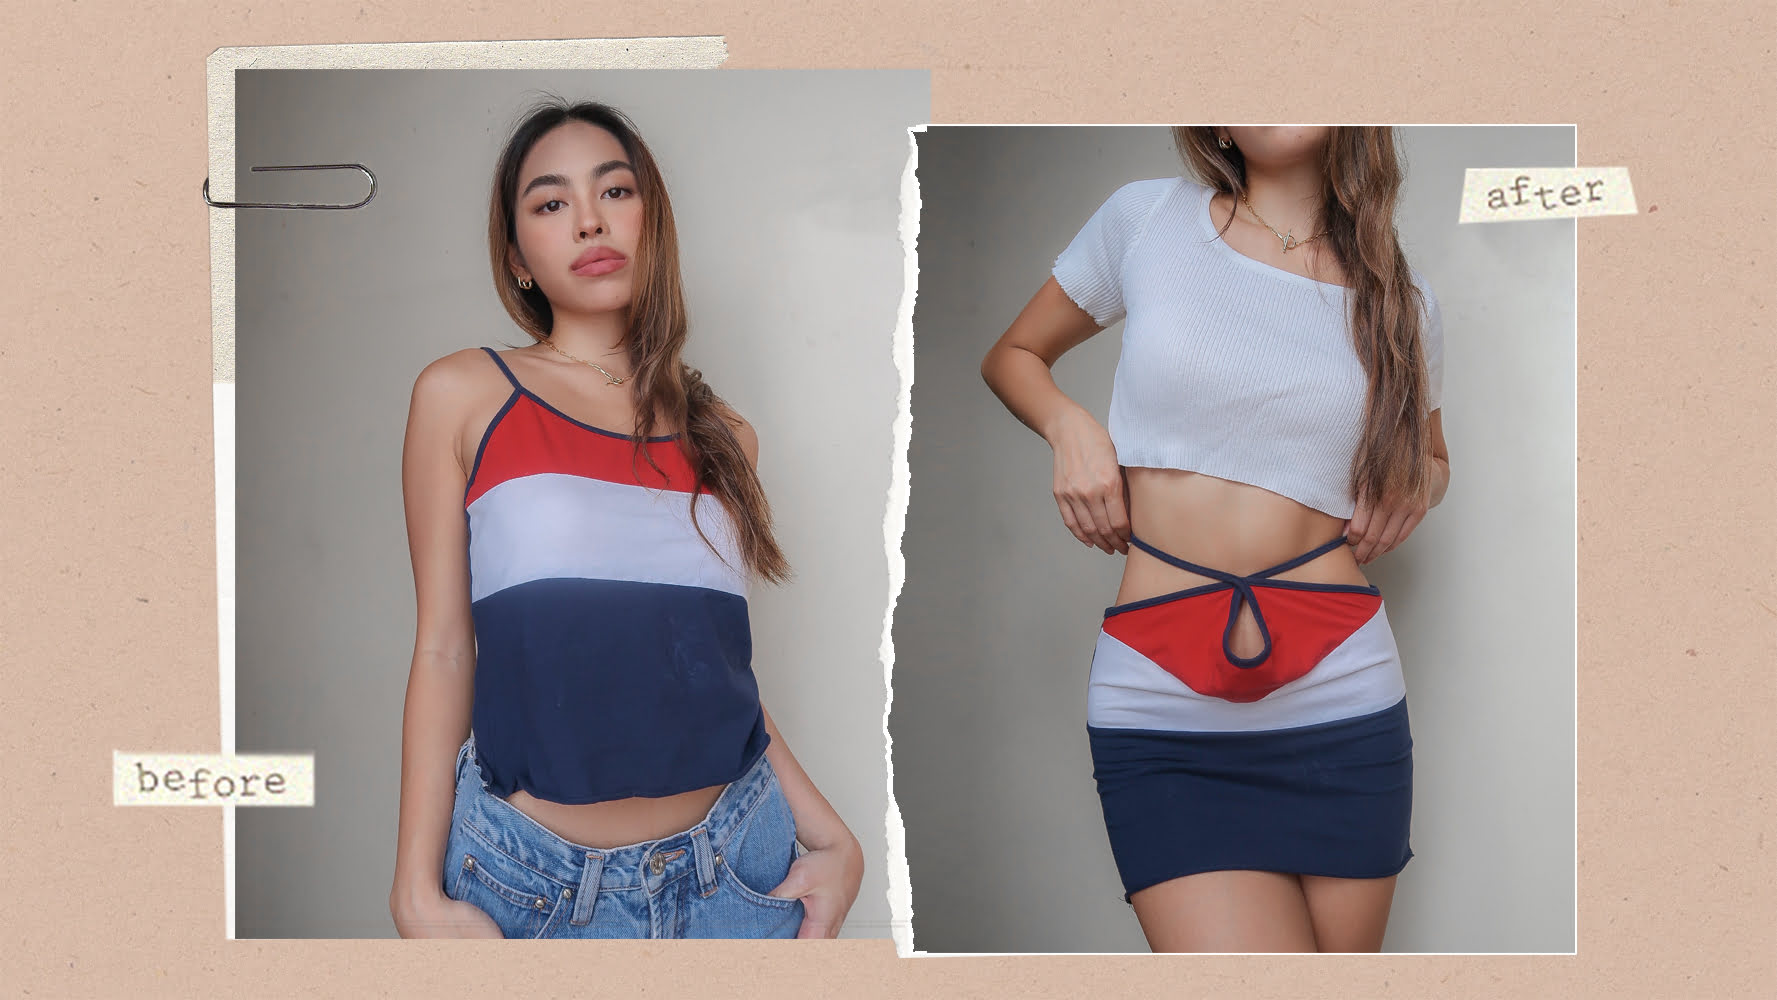
Are you looking to revamp your wardrobe with some trendy crop tops? Why not give your old tank tops a new life by transforming them into stylish crop tops? Cutting a tank top into a crop top is a simple and fun DIY project that allows you to create unique and personalized pieces. With just a few easy steps, you can turn your long and shapeless tank tops into fashionable and flattering crop tops that are perfect for the warmer months.
Not only is cutting a tank top into a crop top a great way to upcycle your old clothing and reduce waste, but it also gives you the opportunity to showcase your individual style. The best part is that you don’t need any advanced sewing skills or expensive equipment to achieve this trendy look. All you need is a basic understanding of measurements, some common household items, and a bit of creativity.
In this step-by-step guide, we will walk you through the process of transforming your tank tops into crop tops. You’ll learn how to select the right tank top, measure and mark the desired length, and expertly cut and finish the edges. Whether you prefer a raw edge finish or a more polished look, we’ve got you covered. So grab your tank tops, a pair of scissors, and let’s get started on this exciting fashion DIY project.
Materials Needed
Before you begin transforming your tank top into a crop top, gather the following materials:
- Tank top: Choose a tank top that you no longer wear or one that you want to give a stylish makeover. Select a tank top made of a comfortable fabric that has a bit of stretch to it.
- Scissors: Opt for a pair of sharp fabric scissors that will easily glide through the fabric. It’s important to use scissors specifically designed for cutting fabric to ensure clean and precise cuts.
- Measuring tape or ruler: You’ll need a measuring tape or ruler to accurately mark the length you desire for your crop top. This will help you achieve a balanced and consistent look.
- Fabric chalk or marker: Use a fabric chalk or marker to make temporary marks on the tank top. These marks will guide you while cutting and ensure accuracy.
- Sewing kit (optional): If you want to add finishing touches to your crop top, such as sewing the edges or creating a raw edge finish, you’ll need a basic sewing kit. This includes needles, thread, and a sewing machine (optional).
Make sure you have all the necessary materials handy before you start the project. This will help streamline the process and ensure that you have everything you need to successfully transform your tank top into a trendy crop top.
Step 1: Choose the Right Tank Top
The first step in cutting a tank top into a crop top is selecting the right tank top for your transformation. Consider these factors when choosing a tank top:
- Fit: Look for a tank top that fits well around your bust and shoulders. Avoid tank tops that are too tight or too loose, as they may not provide the desired crop top look.
- Length: Consider the length of the tank top. Ideally, choose a tank top that is a few inches longer than your desired crop top length. This will give you enough fabric to work with and make any necessary adjustments.
- Material: Pay attention to the fabric of the tank top. Cotton or cotton-blend tank tops are often the easiest to work with and provide a comfortable fit. Stretchy materials like rib knit or jersey knit can be more forgiving in terms of fit.
- Design: Take into account any patterns, prints, or graphics on the tank top. Keep in mind that cutting the tank top will alter the design, so choose a tank top with a design that will still look appealing after the transformation.
It’s important to choose a tank top that you no longer wear, or one that you are willing to transform into a crop top. This way, you can experiment without the fear of ruining a beloved item. Additionally, feel free to get creative and choose tank tops with unique details, such as lace trim or interesting necklines, to add extra flair to your crop tops.
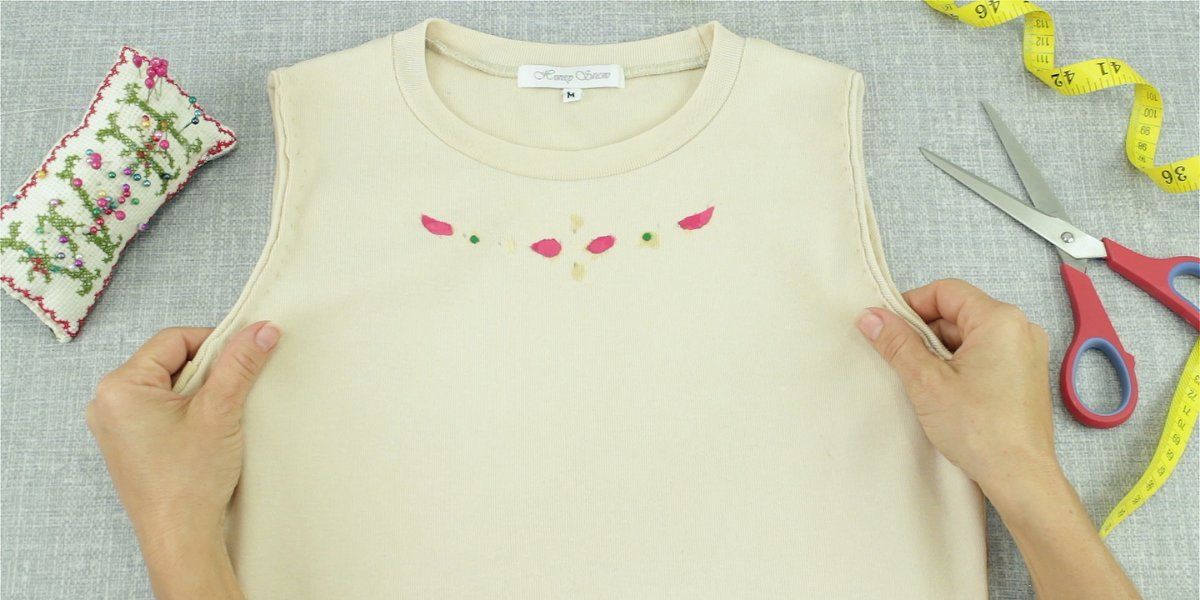
Step 2: Measure and Mark
Once you’ve selected the perfect tank top, it’s time to measure and mark the desired length for your crop top. Follow these steps to ensure accuracy:
- Put on the tank top: Wear the tank top and stand in front of a mirror. This will allow you to visualize the desired length and make adjustments if needed.
- Determine the crop top length: Decide how long you want your crop top to be. You can go for a shorter length that hits just above your belly button, or a longer length that falls at your natural waist. Keep in mind that different lengths can create different looks, so choose the length that you feel most comfortable and confident in.
- Mark the length: Using a fabric chalk or marker, make a horizontal mark at the desired length on both the front and back of the tank top. Ensure that the marks are straight and aligned.
- Take off the tank top: Carefully remove the tank top and lay it flat on a clean, smooth surface.
Taking the time to measure and mark the desired length will help you achieve a consistent and balanced look across the entire crop top. It’s important to be precise with your measurements in order to create a stylish and flattering crop top that fits you perfectly.
Step 3: Cut the Bottom Hem
With the tank top laid flat and the marked length in place, it’s time to start cutting. Begin by following these steps to cut the bottom hem of the tank top:
- Align the tank top: Ensure that the tank top is properly aligned along the marked length and that the fabric is smooth and free from any wrinkles or folds.
- Double-check the marks: Verify that the marked length is still visible and accurately aligned along the bottom hem of the tank top. This will serve as your guide while cutting.
- Cut straight across: Using sharp fabric scissors, cut straight across the bottom hem of the tank top along the marked length. Take your time and make clean, even cuts to achieve a professional-looking finish.
- Remove the cut hem: Once you have cut along the marked length, remove the cut hem from the tank top. This will create a clean edge for the crop top.
Cutting the bottom hem of the tank top is the first major step in transforming it into a crop top. By removing the excess length, you’re on your way to creating a trendy and fashionable piece that can be styled in various ways. Keep in mind that the cut should be straight and even to ensure a polished appearance.
Step 4: Determine the Desired Length
Now that you have cut the bottom hem of the tank top, it’s time to determine the final length for your crop top. Follow these steps to ensure you achieve the desired look:
- Try on the tank top: Put on the tank top and assess the current length. This will allow you to visualize how much more you want to cut and make any necessary adjustments.
- Consider your comfort level: Take into account your personal preference and comfort level when determining the length. Some may prefer a shorter crop top, while others may prefer a slightly longer length.
- Take body proportions into account: Consider your body proportions when deciding on the length. If you have a longer torso, you may want to opt for a slightly longer crop top to maintain balance and proportion.
- Mark the new length: Using a fabric chalk or marker, mark the new desired length on the front and back of the tank top. Ensure that the marks are straight and aligned with the previous cut.
Determining the desired length is an important step in creating a crop top that flatters your figure and complements your personal style. Taking the time to try on the tank top and make adjustments will help you achieve a crop top length that you feel confident and comfortable in.
Step 5: Cut the Body of the Tank Top
Now that you have marked the new desired length, it’s time to cut the body of the tank top to achieve the crop top style. Follow these steps to ensure a clean and precise cut:
- Lay the tank top flat: Lay the tank top flat on a clean, smooth surface, ensuring there are no wrinkles or folds.
- Align the marks: Double-check that the marked length is still visible and properly aligned along the front and back of the tank top.
- Cut along the marks: Using your sharp fabric scissors, carefully cut along the marked lines on both the front and back of the tank top. Take your time and make straight, even cuts to ensure a professional-looking finish.
- Try on the crop top: Once you have cut the body of the tank top, try it on to assess the length and fit. Make any necessary adjustments by trimming the edges or cutting off more fabric if desired.
Cutting the body of the tank top is a crucial step in transforming it into a crop top. By removing the excess fabric, you are creating a stylish and flattering silhouette. Be sure to cut along the marked lines accurately to achieve a clean and precise crop top that you’ll be excited to wear.
Step 6: Create a Raw Edge Finish (Optional)
If you prefer a more relaxed and casual look, you can leave the edges of your crop top with a raw finish. This creates a trendy and edgy look that requires minimal effort. Follow these steps to create a raw edge finish on your crop top:
- Try on the crop top: Put on the crop top to ensure it fits well and that you are happy with the length.
- Trim any uneven edges: If you notice any uneven or jagged edges, use your fabric scissors to trim them so that the edges are even.
- Experiment with distressing (optional): If you want to add some extra character to your crop top, you can lightly sand the edges with sandpaper or use a small pair of scissors to make small snips along the edges for a distressed look.
- Wash and wear: Wash and dry the crop top as usual to encourage fraying along the edges for a more textured and raw finish.
Creating a raw edge finish on your crop top gives it a laid-back and effortlessly stylish vibe. It’s a great option for casual outings or when you want to achieve a more relaxed look. Remember to experiment and have fun with distressing techniques to add a unique touch to your crop top!
Step 7: Try on and Make Adjustments
After completing the previous steps, it’s time to try on your newly transformed crop top and make any necessary adjustments for the perfect fit. Here’s what you should do:
- Put on the crop top: Slip on the crop top and assess how it fits and looks on your body. Pay attention to the length, the fit around your bust and shoulders, and the overall comfort.
- Check the length: Take a look in the mirror and ensure that you are satisfied with the length of the crop top. If it feels too long or too short, use your fabric scissors to make small adjustments until you achieve the desired look.
- Adjust the fit: If the crop top feels loose or baggy in certain areas, consider taking it in by sewing or using fabric adhesive to create a more tailored fit. Similarly, if it feels too tight, you may need to make slight cuts or alterations to allow for more room.
- Make additional modifications: Take this opportunity to make any additional modifications to the crop top, such as cutting off stray threads or adjusting the neckline if desired.
Trying on the crop top and making adjustments is crucial in ensuring that it flatters your body and aligns with your personal style. Don’t be afraid to make small changes to achieve the perfect fit and look. Remember, each adjustment brings you closer to a crop top that you’ll love wearing.
Step 8: Finish the Edges (Optional)
If you prefer a more polished and finished look, you can choose to add a finishing touch to the edges of your crop top. This step will give your crop top a more refined and professional appearance. Follow these steps to finish the edges of your crop top:
- Gather your sewing kit: If you have a sewing kit, you’ll need a needle, matching thread, and a sewing machine (optional).
- Select a finishing method: Choose the finishing method that suits your preference and sewing skill level. Some popular options include:
- Hemming: Fold over the raw edge of the fabric, pin it in place, and use a straight stitch to sew along the folded edge.
- Bias binding: Attach bias tape or binding to the raw edges, folding it over the edge and sewing it in place.
- Serger or overlock machine: If you have a serger or overlock machine, you can use it to finish the edges with a clean and professional finish.
- Follow the finishing method: Depending on the finishing method you chose, carefully follow the instructions and sew along the edges to secure them.
- Inspect your work: Once you have finished the edges, thoroughly inspect your crop top to ensure that the finishing is neat and secure.
Finishing the edges of your crop top adds a touch of sophistication and refinement to the garment. Choose the method that aligns with your sewing skills and personal preference, and take your time to ensure that each seam is neat and well-executed. This step will elevate your crop top and give it a professional and polished appearance.
Conclusion
Congratulations! You have successfully transformed your old tank tops into stylish crop tops. By following these step-by-step instructions, you were able to create unique and personalized pieces that reflect your individual style. Whether you opted for a raw edge finish or added a polished touch by finishing the edges, your crop tops are now ready to be worn and showcased.
Cutting a tank top into a crop top is not only a fun and creative DIY project, but it also allows you to upcycle your old clothing and reduce waste. With just a few simple tools and some basic sewing skills, you were able to give new life to your wardrobe and create trendy pieces that are perfect for the warmer months.
Remember, don’t be afraid to experiment and customize your crop tops further. You can add embellishments, such as patches or studs, or even alter the neckline to create a one-of-a-kind look. The possibilities are endless!
Now that you have the knowledge and skills to transform your tank tops into crop tops, you can revamp your wardrobe with confidence. So grab your scissors, gather your tank tops, and start creating fashionable and flattering crop tops that are sure to turn heads wherever you go. Happy crafting!