Home>How-to Guides>For Women>How To Draw A Tank Top
For Women
How To Draw A Tank Top
Modified: August 5, 2023
Learn how to draw a trendy tank top for women with our step-by-step tutorial. Create fashionable designs and express your unique style.
(Many of the links in this article redirect to a specific reviewed product. Your purchase of these products through affiliate links helps to generate commission for Under-tec.com, at no extra cost. Learn more)
Table of Contents
## Introduction
Introduction
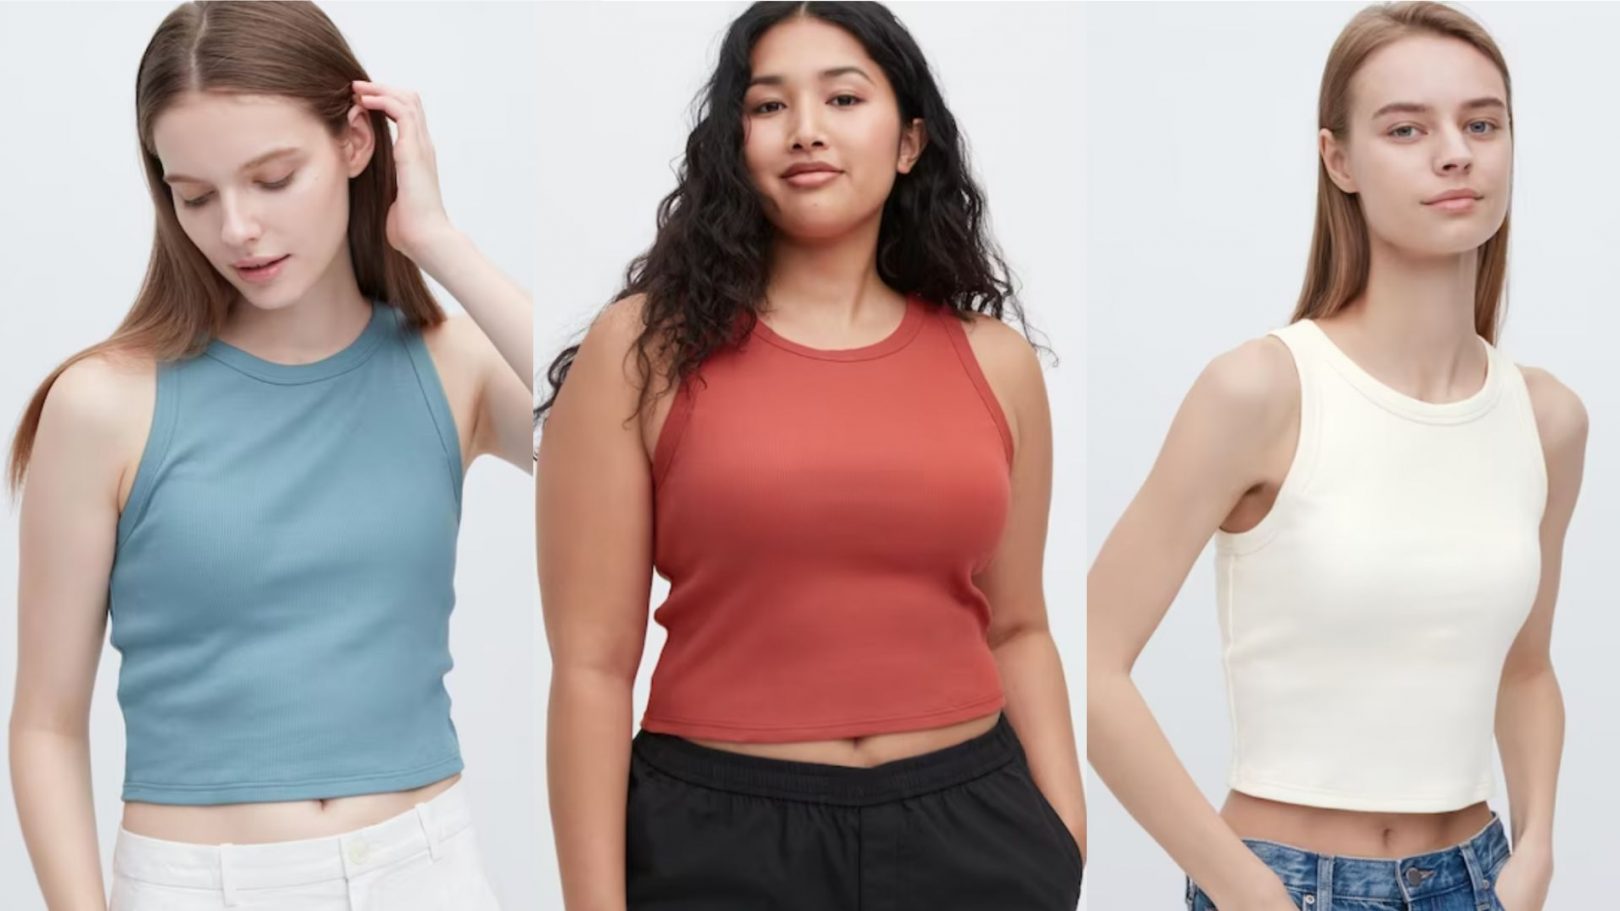
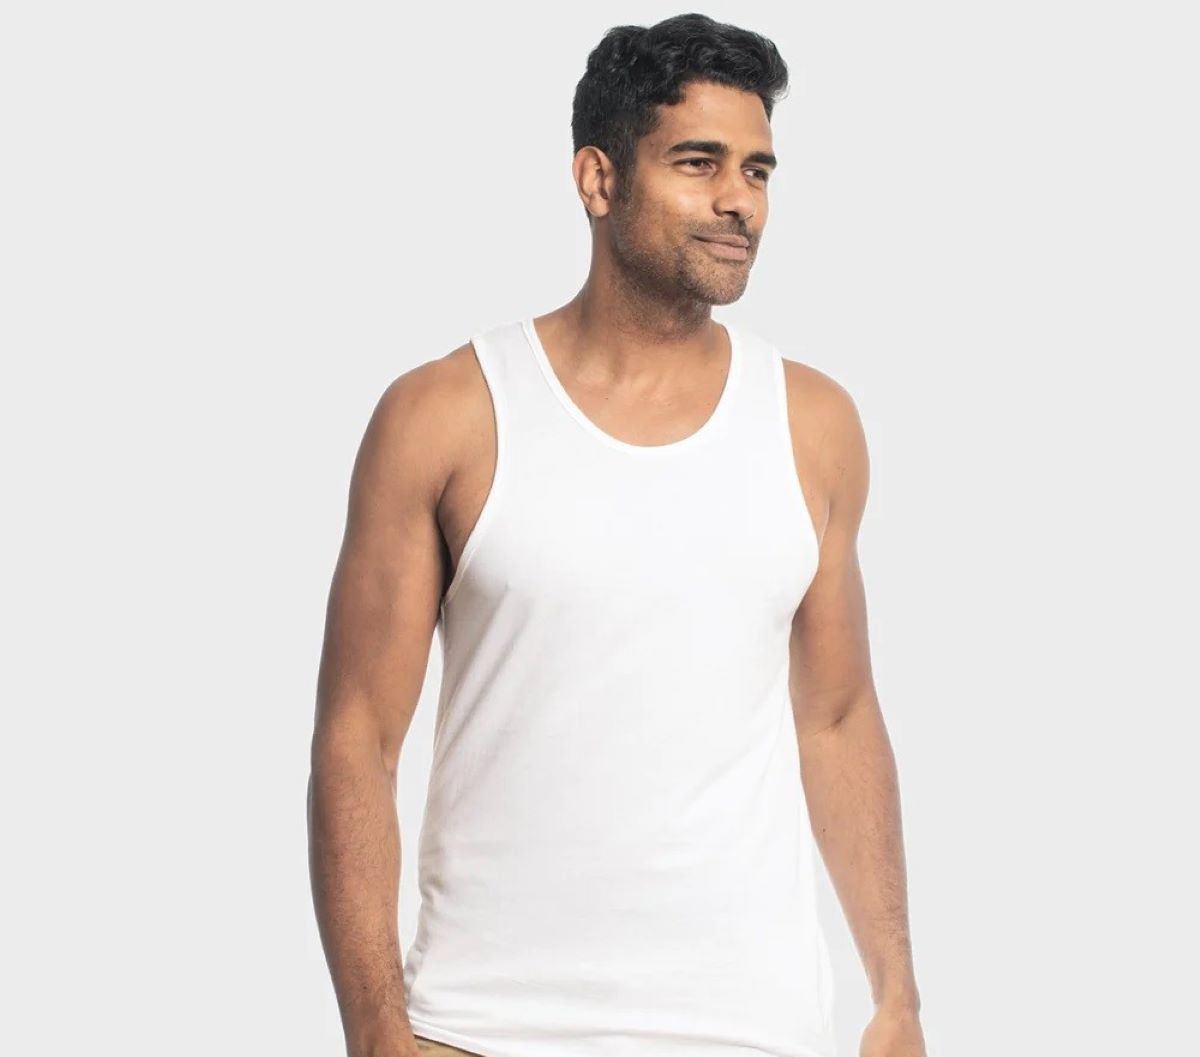
Welcome to this step-by-step guide on how to draw a tank top. Tank tops are a stylish and versatile clothing item that can be worn by both men and women. They are perfect for warm weather and can be dressed up or down depending on the occasion. Whether you’re an aspiring artist or just someone who loves fashion, this tutorial will show you how to create a realistic and fashionable tank top design.
Creating your own tank top design allows you to let your creativity shine and express your unique style. You can experiment with different patterns, colors, and details to make your tank top truly one-of-a-kind. This guide will provide you with clear and easy-to-follow steps, making the drawing process enjoyable and accessible for artists of all skill levels.
Before we get started, it’s important to gather the necessary materials. You don’t need anything fancy – just some basic drawing supplies will do. Grab a pencil, eraser, paper, and any coloring tools you prefer, such as colored pencils, markers, or watercolors. With these materials on hand, you’re ready to dive into the world of tank top design.
Now, let’s begin the process of creating a stunning tank top design that you can proudly display or even wear.
## Materials Needed
Materials Needed
Before you start drawing your tank top, gather the following materials:
- Pencil
- Eraser
- Paper
- Coloring tools (colored pencils, markers, or watercolors)
Using a pencil will allow you to make any necessary adjustments or changes as you sketch your tank top design. An eraser will come in handy for removing any mistakes or unwanted lines. Choose a paper that suits your preferred drawing style – whether it’s a sketchbook, drawing pad, or loose sheets of paper.
If you decide to add color to your tank top design, you can choose from a variety of coloring tools. Colored pencils offer precision and control, allowing you to blend and layer colors smoothly. Markers create bold and vibrant hues, making your design pop. Watercolors provide a more fluid and translucent effect, giving your tank top design a unique look.
Feel free to experiment with different materials or mix and match them to achieve your desired artistic style. The most important thing is to have the basic drawing supplies on hand so that you can fully immerse yourself in the creative process.
Now that you have your materials ready, let’s move on to the next step: drawing the basic shape of the tank top.
## Step 1: Drawing the Basic Shape
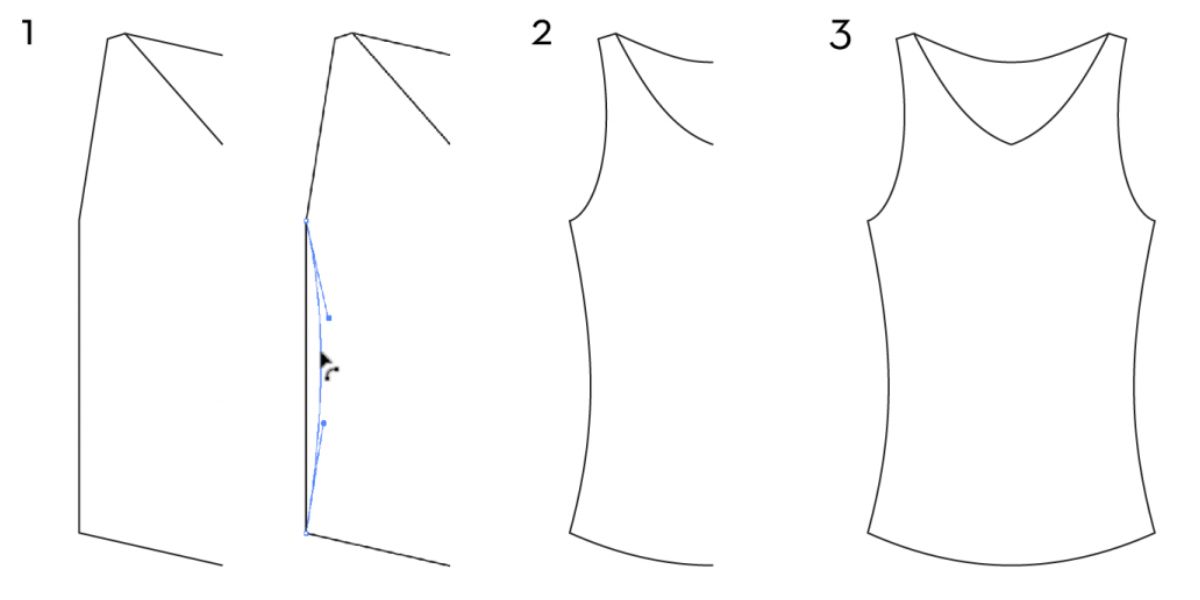
Step 1: Drawing the Basic Shape
To start creating your tank top design, begin by drawing the basic shape of the tank top. Follow these steps:
- Draw a horizontal line in the middle of your paper. This will serve as the base for your tank top.
- From the middle of the line, draw two vertical lines that extend downward. These lines represent the sides of the tank top.
- Connect the ends of the vertical lines with a slightly curved line to form the bottom part of the tank top.
- At the top of the horizontal line, draw a curved line that extends slightly outward on both sides. This will create the neckline of the tank top.
Keep in mind that tank tops can have different necklines, such as round neck, V-neck, or scoop neck. Choose the neckline style that you prefer and adjust the curvature of the line accordingly.
Once you have completed these steps, you will have established the basic shape of your tank top. This step lays the foundation for the rest of the drawing process, so take your time and ensure that the proportions are to your liking.
Now that you have the basic shape, we can move on to the next step: adding the straps to your tank top.
## Step 2: Adding the Straps
Step 2: Adding the Straps
Now that you have the basic shape of your tank top, it’s time to add the straps. The straps of a tank top play a crucial role in its design and can vary in thickness and placement. Follow these steps to add the straps to your tank top drawing:
- Starting from the top corners of the neckline, draw two slightly curved lines that slant outward. These lines represent the straps of the tank top.
- Decide on the thickness of the straps based on your desired design. You can make them thin for a delicate look or thicker for a more bold and defined appearance.
- Ensure that the straps are symmetrical and align with the shoulders of the tank top. This will give your drawing a balanced and visually pleasing look.
Remember to modify the straps according to the style you want to achieve. Some tank tops have wide or criss-crossed straps, while others may have spaghetti-style thin straps.
Once you have added the straps, step back and assess your drawing. Make any necessary adjustments or fine-tune the curves of the straps to ensure they enhance the overall aesthetic of your tank top design.
With the straps in place, we can now move on to the next step: drawing the neckline of the tank top.
## Step 3: Drawing the Neckline
Step 3: Drawing the Neckline
The neckline of a tank top adds character and style to the overall design. In this step, we’ll focus on drawing the neckline of your tank top. Follow these steps to create a neckline that complements your desired look:
- Using the existing curved line at the top of your tank top, refine and accentuate it to create the desired shape. You can make it round, V-shaped, square, or any other shape that suits your design preference.
- Consider the type of neckline you want for your tank top. Round necklines are versatile and classic, while V-necklines add a touch of elegance. Experiment with different shapes to find the one that best suits your vision.
- Ensure that the neckline is symmetrical and aligns with the straps and the overall shape of the tank top.
Be creative with the neckline by adding additional details or embellishments. You can incorporate a decorative trim, lace, or even a collar to make your tank top design stand out.
Take your time to refine the shape of the neckline and make any necessary adjustments until you’re satisfied with the outcome. Remember that the neckline plays a significant role in the overall appearance of the tank top, so it’s essential to get it just right.
With the neckline complete, it’s time to move on to the next step: adding details to your tank top design.
## Step 4: Adding Details
Step 4: Adding Details
Now that the basic elements of your tank top design are in place, it’s time to add some details to make it visually appealing and realistic. Follow these steps to enhance your tank top drawing:
- Start by adding seams to the sides of the tank top. Draw two slightly curved lines parallel to the sides to represent the stitching.
- You can add additional details such as pockets or buttons, depending on the style you want to achieve. Draw small squares or circles for pockets, and dots or small lines for buttons.
- Consider adding folds or wrinkles to the fabric to give your tank top a more realistic look. Study how fabric drapes and folds by observing reference images or real tank tops.
- Pay attention to shading and highlights to give your tank top depth and dimension. Shade areas where shadows would naturally fall, and add highlights to the parts of the fabric that catch the light.
Take your time with these details, and remember that small touches can make a big difference in the overall appearance of your tank top design. Experiment with different techniques and find the ones that work best for you.
Remember, your tank top design should reflect your personal style and creativity. Don’t be afraid to add your own unique flair and make it truly yours.
With the details added, we’re almost done. Let’s move on to the final step: completing the design of your tank top.
## Step 5: Completing the Design
Step 5: Completing the Design
Congratulations! You’ve made it to the final step of drawing your tank top design. In this step, we’ll focus on adding any final touches and completing the overall look of your tank top. Follow these steps to finish off your design:
- Review your entire drawing and make any necessary adjustments or refinements. Pay attention to proportions, symmetry, and overall balance.
- If you’re using pencil, go over the final lines and details to make them more prominent. You can also erase any stray lines or smudges to ensure a clean and polished final result.
- If desired, add color to your tank top design using your chosen coloring tools. Consider the fabric and design elements you’ve incorporated and select colors that complement each other and enhance the overall aesthetic.
- Use shading and blending techniques to add depth and dimension to your tank top. Pay attention to light sources and how they interact with the fabric to create realistic shadows and highlights.
Remember, this is your opportunity to let your creativity shine and make your tank top design unique. Don’t be afraid to experiment with different colors, patterns, or textures to achieve your desired look.
Once you’re satisfied with your completed tank top design, take a moment to admire your work. You’ve successfully created a fashionable and personalized tank top from scratch!
Now that you know the step-by-step process, you can continue practicing and exploring different variations of tank tops. Each time you draw a tank top, you’ll gain more confidence and develop your own artistic style.
Have fun with your newfound tank top drawing skills and continue to nurture your creativity. Who knows, you might even be inspired to bring your designs to life by sewing or printing them on actual tank tops!
## Conclusion
Conclusion
Congratulations on completing your journey to learn how to draw a tank top! Through this step-by-step guide, you have gained the knowledge and skills to create your own stylish and unique tank top designs. From drawing the basic shape to adding straps, neckline, details, and completing the design, you have discovered the artistry and creativity involved in fashion design.
Remember, drawing a tank top is just the beginning. Feel free to experiment with different styles, patterns, and colors to make each design truly your own. Whether you prefer a casual and relaxed tank top or a more formal and sophisticated one, the possibilities are endless.
As you practice and continue to refine your drawing skills, don’t hesitate to explore other fashion design techniques and concepts. Expand your creativity by incorporating different fabrics, textures, and embellishments into your tank top designs.
Don’t forget to showcase your work and share it with others. Display your tank top designs in your sketchbook, hang them on your wall, or even consider digitally sharing them on social media. Your creativity deserves to be seen and appreciated!
Keep in mind that learning how to draw a tank top is just one aspect of fashion design. If you find yourself craving more knowledge, consider exploring other areas such as garment construction, fabric selection, and fashion illustration. The world of fashion design is vast, and every step you take will bring you closer to mastering this exciting art form.
So, keep your pencils sharp, your imagination fueled, and your passion for fashion ignited. May your tank top designs inspire and bring joy to yourself and others. Happy drawing!