Home>How-to Guides>For Women>How To Tie A Tank Top
For Women
How To Tie A Tank Top
Modified: July 30, 2023
Learn how to tie a tank top for women with our step-by-step guide. Discover different stylish ways to transform your look and stay on-trend.
(Many of the links in this article redirect to a specific reviewed product. Your purchase of these products through affiliate links helps to generate commission for Under-tec.com, at no extra cost. Learn more)
Table of Contents
Introduction
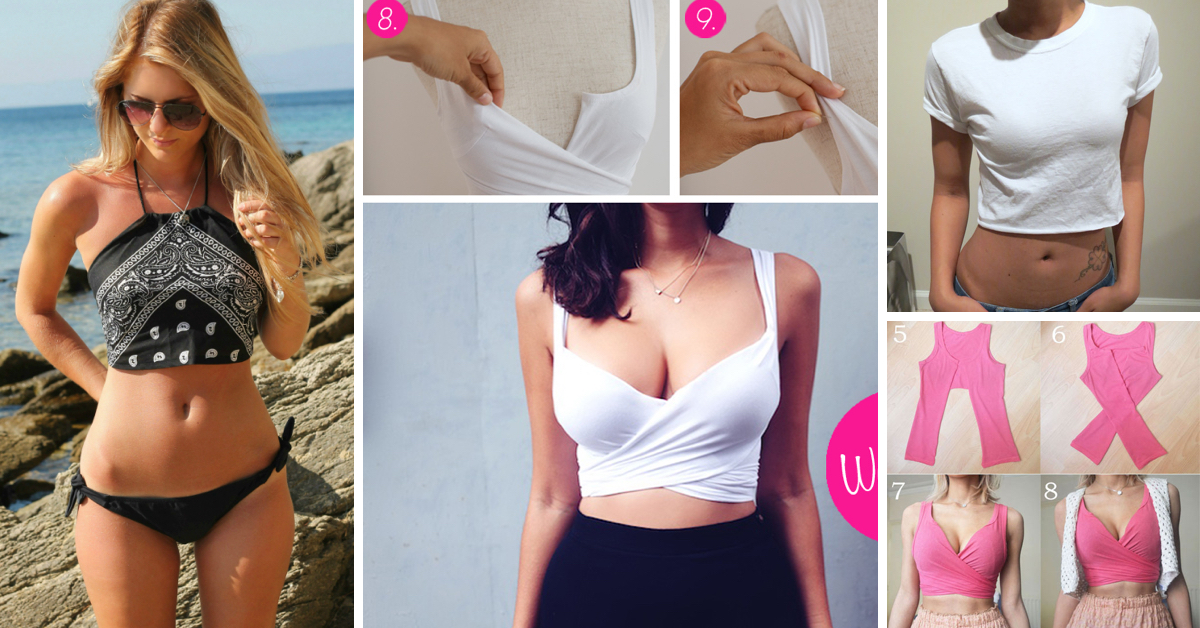
Tank tops are a versatile and stylish clothing item that can be worn in various ways to create different looks. One popular way to add some flair to a plain tank top is by tying it in a unique and fashionable way. This simple technique can instantly elevate your outfit and give it a trendy and personalized touch.
In this article, we will guide you through the process of tying a tank top in a step-by-step manner. Whether you want to create a cute crop top, a playful halter neck, or a stylish twist, we’ve got you covered. So grab your favorite tank top and let’s get started!
Before we dive into the details, let’s quickly go over the materials you’ll need:
- A tank top of your choice
- A mirror or someone to assist you
Now that you’re all set, let’s begin our journey of transforming a plain tank top into a fashion statement!
Materials Needed
Before we begin tying our tank top, let’s make sure we have all the necessary materials handy. You’ll only need a few simple items to complete this transformation:
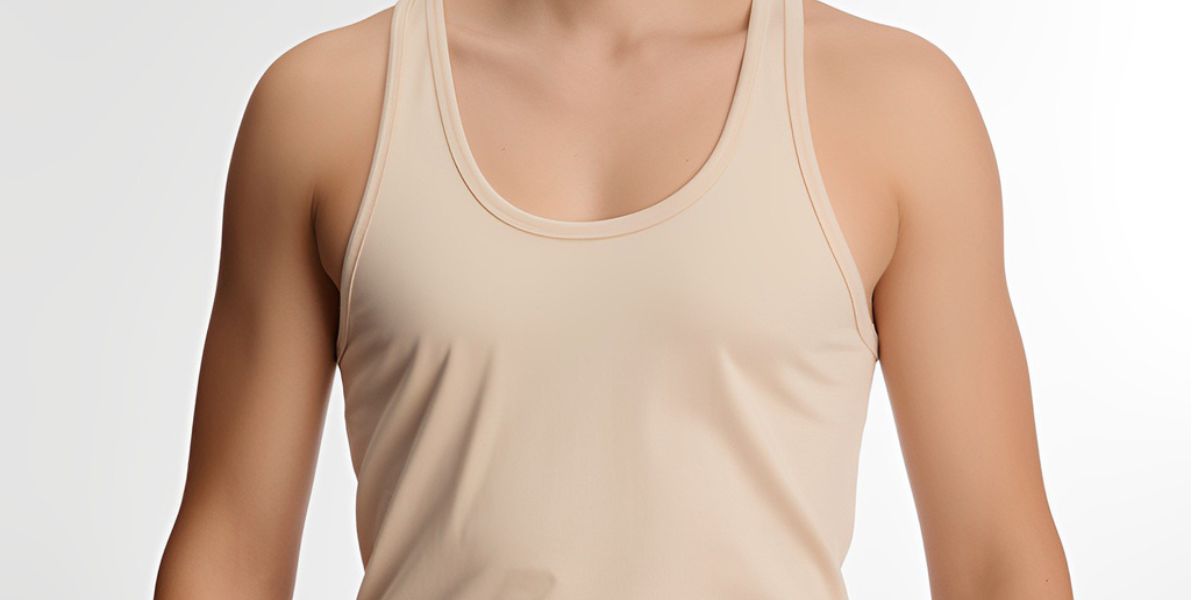
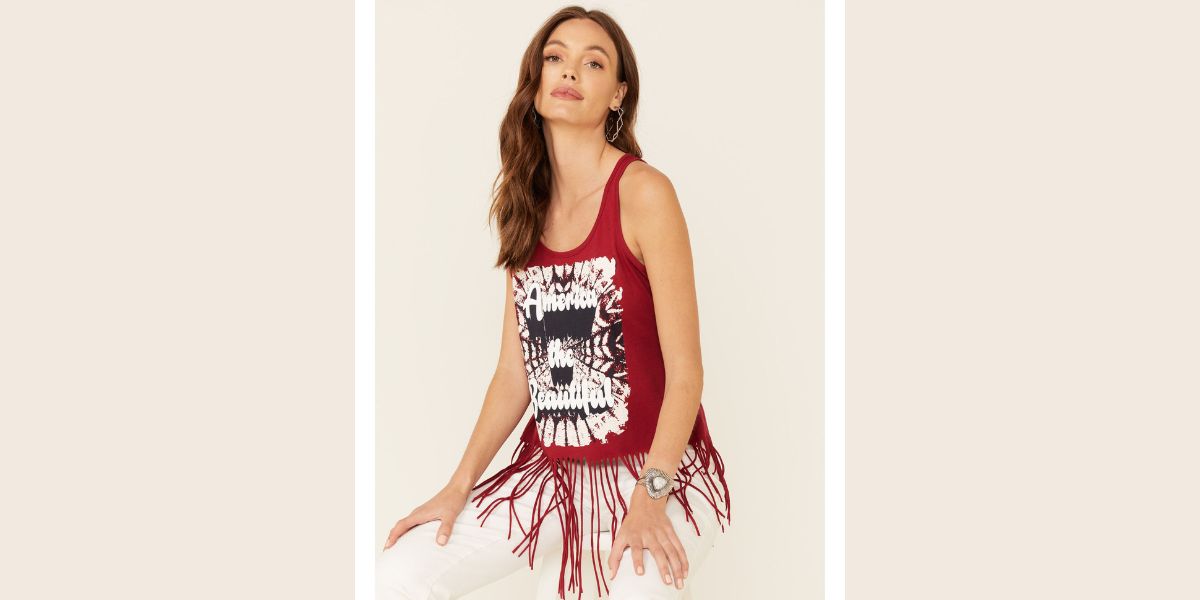
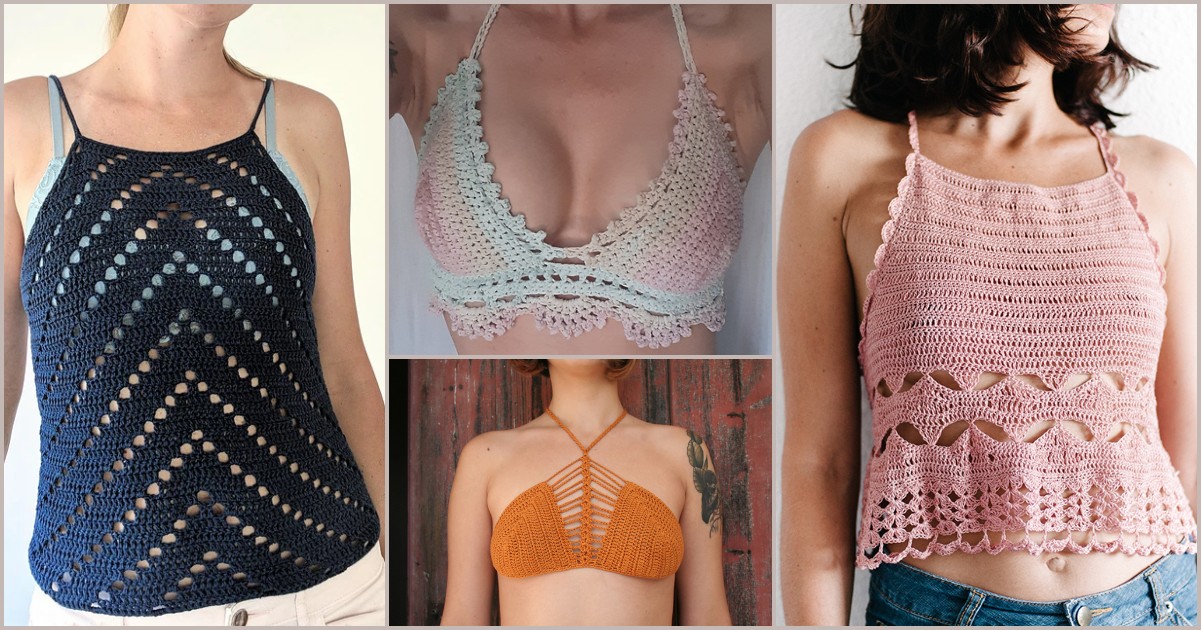
- A tank top of your choice: Select a tank top that you want to transform. It can be a plain solid-colored one, a graphic tee, or even a lacy or printed tank top. Choose a fabric that is comfortable and fits well.
- A mirror or someone to assist you: Having a mirror will help you see how the tank top looks from different angles as you tie it. If you don’t have a mirror, you can also ask a friend or family member to assist you in the process.
With these materials on hand, you’re all set to start creating your own unique tied tank top style. Let’s move on to the next steps and begin the transformation!
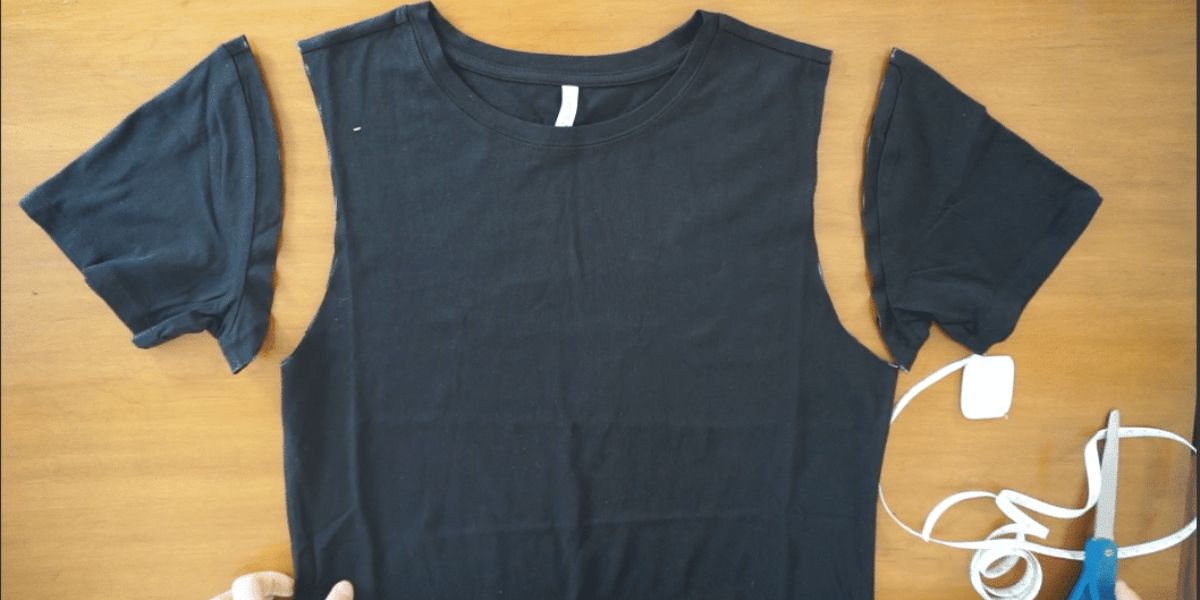
Step 1: Folding the Tank Top
The first step in tying a tank top is to fold it in a specific way to create the desired style. Here’s how you can do it:
- Start by laying your tank top flat on a table or any smooth surface. Smooth out any wrinkles to ensure a clean and neat look.
- Next, grab the bottom hem of the tank top and bring it up towards the upper chest area, folding it in half vertically. Make sure the side seams of the tank top align with each other.
- Smooth out any wrinkles and ensure that the edges are well aligned before moving on to the next step.
By folding the tank top in this manner, you are creating a foundation for the rest of the tying process. This fold will serve as the starting point for creating the knots and achieving the desired style.
Once you have successfully folded your tank top, you’re ready to move on to the next step of the tying process. Let’s proceed to step 2 and create the first knot!
Step 2: Making the First Knot
With the tank top folded, it’s time to create the first knot. This knot will serve as the foundation for the overall tied look. Follow these steps to make the first knot:
- Take the folded end of the tank top and hold it with one hand. Make sure to keep it securely in place.
- With your other hand, reach underneath the tank top and grab the bottom folded edge.
- Pull the bottom folded edge up and over the top folded edge, creating a loop with both ends of the tank top.
- Pull the ends of the tank top through the loop, creating a knot. Tighten the knot by pulling both ends firmly.
It’s important to ensure that the first knot is tight enough to secure the tank top in place but not too tight that it becomes uncomfortable to wear. Adjust the tightness according to your preference.
By making this first knot, you’re setting the foundation for the tied tank top look. The next step will take us closer to achieving the desired style. Let’s move on to step 3 and create the second knot!
Step 3: Creating the Second Knot
Now that the first knot is in place, it’s time to create the second knot to add more style and secure the tied tank top look. Follow these steps to create the second knot:
- Take the ends of the tank top that are now hanging loose from the first knot.
- Cross the ends over each other, forming an “X” shape.
- Take one end and wrap it underneath the other end, bringing it up through the center of the “X”.
- Pull both ends tightly, creating a second knot that secures the tank top even further.
Make sure to tighten the second knot securely, as this will determine the overall shape and structure of the tied tank top. Adjust the tightness according to your preference and comfort level.
With the second knot in place, you’ll notice that the tank top is now securely tied and transformed into a more stylish and unique look. The next step will focus on adjusting the fit of the tied tank top. Let’s move on to step 4!
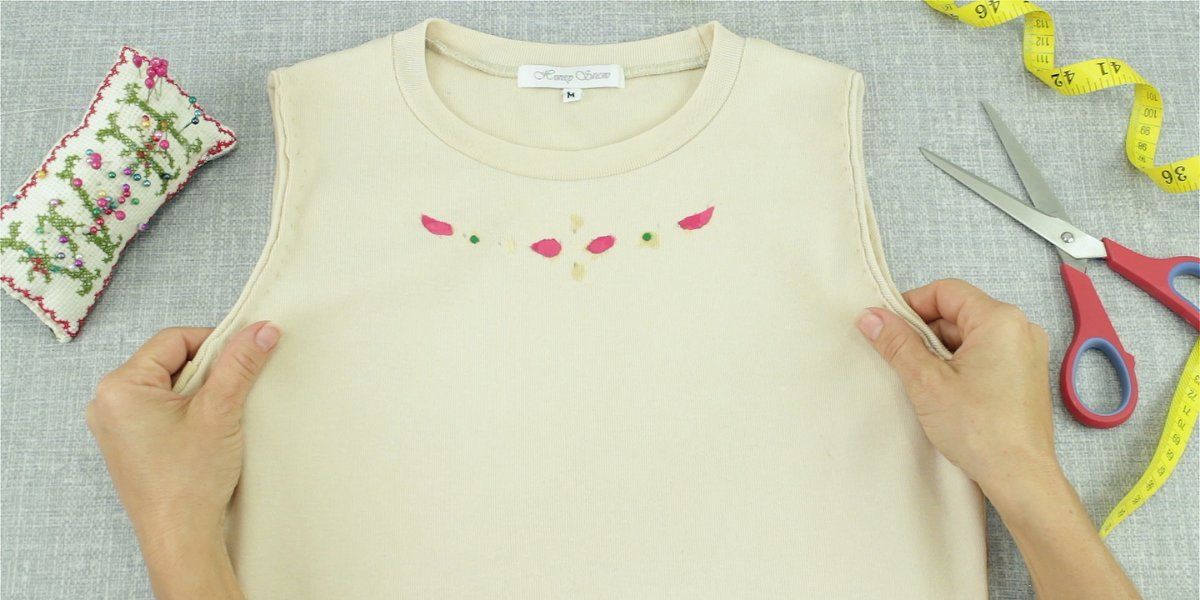
Step 4: Adjusting the Fit
Once you have tied the tank top and created the second knot, it’s time to adjust the fit to ensure it flatters your body shape and feels comfortable. Follow these steps to adjust the fit of the tied tank top:
- Hold onto both ends of the tank top that are hanging loose.
- Gently tug on the ends to tighten or loosen the overall fit of the tank top. This will allow you to customize the tightness or looseness of the tied tank top according to your preference.
- Take a step back and look in the mirror or ask someone for feedback. This will help you assess the overall fit and make any necessary adjustments.
- If you’re aiming for a cropped tank top look, you can pull the ends up higher and tie a tighter knot to achieve the desired length. If you prefer a looser fit, you can loosen the knot or adjust the positioning of the knot on your body.
Remember to consider both style and comfort when adjusting the fit of the tied tank top. You want to feel confident and at ease in your new look.
With the fit adjusted to your liking, you have successfully transformed your tank top into a tied and personalized fashion statement. However, if you’re feeling adventurous, there are various styling variations you can explore. Let’s move on to step 5!
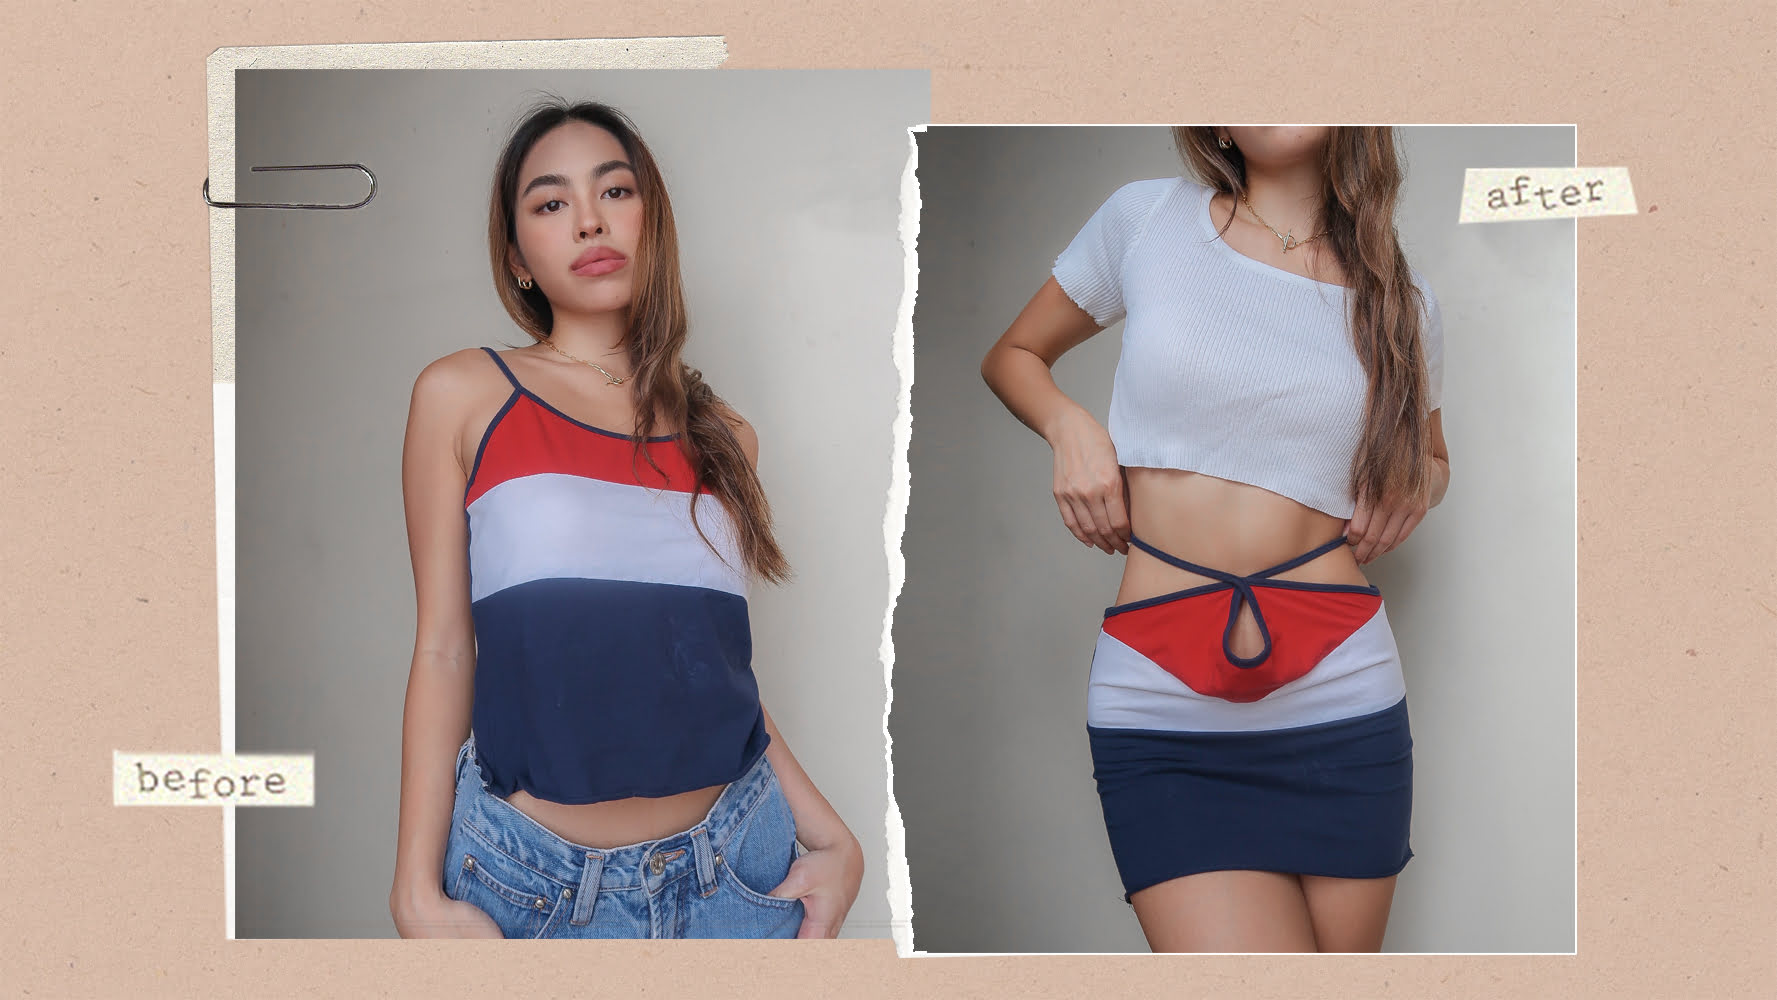
Step 5: Styling Variations
Once you have successfully tied and adjusted the fit of your tank top, it’s time to get creative with different styling variations. Here are a few ideas to inspire you:
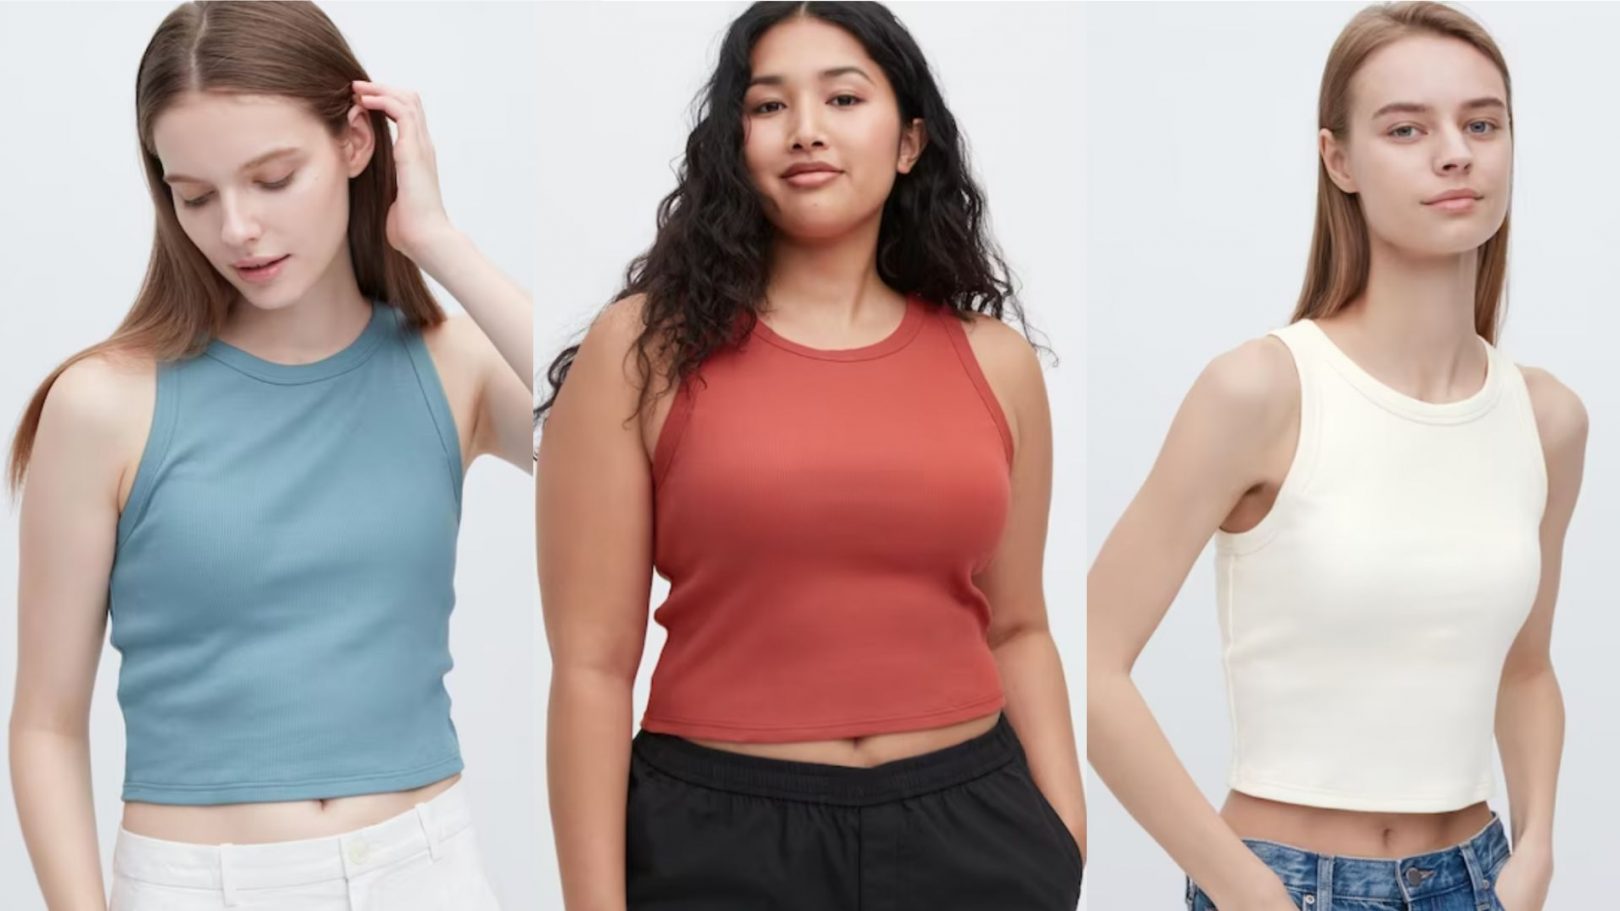
- Crop Top: If you prefer a shorter and more cropped look, you can tie the tank top higher up on your torso and make the knots tighter. This will give you a trendy crop top style that pairs well with high-waisted bottoms.
- Halter Neck: For a flirty and feminine look, you can create a halter neck style by tying the ends of the tank top behind your neck instead of at the back. This will create a V-neck shape at the front and show off your shoulders.
- Twist Front: To add a twist, quite literally, to your tied tank top, you can twist the ends of the tank top before creating the knots. This will give it a unique and stylish twist detail at the front.
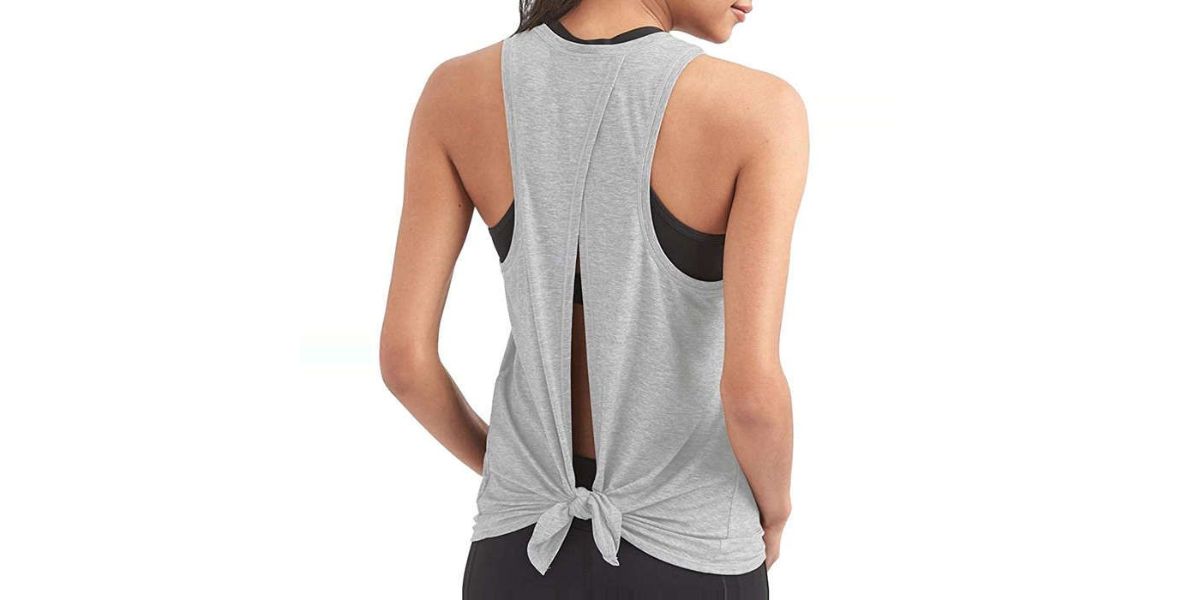
- Back Tie: If you want to add some visual interest to the back of your tank top, you can tie the ends in a bow at the back instead of at the front. This creates a playful and charming look.
Feel free to experiment with different variations and combinations to find the style that suits your personality and the occasion. You can also accessorize with statement jewelry or layer the tied tank top with a light cardigan or denim jacket for added flair.
Remember, the beauty of tying a tank top is that it allows you to express your unique style and create a look that is entirely your own.
With all these styling possibilities at your fingertips, embrace your creativity and have fun customizing your tied tank top!
Conclusion
Tying a tank top is a simple yet effective way to transform a plain garment into a stylish and personalized fashion statement. By following the step-by-step guide outlined in this article, you can create a variety of tied tank top styles to suit your taste and preference.
From crop tops to halter necks and twist fronts, there are endless possibilities for adding a unique touch to your tank top. By adjusting the fit and exploring different styling variations, you can create looks that are versatile, trendy, and perfectly tailored to your individual style.
Remember to have fun with the process and experiment with different combinations to find the style that makes you feel confident and stylish. Whether you’re heading out for a casual day out, a social gathering, or a night on the town, a tied tank top is a chic and fashionable choice that will surely turn heads.
So, grab your favorite tank top and start exploring the world of tied fashion. With a little creativity and imagination, you can take your tank top game to the next level and create looks that are uniquely yours. Embrace your personal style, express yourself through your fashion choices, and enjoy the transformation!