Home>How-to Guides>For Women>How To Tie A Swimsuit

For Women
How To Tie A Swimsuit
Modified: August 2, 2023
Discover the best techniques for women to tie their swimsuits with our step-by-step guide. Achieve a stylish and secure fit every time!
(Many of the links in this article redirect to a specific reviewed product. Your purchase of these products through affiliate links helps to generate commission for Under-tec.com, at no extra cost. Learn more)
Table of Contents
Introduction
When it comes to enjoying a day at the beach or lounging by the pool, having the perfect swimsuit is essential. It not only makes you feel confident and comfortable, but it also accentuates your best features. But what if you have a swimsuit with straps or ties that you’re not quite sure how to secure?
Don’t worry! In this article, we will guide you through the process of tying a swimsuit step by step, ensuring that you’ll have a secure and stylish fit every time. Whether you’re dealing with a one-piece swimsuit or a bikini with adjustable straps, we’ve got you covered.
Choosing the right swimsuit is the first step towards ensuring a successful tie. You want to find a style that suits your body type and gives you the desired level of coverage and support. Remember, confidence is key, so select a swimsuit that makes you feel fabulous.
Now, let’s dive in and explore the art of tying a swimsuit!
Choosing the Right Swimsuit
When it comes to choosing the right swimsuit, it’s important to consider your body type and personal style. Here are some tips to help you select the perfect swimsuit:
- Know your body type: Understanding your body shape is crucial in finding a swimsuit that flatters your figure. Whether you have an hourglass, pear, apple, or athletic shape, there are swimsuits designed to highlight your best features and minimize any areas you may feel self-conscious about.
- Consider the coverage: Decide how much coverage you’re comfortable with. If you prefer more modesty, opt for a one-piece swimsuit or a tankini. If you’re looking to show off some skin, a bikini may be the right choice. Consider the coverage of the top and bottom separately and choose what makes you feel confident.
- Support and comfort: Pay attention to the support and comfort features of the swimsuit. Look for adjustable straps, underwire or built-in cups for a supportive and comfortable fit. If you’re more active in the water, consider a swimsuit with extra reinforcement or a sportier design.
- Color and pattern: Play around with different colors and patterns to find what suits your personality and style. Darker colors tend to be more slimming, while bold patterns can add some flair. Don’t be afraid to experiment and express your individuality.
- Try it on: Before making a purchase, always try on the swimsuit to ensure the fit is right for you. Walk around, move, and stretch in it to make sure it stays in place and feels comfortable.
Remember, the key to finding the perfect swimsuit is feeling confident and comfortable in your own skin. Embrace your unique body shape and style, and choose a swimsuit that makes you feel fabulous.
Step-by-Step Guide to Tying a Swimsuit
Now that you’ve chosen the perfect swimsuit, it’s time to learn how to tie it properly for a secure and stylish fit. Follow these step-by-step instructions:
- Read the instructions: Before starting, check if your swimsuit came with any specific tying instructions. Some brands or styles may have unique ways of tying the straps or closures, so it’s important to familiarize yourself with the instructions provided.
- Adjust the straps: Start by adjusting the straps or ties to the desired length. You can make them tighter or looser depending on your comfort level and the desired fit.
- Secure the back: If you’re wearing a one-piece swimsuit, bend forward and pull the swimsuit up from the back. Secure the closure or tie the straps together at the back to create a snug fit. Make sure it’s tight enough to stay in place but not too tight that it becomes uncomfortable.
- Tie the halter neck or shoulder straps: If your swimsuit has a halter neck or adjustable shoulder straps, cross them over your chest and bring them behind your neck. Tie them securely, making sure they’re not too tight or too loose. Adjust the straps to ensure they’re evenly balanced on both sides.
- Tie the bikini top: For a bikini top, adjust the straps according to your desired coverage and support. Tie the back closure tightly enough to ensure a secure fit. If your bikini top has removable pads, make sure they’re properly inserted and aligned.
- Tie the bikini bottoms: When tying bikini bottoms, start by pulling them up to your waist or hips, depending on the style. If they have side ties, cross them over and tie them securely. If they have a single tie at the back, pull it tight and knot it in a bow or knot to keep them in place.
- Double-check the fit: Once you’ve tied your swimsuit, take a moment to double-check the fit and adjust any straps or ties that may need tweaking. Make sure everything feels secure, comfortable, and stays in place as you move.
Remember to practice tying your swimsuit a few times before hitting the water. With a little bit of practice, you’ll become a pro at tying your swimsuit with ease and confidence.
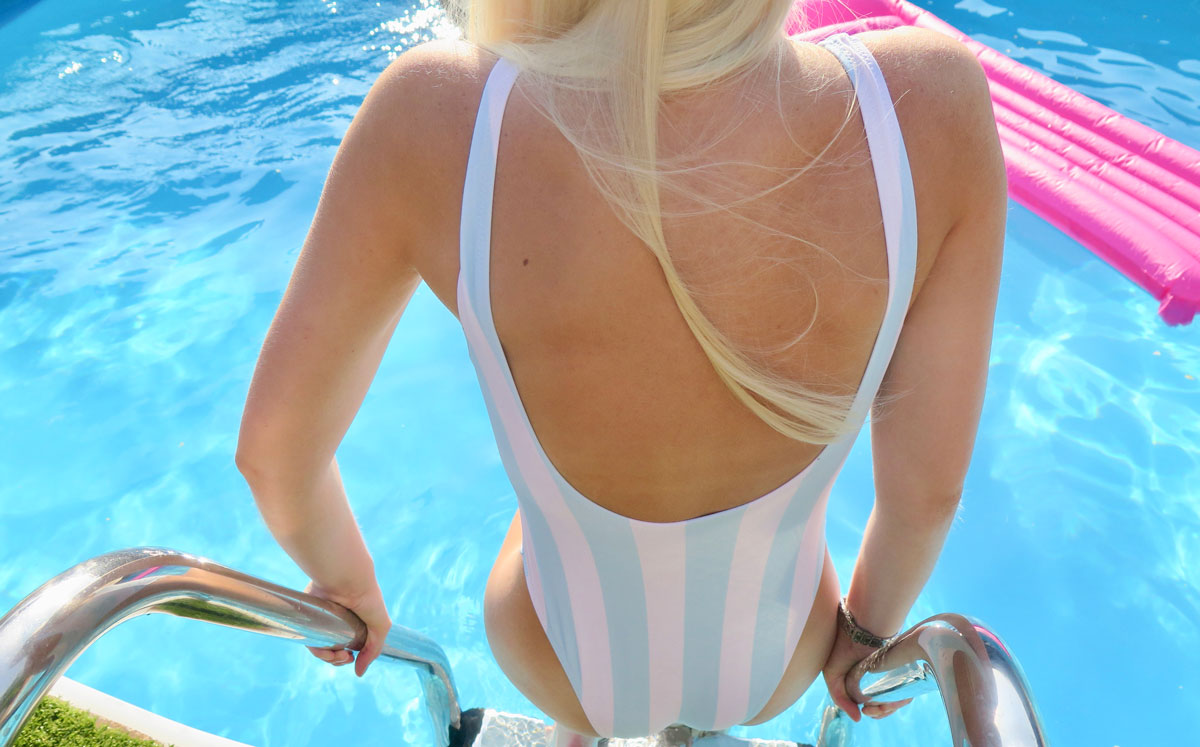
Tying a One-Piece Swimsuit
If you’re rocking a one-piece swimsuit, here’s how to tie it for a secure and stylish fit:
- Step 1: Put on the one-piece swimsuit and adjust the straps or ties to ensure a comfortable fit.
- Step 2: Bend forward and pull the swimsuit up from the back, making sure it covers your chest and aligns properly with your body.
- Step 3: Secure the back closure or tie the straps together at the back to create a snug fit. Make sure it’s tight enough to stay in place but not so tight that it becomes uncomfortable.
- Step 4: If your one-piece swimsuit has a halter neck, cross the straps over your chest and bring them behind your neck. Tie them securely, making sure they’re not too tight or too loose. Adjust the straps to ensure they’re evenly balanced on both sides.
- Step 5: Take a moment to adjust the cups or padding if necessary, ensuring they provide the desired level of support and coverage.
- Step 6: Double-check the fit to make sure the one-piece swimsuit feels secure and stays in place as you move.
By following these steps, you can achieve a perfectly tied one-piece swimsuit that flatters your figure and gives you the confidence to rock the beach or poolside with style.
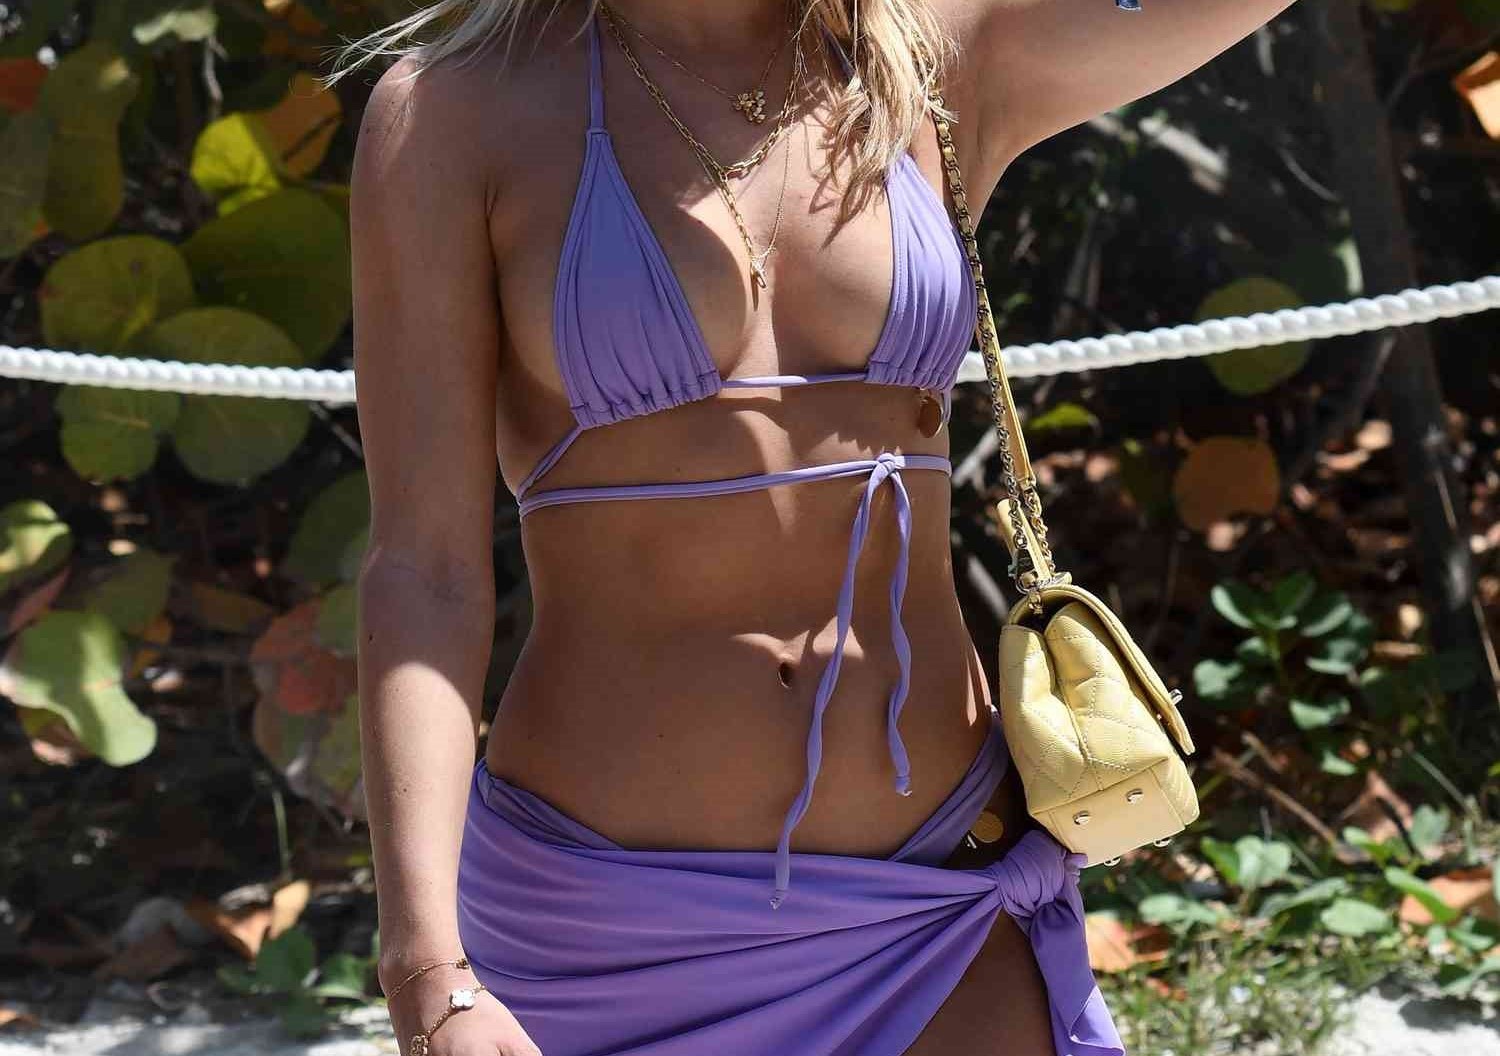
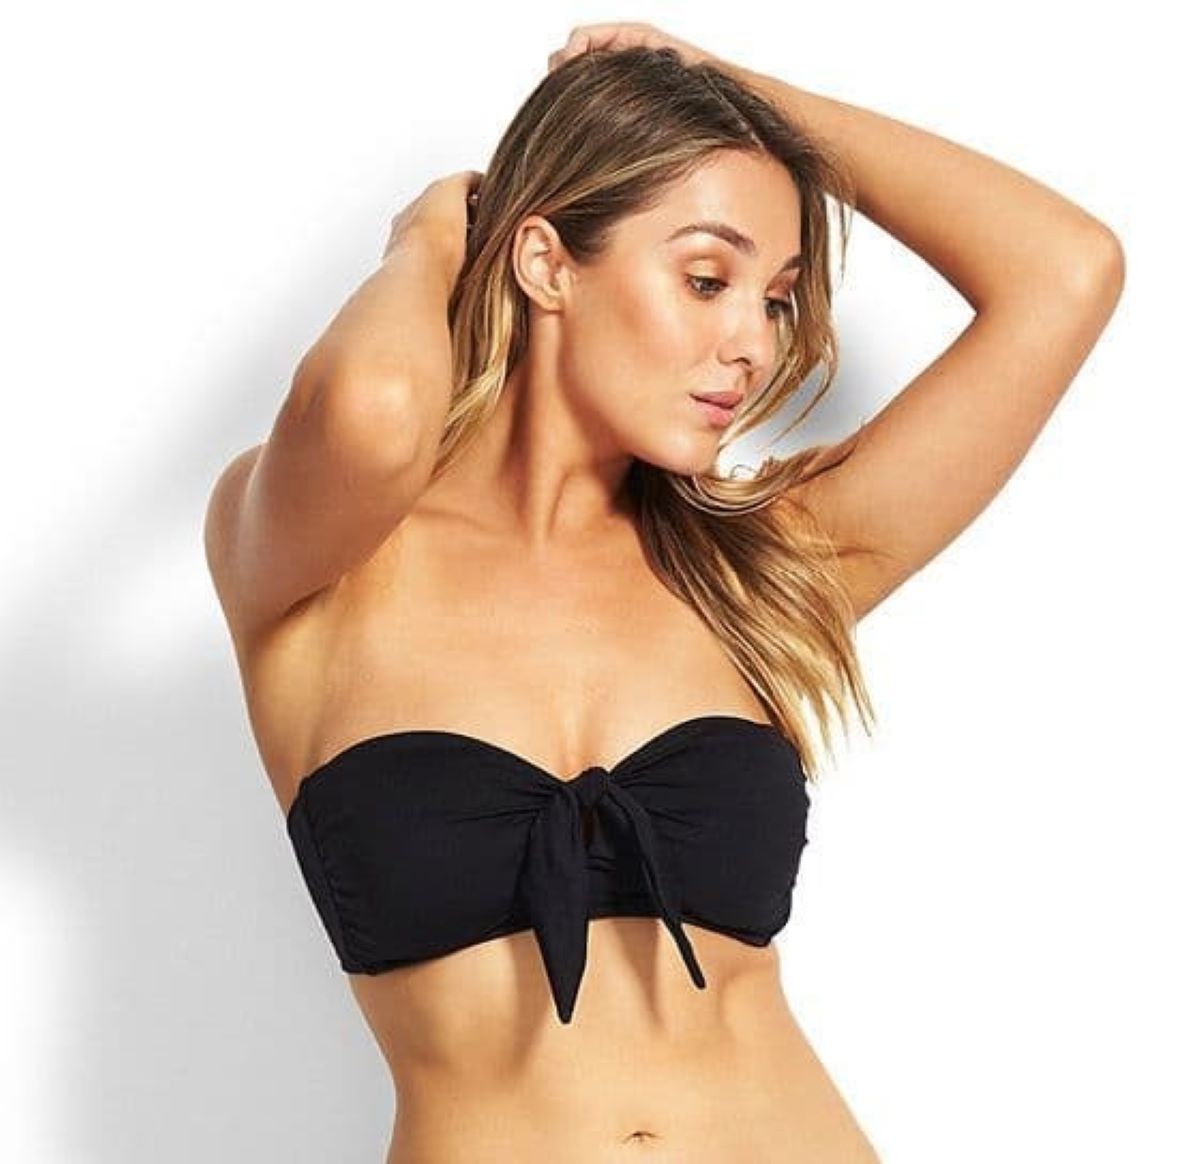
Tying a Bikini Top
When it comes to tying a bikini top, there are a few different styles and techniques to consider. Here’s how to tie a bikini top for a secure and fashionable fit:
- Step 1: Put on the bikini top and adjust the straps according to your desired coverage and support. Make sure the cups align properly with your chest.
- Step 2: For a classic bikini style, tie the back closure tightly enough to ensure a secure fit. You can use a bow or knot depending on your preference.
- Step 3: If your bikini top has a halter neck, cross the straps over your chest and bring them behind your neck. Tie them securely in a knot or bow. Adjust the straps to ensure they’re evenly balanced on both sides.
- Step 4: Make sure the cups or padding are properly adjusted and provide the desired level of support and shape.
- Step 5: For a bandeau-style bikini top, check if it has any additional ties or closures. Some bandeau tops have detachable straps that you can opt to wear or remove according to your preference.
- Step 6: Double-check the fit and adjust any straps or ties that may need tightening or loosening. You want your bikini top to feel secure, comfortable, and stay in place as you move and swim.
Remember, finding the right tie style and adjustability for your bikini top is crucial to ensure a comfortable and flattering fit. Experiment with different tying techniques to find what works best for you and allows you to feel confident and stylish in your bikini.
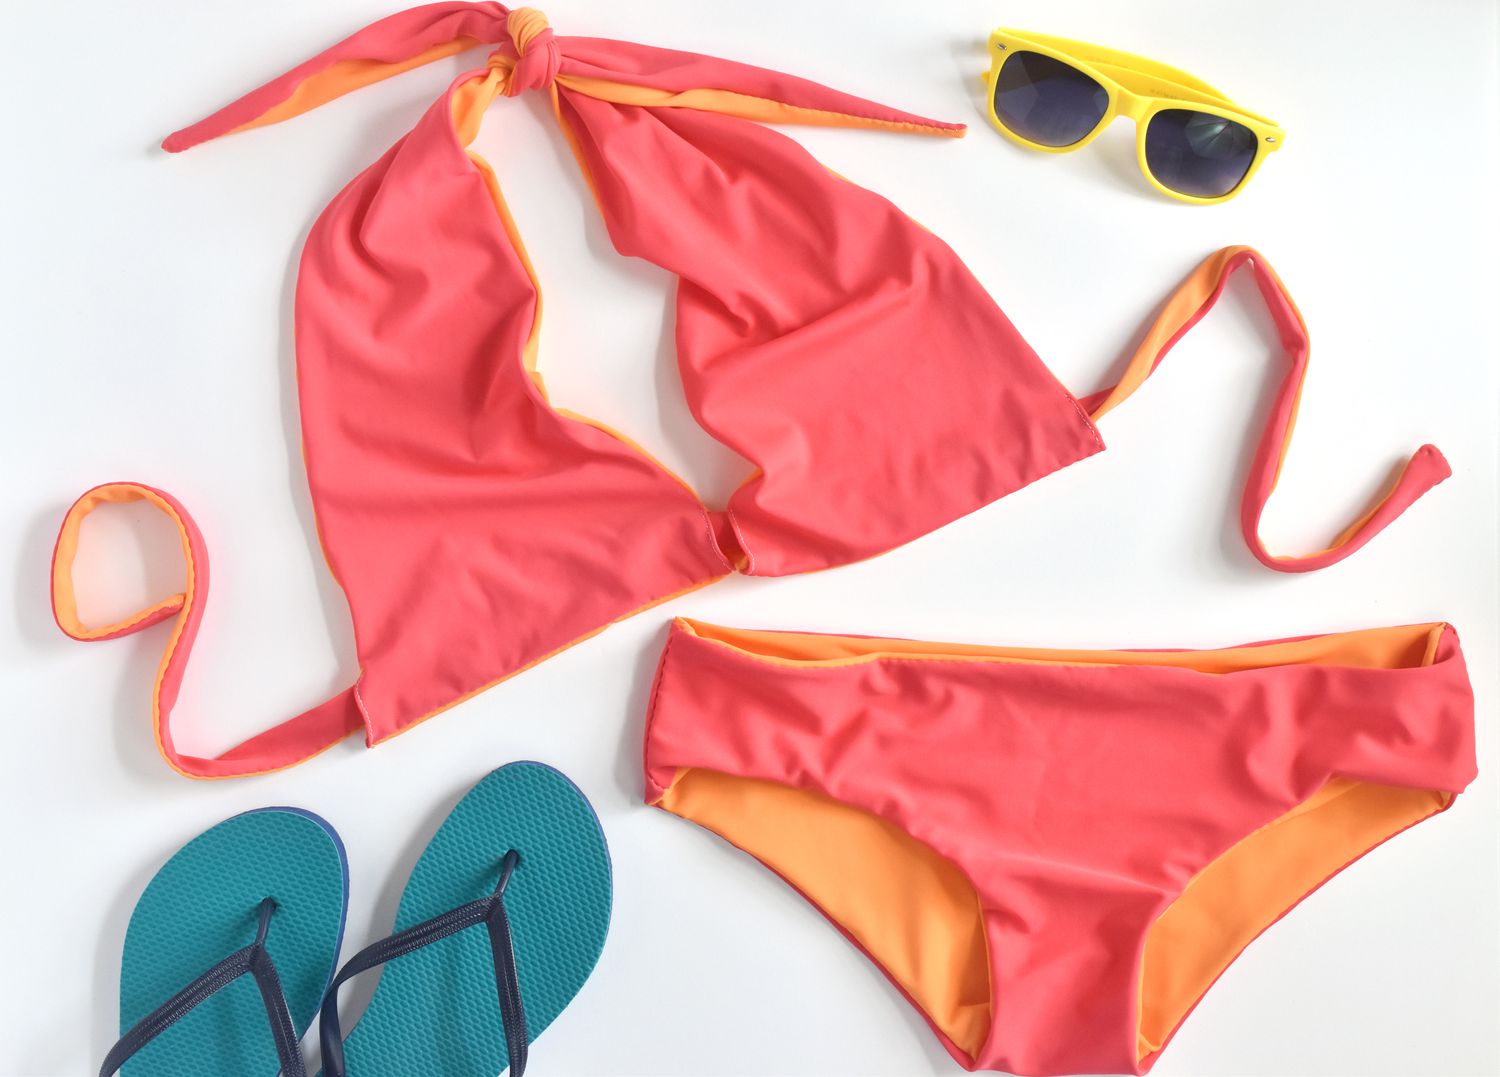
Tying Bikini Bottoms
When it comes to tying bikini bottoms, there are various styles and tying techniques to choose from. Here’s how to tie them for a secure and stylish fit:
- Step 1: Put on the bikini bottoms and pull them up to your waist or hips, depending on the style and your preference.
- Step 2: If your bikini bottoms have side ties, cross them over each other and bring them to the front or back, depending on the desired look. Alternatively, you can tie them on one side for a trendy asymmetric style. Ensure that the ties are not twisted and lay flat against your body.
- Step 3: Tie the side ties securely, making sure they’re not too loose or too tight. You want them to be snug enough to keep the bikini bottoms in place but not uncomfortable.
- Step 4: If your bikini bottoms have a single tie at the back, pull it tight and knot it in a bow or knot to keep them securely in place.
- Step 5: Double-check the fit of the bikini bottoms and adjust any ties that may need tightening or loosening. You want them to feel comfortable and stay in place as you move around and enjoy the water.
Remember, the tying style of your bikini bottoms can drastically change the look and fit. Feel free to experiment with different tying techniques to find the one that suits your style and provides the desired level of coverage and comfort.
Additional Tips and Tricks
When it comes to tying your swimsuit, here are some additional tips and tricks to ensure a secure and stylish fit:
- Bring extra ties: If you’re planning to spend a long day at the beach or pool, it’s always a good idea to bring extra ties or hair elastics. These can come in handy if any of the ties on your swimsuit become loose or break.
- Use double knots: To ensure that your ties stay secure, consider using double knots. This will provide extra stability and peace of mind while you enjoy your time in the water.
- Re-tie after swimming: When you come out of the water, take a moment to re-tie your swimsuit straps or ties. The water may cause them to loosen, so a quick adjustment will help maintain a secure fit.
- Consider silicone grips: If you have trouble with straps slipping off your shoulders, consider using silicone grips. These small adhesive pads can be placed on your shoulders to provide extra traction and prevent the straps from sliding.
- Match your ties to your swimsuit: If you want to add a touch of personal style, consider matching the color or pattern of your ties to your swimsuit. This small detail can elevate your overall look and give your swimsuit a cohesive and stylish appearance.
- Practice tying before your outing: Before heading out to the beach or pool, take some time to practice tying your swimsuit at home. This will help you become familiar with the process and ensure that you can tie it confidently and quickly when you’re ready to hit the water.
By following these additional tips and tricks, you can enhance the fit and longevity of your swimsuit, giving you the freedom to enjoy your time in the water without any worries.
Conclusion
Knowing how to tie a swimsuit properly is essential for ensuring a secure and stylish fit. Whether you’re wearing a one-piece swimsuit or a bikini, following the right steps can make all the difference in your comfort and confidence.
We started by discussing the importance of choosing the right swimsuit that suits your body type, provides the desired coverage and support, and reflects your personal style. From there, we explored the step-by-step process of tying a swimsuit, including specific instructions for one-piece swimsuits, bikini tops, and bikini bottoms.
Remember, practice makes perfect, so take the time to familiarize yourself with the tying techniques and experiment with different styles until you find what works best for you. Don’t be afraid to make adjustments and double-check the fit to ensure comfort and security.
In addition to the step-by-step guide, we shared some additional tips and tricks to enhance your swimsuit tying experience. These include bringing extra ties, using double knots, re-tying after swimming, considering silicone grips, matching your ties to your swimsuit, and practicing tying before your outing.
Now that you have the knowledge and techniques to tie your swimsuit effectively, it’s time to hit the beach or pool with confidence. Embrace your unique style and body shape, knowing that your swimsuit is securely tied and ready for a day of fun in the sun.