Home>How-to Guides>For Women>How To Alter Swimsuit
For Women
How To Alter Swimsuit
Modified: August 5, 2023
Learn how to alter swimsuits for women with our step-by-step guide. Perfectly customize your swimsuit for a personalized fit and style.
(Many of the links in this article redirect to a specific reviewed product. Your purchase of these products through affiliate links helps to generate commission for Under-tec.com, at no extra cost. Learn more)
Table of Contents
Introduction
Welcome to the world of swimsuit alterations! Whether you’ve recently purchased a new swimsuit or rediscovered an old favorite, sometimes a little tweaking is all it takes to achieve the perfect fit. From adjusting the straps to altering the neckline, there are various alterations you can make to ensure your swimsuit flatters your body shape.
Choosing the right swimsuit is essential, but finding one that fits perfectly off the rack can be a challenge. Every body is unique, and having the ability to modify a swimsuit to suit your specific measurements can make all the difference in comfort and confidence. Whether you need to take in the sides, shorten the length, or make other adjustments, altering a swimsuit can be a simple and rewarding DIY project.
In this article, we will guide you through the process of altering a swimsuit to achieve your desired fit. We will cover everything from measuring for alterations to adjusting the straps and hemming the bottom. So, grab your needle and thread and let’s dive into the world of swimsuit alterations!
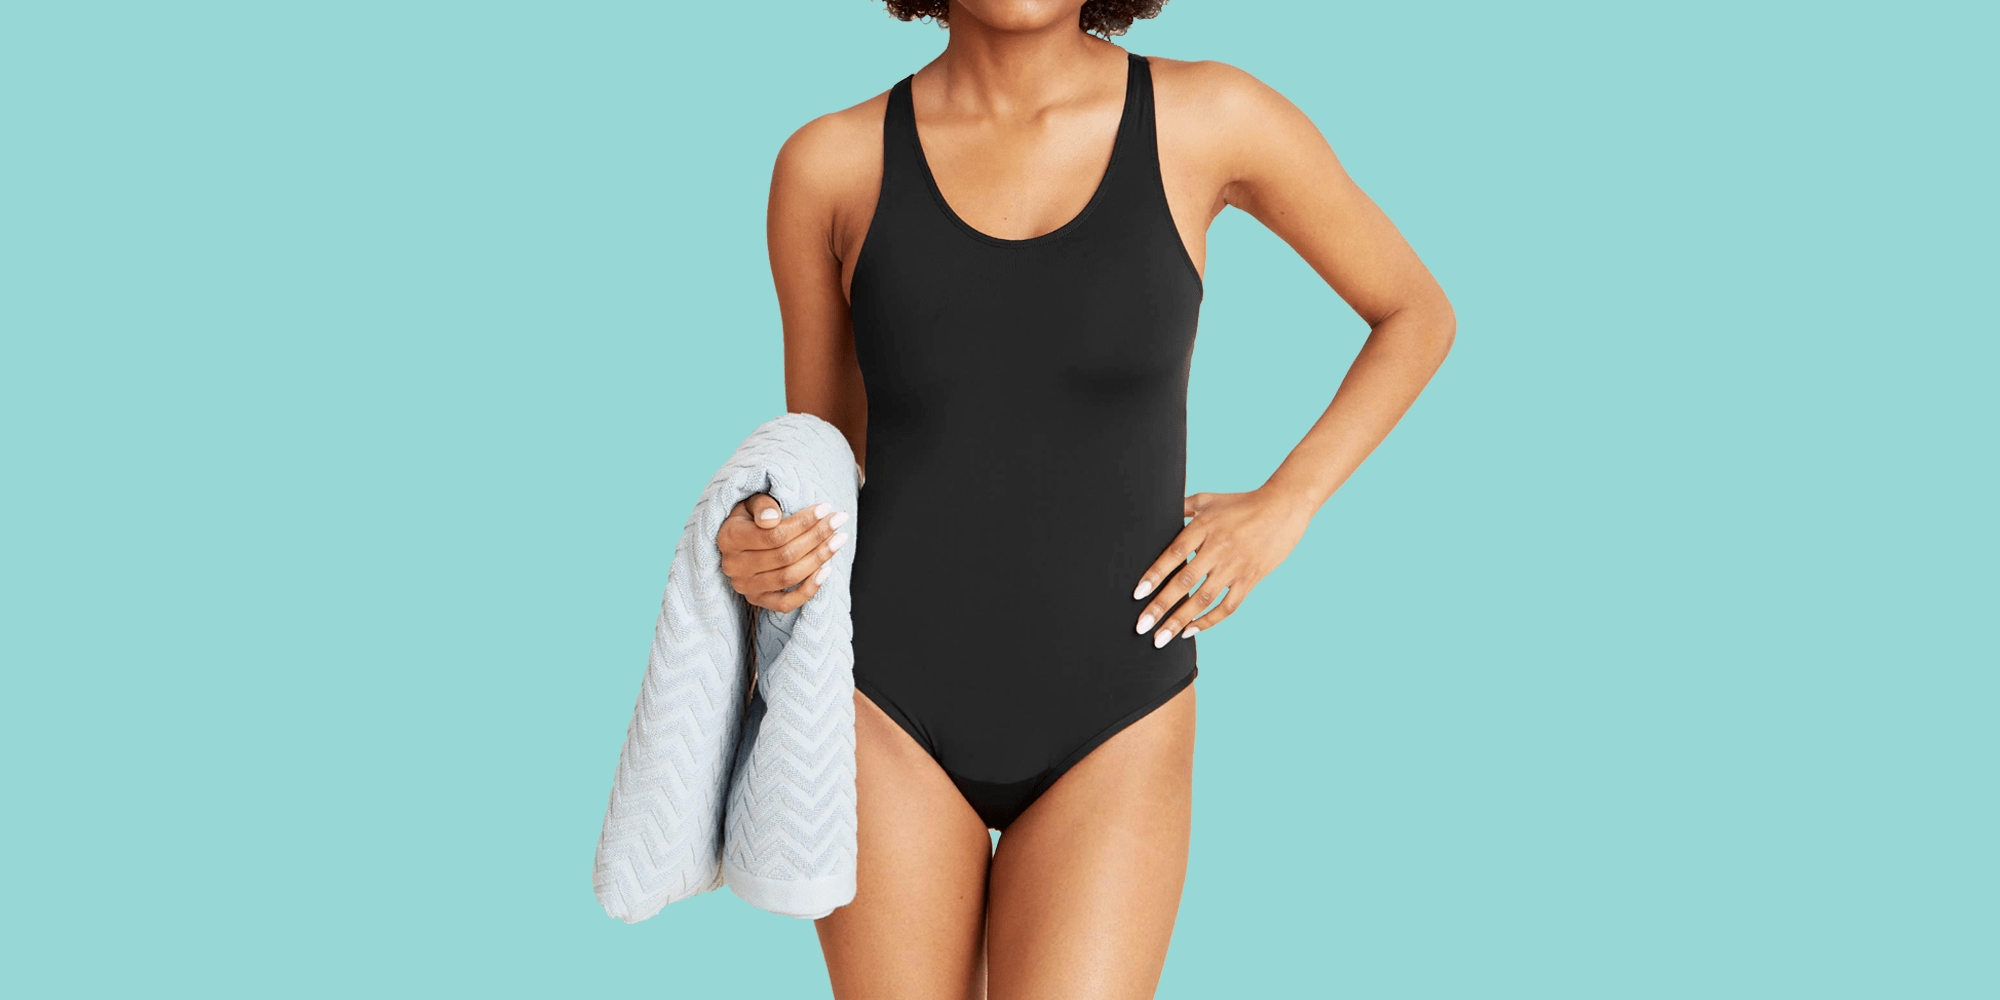
Choosing the Right Swimsuit
Before you begin altering your swimsuit, it’s essential to choose the right one that suits your body shape and style preferences. The perfect swimsuit should not only complement your figure, but also make you feel comfortable and confident when you hit the beach or pool. Here are some tips to help you find the ideal swimsuit:
- Know your body shape: Understanding your body shape is key to selecting a swimsuit that highlights your best features. Whether you have an hourglass figure, pear shape, apple shape, or athletic build, there is a swimsuit style that will flatter your unique silhouette.
- Consider the level of support: Depending on your needs, you may opt for a swimsuit with built-in underwire, padded cups, or adjustable straps for added support. These features can provide extra comfort and confidence, especially for those with larger busts.
- Choose the right fabric: The fabric of your swimsuit can affect both its appearance and functionality. Look for swimsuits made with high-quality materials that offer stretch, durability, and resistance to chlorine and saltwater. Additionally, certain fabrics, such as ruched or textured ones, can help camouflage any problem areas.
- Experiment with styles: Don’t be afraid to try different swimsuit styles to find what suits you best. Whether you prefer a one-piece, tankini, bikini, or swimdress, there are a variety of styles to choose from. Consider the coverage, cut, and design elements, such as ruffles, patterns, or cutouts, to find a style that matches your personality and makes you feel confident.
- Take your time and try it on: When shopping for a swimsuit, take your time to try on different styles and sizes. Pay attention to how the swimsuit fits on your body, ensuring it is neither too tight nor too loose. Check for any areas that may need alteration, such as loose straps or a baggy waist.
Remember, finding the right swimsuit is a personal journey, and it may take some trial and error to discover the perfect fit. Once you have selected a swimsuit that you love, you can move on to the alterations process to make it even more tailored to your body.
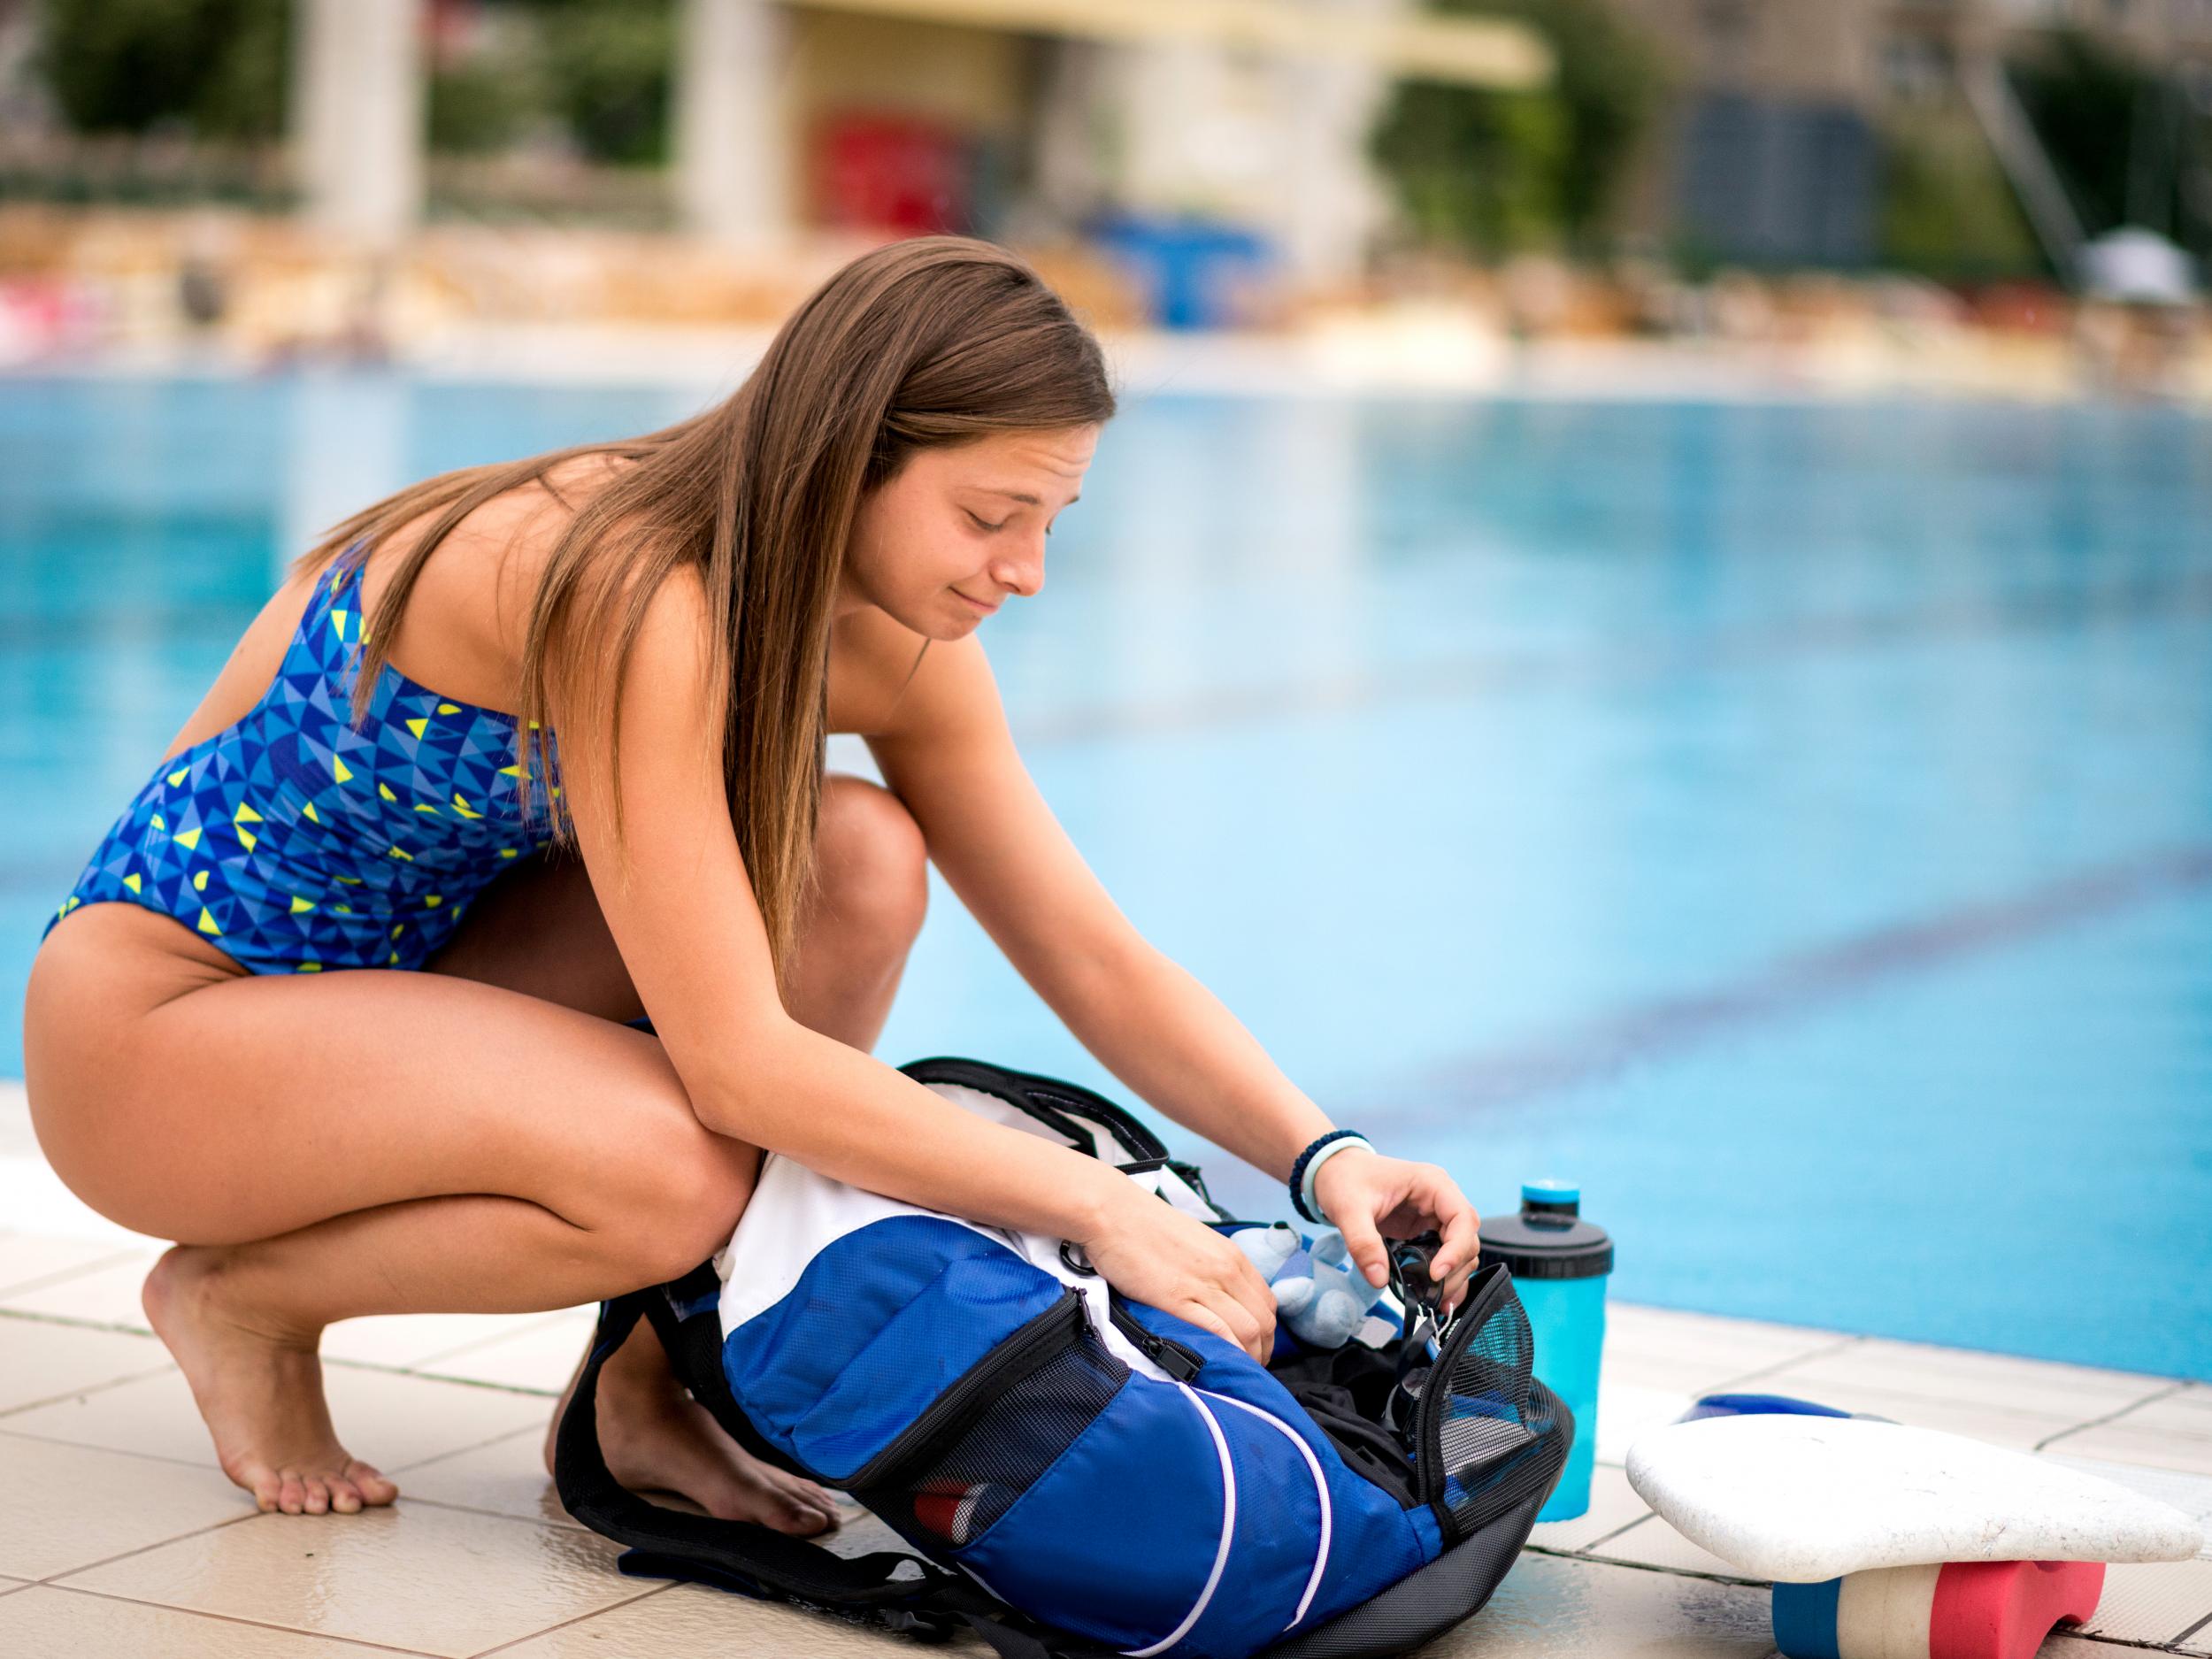
Measuring for Alterations
Before you start altering your swimsuit, it’s important to take accurate measurements to ensure your alterations are precise. Here are the steps to follow when measuring your swimsuit for alterations:
- Measure your bust: Start by measuring around the fullest part of your bust to determine your bust measurement. Ensure that the measuring tape is parallel to the ground and not too tight or too loose.
- Measure your waist: Next, measure around the narrowest part of your waist. This will give you your waist measurement. Again, make sure the measuring tape is snug but not constricting.
- Measure your hips: Measure around the fullest part of your hips to determine your hip measurement. Ensure that the measuring tape is level and parallel to the ground.
- Measure the length: If you need to alter the length of your swimsuit, measure from the top of the shoulder to the desired length. This will help you determine how much length you need to adjust.
- Take note of any other areas: If you notice any specific areas that require alteration, such as loose straps or a loose waistband, make a note of them. These measurements will guide you in making the necessary adjustments.
Once you have taken these measurements, compare them to the size chart provided by the swimsuit manufacturer. This will help you determine the size of the swimsuit that fits the closest to your measurements. Keep in mind that swimsuit sizes may vary between brands, so it’s essential to refer to the specific size chart for the swimsuit you are altering.
By accurately measuring your swimsuit and comparing it to your body measurements, you will have a clear understanding of the areas that require alteration. This will ensure that your final result is a perfectly fitted swimsuit that flatters your figure and provides optimal comfort.
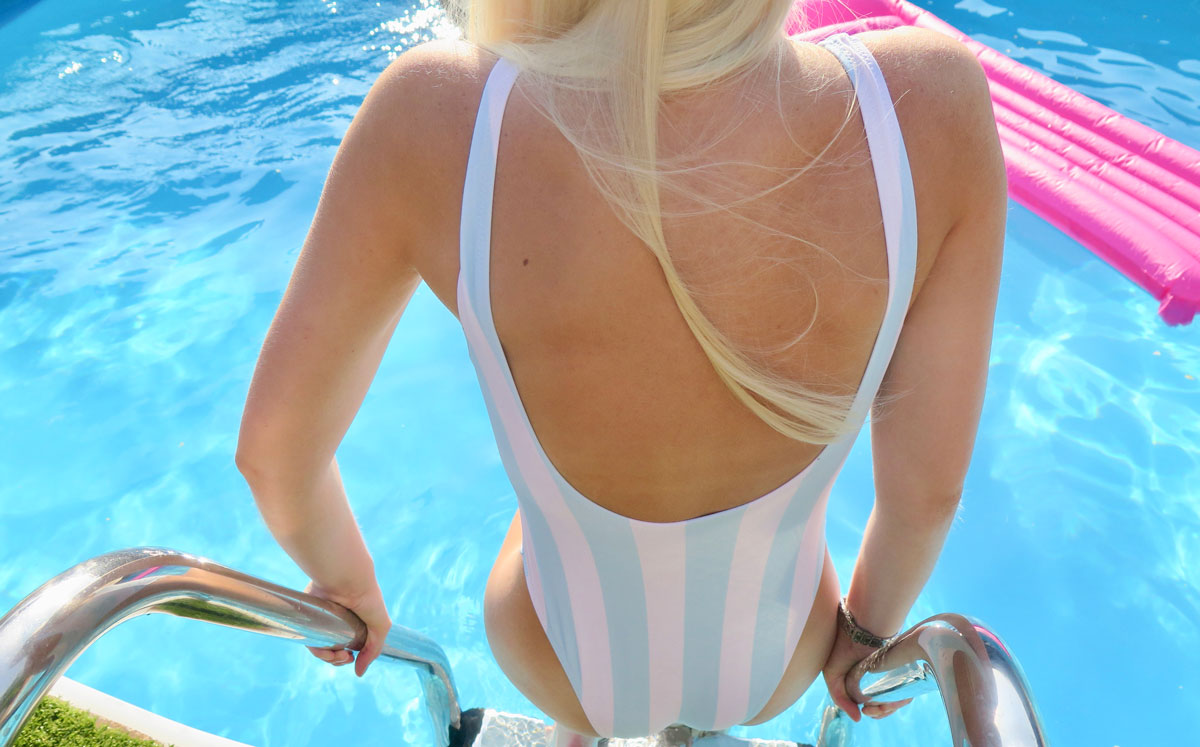
Adjusting the Straps
The straps of a swimsuit play a crucial role in providing support and ensuring a comfortable fit. If you find that the straps are too long or too tight, you can easily make adjustments to achieve the perfect fit. Here’s how:
- Try on the swimsuit: Start by trying on the swimsuit and assessing the fit of the straps. Pay attention to whether they are digging into your shoulders or falling off too easily.
- Shortening the straps: If the straps are too long, you can shorten them by removing them from the swimsuit and cutting off the excess length. Be cautious when doing this and only cut a small amount at a time to avoid making them too short. Then, sew the straps back onto the swimsuit, ensuring they are securely attached.
- Lengthening the straps: On the other hand, if the straps are too short or tight, you can lengthen them by adding additional fabric or using strap extenders. Sew the extra fabric or strap extenders onto the existing straps to achieve a more comfortable length.
- Testing the fit: After making the necessary adjustments, try on the swimsuit again to test the new strap length. Ensure that the straps are secure and provide adequate support without digging into your shoulders or sliding off.
- Reinforce the seams: Once you are satisfied with the strap length and fit, reinforce the seams by backstitching or using a zigzag stitch. This will ensure that the straps stay securely in place even during activities in the water.
Remember, the key to adjusting the straps is to find the right balance between comfort and support. You want the straps to stay in place without causing any discomfort or restriction of movement. By making these simple adjustments, you can ensure that your swimsuit straps fit perfectly and provide the necessary support for all your water activities.
Taking in the Side Seams
If you find that your swimsuit is too loose around the torso or waist, taking in the side seams can provide a more tailored fit. This alteration is relatively simple and can make a significant difference in how your swimsuit flatters your body. Follow these steps to take in the side seams:
- Try on the swimsuit: Begin by trying on the swimsuit and identifying the areas along the side seams that need to be taken in. Pinch the excess fabric to determine the amount that needs to be removed.
- Mark the new seam lines: Use fabric chalk or pins to mark the new seam lines along the side seams. Ensure that the markings are even on both sides to maintain symmetry.
- Remove the original seam: Carefully unpick or cut the original side seam stitching, making sure to only remove the stitches within the marked area. Be cautious not to cut the fabric itself during this process to avoid any unwanted damage.
- Sew the new seam: With the excess fabric removed, sew along the marked seam lines using a secure stitch, such as a straight stitch or a narrow zigzag stitch. Remember to backstitch at the beginning and end of the seam to reinforce the stitches.
- Test the fit: Once you have sewn the new side seams, try on the swimsuit again to test the fit. Take note of any adjustments that may need to be made before the final stitching.
- Reinforce the new seam: After you are satisfied with the fit, reinforce the new side seams by sewing a second row of stitches or using a serger to prevent fraying. This will ensure that the alterations withstand regular wear and washing.
By taking in the side seams, you can achieve a more customized fit that contours to your body shape. This alteration helps to eliminate any excess fabric and create a sleeker silhouette, enhancing your overall confidence when wearing the swimsuit.
Shortening the Length
If you find that your swimsuit is too long and needs to be shortened, don’t worry! Shortening the length of a swimsuit is a common alteration and can be easily accomplished with a few simple steps. Follow these guidelines to shorten the length of your swimsuit:
- Try on the swimsuit: Start by trying on the swimsuit and determining the desired length. Pinch the fabric at the bottom to determine how much length you would like to remove.
- Mark the new hemline: Using fabric chalk or pins, mark the new hemline where you would like the swimsuit to end. Be mindful of maintaining an even hemline all around.
- Cut the excess fabric: Carefully cut along the marked hemline, removing the excess fabric. It’s important to double-check your markings before cutting to ensure that you are achieving the desired length.
- Turn under the fabric: Fold the bottom edge of the swimsuit up to meet the new hemline and pin it in place. This will create a clean finish for the new hem.
- Sew the new hem: Using a stretch stitch or a narrow zigzag stitch, sew along the folded edge to secure the new hemline. Make sure to backstitch at the beginning and end of the seam to reinforce the stitches.
- Test the fit: Once you have sewn the new hem, try on the swimsuit again to test the length. Make any necessary adjustments before finalizing the hemline.
- Reinforce the hem: To ensure the longevity of the alteration, reinforce the new hemline by sewing a second row of stitches or using a serger. This will prevent the fabric from unraveling and maintain the integrity of the new hem.
By shortening the length of your swimsuit, you can create a more proportionate and flattering look that fits your desired style. Whether you prefer a shorter or longer length, altering the swimsuit to your specific preference will enhance your comfort and confidence when wearing it.
Adding or Removing Padding
The padding in a swimsuit can play a significant role in enhancing your natural curves and providing support. However, the level of padding may not always be to your liking. If you want to add or remove padding to achieve the desired look and fit, follow these steps:
- Determine the desired level of padding: Decide whether you want to add more volume by inserting additional padding or remove existing padding to achieve a more natural look.
- Examine the swimsuit construction: Assess how the padding is inserted in the swimsuit. Some swimsuits have removable padding that can be easily adjusted, while others have sewn-in padding that may require more intricate alterations.
- Adding padding: To add more padding, you can purchase foam or silicone inserts from a fabric or craft store. Carefully cut the inserts to the desired size and shape, ensuring they fit securely within the pockets or compartments of the swimsuit. Insert the padding and adjust as needed until you achieve the desired level of enhancement.
- Removing padding: If you wish to remove padding, carefully unpick the stitches that hold the padding in place. Use small scissors or a seam ripper to detach the padding from the swimsuit. Be cautious not to damage the surrounding fabric during this process.
- Securing the padding: Whether you are adding or removing padding, ensure that it is securely positioned within the swimsuit. You may choose to sew it in place or use adhesive fabric tape to keep it from shifting during wear.
- Try on the swimsuit: After making the necessary adjustments, try on the swimsuit to test the fit and appearance. Make any additional alterations if needed to achieve the desired look and level of comfort.
By modifying the padding in your swimsuit, you can create a silhouette that suits your preferences and enhances your natural curves. Whether you want to add more volume or achieve a more subtle look, adjusting the padding allows you to personalize the fit and feel of your swimsuit.
Altering the Neckline
The neckline of a swimsuit can greatly influence its overall style and how it flatters your upper body. If you want to alter the neckline to achieve a different look or enhance your features, follow these steps:
- Decide on the desired neckline: Determine the type of neckline you want to achieve. Whether you prefer a plunging V-neck, a higher scoop neck, or a halter-style neckline, understanding your desired look will guide your alteration process.
- Assess the swimsuit construction: Examine how the neckline is constructed in your swimsuit. Some swimsuits have a separate binding or band that can be adjusted, while others may require more intricate alterations.
- Adding fabric: If you want to increase the coverage or raise the neckline, you can add fabric to the existing neckline. Choose a fabric that matches the swimsuit material and blends seamlessly with the original color and texture. Cut the fabric to the desired shape and size, ensuring it covers the existing neckline. Sew it in place, making sure to use a stretch stitch or a narrow zigzag stitch that allows for flexibility and movement.
- Removing fabric: To lower the neckline or create a more open style, carefully unpick the stitches that hold the neckline in place. Use small scissors or a seam ripper to detach the fabric, ensuring neat and clean edges. Be cautious not to damage the surrounding fabric during this process.
- Reinforce the new neckline: Whether you have added or removed fabric, reinforce the new neckline by sewing a second row of stitches along the edge. This will ensure that the alteration holds up during wear and keeps the fabric secure and in place.
- Try on the swimsuit: After altering the neckline, try on the swimsuit to assess the fit and appearance. Make any additional adjustments if necessary to achieve the desired neckline style.
By altering the neckline of your swimsuit, you can transform its overall look and create a style that flatters your features. Whether you want to show more or less skin, adjusting the neckline allows you to customize your swimsuit and make it uniquely yours.
Hemming the Bottom
When it comes to achieving the perfect fit, the hemline of your swimsuit plays a crucial role. Hemming the bottom of your swimsuit ensures that it is the right length and provides a polished and professional finish. Follow these steps to hem the bottom of your swimsuit:
- Try on the swimsuit: Start by trying on the swimsuit and assessing the length. Determine how much you need to shorten it to achieve the desired look and fit.
- Mark the new hemline: Using fabric chalk or pins, mark the new hemline where you want the swimsuit to end. Ensure that the marks are even and consistent all around.
- Trim the excess fabric: Carefully cut along the marked hemline, removing the excess fabric. Take your time and double-check your markings before cutting to ensure accuracy.
- Turn under the fabric: Fold the bottom edge of the swimsuit up to meet the newly cut hemline and pin it in place. This will create a clean finish for the new hem.
- Sew the new hem: Using a stretch stitch or a narrow zigzag stitch, sew along the folded edge to secure the new hemline. Backstitch at the beginning and end of the seam to reinforce the stitches.
- Test the fit: After sewing the new hem, try on the swimsuit again to test the length. Make any necessary adjustments before finalizing the hemline.
- Reinforce the hem: To ensure the longevity of the alteration, reinforce the new hemline by sewing a second row of stitches or using a serger. This will prevent fraying and maintain the integrity of the hem over time.
Hemming the bottom of your swimsuit gives it a clean and polished appearance while ensuring it is the perfect length for your comfort and style preferences. By following these steps, you can achieve a professional-looking hem that enhances the overall fit and aesthetic of your swimsuit.
Conclusion
Altering a swimsuit can make a world of difference in achieving the perfect fit and ensuring that you feel comfortable and confident in your swimwear. From adjusting the straps to shortening the length, altering the neckline, or even adding or removing padding, there are various alterations you can make to personalize your swimsuit.
When it comes to choosing the right swimsuit, consider your body shape, the level of support you desire, the fabric quality, and experiment with different styles to find the one that flatters you the most. Once you have selected the perfect swimsuit, accurate measurements are key to achieving precise alterations. Taking the time to measure your bust, waist, hips, and length will guide you in making the necessary adjustments.
Whether you need to adjust the straps for a better fit, take in the side seams for a more tailored look, or even alter the neckline to match your style preferences, these alterations can be done with a few simple steps. By following the guidelines provided and ensuring proper reinforcement of seams, you can create a swimsuit that fits you like a glove.
Remember to take your time, try on the swimsuit after each alteration, and make any necessary adjustments before finalizing the changes. With a little patience and creativity, you can transform your swimsuit into a piece that is uniquely tailored to your body and personal style.
So, embrace your inner fashion designer, grab your sewing kit, and make those alterations to ensure that your swimsuit fits and flatters you perfectly. With a customized swimsuit, you’ll be ready to make a splash and enjoy your time by the water with confidence and style!