Home>How-to Guides>For Women>How To Add Pads To A Swimsuit

For Women
How To Add Pads To A Swimsuit
Modified: August 2, 2023
Learn how to effortlessly add pads to your swimsuit for women with our step-by-step guide. Enhance your comfort and confidence this summer!
(Many of the links in this article redirect to a specific reviewed product. Your purchase of these products through affiliate links helps to generate commission for Under-tec.com, at no extra cost. Learn more)
Table of Contents
Introduction
Adding pads to a swimsuit can be a game-changer when it comes to enhancing comfort and confidence at the beach or by the pool. Whether you’re looking to add a little extra shape, modesty, or support, inserting pads into your swimsuit is a simple DIY project that can make a big difference. Plus, it allows you to customize the fit and make your swimsuit more versatile.
In this article, we will guide you through the step-by-step process of adding pads to a swimsuit. You don’t need to be an expert seamstress to complete this project; with a few basic materials and some patience, you’ll be able to achieve professional-looking results.
Before we begin, it’s important to note that different swimsuit styles may require slightly different techniques for inserting pads. However, the general principles and steps outlined here will apply to most swimsuit designs. So, let’s dive in and learn how to add pads to a swimsuit!
Materials Needed
Before you start adding pads to your swimsuit, it’s important to gather all the necessary materials. Here’s what you’ll need:
- Your swimsuit: Choose a swimsuit that you’re comfortable with and that you feel would benefit from the added padding.
- Swimsuit pads: You can purchase swimsuit pads from a craft store or online. Look for pads specifically designed for swimwear, as they are usually water-resistant and quick-drying.
- Needle and thread: Opt for a thread that matches the color of your swimsuit to achieve a seamless look. Make sure the needle is appropriate for sewing through swimwear fabric.
- Scissors: You’ll need a pair of sharp scissors to cut any excess fabric and thread.
- Pins or clips: These will be used to hold the pads in place during the sewing process.
- Measuring tape: A measuring tape will come in handy for marking the placement of the pads and ensuring symmetry.
Having these materials at hand will make the process smoother and ensure that you have everything you need to successfully add pads to your swimsuit.
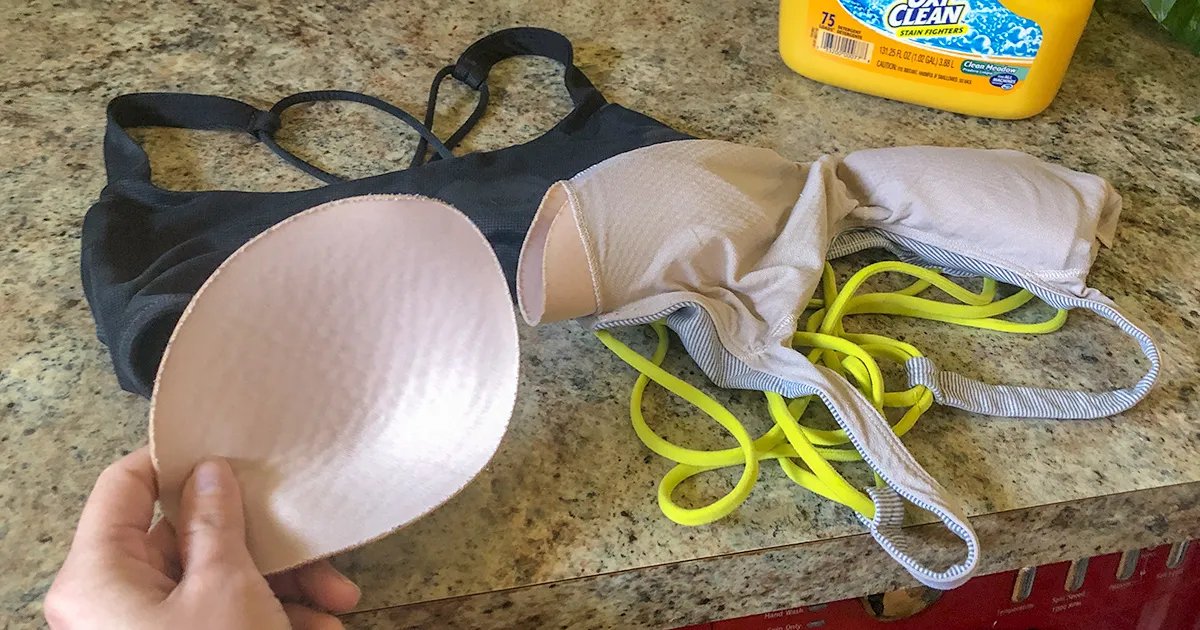
Step 1: Choose the Right Type of Padding
When it comes to adding pads to your swimsuit, selecting the right type of padding is essential. There are a few different options to choose from, depending on your desired outcome. Here are some common types of swimsuit padding:
- Removable pads: These are the most versatile option as they can be easily inserted and removed from the swimsuit. They usually have a pocket or opening inside the swimsuit where the pads can be placed.
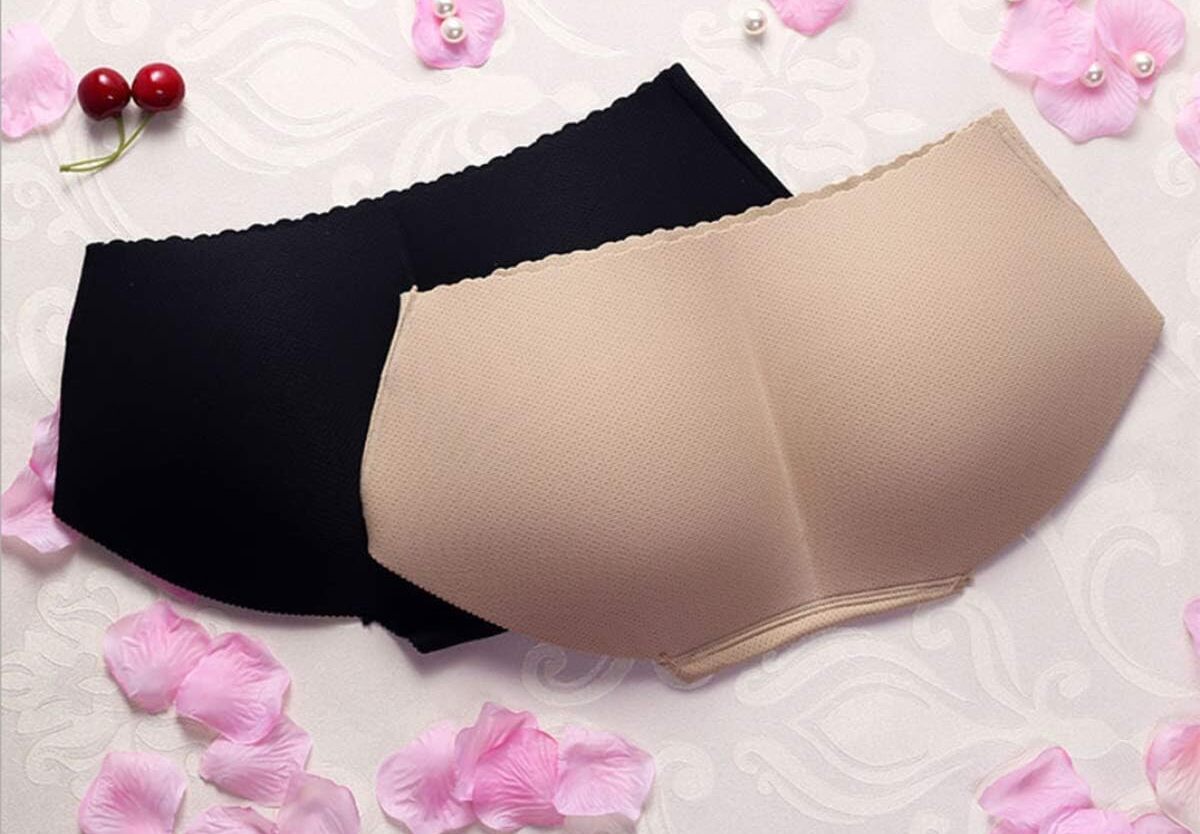
- Molded cups: These are pre-formed cups made from foam or other materials. They are often used in structured swimsuits or bikini tops and can provide enhanced shaping and support.
- Padded fabric: Some swimsuits come with built-in padding that is seamlessly incorporated into the design. This type of padding is ideal if you want a more natural and lightweight feel.
Consider the level of coverage, support, and shaping you desire when choosing the right type of padding for your swimsuit. Removable pads offer the most flexibility as you can adjust or remove them as needed, while molded cups provide a more structured and defined look. Padded fabric is a good option for a subtle boost without the need for removable pads.
Additionally, take into account the material of the padding itself. Look for pads that are water-resistant, quick-drying, and comfortable against the skin. This will ensure that the pads do not become heavy or uncomfortable when wet.
By selecting the appropriate type of padding, you can achieve the desired look and feel for your swimsuit, making it both functional and flattering.
Step 2: Prepare the Swimsuit
Before you start adding the pads, it’s important to prepare your swimsuit to ensure a smooth and successful process. Follow these steps to get your swimsuit ready:
- Inspect your swimsuit: Examine your swimsuit for any loose threads, holes, or areas that need repair. Take a few minutes to mend any damages or reinforce weak spots to ensure the longevity of your swimsuit.
- Clean and dry: Make sure your swimsuit is clean and dry before you begin. Give it a gentle hand wash and let it air dry completely. This will prevent any dirt or moisture from affecting the adhesion or durability of the pads.
- Turn the swimsuit inside out: In order to sew the pads onto the swimsuit, it’s best to work with the garment turned inside out. This will allow you to access the interior of the swimsuit, making it easier to properly position and attach the pads.
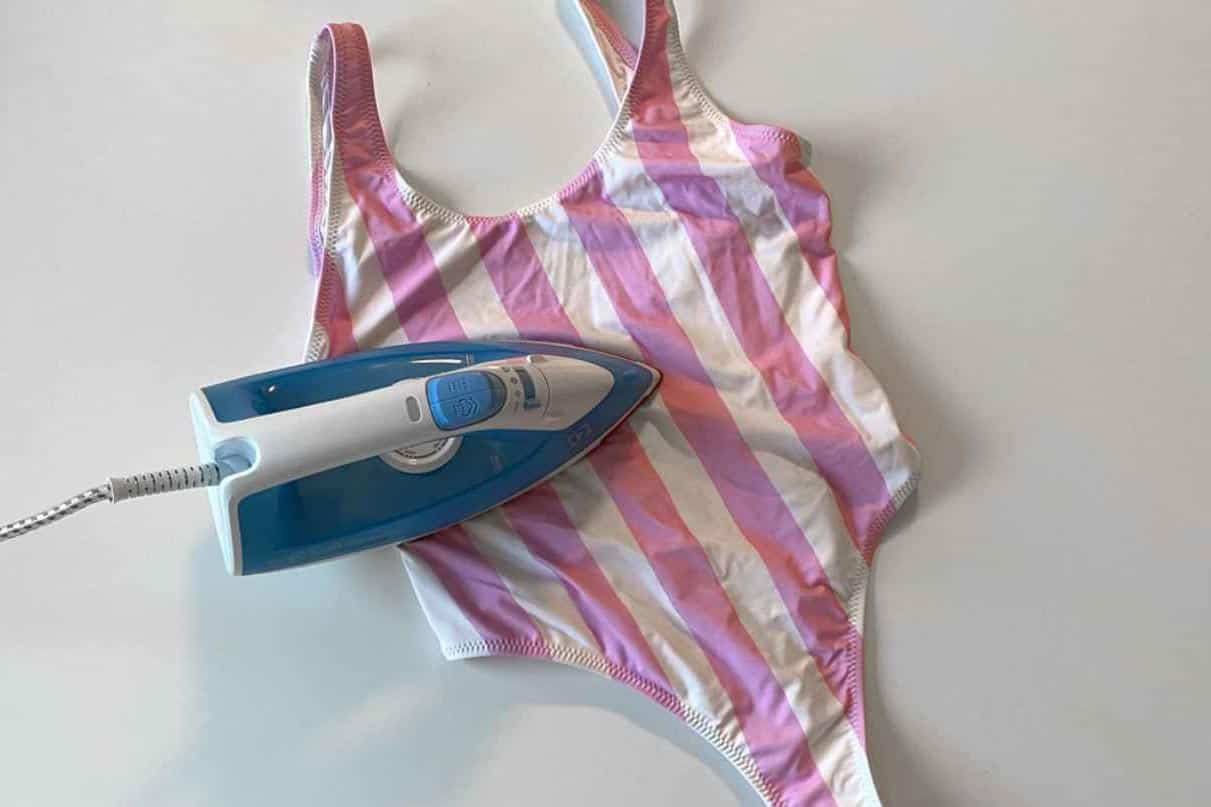
- Smooth out the fabric: Use your hands or a fabric steamer to remove any wrinkles or creases in the swimsuit fabric. This step will make it easier to mark the placement of the pads accurately and ensure a professional finish.
By preparing your swimsuit beforehand, you’ll create an optimal canvas for adding the pads. It will also ensure that the pads are securely attached and that the overall result looks seamless and well-crafted.
Step 3: Mark the Placement of the Pads
Marking the correct placement of the pads is crucial to achieving the desired look and fit. Follow these steps to accurately mark the positioning:
- Put on the swimsuit: Wear the swimsuit you want to add the pads to, making sure it fits properly. The pads should be placed in areas where you want enhancement, shaping, or added support.
- Stand in front of a mirror: Position yourself in front of a full-length mirror or have someone help you with the marking process. This will allow you to assess the placement visually and make adjustments as needed.
- Place the pads: Hold the pads against your body in the desired position. Adjust the position and angle of the pads until you are satisfied with the placement and achieved the desired effect. Pay attention to symmetry while positioning the pads.
- Mark the placement: Once you have determined the ideal positioning for the pads, use a fabric marker or washable pen to mark the placements on the inside of the swimsuit. Make small dots or lines to indicate the exact placement of each pad.
Take your time with this step to ensure accuracy and symmetry. It’s important to have a clear vision of how the pads will look once they are attached. By marking the placement, you will have a visual guide to follow during the sewing process, ensuring that the pads are attached exactly where you want them.
Step 4: Sew the Pads onto the Swimsuit
Now that you have marked the placement of the pads, it’s time to sew them onto the swimsuit. Follow these steps to attach the pads securely:
- Thread the needle: Choose a thread color that matches your swimsuit. Thread the needle and tie a knot at the end.
- Position the first pad: Start with one of the marked positions and place the pad on the inside of the swimsuit, aligning it with the markings.
- Secure the pad: Use small, discreet stitches to sew the pad onto the swimsuit. Start by anchoring the thread on one side of the pad and then sew through the swimsuit fabric and the pad, creating a secure attachment. Repeat this process on all sides of the pad, ensuring it is firmly attached.
- Repeat for the remaining pads: Move on to the next marked position and repeat the same process for each pad. Take your time to sew each pad carefully, ensuring they are securely fixed to the swimsuit.
- Trim excess thread: After sewing each pad, trim any excess thread that may be sticking out. This will give your swimsuit a neater appearance.
As you sew, make sure to maintain the shape and position of the pads, adjusting them as needed to ensure a symmetrical and balanced look. Take your time with each stitch to ensure a clean, professional finish.
Once you have completed these steps for all the pads, you will have successfully sewn them onto your swimsuit, adding the desired shaping or support.
Step 5: Secure the Pads with Additional Stitches
After attaching the pads to your swimsuit, it’s essential to reinforce their placement and ensure they stay securely in position. Follow these steps to add extra stitches for additional support:
- Examine the attachment: Take a close look at how the pads are sewn onto the swimsuit. Check for any areas that might need reinforcement or additional stitches.
- Extra stitches along the edges: Use the same thread and needle to sew small, inconspicuous stitches along the edges of the pads. This will provide added security and prevent the pads from shifting or coming loose while you’re wearing the swimsuit.
- Stitch across the center: To further secure the pads, consider sewing a few stitches across the center of each pad. These stitches will act as an anchor and help prevent the pads from moving or bunching up.
- Test the durability: Gently tug and press on the pads to ensure they are securely attached. If they feel loose or unstable, reinforce the attachment with additional stitches until you are satisfied with the result.
By adding these extra stitches, you will increase the longevity and stability of the pads, ensuring they stay in place even during active movement in the water.
Keep in mind that the number of additional stitches you need may vary depending on the type of pad, swimsuit material, and personal preference. Trust your judgment and add stitches until you are confident in the stability of the pads.
Step 6: Test and Adjust the Fit
After securing the pads with additional stitches, it’s time to test the fit of your swimsuit and make any necessary adjustments. Follow these steps to ensure the perfect fit:
- Put on the swimsuit: Wear the swimsuit with the newly attached pads and examine how it fits on your body. Pay attention to how the pads shape and enhance your curves, as well as the overall comfort.
- Check for symmetry: Stand in front of a mirror and assess the positioning and alignment of the pads. Make sure they are symmetrical and balanced on both sides of your body. If necessary, make minor adjustments by repositioning the pads or adding more stitches to achieve symmetry.
- Test in different positions: Move around, sit, and engage in different activities while wearing the swimsuit. This will allow you to test the functionality and comfort of the pads in different positions. Ensure that they stay securely in place and provide the desired support and enhancement.
- Make any necessary adjustments: If you find that the swimsuit or the pads need further adjustments, go back to the previous steps and make the necessary alterations. This might involve repositioning the pads, adding more stitches, or even removing the pads and starting again if needed.
Remember, the goal is to achieve the ideal fit and comfort that makes you feel confident and at ease while wearing your swimsuit. Take the time to test and adjust until you are completely satisfied with the fit and appearance of your swimsuit with the added pads.
By following these steps and making any necessary adjustments, you can ensure that your swimsuit fits perfectly and provides the desired shaping and support.
Conclusion
Adding pads to a swimsuit is a simple and effective way to enhance comfort, shape, and support. By following the steps outlined in this article, you can easily add pads to your swimsuit and achieve a customized fit that boosts your confidence.
Remember to choose the right type of padding that suits your needs, whether it’s removable pads, molded cups, or padded fabric. Preparing your swimsuit by inspecting, cleaning, and turning it inside out sets the stage for a successful pad insertion.
Marking the placement of the pads accurately is crucial for achieving a symmetrical and balanced look. Take your time to position the pads properly and mark their placement using fabric markers or washable pens.
When sewing the pads onto the swimsuit, use small, secure stitches to ensure they stay in place. After attaching the pads, consider adding additional stitches along the edges and across the center for extra support.
Finally, test the fit of your swimsuit with the newly added pads and make any necessary adjustments for symmetry and comfort. Take the time to move around and engage in different activities to ensure the pads stay securely in place.
With these steps, you can successfully add pads to your swimsuit and enjoy a customized fit that enhances your confidence and comfort. So, go ahead and dive into your swimsuit sewing project!