Home>How-to Guides>For Women>How To Pad Bra
For Women
How To Pad Bra
Modified: September 23, 2023
Learn how to pad your bra for a more confident and comfortable fit. Discover essential tips and tricks for women to enhance their curves and boost their confidence.
(Many of the links in this article redirect to a specific reviewed product. Your purchase of these products through affiliate links helps to generate commission for Under-tec.com, at no extra cost. Learn more)
Table of Contents
Introduction
Welcome to the ultimate guide on how to pad your bra! Whether you are looking to enhance your curves, add more volume to your bust, or simply achieve a more symmetrical look, padding your bra can be a game-changer. It offers a simple and effective solution to address common concerns and provide a boost of confidence.
Padding bras have been a staple in many women’s wardrobes for years. They provide an extra layer of comfort, support, and shape, allowing you to achieve your desired silhouette effortlessly. But padding your bra goes beyond just aesthetics; it can also help improve posture, reduce discomfort, and boost your body image.
In this comprehensive guide, we will delve into the benefits of padding your bra, explore the different types of padding options available, guide you through the process of choosing the right bra size for padding, and provide step-by-step instructions on how to pad your bra effectively. We will also share some valuable tips and tricks to ensure maximum comfort and support.
So, whether you’re a beginner or already familiar with the concept of padding bras, this guide will equip you with all the knowledge and techniques you need to achieve your desired look with confidence. Let’s dive in and discover the world of padded bras!
Understanding the Benefits of Padding Bra
Padding your bra offers numerous benefits that go beyond simply enhancing your bust size. Let’s explore some of the key advantages:
- Enhanced Shape and Symmetry: One of the main benefits of padding your bra is the ability to create a more balanced and symmetrical shape. It can help add volume to the smaller breast, creating a seamless and natural-looking silhouette.
- Boost in Confidence: Wearing a padded bra can instantly boost your confidence, giving you a sense of empowerment and allowing you to feel more comfortable in your own skin. It can enhance your natural curves and make you feel more feminine and attractive.
- Improved Body Proportions: Padding your bra can help you achieve better body proportions, especially if you have a smaller bust size. It can help create a more voluptuous and curvier figure, enhancing your overall appearance and making your outfits fit better.
- Added Comfort and Support: Along with improving your shape, padded bras also provide extra comfort and support. The padding helps to distribute the weight of your breasts more evenly, reducing strain on your shoulders and back. This is particularly beneficial for women with larger breasts.
- Increased Wardrobe Options: Padded bras open up a world of fashion possibilities. They allow you to confidently wear outfits with low necklines, backless dresses, or form-fitting tops without worrying about your bra showing. The added volume can help fill out certain styles and give your outfits a more flattering look.
- Posture Correction: Padding your bra can also aid in correcting your posture. By providing extra support to your bust, it encourages you to stand up straight and maintain a more aligned posture throughout the day.
With these benefits in mind, it’s clear why padding your bra can be a game-changer. Whether you’re looking to balance out your bust, enhance your curves, or simply feel more confident, padded bras offer a range of advantages that make them a go-to choice for many women. Now, let’s explore the different types of padding options available to help you achieve your desired look!
Different Types of Padding Options
When it comes to padding your bra, you have several options to choose from. The type of padding you choose will depend on your personal preferences and the desired effect you want to achieve. Let’s explore some of the common types of padding options:
- Push-up Padding: Push-up padding is designed to lift and push together the breasts, creating a fuller and more pronounced cleavage. This type of padding typically features padding at the bottom of the cup and may include additional padding at the sides.
- Gel Inserts: Gel inserts are made of a soft, gel-like material that molds to the shape of your breasts, providing a natural and realistic feel. They are often used to create a subtle boost in volume and can be inserted into the cups of a bra.
- Air Padding: Air padding is a lightweight option that uses air-filled chambers or pockets to add volume to the breasts. It provides a natural and soft feel while enhancing your shape.
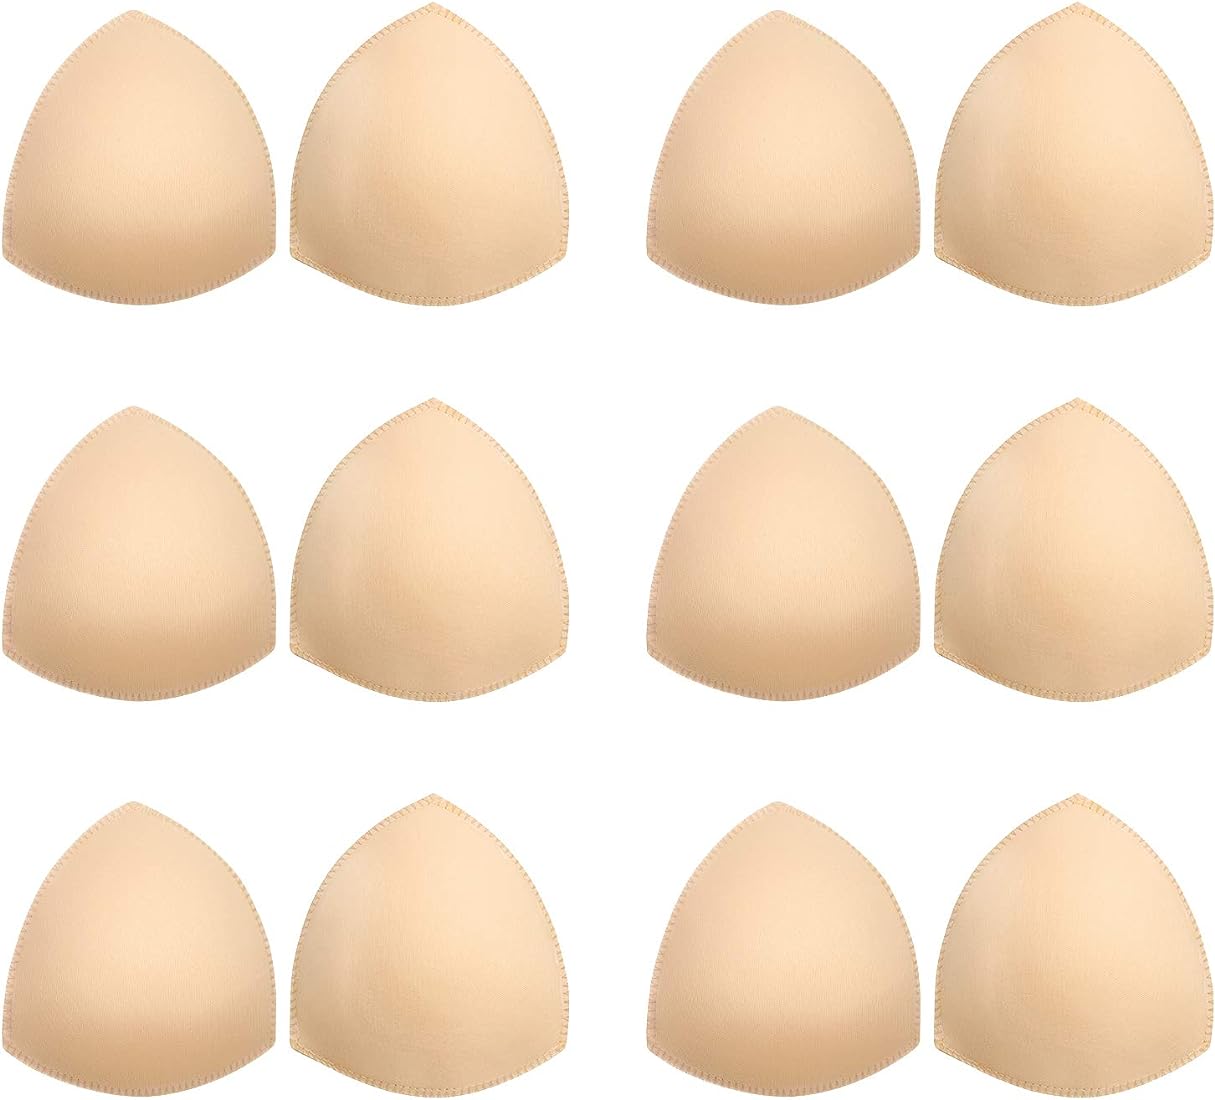
- Foam Padding: Foam padding is a popular choice as it offers a firm and supportive lift to the breasts. It provides a rounded shape and is available in various thicknesses, allowing you to control the level of enhancement.
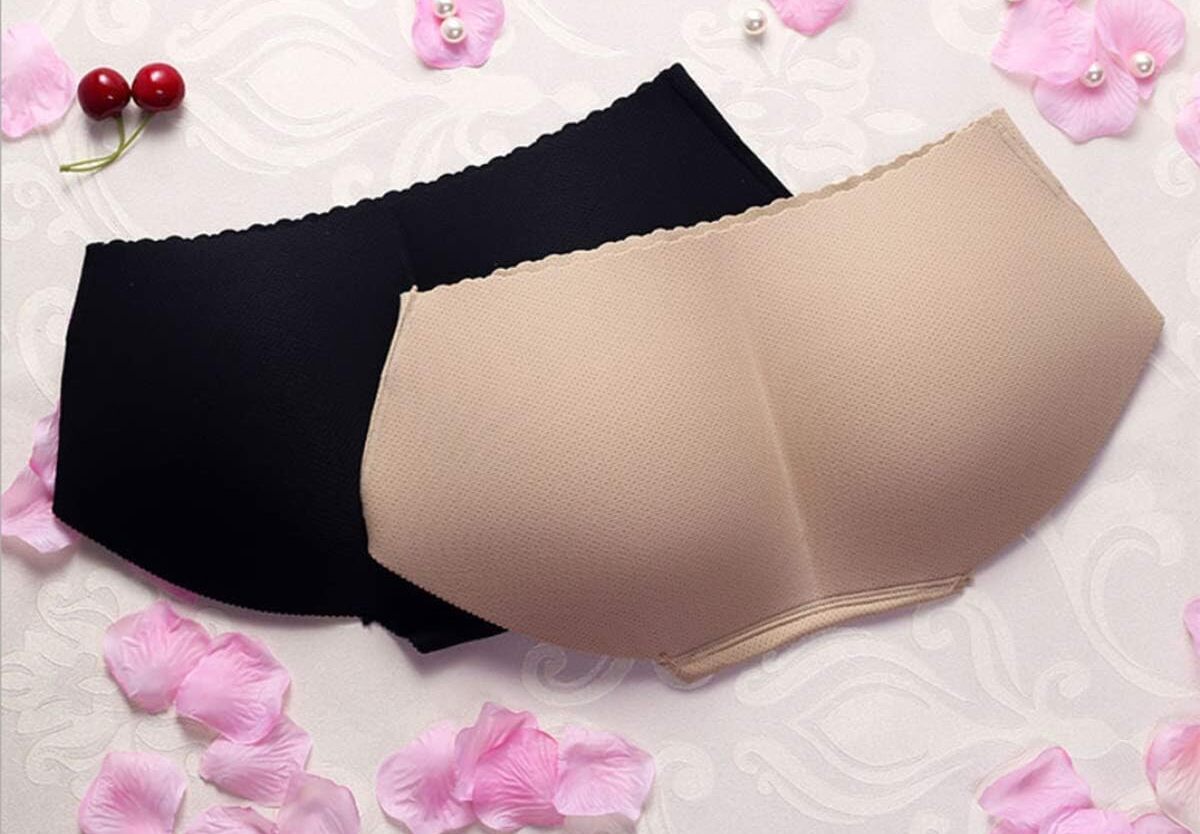
- Removable Padding: Many bras come with removable padding, often in the form of foam or fabric inserts. This allows you to customize the level of padding according to your preferences and outfit requirements.
- Padded Bras with Underwire: Some padded bras also feature underwire support, which provides additional lift and shaping. The underwire helps to lift the breasts and create a more defined cleavage, making it a popular choice for those seeking a more enhanced look.
It’s important to note that each type of padding option offers a different degree of enhancement. Consider trying out different types to find the one that gives you the desired shape and level of comfort. Additionally, be mindful of choosing a padded bra that fits properly to ensure optimal support and a natural look.
Now that you have a better understanding of the different padding options available, the next step is to choose the right bra size for padding. Let’s explore the importance of selecting the correct bra size in the next section.
Choosing the Right Bra Size for Padding
When it comes to padding your bra, selecting the right size is crucial for achieving a comfortable fit and a natural look. Here are some tips to help you choose the right bra size for padding:
- Measure Yourself: Start by measuring your band size and cup size accurately. You can use a measuring tape or seek assistance from a professional bra fitter to ensure accuracy. Remember that your body and breast size can change over time, so it’s essential to measure yourself periodically.
- Consider the Bra Style: Different bra styles may have slight variations in their sizing, so keep this in mind when choosing a bra size for padding. For example, if you prefer a push-up bra, you may need to size up to accommodate the extra padding comfortably.
- Try Different Sizes: Don’t be afraid to try on different bra sizes to find the best fit. Every brand may have slightly different sizing, so it’s worth experimenting to find the size that offers the right level of support and comfort.
- Pay Attention to Band and Cup Fit: Ensure that the band of the bra fits snugly around your ribcage without digging in or riding up. The cups should fully encase your breasts without any spillage or gaps. If the padding feels too tight or the cups are too small, consider going up in size.
- Consider Sister Sizes: If you’re having trouble finding the perfect bra size for padding, consider exploring sister sizes. Sister sizes refer to different bra sizes that have the same cup volume but differ in band size. For example, if your usual size is 34B, but you find the band too tight, you can try a 36A for a looser band but the same cup volume.
- Seek Professional Fitting: If you’re uncertain about your bra size or struggle to find the perfect fit, consider visiting a professional bra fitter. They can help measure you accurately and provide expert advice on finding the right size and style for padding your bra.
Remember that choosing the right bra size is essential not only for comfort but also for achieving a natural and seamless look when padding. Take the time to find your perfect fit, and don’t hesitate to seek assistance when needed. Now, let’s move on to the next section, where we will guide you through the step-by-step process of padding your bra.
Steps to Pad Your Bra
Padding your bra is a simple process that can be done at home. Here are the step-by-step instructions to help you pad your bra effectively:
- Step 1: Preparing Your Bra for Padding: Start by selecting a bra that fits well and has removable padding or enough room to insert additional padding. Ensure that the bra is clean and dry before beginning the process.
- Step 2: Adding Padding to Your Bra: Choose the type of padding you prefer, such as foam inserts, gel inserts, or air pads. Place the padding inside the bra cups, positioning them to achieve the desired level of enhancement and symmetry.
- Step 3: Adjusting and Styling Your Padded Bra: Once the padding is in place, put on the bra and adjust the straps and band to ensure a comfortable fit. Check the mirror to ensure that the padding looks natural and even, making any necessary adjustments as needed.
It’s important to note that the amount of padding and the desired effect may vary based on personal preference. Start with a minimal amount of padding and gradually add more until you achieve the desired look. Be sure to experiment with different types of padding to find the one that suits you best.
Remember, the key to successful bra padding is to ensure a natural and comfortable fit. The goal is to enhance your shape while maintaining a realistic appearance. Take your time to adjust and style your padded bra until you achieve the desired effect. Now, let’s move on to the next section, where we will share some tips and tricks to enhance the comfort and support of your padded bra.
Preparing Your Bra for Padding
Before you begin padding your bra, it’s crucial to properly prepare the bra to ensure a smooth and effective process. Here are the steps to prepare your bra for padding:
- Select the Right Bra: Choose a bra that fits you well and has removable padding or enough room to insert additional padding. It’s essential to start with a bra that provides a good foundation for padding.
- Clean and Dry Your Bra: Make sure that your bra is clean and dry before you start padding. This will ensure hygiene and prevent any discomfort that may arise from a dirty or moist bra.
- Inspect the Bra: Take a close look at the bra cups and check for any damage or signs of wear. It’s important to work with a bra that is in good condition and free from tears or loose stitching.
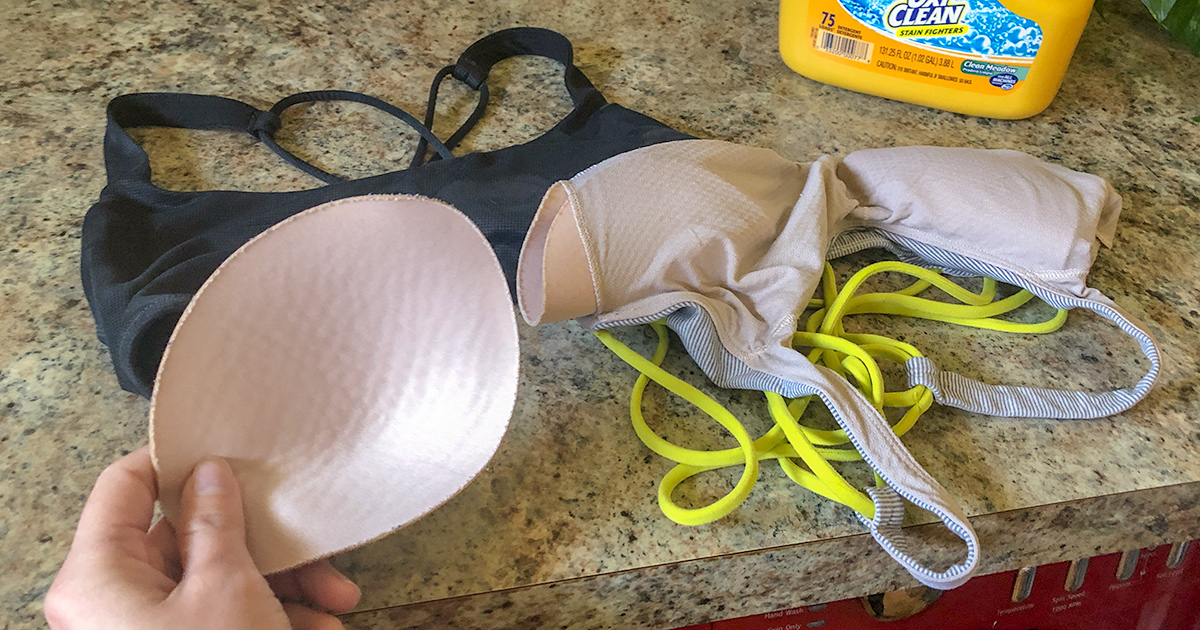
- Remove Existing Padding: If your bra already has padding inserts, remove them carefully. Most bras with removable padding have small slits or pockets where the inserts can be easily taken out.
- Ensure Proper Fit: Before padding your bra, double-check that the bra fits you correctly and offers adequate support. Adjust the straps and band to ensure a comfortable and secure fit, as this will determine the overall shape and appearance when padding is added.
By properly preparing your bra, you create the ideal starting point for padding. This ensures that the padding sits properly, provides the desired effect, and maintains a natural look. Once you have prepped your bra, you are ready to move on to the next step of adding your chosen padding. Let’s dive into the process of adding padding to your bra in the next section.
Adding Padding to Your Bra
Now that you have prepared your bra, it’s time to add the desired padding to achieve your desired shape and enhance your curves. Follow these steps to effectively add padding to your bra:
- Select the Type of Padding: Choose the type of padding that suits your preferences and desired effect. Options include foam inserts, gel inserts, air pads, or any other type of padding that you find comfortable and suitable for your needs.
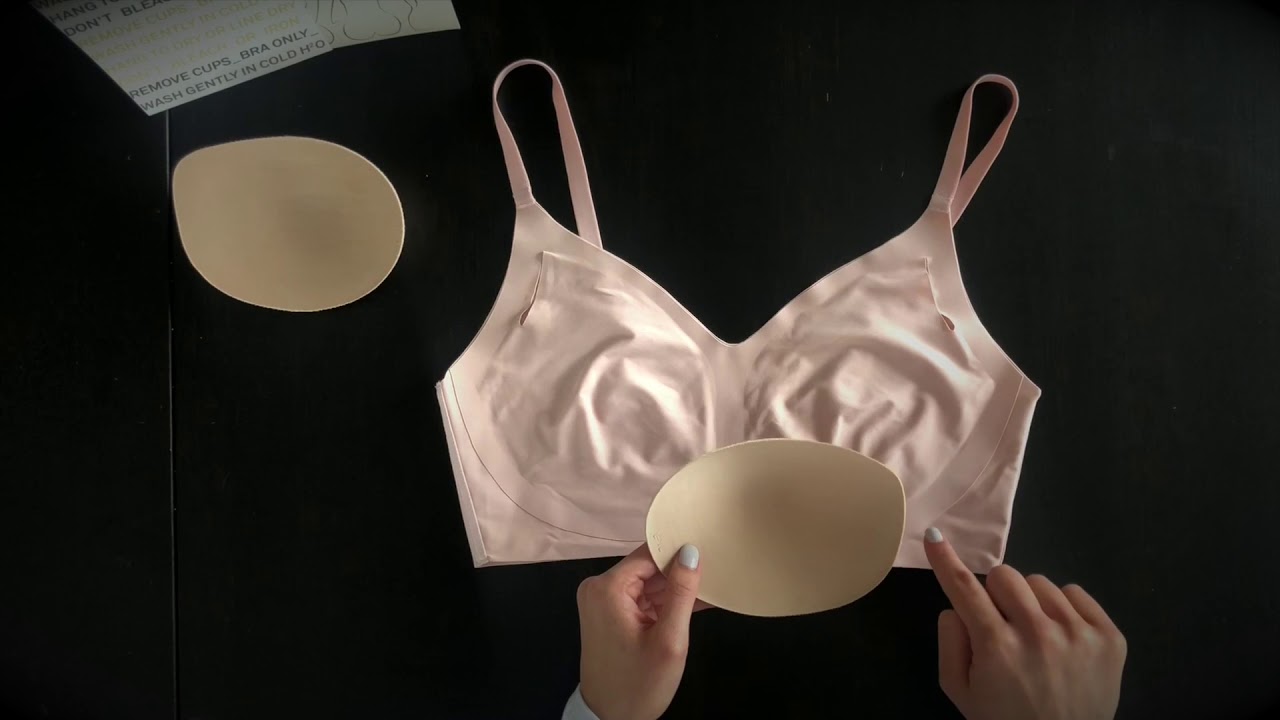
- Position the Padding: Carefully place the padding inside the bra cups. Ensure that they are positioned evenly and symmetrically to create a natural look. Depending on the type of padding, you may need to adjust and mold them slightly to fit the shape of your breasts properly.
- Experiment with Placement: Try different placements of the padding to achieve your desired level of enhancement and shape. Some prefer to focus the padding towards the lower part of the cup for more lift, while others may prefer to distribute it evenly throughout the cup for a balanced look.
- Ensure Comfort and Security: Once the padding is in place, put on the bra and, if necessary, adjust the straps and band to ensure a comfortable fit. The added padding should feel secure and stay in place while providing support and shaping your breasts.
- Check the Appearance: Stand in front of a mirror to assess the appearance of your padded bra. Make any necessary adjustments to ensure that the padding looks natural, symmetrical, and suits your desired look.
Remember that the key to adding padding to your bra is to achieve a natural and comfortable appearance. Everyone’s preferences and body shapes are different, so feel free to experiment and adjust the padding to suit your personal style and desired level of enhancement.
Now that you have successfully added the padding to your bra, the next step is to adjust and style your padded bra to further enhance your comfort and support. We will explore these tips and tricks in the next section.
Adjusting and Styling Your Padded Bra
Once you have added the desired padding to your bra, it’s time to adjust and style it to ensure maximum comfort, support, and aesthetic appeal. Follow these tips to effectively adjust and style your padded bra:
- Check the Straps: Ensure that the bra straps are adjusted to the right length, so they comfortably support your breasts. They should not dig into your shoulders but also should not be too loose, as this can compromise support.
- Assess the Band: The band of your bra should fit snugly around your ribcage without feeling tight. Make sure the band is parallel to the ground and positioned level across your back.
- Verify Cup Coverage: Check that the cups fully encase your breasts without any spillage or gaping. Adjust the straps or band if needed to achieve the optimal cup coverage.
- Make Final Padding Adjustments: Stand in front of a mirror and carefully assess the appearance of your padded bra. If necessary, make any final adjustments to ensure the padding looks natural, symmetrical, and suits your desired level of enhancement.
- Experiment with Outfits: Try on different outfits to see how your padded bra enhances your overall appearance. Experiment with tops, dresses, or any garments that you feel will complement and showcase your enhanced curves effectively.
- Confidence is Key: Lastly, remember that styling your padded bra is not just about adjusting the physical aspects. It’s about embracing your newfound confidence and celebrating your unique shape. Wear your padded bra with pride and let your inner confidence shine through!
By following these steps, you can ensure that your padded bra fits comfortably, provides the desired support and enhancement, and complements your outfits seamlessly. Remember that everyone’s body is unique, so take the time to adjust and style your padded bra to suit your individual needs and preferences.
In the next section, we will share some valuable tips and tricks to further enhance the comfort and support offered by your padded bra. Let’s dive in!
Tips and Tricks for Enhanced Comfort and Support
To ensure optimal comfort and support when wearing a padded bra, consider implementing these helpful tips and tricks:
- Choose the Right Strap Placement: Adjust the bra straps to a length that provides proper support without digging into your shoulders. The straps should comfortably hold your breasts in place and prevent any strain or discomfort.
- Opt for Wide Straps: If you have a larger bust or prefer added support, choose bras with wider straps. Wide straps help distribute the weight of your breasts more evenly, reducing pressure on your shoulders and increasing overall comfort.
- Check the Band Tightness: Ensure the bra band is snug enough to provide the necessary support, but not so tight that it causes discomfort or leaves marks on your skin. The band should sit comfortably around your ribcage and offer stability.
- Reposition the Padding: Throughout the day, you may find that the padding in your bra has shifted slightly. Take a moment to readjust it to maintain a comfortable and flattering fit. This will ensure that your breasts are properly supported and that the padding appears natural.
- Consider Seamless Styles: Opt for padded bras with seamless construction, as they offer a smooth appearance under clothing and reduce the risk of irritation or discomfort caused by seams.
- Wash Your Bra with Care: Follow the manufacturer’s instructions for washing and caring for your padded bra. Pay attention to the specific guidelines to maintain the shape, support, and quality of the padding.
- Rotate Your Bras: It’s important to have multiple padded bras in your wardrobe and rotate them regularly. This allows each bra to rest and regain its shape, ensuring optimal support and longevity.
- Schedule Regular Bra Fittings: Our bodies change over time, so it’s important to schedule regular bra fittings to ensure you are wearing the correct size. Professional bra fittings can help you maintain the best support and comfort with your padded bras.
- Listen to Your Body: Everyone’s comfort preferences differ, so pay attention to how your body feels in a padded bra. If you experience any discomfort or pain, reassess the fit and adjust accordingly.
By implementing these tips and tricks, you can enhance the comfort and support of your padded bra. Remember, finding the right fit and taking care of your bras are essential for long-term comfort and satisfaction. Let’s wrap up this comprehensive guide on how to pad your bra.
Conclusion
Padding your bra can be a transformative experience, helping you enhance your shape, boost your confidence, and create a more balanced and symmetrical silhouette. By understanding the benefits of padding, exploring different types of padding options, choosing the right bra size, and following the steps to pad your bra effectively, you can achieve the desired look and feel comfortable and supported throughout the day.
Remember to prepare your bra properly by selecting the right bra and ensuring it is clean and dry. Adding the padding of your choice in a symmetric and natural way allows you to customize your look based on your preferences. Take the time to adjust and style your padded bra, ensuring the straps, band, and cup fit properly for optimal comfort and support.
By implementing tips and tricks for enhanced comfort and support, such as proper strap placement, choosing wide straps, and caring for your bras appropriately, you can further enhance your wearing experience.
Padding your bra is a personal choice, and it’s important to find what works best for you and makes you feel confident and comfortable. Experiment with different types of padding, adjust the placement to suit your desired look, and listen to your body’s needs.
Now that you have all the knowledge and insights to pad your bra effectively, it’s time to embrace your curves, boost your confidence, and enjoy the benefits that come with wearing a padded bra. Harness the power of a well-fitted, padded bra to enhance your style and feel great about yourself!