Home>How-to Guides>For All>How To Tie A Kimono Belt
For All
How To Tie A Kimono Belt
Published: July 31, 2023
Learn how to tie a kimono belt with our step-by-step guide. Suitable for all kimono styles and perfect for adding a stylish touch to your outfit.
(Many of the links in this article redirect to a specific reviewed product. Your purchase of these products through affiliate links helps to generate commission for Under-tec.com, at no extra cost. Learn more)
Table of Contents
Introduction
When it comes to traditional Japanese attire, the kimono reigns supreme. With its elegant and timeless design, the kimono has become a symbol of Japanese culture and fashion. One key element of a kimono ensemble is the obi, or kimono belt. The obi not only adds a decorative touch to the outfit but also plays a crucial role in keeping the kimono secure and well-fitted.
Tying a kimono belt may seem like a daunting task, especially for those unfamiliar with Japanese fashion. However, with a few simple steps and some practice, you can become a pro at tying a kimono belt, also known as an obi, in no time.
In this article, we will guide you through the process of tying a kimono belt, providing detailed instructions and tips along the way. We will also explore alternative methods to suit different preferences and occasions. So, whether you’re donning a kimono for a special event or simply want to add a touch of elegance to your daily attire, read on to discover how to tie a kimono belt like a pro.
Materials Needed
Before we dive into the steps of tying a kimono belt, let’s first gather the materials you’ll need. Here’s a list of essential items:
- A kimono – Choose a kimono of your choice, ensuring it fits properly and is in good condition.
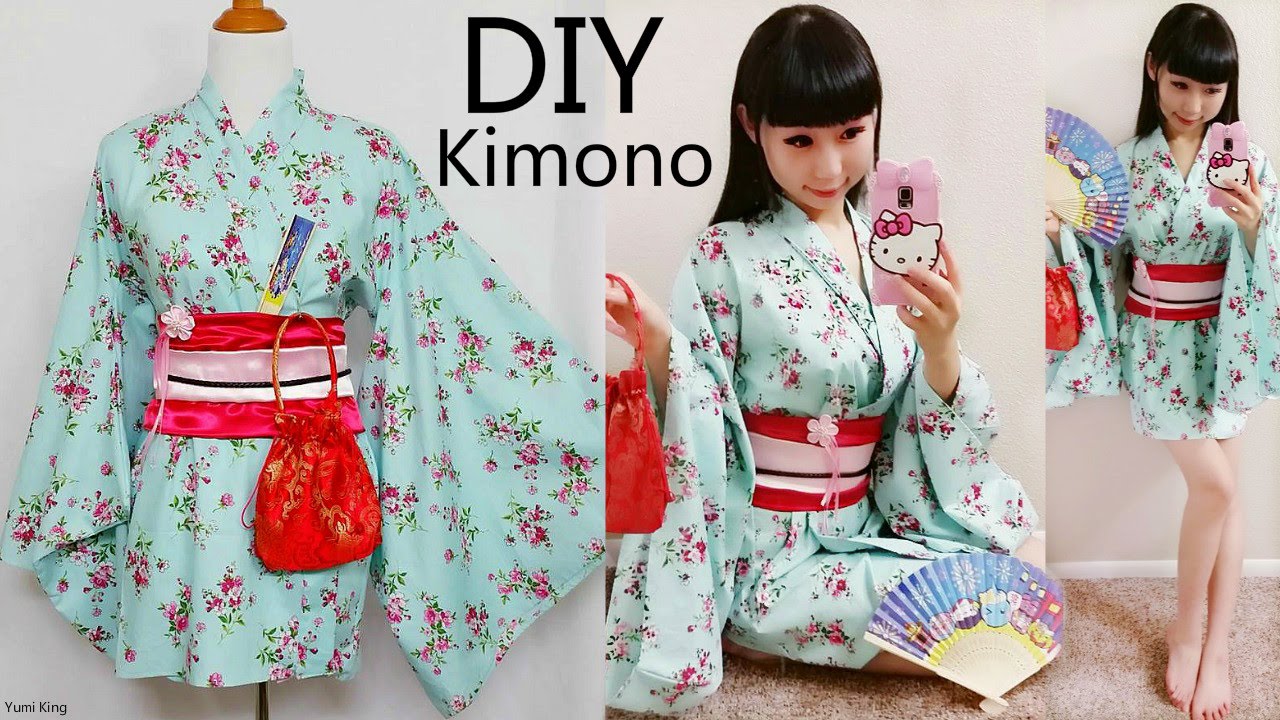
- An obi – The obi is the wide belt used to secure the kimono and create a stylish look. There are various types of obi, such as pre-tied ones or those that need to be tied manually.
- An obijime – The obijime is a thin cord used to secure the obi in place and add a decorative touch.
- An obiage – The obiage is a thin silk cloth used to wrap around the obi and provide a polished look.
- An obi ita – The obi ita is a stiff board or pad inserted between the obi layers to help maintain its shape and prevent wrinkling.
- An obi makura – The obi makura is a cushioned pad used to create volume and support when tying certain obi styles.
- A mirror – Having a mirror nearby will help you see how the belt is being tied and make any necessary adjustments.
- A kimono dressing gown – This is optional but can be useful for easily transitioning between steps and ensuring the kimono remains secure during the tying process.
Make sure you have all these items within reach before you begin, as it will make the process smoother and more efficient.
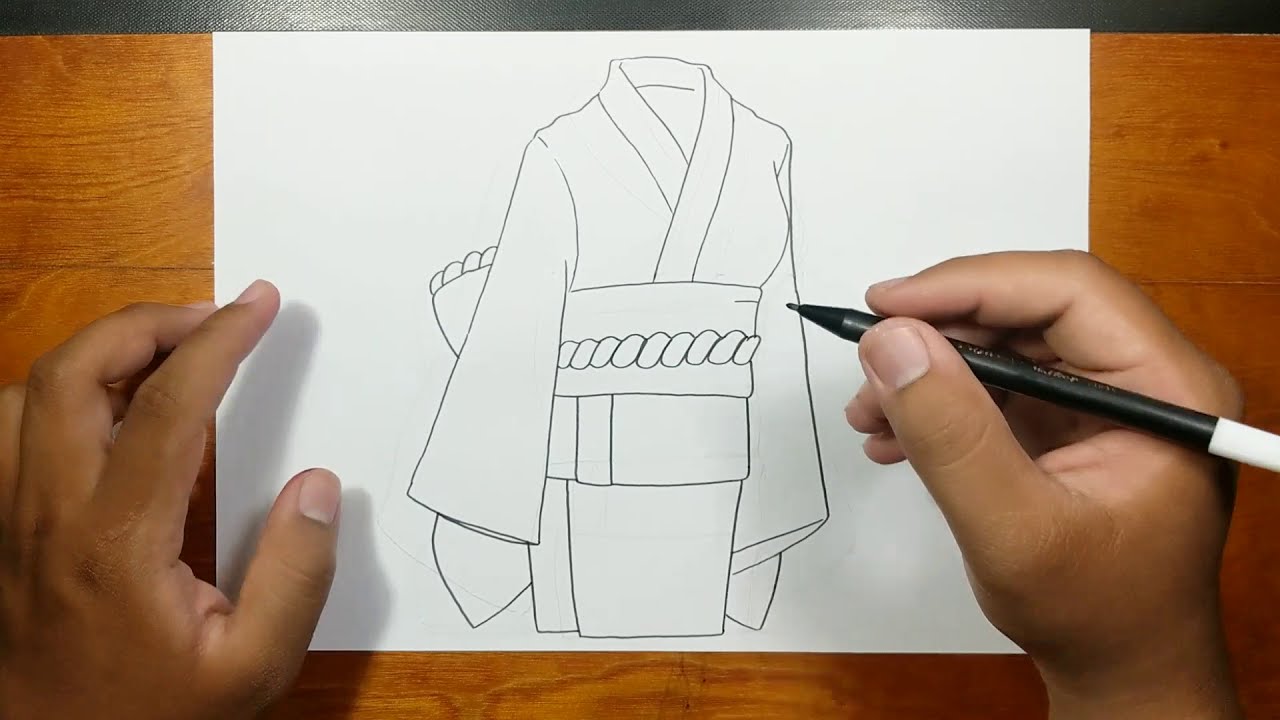
Step 1: Preparing the Kimono Belt
Before you start tying the kimono belt, it’s important to prepare it properly to achieve the desired look and ensure a secure fit. Here’s how to get started:
- Take hold of the obi and unfold it completely to its full length.
- If necessary, iron or steam the obi to remove any wrinkles or creases. This will help create a smoother and more polished appearance.
- If your obi has a pre-tied section, make sure it is centered and positioned correctly on your back. If not, locate the center of the obi and place it at the back of your waist.
- Secure the obi in place by wrapping it around your waist once, ensuring it is snug but not too tight.
- Bring both ends of the obi to your front, making sure they are even in length. Adjust the tightness of the obi as needed.
By properly preparing the kimono belt, you lay the foundation for a successful and stylish tie. With the obi securely in position, you’re now ready to move on to the next step of folding and wrapping.
Step 2: Folding the Kimono Belt
Now that you have prepared the kimono belt, it’s time to fold it in a way that creates a neat and aesthetically pleasing appearance. Follow these steps to fold the kimono belt:
- Hold one end of the obi and fold it towards the center, creating a pleat that is about one-third the width of the obi. Repeat this step with the other end of the obi.
- Bring both folded ends towards the center, overlapping them slightly. Make sure the folded portions face inward for a clean look.
- Smooth out any wrinkles or creases along the folded sections of the obi, ensuring it lays flat against your waist.
Folding the kimono belt not only adds structure to the obi but also creates a visually appealing design. Take your time with this step, as a well-folded obi sets the stage for an elegant and accurate tying process.
Step 3: Wrapping the Kimono Belt
With the kimono belt neatly folded, it’s time to wrap it around your waist, creating a secure and stylish fit. Follow these steps to wrap the kimono belt:
- Hold one end of the folded obi and wrap it tightly around your waist, making sure it overlaps the other end slightly.
- Continue wrapping the obi, making each wrap snug but not uncomfortably tight.
- As you wrap, ensure the obi maintains an even width and remains level around your waist.
- When you reach the end of the obi, tuck it securely underneath the layers of the obi, ensuring it is hidden from view.
Wrapping the kimono belt is a crucial step in securing the obi and creating a polished look. Take your time to wrap it evenly and ensure it feels comfortable around your waist. Once wrapped, you’re ready to move on to the next step of creating a beautiful bow.
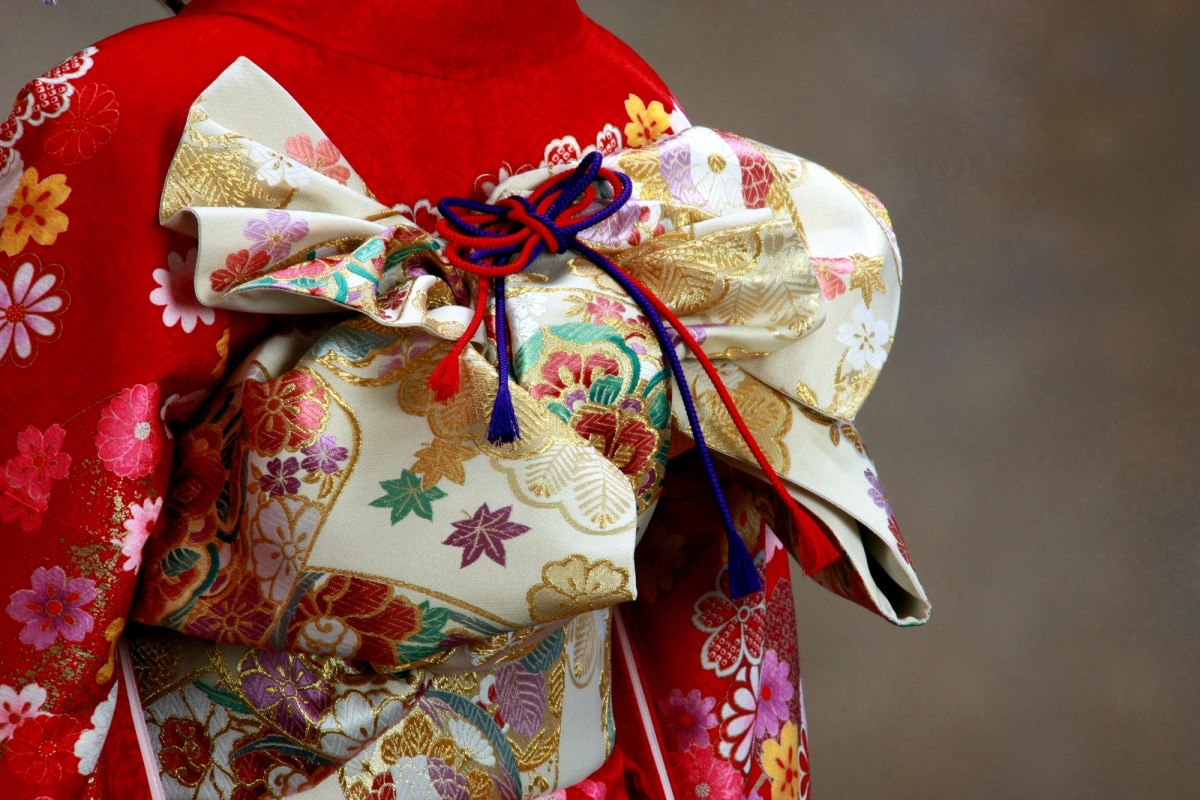
Step 4: Creating the Bow
Now comes the fun part – creating a beautiful bow with your kimono belt, also known as the obi. Follow these steps to master the art of tying a kimono bow:
- Take hold of the ends of the obi and bring them towards the front, crossing them over each other.
- With one end, create a small loop by folding it back towards the center. This will be the base of the bow.
- Take the other end and wrap it around the base of the bow, creating another loop. Make sure the loop is larger and more prominent than the base loop.
- Once you have the desired size and shape of the bow, tighten it by gently pulling the ends of the obi. Ensure the bow is secure but not overly tight.
- Adjust the loops and ends of the bow to create a symmetrical and visually appealing shape. Make any necessary adjustments to achieve the desired look.
Creating a bow with your kimono belt allows you to showcase your creativity and style. Play around with different sizes and shapes until you find the perfect bow that complements your kimono ensemble.
Step 5: Adjusting and Securing the Belt
After creating the bow, it’s time to make final adjustments and ensure that the kimono belt, or obi, is securely tied and properly positioned. Follow these steps to adjust and secure the belt:
- Check the positioning of the bow on your back. Make sure it is centered and at a comfortable height, typically around the waist or slightly above.
- Adjust the tightness of the obi by gently pulling on the ends. Ensure it is snug but still allows for comfortable movement and breathing.
- Smooth out any wrinkles or uneven sections of the obi to create a polished appearance. Adjust the layers of the obi to ensure they are evenly distributed.
- Take a moment to assess the overall look and feel of the kimono belt. If necessary, make any final adjustments to the bow, obi, or folds to create the desired aesthetic.
- Once you are satisfied with the positioning and appearance of the kimono belt, it’s time to secure it in place. Use an obijime, a thin cord, to wrap around the obi and keep it firmly in position. Tie the obijime in a knot or bow at the front, side, or back, depending on your personal preference.
By adjusting and securing the kimono belt, you ensure that it remains in place throughout the day or evening. Take the time to make these final touches to achieve a polished and stylish look that will make you feel confident and elegant in your kimono ensemble.
Alternative Methods
While the traditional method of tying a kimono belt is widely practiced, there are alternative methods that offer different styles and variations. Let’s explore a few of these alternative methods:
- Simple Knot: Instead of creating a bow, you can tie a simple knot with the ends of the obi. This creates a sleek and minimalist look that is perfect for more casual occasions.
- Bunko Knot: The bunko knot is a decorative knot that is commonly used for formal events. It involves folding the obi in a specific way to create a layered and intricate knot. This method requires practice and may be best suited for those with some experience in tying kimono belts.
- Pre-Tied Obi: If you’re short on time or prefer a hassle-free approach, you can opt for a pre-tied obi. These obis come pre-folded and are simply wrapped and secured around the waist. They offer convenience without compromising style.
- Obi Clips: For a modern twist, you can use obi clips or decorative brooches to secure your kimono belt. These accessories add an extra touch of style and allow you to customize your look. Simply wrap the obi as usual, then use the clip or brooch to secure it in place.
Exploring alternative methods allows you to experiment with different styles and adapt the kimono belt to suit your personal taste and the occasion at hand. Whether you choose a traditional tie, a simple knot, or a pre-tied obi, the key is to feel comfortable and confident in your kimono ensemble.
Conclusion
Tying a kimono belt, also known as an obi, is a beautiful art that adds elegance and authenticity to your kimono ensemble. While it may seem intimidating at first, with practice and patience, you can master the art of tying a kimono belt like a pro. By following the step-by-step guide provided in this article, you can achieve a secure and stylish tie that enhances your kimono’s overall appearance.
Remember to gather all the necessary materials before you begin, ensuring that you have a well-fitted kimono, a suitable obi, and other accessories such as the obijime and obiage. Take the time to prepare the kimono belt properly by folding it neatly and wrapping it snugly around your waist. The next step is to create a beautiful bow, adjusting its size and shape to your liking.
Once the bow is formed, make any necessary adjustments to the belt’s position and tightness to ensure it is comfortable and secure. Finally, consider exploring alternative methods such as using a simple knot, a pre-tied obi, or incorporating obi clips for different occasions and personal preferences.
With each tie, embrace your creativity and personal style. Practice different techniques to find the one that suits you best. Whether you’re attending a formal event or simply wearing a kimono for a special occasion, tying the kimono belt with confidence and precision is an essential part of completing your traditional Japanese attire.
So, embrace the elegance of the kimono and enjoy the process of tying a kimono belt. Whether you’re a beginner or an experienced kimono enthusiast, each tie is an opportunity to express your unique style and appreciate the rich cultural heritage of Japan.