Home>How-to Guides>For Women>How To Tie Tank Top Straps
For Women
How To Tie Tank Top Straps
Modified: August 5, 2023
Discover the easiest ways to tie tank top straps for women in this step-by-step guide. Elevate your style and get creative with various trendy knot styles.
(Many of the links in this article redirect to a specific reviewed product. Your purchase of these products through affiliate links helps to generate commission for Under-tec.com, at no extra cost. Learn more)
Table of Contents
Introduction
Welcome to our guide on how to tie tank top straps! Tank tops are a versatile and trendy wardrobe staple for women, perfect for warm weather and casual occasions. While most tank tops come with standard straps, you can easily add a touch of personal style by learning different ways to tie the straps. Whether you want to create a cute bow, a stylish knot, or a unique crisscross design, this article will provide step-by-step instructions to help you achieve your desired look.
Why settle for the same old basic tank top when you can elevate your outfit with a simple strap tying technique? With just a few adjustments and knots, you can transform your tank top into a fashion statement that reflects your personal style and adds a touch of flair to your look.
Not only will tying the tank top straps add visual interest and uniqueness to your outfit, but it also allows you to customize the fit of your top. This is especially useful if you have a tank top with straps that are too long or too loose, as tying them can provide a more comfortable and secure fit.
Ready to learn how to tie tank top straps like a pro? Let’s dive into the step-by-step process and explore the different styles you can achieve. Whether you’re heading to a summer party, a day at the beach, or simply want to elevate your everyday look, these techniques will help you create a stylish and eye-catching tank top.
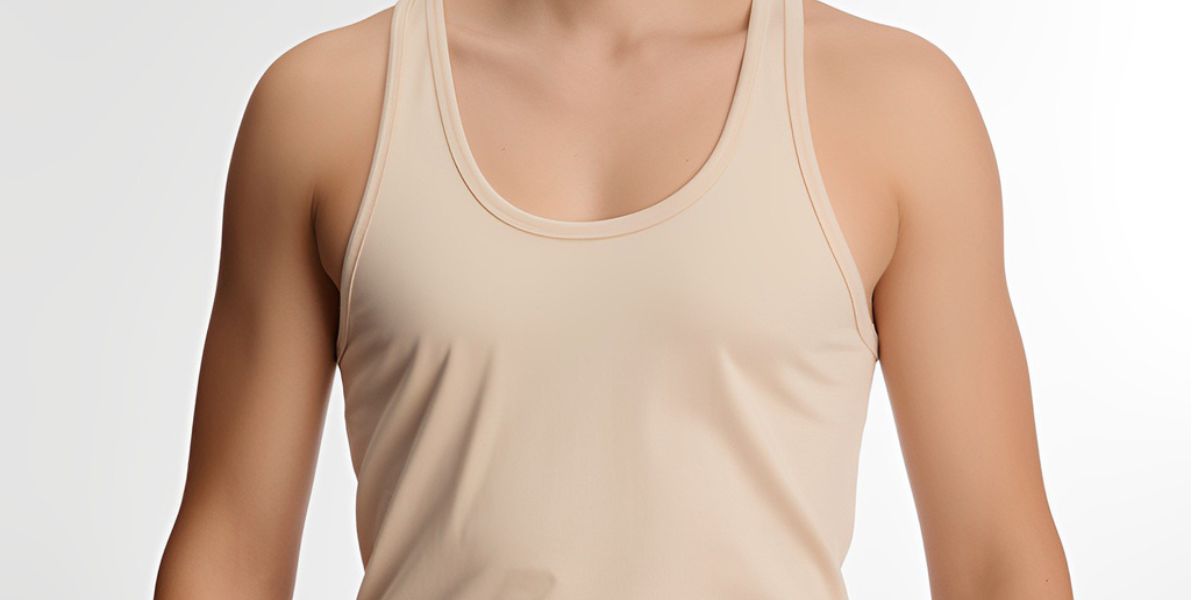
Step 1: Choose the Right Tank Top
The first step in tying tank top straps is to choose the right tank top for the desired style. While most tank tops can be tied, certain styles and fabrics work better than others. Consider the following factors when selecting a tank top:
- Style: Different tank top styles will yield different results when it comes to tying the straps. Some tank tops may have straps that are too thick or too thin to tie, so look for tank tops with straps that are wide enough to work with.
- Fabric: Opt for tank tops made from lightweight and breathable fabrics such as cotton or linen. These fabrics are easier to manipulate when tying the straps and ensure a comfortable fit.
- Fit: Choose a tank top that fits well and flatters your body shape. It’s important to have the right amount of fabric and a good fit around the bust and torso to ensure that the tied straps will sit properly and not feel too tight or loose.
Additionally, consider the occasion and your personal style when choosing a tank top. If you’re looking for a more casual and relaxed look, opt for a basic solid-colored tank top. For a dressier look, choose a tank top with embellishments or a fun pattern. The style possibilities are endless, so select a tank top that aligns with your desired look.
Once you have chosen the right tank top, you’re ready to move on to the next step: adjusting the length of the straps.
Step 2: Adjust the Length of the Straps
After selecting the perfect tank top, the next step is to adjust the length of the straps. This is essential for achieving the desired look and ensuring a comfortable fit. Follow these steps to adjust the strap length:
- Put on the tank top and stand in front of a mirror to evaluate the current length of the straps.
- If the straps are too long, you can use safety pins or small hair elastics to temporarily secure the excess fabric. This will help you visualize the final length and prevent the straps from getting in the way while you work on tying them.
- If the straps are too short, you can gently pull or stretch them to add some length. Be careful not to pull too hard, as it may damage the fabric or alter the shape of the tank top.
- Experiment with different strap lengths until you find the desired fit. You may want to have equal strap lengths on both sides or prefer a slightly asymmetrical look.
Once you have adjusted the strap length to your liking, you’re ready to move on to the next step: crossing the straps at the back.
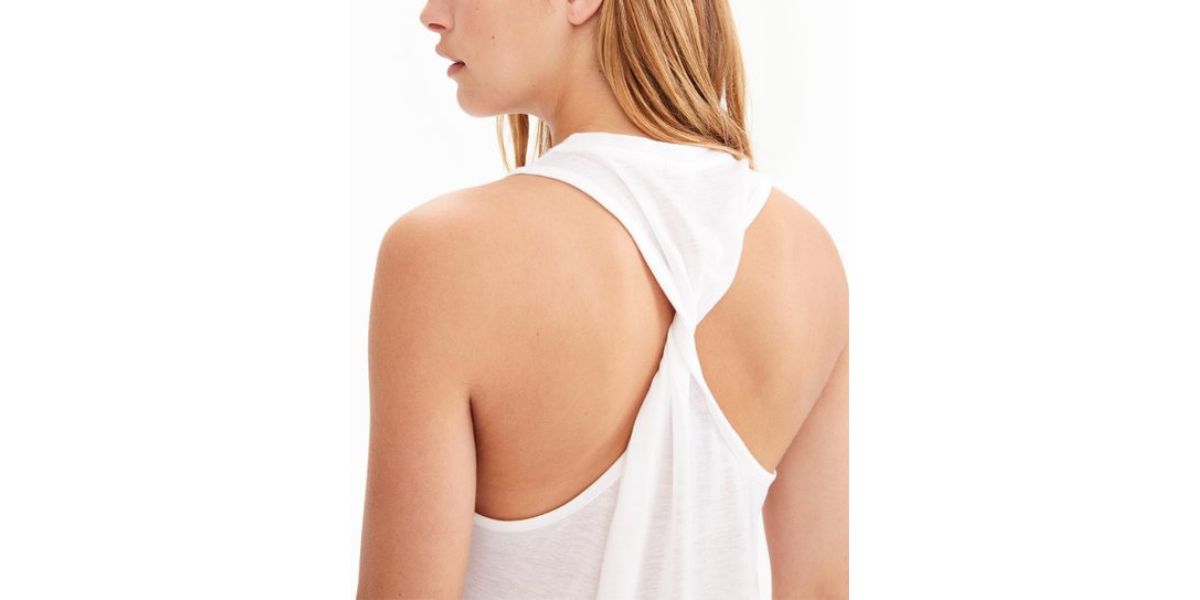
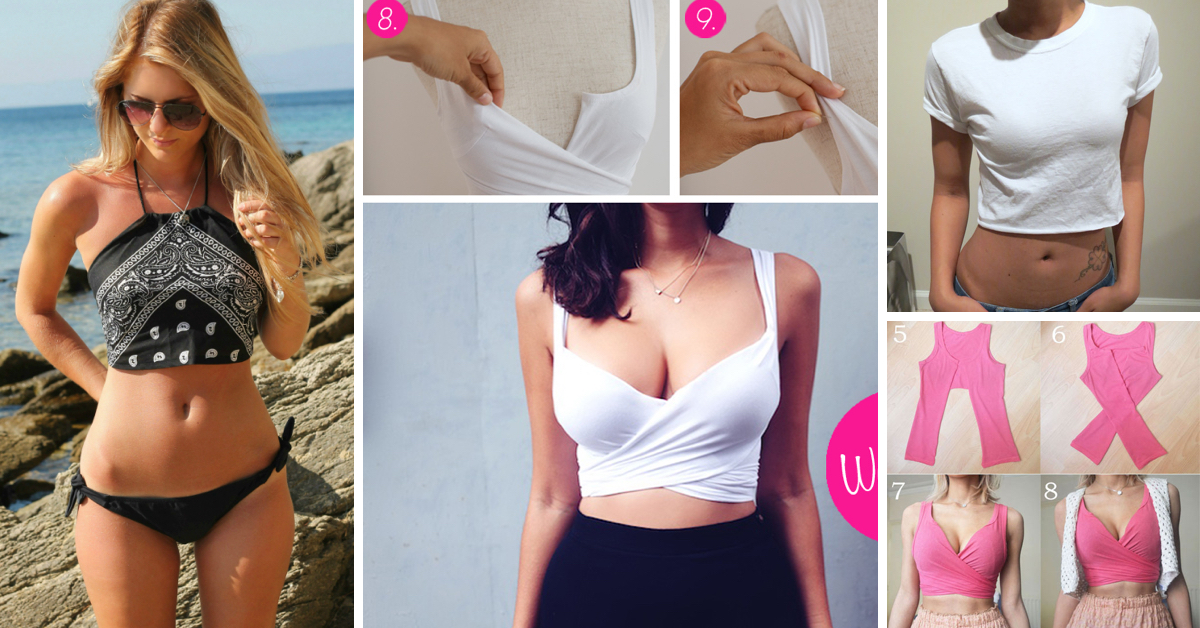
Step 3: Cross the Straps at the Back
Now that you have adjusted the length of the tank top straps, it’s time to create a stylish crisscross design at the back. This step adds visual interest and uniqueness to your tank top. Follow these steps to cross the straps:
- Hold the tank top by the straps and bring them to the back of your neck.
- Cross the straps over each other, forming an “X” shape at the back of your neck. The left strap should go over the right strap.
- Ensure that the straps are not twisted and lie flat against your skin.
- Bring the straps around your sides towards the front of your torso.
By crossing the straps at the back, you are creating a foundation for the final tying style. This step sets the stage for the unique and eye-catching look you’re about to achieve. Now, let’s move on to the next step: bringing the straps to the front.
Step 4: Bring the Straps to the Front
With the straps crossed at the back, it’s time to bring them to the front of your torso. This step will allow you to create various tying styles and add a unique touch to your tank top. Follow these steps to bring the straps to the front:
- Hold the crossed straps and bring them around your sides towards the front.
- Decide where you want the straps to sit on your chest. You can position them higher or lower, depending on the style you want to achieve.
- Make sure the straps lie flat against your skin and don’t twist as you bring them to the front.
- Ensure that the straps are evenly placed on both sides of your torso.
Bringing the straps to the front is the crucial step that sets the stage for the final tying style. It allows you to have control over the placement of the straps and gives you the opportunity to get creative with the next step: tying a knot or a bow.
Now that you have successfully brought the straps to the front, let’s move on to step number five: tying a knot or a bow.
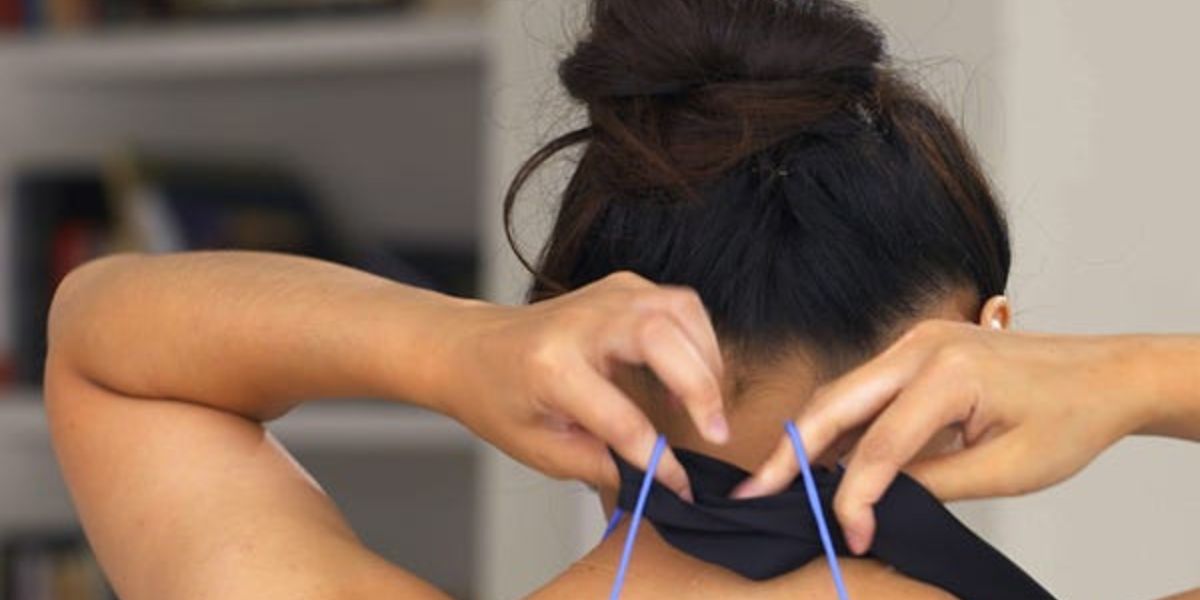
Step 5: Tie a Knot or Bow
With the straps brought to the front, it’s time to tie a knot or a bow. This step adds a finishing touch to your tank top and allows you to showcase your personal style. Follow these steps to tie a knot or a bow:
- Take the left strap and cross it over the right strap.
- Loop the left strap under the right strap and pull it through the loop created.
- Tug gently on both ends of the straps to tighten the knot. Make sure the knot is secure but not too tight that it feels uncomfortable.
- If you prefer a bow instead of a knot, leave longer ends on the straps and follow the same steps as tying shoelaces to form a bow.
- Adjust the knot or bow so that it is centered and sits at the desired position on your chest.
By tying a knot or a bow, you add a stylish and personalized touch to your tank top. The type of knot or bow you choose depends on your preference and the overall look you want to achieve. Whether you opt for a simple knot for a minimalistic look or a cute bow for a more playful vibe, this step allows you to showcase your creativity.
Now that you have successfully tied a knot or a bow, let’s move on to step number six: adjusting the tightness.
Step 6: Adjust the Tightness
After tying the knot or bow, it’s important to adjust the tightness of the straps to ensure a comfortable fit. This step allows you to customize the level of support and security your tank top provides. Follow these steps to adjust the tightness:
- Stand in front of a mirror and evaluate the fit of your tank top.
- If the straps feel too tight or constricting, loosen the knot or bow by gently pulling on the ends or untwisting the fabric.
- If the straps feel too loose or baggy, tighten the knot or bow by gently pulling on the ends to eliminate any extra slack.
- Make small adjustments until you achieve the desired tightness for your comfort and style.
Remember, it’s important to find a balance between a snug fit and unrestricted movement. The beauty of tying tank top straps is the ability to customize the tightness based on your preference and body type.
Once you have adjusted the tightness to your liking, you’re almost done! Let’s move on to step number seven: finishing touches and additional styling tips.
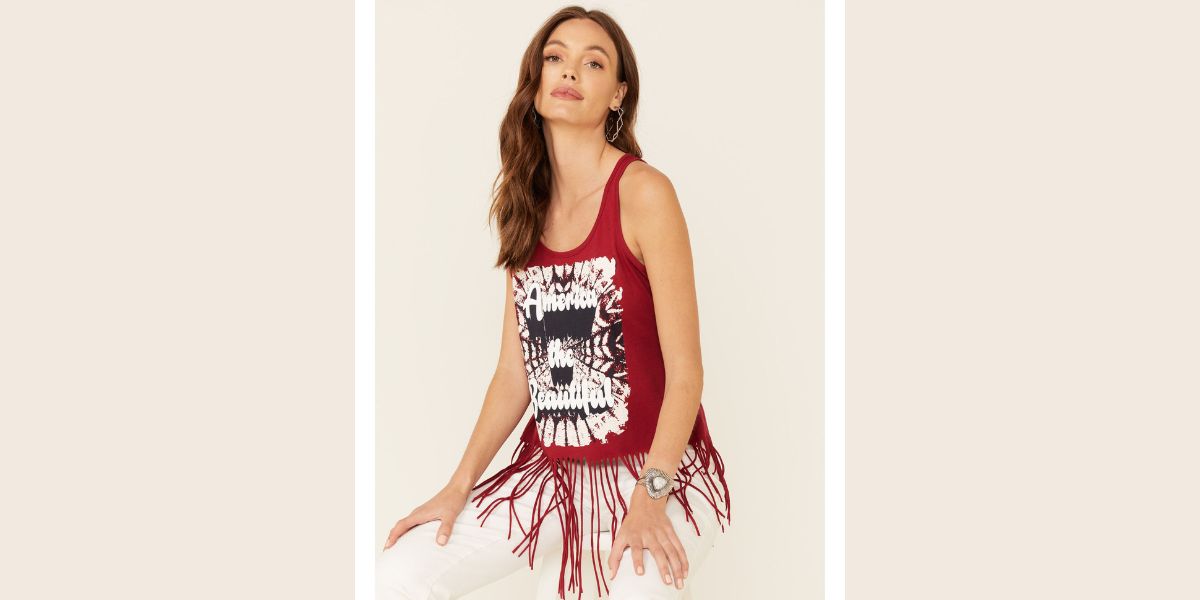
Step 7: Finishing Touches and Additional Styling Tips
Now that you have tied and adjusted the straps of your tank top, it’s time to add some finishing touches and explore additional styling tips to elevate your look. Consider the following suggestions:
- Accessorize: Enhance your tank top by accessorizing with statement jewelry, such as layered necklaces or earrings. This can add a touch of glamour and draw attention to your neckline.
- Layer it up: To create a more layered and textured look, pair your tank top with a lightweight cardigan, denim jacket, or a stylish blazer.
- Experiment with bottoms: Try different bottoms, such as high-waisted jeans, skirts, or shorts, to complement your tank top and complete the overall outfit.
- Print mixing: Don’t be afraid to mix and match prints. Pairing your tank top with bottoms or accessories featuring different patterns can create a playful and trendy look.
- Dress it up or down: Depending on the occasion, you can dress up or dress down your tank top by pairing it with the appropriate footwear. Opt for sneakers or sandals for a casual daytime look, or go for heels or wedges for a more dressy evening outfit.
- Experiment with tying styles: Once you’ve mastered the basic tying technique, don’t be afraid to experiment with different variations. Try tying the straps in a different direction, creating multiple knots or bows, or incorporating twists to achieve a unique and personalized look.
Remember, the key to tying tank top straps and styling your outfit is to have fun and embrace your individual style. Don’t be afraid to get creative and try new things. Experiment with different combinations and accessorize according to your personal taste.
With these finishing touches and additional styling tips, you’ll be able to take your tank top look to the next level. So go ahead and show off your fashionable and unique style!
Conclusion
Tying tank top straps is a fun and easy way to elevate your outfit and add a personal touch to your style. With the simple steps outlined in this guide, you can create a variety of looks, from cute bows to stylish knots and unique crisscross designs.
Remember to start by selecting the right tank top that suits your style and body shape. Adjust the strap length to ensure a comfortable fit, and then cross the straps at the back before bringing them to the front. Tie a knot or a bow to add a finishing touch, and don’t forget to adjust the tightness to your comfort.
Additionally, don’t be afraid to experiment with different accessories, layering options, and bottom choices to further enhance your tank top look. By mixing and matching, you can create endless combinations to suit various occasions and styles.
Now that you have learned how to tie tank top straps and explored additional styling tips, it’s time to unleash your creativity and show off your unique fashion sense. Whether you’re heading to a summer party, a day at the beach, or simply want to elevate your everyday look, the techniques in this guide will help you create a stylish and eye-catching tank top.
So go ahead, have fun, and let your tank top reflect your personal style!