Home>How-to Guides>For Women>How To Fringe A Tank Top
For Women
How To Fringe A Tank Top
Modified: August 5, 2023
Learn how to fringe a tank top for women with this easy step-by-step guide. Add a stylish touch to your wardrobe with this fun DIY project.
(Many of the links in this article redirect to a specific reviewed product. Your purchase of these products through affiliate links helps to generate commission for Under-tec.com, at no extra cost. Learn more)
Table of Contents
How to Fringe a Tank Top
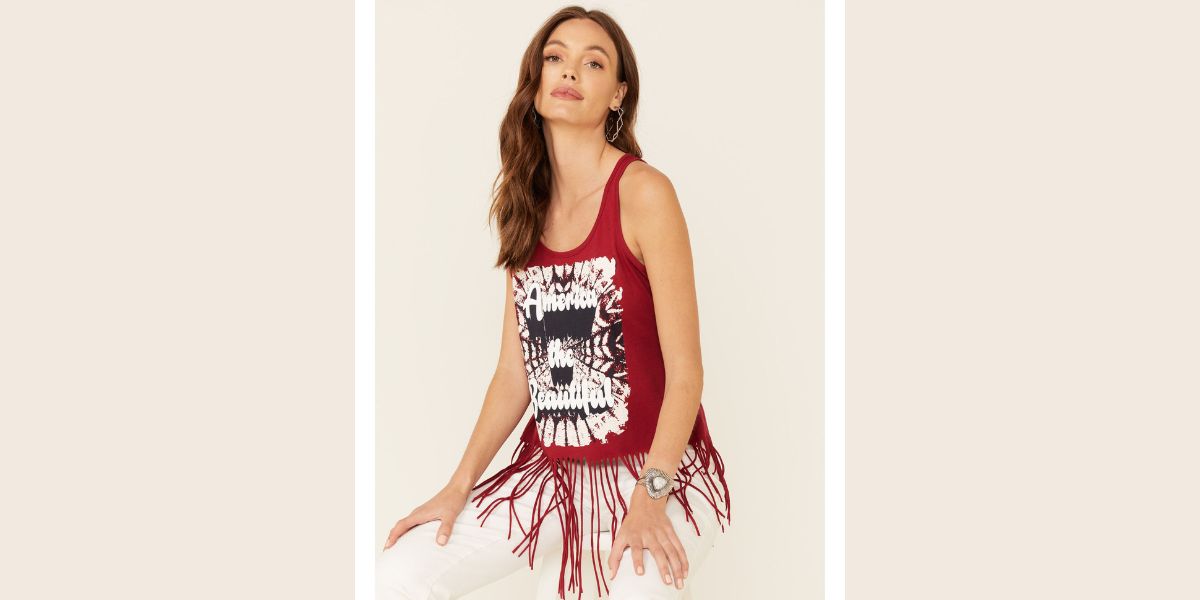
Adding fringe to a tank top is a trendy and fun DIY project that can instantly transform a plain top into a stylish and unique piece. Whether you’re looking to customize your summer wardrobe or want to update a basic tank top, this step-by-step guide will help you achieve the perfect fringed look. So grab your supplies and let’s get started!
Materials Needed:
- A tank top
- A pair of fabric scissors
- A ruler
- A fabric marker or chalk
- A sewing needle and thread (optional)
Step 1: Choosing the Right Tank Top
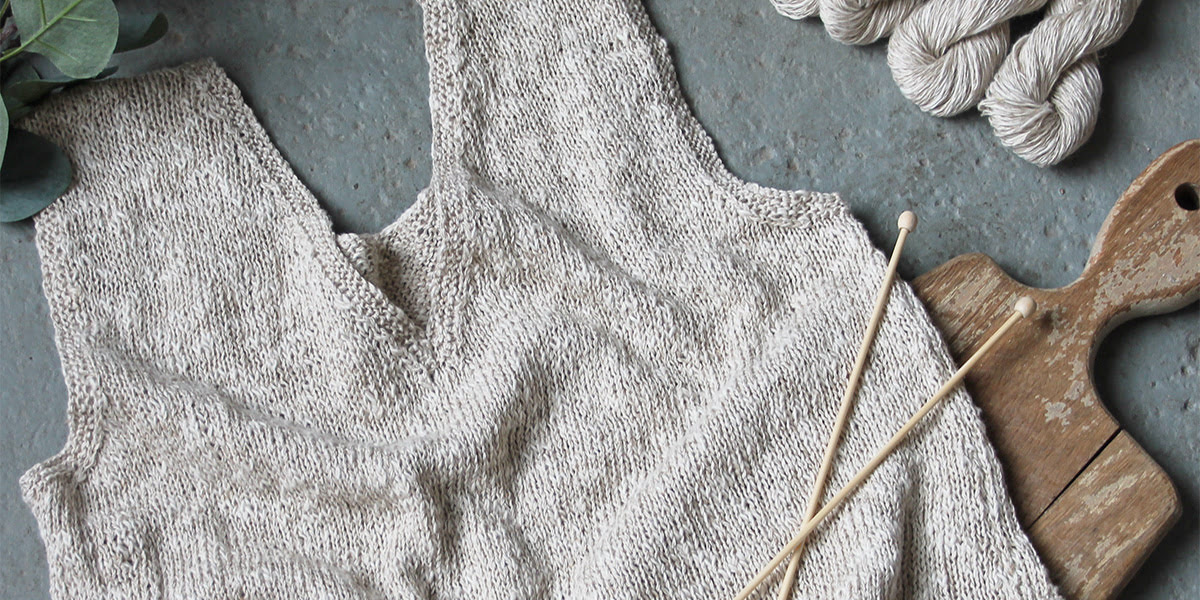
Before starting the fringing process, it’s essential to select a tank top that is made of a lightweight fabric like cotton or jersey. These materials are easier to work with and will result in cleaner and more defined fringe.
…
Introduction
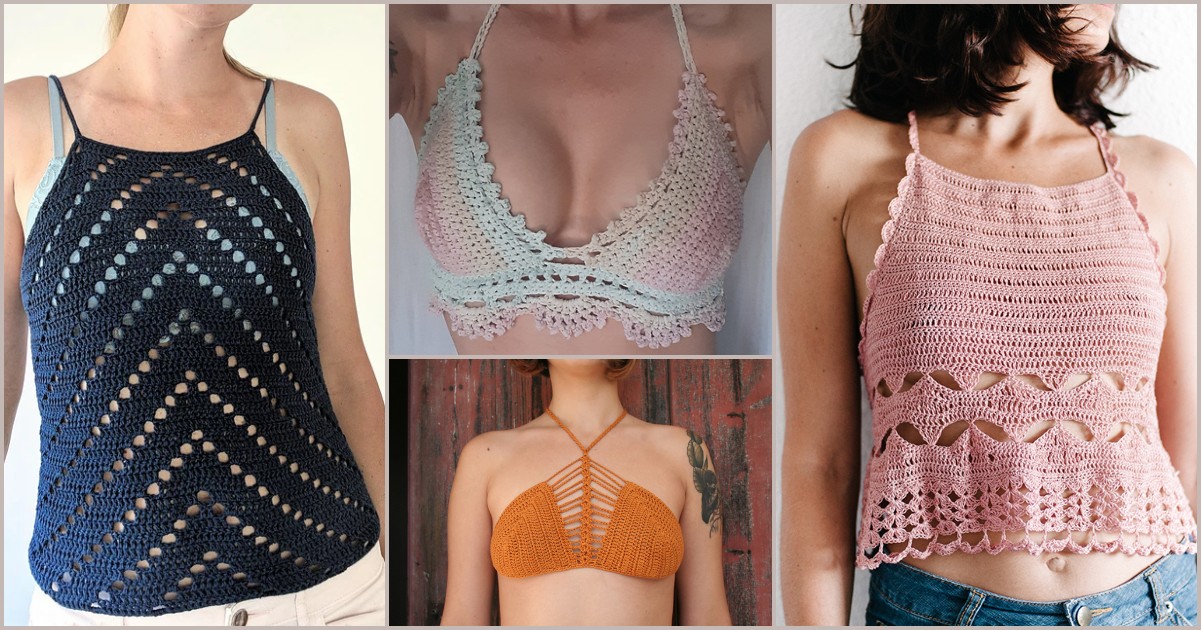
Tank tops are a versatile and popular clothing item, perfect for the warm summer months or as a layering piece throughout the year. While they come in a variety of styles, sometimes a plain tank top can feel a bit dull and lack that extra touch of personality. That’s where adding fringe can make a big difference!
By fringing a tank top, you can give it a trendy and bohemian look that is both stylish and unique. Fringe adds movement, texture, and visual interest to an otherwise plain garment, instantly elevating its style. The best part is, you can easily fringe a tank top yourself, without any advanced sewing skills.
This step-by-step guide will walk you through the process of fringing a tank top, from choosing the right top to creating the perfect fringe length. Whether you want a subtle fringed detail or a dramatic statement look, this guide will help you achieve the desired effect.
If you’re looking to unleash your creativity and add a personal touch to your wardrobe, fringing a tank top is the perfect DIY project for you. You can customize the fringe length, experiment with different fabrics, and even incorporate additional embellishments like beads or charms.
Ready to give your tank tops a trendy makeover? Let’s gather the materials and get started on fringing!
Materials Needed
Before you begin the process of fringing a tank top, it’s important to gather all the necessary materials. Here’s what you’ll need:
- Tank top: Choose a tank top made of a lightweight fabric like cotton or jersey. This will make it easier to work with and ensure cleaner and more defined fringe.
- Fabric scissors: Invest in a good pair of fabric scissors to ensure clean and precise cuts. Sharp scissors will make the fringing process much easier.
- Ruler: A ruler will help you measure and mark the desired length of the fringe. This will ensure consistency throughout the tank top.
- Fabric marker or chalk: Use a fabric marker or chalk to draw guidelines for cutting the fringe. These markings will help you maintain accuracy and prevent any mistakes.
- Sewing needle and thread (optional): If you want to secure the fringe and prevent it from unraveling, you can use a sewing needle and thread to make small stitches at the bottom of each fringe strip.
Having these materials ready will ensure a smooth and efficient fringing process. Once you have everything prepared, you’re ready to move on to the next steps and start transforming your plain tank top into a stylish fringed masterpiece!
Step 1: Choosing the Right Tank Top
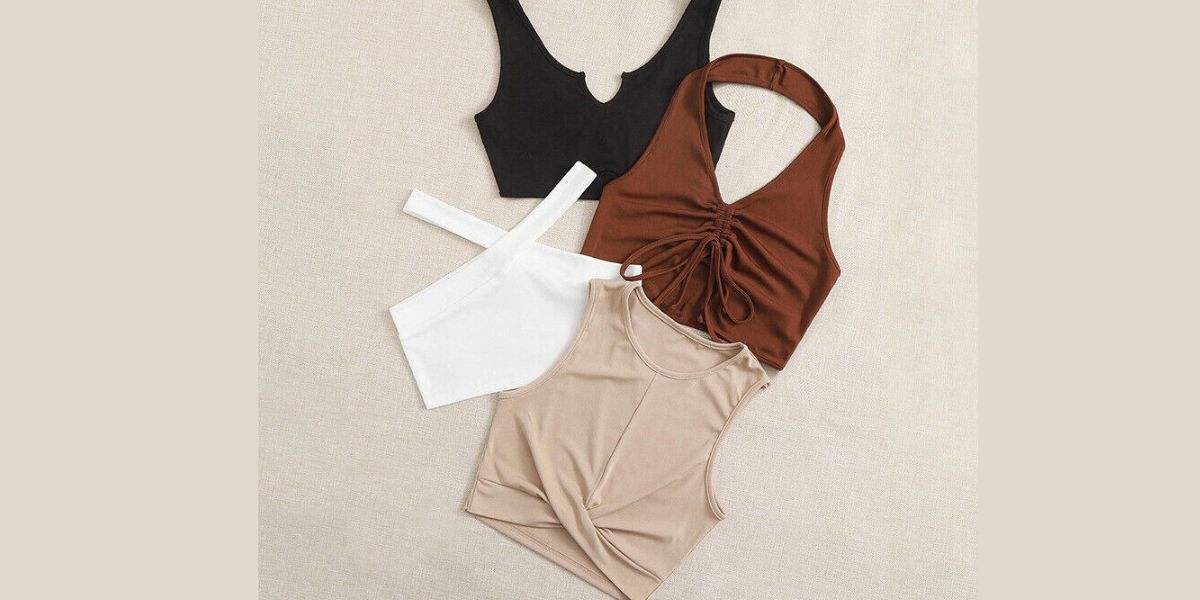
When it comes to fringing a tank top, the first step is to select the right garment. Choose a tank top that is made of a lightweight fabric like cotton or jersey. These fabrics are flexible and easy to work with, making the fringing process much simpler.
Consider the color and pattern of the tank top as well. Solid color tank tops provide a classic canvas for the fringe, while patterned tops can add an interesting twist to the final look. If you’re feeling adventurous, you can even use a graphic or printed tank top as the base and create fringe that complements or contrasts with the design.
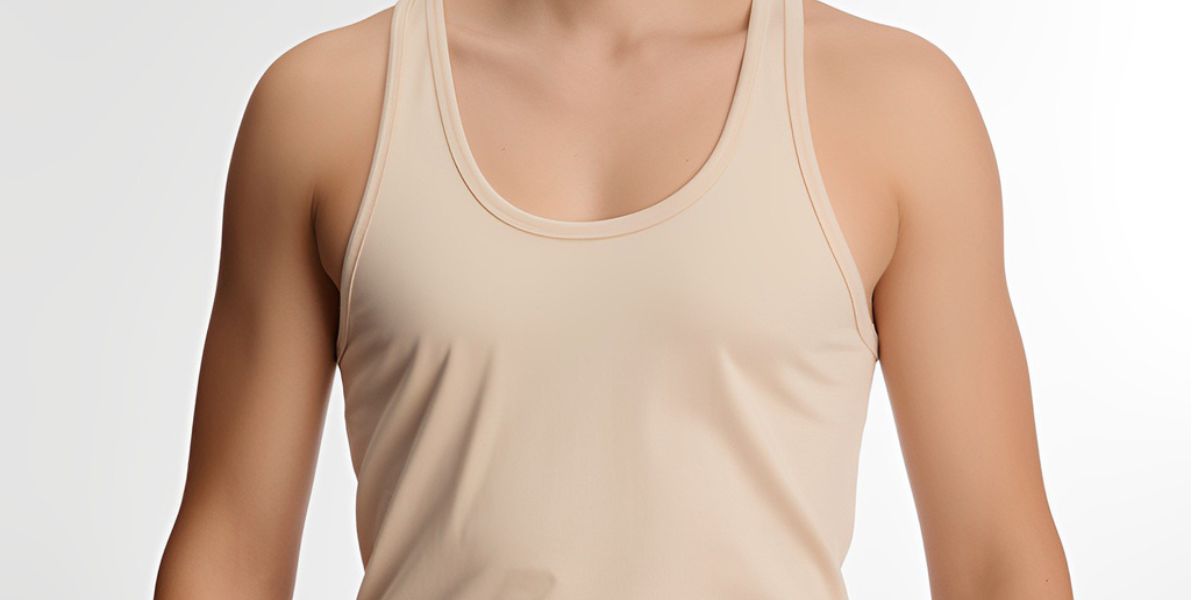
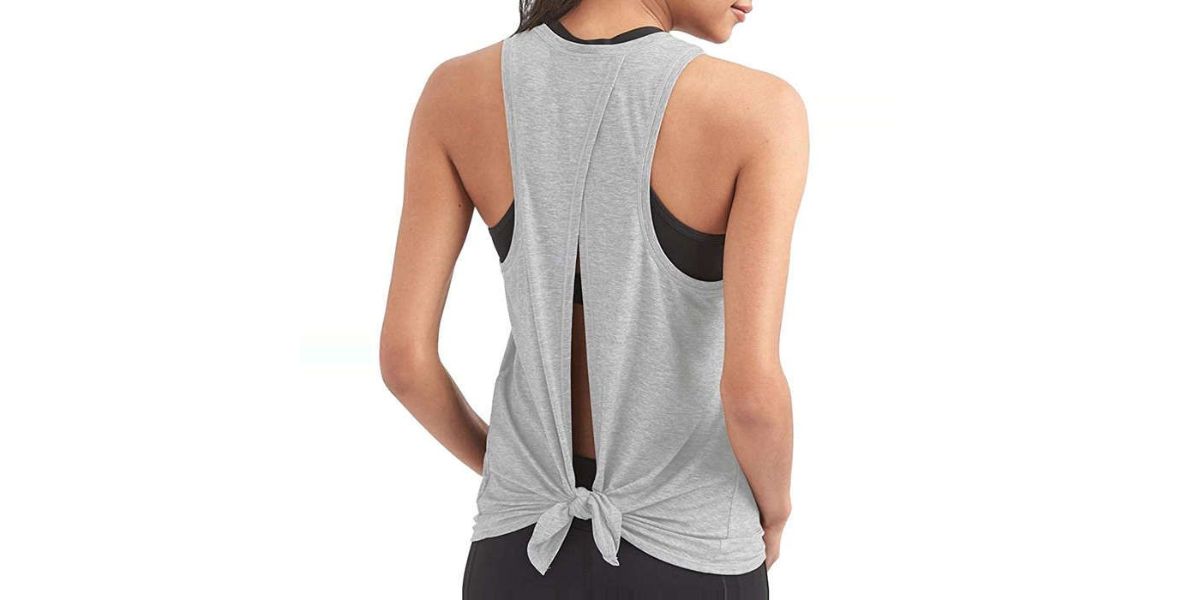
Additionally, think about the style of the tank top you want to fringe. Classic racerback, spaghetti strap, or loose-fit tank tops all work well for this project. Keep in mind that the style and fit of the tank top will affect the overall look of the fringed design.
Lastly, consider the length of the tank top. Longer tank tops provide more surface area for fringing, allowing you to be more creative with the design. However, shorter tank tops can create a playful and flirty look, making them a great option for casual outings or music festivals.
Overall, choose a tank top that you love and feel confident in. It’s important to enjoy the process and the end result. Once you’ve selected the perfect tank top, you’re ready to move on to preparing it for the fringing process in the next step.
Step 2: Preparing the Tank Top
Before you start fringing your tank top, it’s crucial to prepare it properly. Follow these steps to ensure a clean and neat fringing process:
- Wash and dry: If your tank top is new, it’s recommended to wash and dry it before beginning. This will remove any sizing or chemicals that might affect the fabric’s texture or drape.
- Iron: Once the tank top is dry, iron it to remove any wrinkles or creases. A smooth fabric surface will make it easier to mark and cut the fringe accurately.
- Tape or secure the edges: To prevent the fabric from stretching or shifting during the fringing process, you can use tape to secure the edges. This will ensure that your fringe lines are even and straight.
- Find a flat working surface: Choose a flat and clean surface to work on. This could be a table or a large cutting board. Having a stable surface will make it easier to measure and cut the fringe.
By taking these steps to prepare your tank top, you’ll create an optimal environment for fringing. This will result in more accurate cuts and a better overall fringe appearance. Once your tank top is properly prepared, it’s time to move on to marking the fringe length in the next step.
Step 3: Marking the Fringe Length
Now that your tank top is prepared, it’s time to mark the length of the fringe. This step is crucial for ensuring consistency and uniformity in your fringed design. Here’s how to mark the fringe length:
- Decide on the fringe length: Consider the desired length of the fringe and the overall look you want to achieve. Do you prefer shorter, subtle fringe, or longer, more dramatic fringe? Measure and visualize the length you want, keeping in mind that the actual fringe will be slightly shorter due to the cutting process.
- Use a ruler: Place a ruler vertically along the side of the tank top where you want the fringe to be. Make sure it is straight and aligned with the bottom hem of the tank top.
- Mark the fringe lines: Using a fabric marker or chalk, make small dots or dashes along the ruler at regular intervals. These markings will serve as a guide for cutting the fringe strips.
- Space the fringe lines: Determine the spacing between each fringe line based on your desired fringe width. You can place the lines closer together for a denser fringe or further apart for a more spaced-out look. Remember to keep the spacing consistent throughout the tank top for a balanced appearance.
Take your time during this step to ensure that the fringe markings are accurate and evenly spaced. It’s best to start with a few markings and adjust as needed before creating all the markings. Once you’re satisfied with the markings, you’re ready to move on to the next step: cutting the fringe.
Step 4: Cutting the Fringe
Now that you have marked the fringe lines on your tank top, it’s time to bring those markings to life by cutting the fringe. Follow these steps to create the perfect fringed look:
- Start at the bottom: Begin cutting the fringe at the bottom of the tank top. Position your fabric scissors at one of the marked fringe lines, making sure to align the blades with the ruler or marker.
- Cut vertically: Cut upwards from the bottom of the tank top along the marked line. Make sure to cut all the way through the fabric, but be careful not to cut beyond the marked line.
- Repeat the process: Move along the tank top, cutting along each marked fringe line. Continue this process until you have cut fringe along the entire bottom edge of the tank top.
- Keep fringe widths consistent: As you cut the fringe, ensure that each strip has the same width. This will create a uniform and tidy appearance.
- Adjust fringe length if desired: If you want shorter fringe, you can carefully trim the individual fringe strips after cutting. Make sure to do this uniformly across the tank top for a cohesive look.
Take your time while cutting the fringe to ensure accuracy and precision. It’s better to cut slowly and carefully, making small adjustments as needed, rather than rushing through the process. Remember, you can always trim the fringe later if needed, but it’s difficult to add length once it has been cut.
Once you’ve completed the cutting process, you’ll start to see your tank top transform into a fringed masterpiece. Next, it’s time to move on to the next step and start fringing the tank top!
Step 5: Fringing the Tank Top
Now that you have cut the fringe on your tank top, it’s time to bring it to life by fringing each strip. Here’s how to get the fringed look:
- Separate the fringe strips: Gently separate each fringe strip with your fingers to give them a more natural and tousled appearance. This will also help the fringe movement and texture stand out.
- Stretch the fringe: If you want a more bohemian, wispy look, you can stretch each fringe strip gently. Pull on them from end to end to elongate and thin them out slightly. Be careful not to stretch too forcefully to avoid ripping or damaging the fabric.
- Comb the fringe: Using a fine-toothed comb or your fingers, comb through the fringe to remove any tangles or knots. This will give the fringe a smoother and neater appearance.
- Consider layering: If you want to create more depth and volume in your fringed tank top, you can layer the fringe strips. Simply fold one strip over the other and continue to separate and stretch them to create a layered effect.
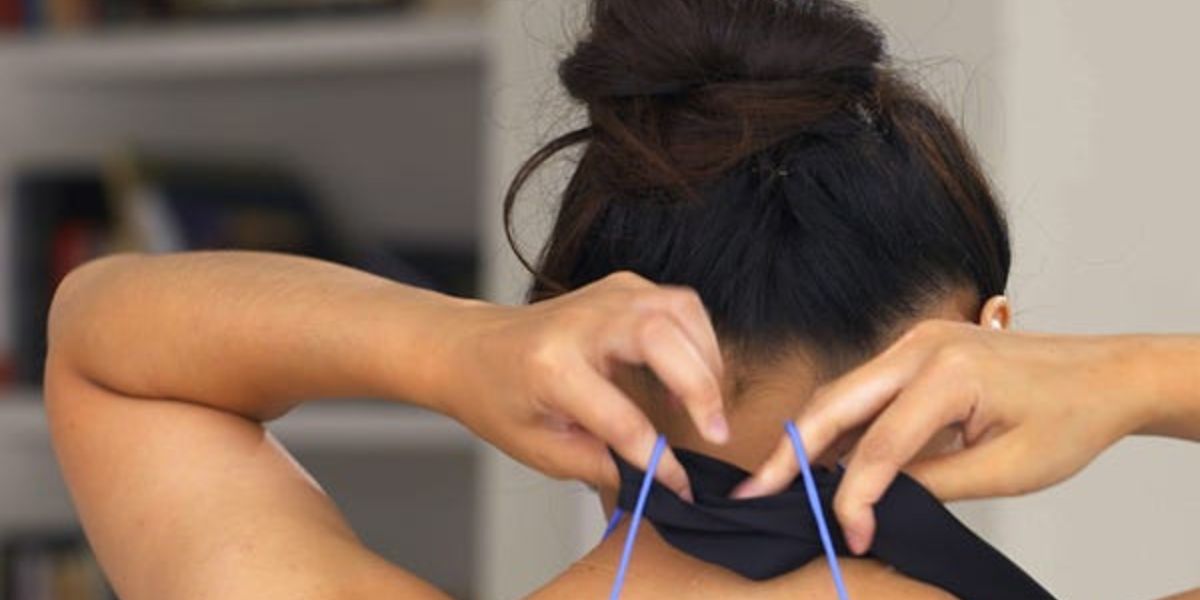
- Tie knots: For an additional decorative touch, you can tie small knots at the bottom of each fringe strip. This can add an extra element of style and prevent the fringe from unraveling over time.
As you work on fringing the tank top, take breaks to step back and assess the overall look. This will help you make any necessary adjustments and ensure that the fringe is even and balanced. Experiment with different fringing techniques to achieve the desired effect and create a unique look that suits your personal style.
Once you’re satisfied with the fringing, the next step is to consider adding a distressed look, which will be discussed in the following step.
Step 6: Creating a Distressed Look (Optional)
If you want to add a boho or edgy vibe to your fringed tank top, you can create a distressed look. Distressing the fabric will give it a worn-in and lived-in appearance. However, keep in mind that this step is completely optional, and you can skip it if you prefer a clean and polished fringed look.
Here are a few techniques you can try to distress your tank top:
- Sandpaper: Gently rub sandpaper on select areas of the tank top, such as the hemline or the edges of the fringe strips. This will create a slightly rougher and worn look.
- Scissors: Use a pair of scissors to create small snips or cuts on the fabric. Be cautious and make tiny incisions to avoid accidentally tearing the tank top.
- Bleach: Dip a brush or sponge into diluted bleach and lightly dab it on certain areas of the tank top to create faded and discolored effects.
- Washing and drying: You can wash the tank top a couple of times with abrasive materials, like jeans or towels, to distress the fabric. This will give it a more naturally worn appearance.
Remember to distress the tank top strategically and sparingly. Start with small modifications and build up if needed. It’s better to take a gradual approach and assess the look as you go. You want to create a distressed look that appears authentic and intentional, rather than overdone or haphazardly created.
Once you’ve achieved the desired level of distressing, move on to the final step to add any finishing touches and showcase your fringed tank top!
Step 7: Final Touches
As you near the completion of your fringed tank top, it’s time to add the final touches and make any necessary adjustments. Here are a few things you can do to perfect your creation:
- Trim any stray threads: Take a close look at the fringe and trim any stray threads or uneven ends. This will give the fringe a polished and clean appearance.
- Secure the fringe (optional): If you want to ensure that the fringe stays in place, you can use a sewing needle and thread to make small stitches at the bottom of each fringe strip. This will prevent the fringe from unraveling over time.
- Try it on: Put on the fringed tank top and assess the fit and overall look. Make any final adjustments or modifications that you feel are necessary.
- Style it: Experiment with different ways of styling your fringed tank top. It can be paired with denim shorts, skirts, or layered with a cardigan for a boho-inspired look. Play around with accessories like chunky necklaces or statement belts to enhance the overall style.
- Show it off: Wear your fringed tank top with confidence and pride. Share your creation on social media or wear it to events and gatherings to showcase your unique style.
Remember, fringing a tank top is a creative process, and there’s no “right” or “wrong” way to do it. Make it your own and have fun with it. Embrace the imperfections and unique characteristics of your fringed tank top as they add to its charm and individuality.
Now that you’ve completed all the steps and added your final touches, it’s time to enjoy your one-of-a-kind fringed tank top and rock it with confidence!
Conclusion
Congratulations! You’ve successfully learned how to fringe a tank top and transform it into a trendy and eye-catching piece. Fringing a tank top is a creative and enjoyable DIY project that allows you to personalize your wardrobe and express your unique style.
Throughout this step-by-step guide, we’ve covered everything from choosing the right tank top and preparing it for fringing to cutting the fringe and adding optional distressed details. Each step was designed to help you achieve the desired fringed look, whether it’s subtle and refined or bold and dramatic.
Remember, the beauty of fringing a tank top is that you have the freedom to experiment and make it your own. You can play with different fringe lengths, explore various distressing techniques, or even add extra embellishments to showcase your creativity.
By following the techniques outlined in this guide and putting your personal touch into each step, you can create a fringed tank top that reflects your unique style and personality. Embrace the process, enjoy the creative journey, and be proud of your one-of-a-kind creation.
Now it’s time to show off your fringed tank top to the world! Wear it with confidence, share your DIY success on social media, and inspire others to embark on their own fringing adventures. Stay trendy, stay stylish, and keep exploring your creativity!