Home>How-to Guides>For Women>How To Make A Tank Top Into A Dress

For Women
How To Make A Tank Top Into A Dress
Modified: August 5, 2023
Transform your tank top into a trendy dress with our step-by-step guide for women. Create a stylish and unique look effortlessly!
(Many of the links in this article redirect to a specific reviewed product. Your purchase of these products through affiliate links helps to generate commission for Under-tec.com, at no extra cost. Learn more)
Table of Contents
Introduction
Have you ever had a favorite tank top that you wish you could turn into a dress? Well, now you can! Converting a tank top into a dress is a fun and creative DIY project that allows you to repurpose your clothing and create a unique piece that fits your style perfectly. Whether you want to transform a basic tank top into a casual summer dress or turn a graphic tank top into a funky statement piece, this step-by-step guide will show you how.
This project requires minimal sewing skills and can be completed in just a few simple steps. By choosing the right tank top, measuring and marking, cutting and hemming, adding straps or sleeves, and customizing your creation, you’ll have a brand-new dress that’s perfect for any occasion. So grab your scissors, sewing machine (if needed), and let’s get started on this fun and fashionable DIY project!
Before we dive into the steps, let’s go through the materials you’ll need for this project.
Materials Needed
Before getting started, gather the following materials:
- A tank top: Choose a tank top that fits you well and matches your desired style. It can be plain or have a pattern or graphic design.
- Fabric scissors: These will be used to cut the tank top and any additional fabric or trimmings.
- Measuring tape: Essential for accurately measuring and marking the desired length of the dress.
- Pins: Useful for securing fabric and ensuring accurate cutting.
- Sewing machine or needle and thread: Depending on the style and customization you want, you may need a sewing machine or basic sewing supplies to attach straps or sleeves.
- Fabric or ribbon for straps or sleeves (optional): If you want to add straps or sleeves to your dress, choose a matching or complementary fabric or ribbon.
- Embroidery thread, beads, or other embellishments (optional): If you want to add decorative elements to your dress, have some embroidery thread, beads, or other embellishments on hand.
These basic materials should be enough to successfully complete the tank top to dress transformation. However, feel free to add any additional accessories or decorations based on your personal style and preferences.
Step 1: Choosing the Right Tank Top
The first step in turning a tank top into a dress is selecting the right tank top for your project. Consider the style, fabric, and fit of the tank top to ensure that it will work well as a dress.
Choose a tank top that fits you comfortably and flatters your body shape. Keep in mind that the length of the tank top will determine the length of your dress, so consider whether you want a shorter, knee-length, or maxi dress.
If you’re aiming for a casual summer dress, opt for a lightweight fabric such as cotton or linen. On the other hand, if you’re looking for something more formal or evening-appropriate, consider a tank top made from a dressier material like silk or chiffon.
The tank top’s design is also important. You can choose a plain tank top and add your own embellishments or go for one with a pattern or graphic design. Just make sure the design aligns with your personal style and the overall look you want to achieve.
Remember that you want to repurpose the tank top, so don’t be afraid to experiment. You can even use tank tops from thrift stores or ones you no longer wear. This way, you’re not only transforming your wardrobe, but also giving new life to items that would otherwise go to waste.
Once you have chosen the perfect tank top for your dress project, you’re ready to move on to the next step: measuring and marking.
Step 2: Measuring and Marking
After selecting the ideal tank top for your dress conversion, it’s time to measure and mark the desired length of the dress. This step ensures that you achieve the perfect fit and length for your new garment.
Begin by putting on the tank top and standing in front of a mirror. Determine how long you want your dress to be. Do you prefer a shorter mini dress or a longer maxi dress? Take note of the desired length and make sure to account for any adjustments you might need to make later on.
With the tank top still on, use a measuring tape to measure the distance from your desired dress length to the bottom hem of the tank top. Let’s say you want a knee-length dress, and the tank top’s hem falls mid-thigh. Measure from mid-thigh to your desired knee length and make a mental note of the measurement.
Next, it’s time to mark the length on the tank top. Remove the tank top and lay it flat on a table or any surface. Use a fabric marker or pins to mark the measurement taken earlier from the bottom hem of the tank top. Make sure the marks are straight and evenly distributed along the entire hemline.
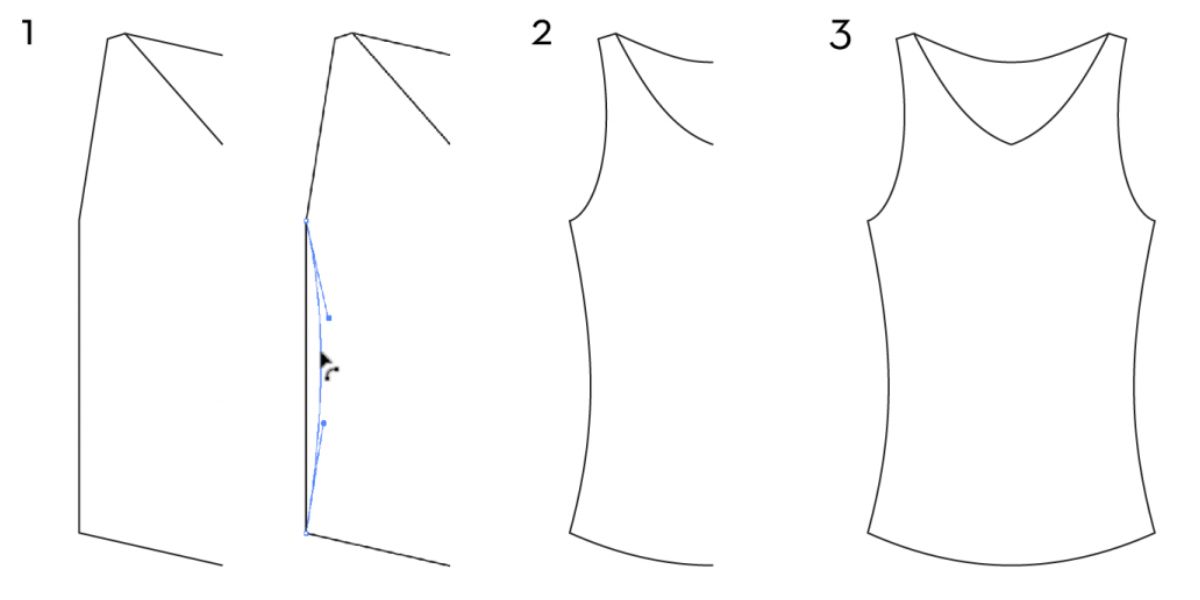
Additionally, if you want a different neckline or armhole shape, now is the time to mark those as well. Use the fabric marker to draw the new neckline or armhole shape directly onto the tank top. You can follow the existing shape or experiment with new designs based on your preferences.
Once you have measured and marked the desired length and any neckline or armhole changes, you’re ready to move on to the next step: cutting and hemming the bottom.
Step 3: Cutting and Hemming the Bottom
With the tank top measured and marked, it’s time to transform it into a dress by cutting and hemming the bottom section. This step will give your dress a polished and finished look.
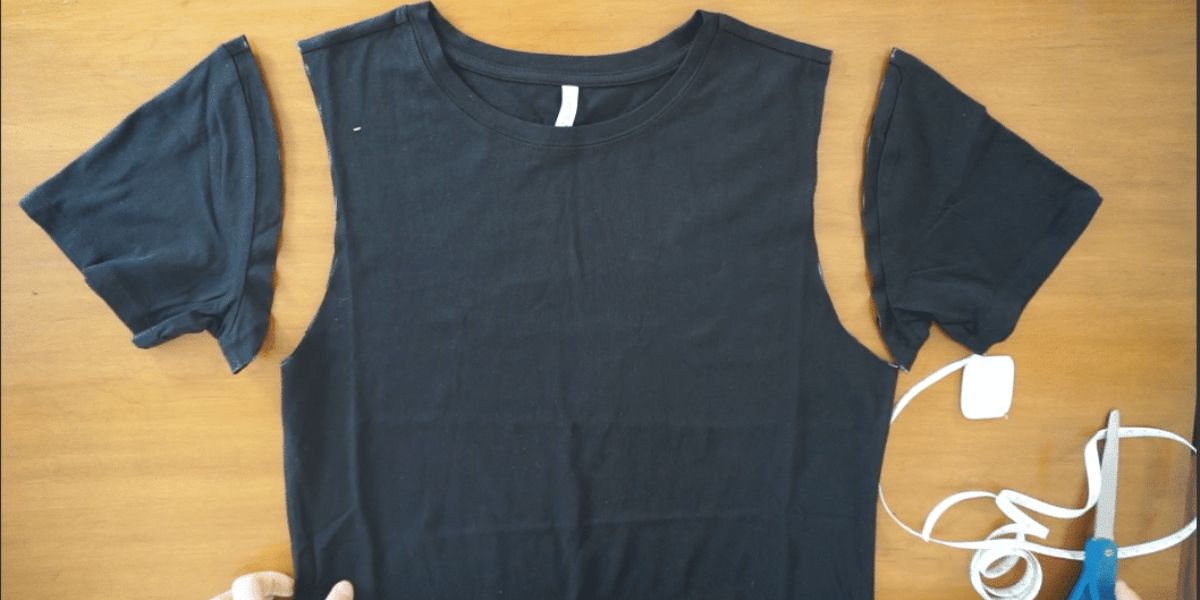
Start by carefully cutting along the marked line you made on the bottom of the tank top. Use fabric scissors to ensure clean and precise cuts. Take your time and make sure to keep the line straight while cutting.
Once you have cut the bottom of the tank top, it’s time to hem the raw edge. This step is important for a professional-looking finish and to prevent fraying of the fabric.
If you have a sewing machine, set it to a straight stitch and carefully sew along the newly cut edge of the dress. Sew as close to the edge as possible, about ¼ inch from the raw edge. This will secure the hem and prevent it from unraveling.
If you don’t have a sewing machine, you can still achieve a neat hem using a needle and thread. Thread your needle and make small, even stitches along the edge of the fabric, folding the raw edge under as you sew. Be sure to secure the thread at the beginning and end to prevent it from coming undone.
Continue stitching until you reach the end of the hem, and then knot the thread to secure it. Repeat the process for any side seams that may have been disrupted during the cutting process.
When you’re finished hemming, try on the dress to ensure that the length and fit are to your liking. Make any necessary adjustments at this stage before moving on to the next step: adding straps or sleeves.
Step 4: Adding Straps or Sleeves
Adding straps or sleeves to your tank top dress can enhance its style, provide more coverage, or simply offer a personal touch. This step allows you to customize your dress according to your preferences and the overall look you want to achieve.
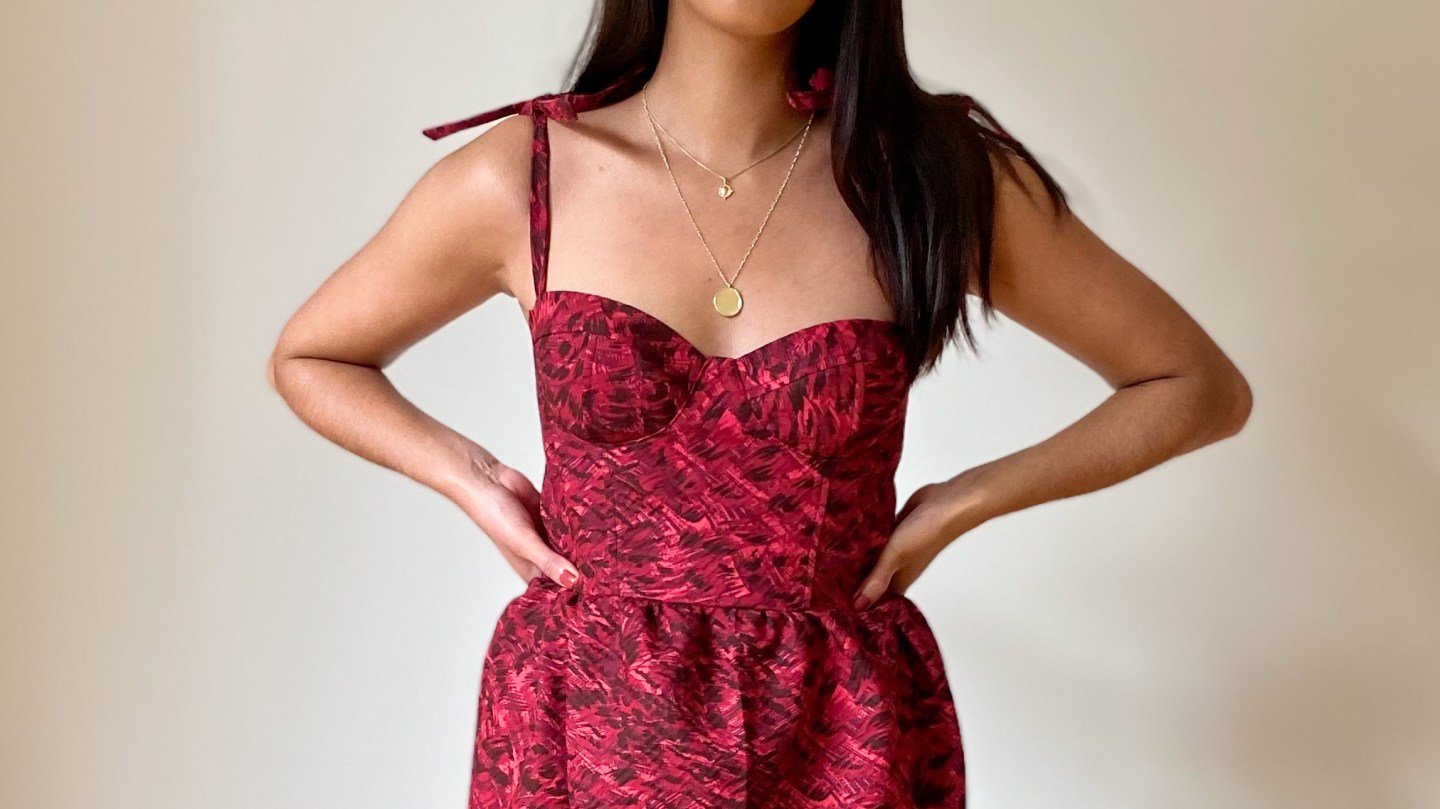
If you have chosen to add straps, measure the desired length and width. Cut two strips of fabric or use ribbons that match or complement the dress. The width and length will depend on the style and support you want the straps to provide. Typically, widths between 1-2 inches and lengths ranging from 12-18 inches work well.
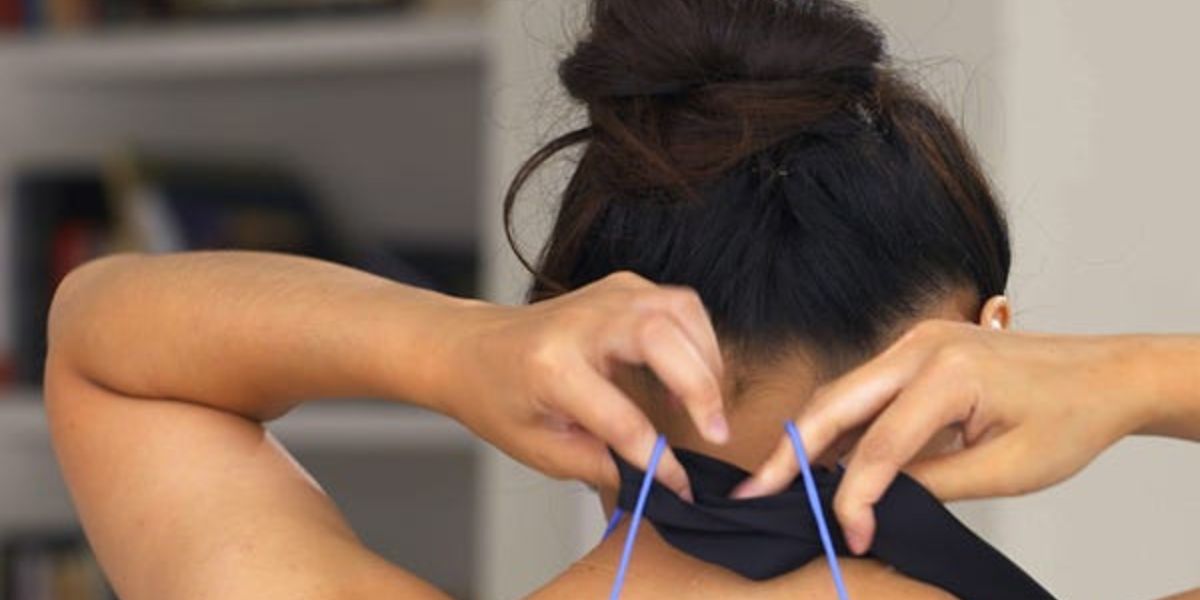
Place each strap ends along the upper edge of the front and back of the dress, aligning with the shoulder area. Pin the straps in place, ensuring they are evenly positioned on both sides.
Using a sewing machine or needle and thread, secure the straps to the dress by sewing them in place. You can use a straight stitch or create decorative stitches to add a unique touch. Make sure to reinforce the stitches to ensure the straps are securely attached.
If you prefer to add sleeves instead of straps, there are various sleeve styles to choose from, such as cap sleeves, short sleeves, or flutter sleeves. You can draft a pattern or use an existing sleeve pattern to cut the sleeves from matching or contrasting fabric.
Attach the sleeves to the armholes of the dress using pins to hold them in place. Then, sew along the armhole seam to secure the sleeves. For a clean finish, finish the raw edges of the sleeves and hem them if desired.
After adding the straps or sleeves, try on the dress to ensure a proper fit and adjust as needed. This is also a good time to make any final alterations or embellishments to the dress before moving on to the next step.
Step 5: Decorating and Customizing
Now that your tank top dress is taking shape, it’s time to get creative and add some personal touches. This step allows you to decorate and customize your dress to make it truly unique and reflective of your style.
One popular way to decorate a tank top dress is by adding embellishments. Consider using embroidery thread, beads, sequins, or fabric paint to create intricate designs or patterns on the dress. You can embroider flowers, geometric shapes, or other motifs on the bodice, or add beads or sequins along the neckline or hemline for added sparkle.
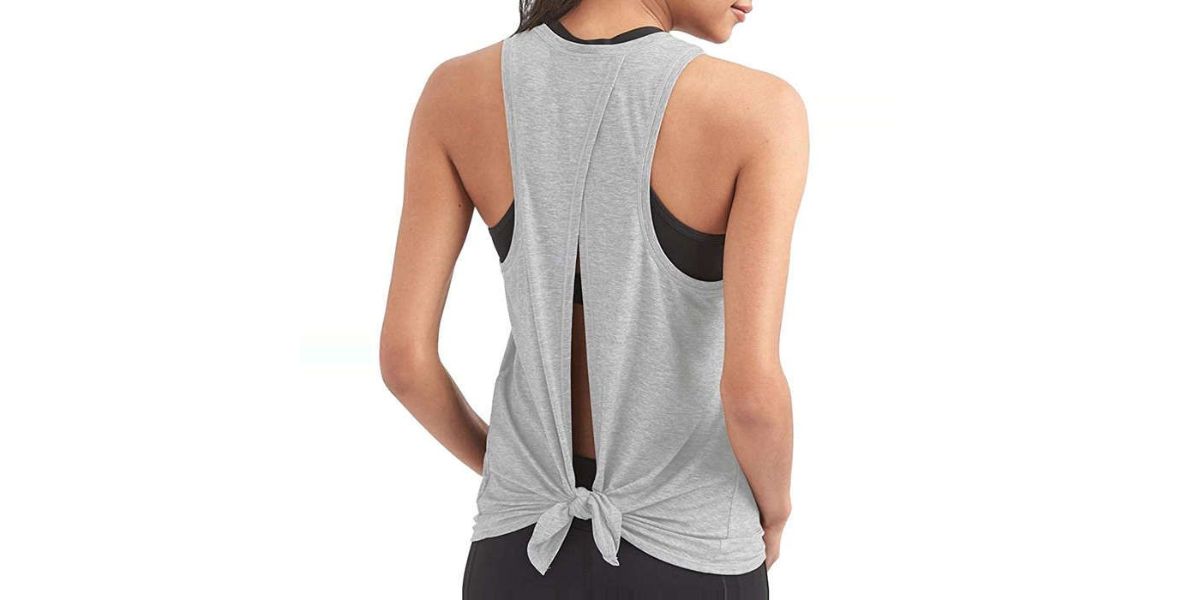
If you prefer a more subtle approach, you can enhance the dress with decorative trimmings. Lace, ribbon, or pom-pom trims can be sewn along the hemline or added as a detail on the straps or sleeves. These small touches can give your dress a whimsical or bohemian vibe.
Additionally, you can experiment with fabric dyes or fabric markers to create unique gradients or color patterns on the dress. Tie-dyeing or batik techniques can add a vibrant and artistic touch to your tank top dress.
Another way to personalize your dress is by adding a belt or sash to accentuate the waist. Choose a fabric or wide ribbon that complements the dress, and tie it around the waist in a bow or knot. This simple addition can elevate the overall look and provide flattering definition.
Remember that the goal is to customize your dress according to your preferences, so let your creativity shine. Decorate and customize your dress in a way that reflects your personality and makes you feel confident and comfortable.
Once you have finished decorating and customizing your tank top dress, try it on and make any final adjustments if needed. Then, step back, admire your creation, and get ready to rock your unique and stylish DIY dress!
Step 6: Trying on and Making Adjustments
After completing the previous steps, it’s time to try on your transformed tank top dress and make any necessary adjustments. This final step ensures that the dress fits well and flatters your figure.
Put on your newly customized dress and examine how it fits on your body. Check the length, straps or sleeves, and overall shape to see if any alterations are needed.
If the dress is too long, use fabric scissors to trim the hemline slightly. Remember to cut conservatively and try on the dress again to ensure you achieve the desired length.
If the straps are too loose or tight, adjust them accordingly. You can either shorten or lengthen the straps by removing stitches or adding additional ones. It’s important to have the straps fit comfortably on your shoulders without digging in or slipping off.
For dresses with sleeves, check the fit around the arms. If they feel too tight or restrictive, consider widening the armhole slightly or altering the sleeves to improve comfort and mobility.
During the fitting, also pay attention to the overall silhouette. If you want a more fitted look, consider taking in the side seams to accentuate your waist. Conversely, if you prefer a looser fit, you can let out the side seams slightly or even add darts for a more tailored shape.
Don’t be afraid to experiment and make adjustments until you’re satisfied with the fit and style of your dress. Remember that the goal is to create a garment that you feel confident and comfortable in.
Once you have made any necessary adjustments, try on the dress again to ensure that everything looks and feels just right. Take a moment to appreciate your hard work and creativity in turning a simple tank top into a fabulous dress!
Conclusion
Transforming a tank top into a dress is a fun and rewarding DIY project that allows you to repurpose your clothing and unleash your creativity. With a few simple steps, you can turn a basic tank top into a stylish dress that fits your personal style and preferences.
By following these steps, you can easily create a tank top dress that is unique and reflects your individuality. Whether you choose to add straps or sleeves, embellish with embroidery or beads, or customize with fabric dyes or decorative trimmings, the possibilities are endless.
Remember to choose the right tank top for your project, measure and mark the desired length, cut and hem the bottom, add straps or sleeves, and decorate and customize your dress to make it truly one-of-a-kind. Don’t forget to try on the dress and make any adjustments needed to ensure the perfect fit.
Not only does converting a tank top into a dress save money and reduce waste, but it also allows you to express your personal style and create a garment that fits you perfectly. So, get creative, have fun, and enjoy the process of transforming your tank tops into fashionable and unique dresses!