Home>How-to Guides>For Women>How To Make A Dress Into A Bodysuit
For Women
How To Make A Dress Into A Bodysuit
Published: July 31, 2023
Learn how to transform a dress into a stylish bodysuit for women. Step-by-step instructions for a trendy wardrobe upgrade.
(Many of the links in this article redirect to a specific reviewed product. Your purchase of these products through affiliate links helps to generate commission for Under-tec.com, at no extra cost. Learn more)
Table of Contents
Introduction
Welcome to this step-by-step guide on how to transform a dress into a stylish bodysuit. Converting a dress into a bodysuit not only breathes new life into your wardrobe but also allows you to experiment with different styles and create unique outfits.
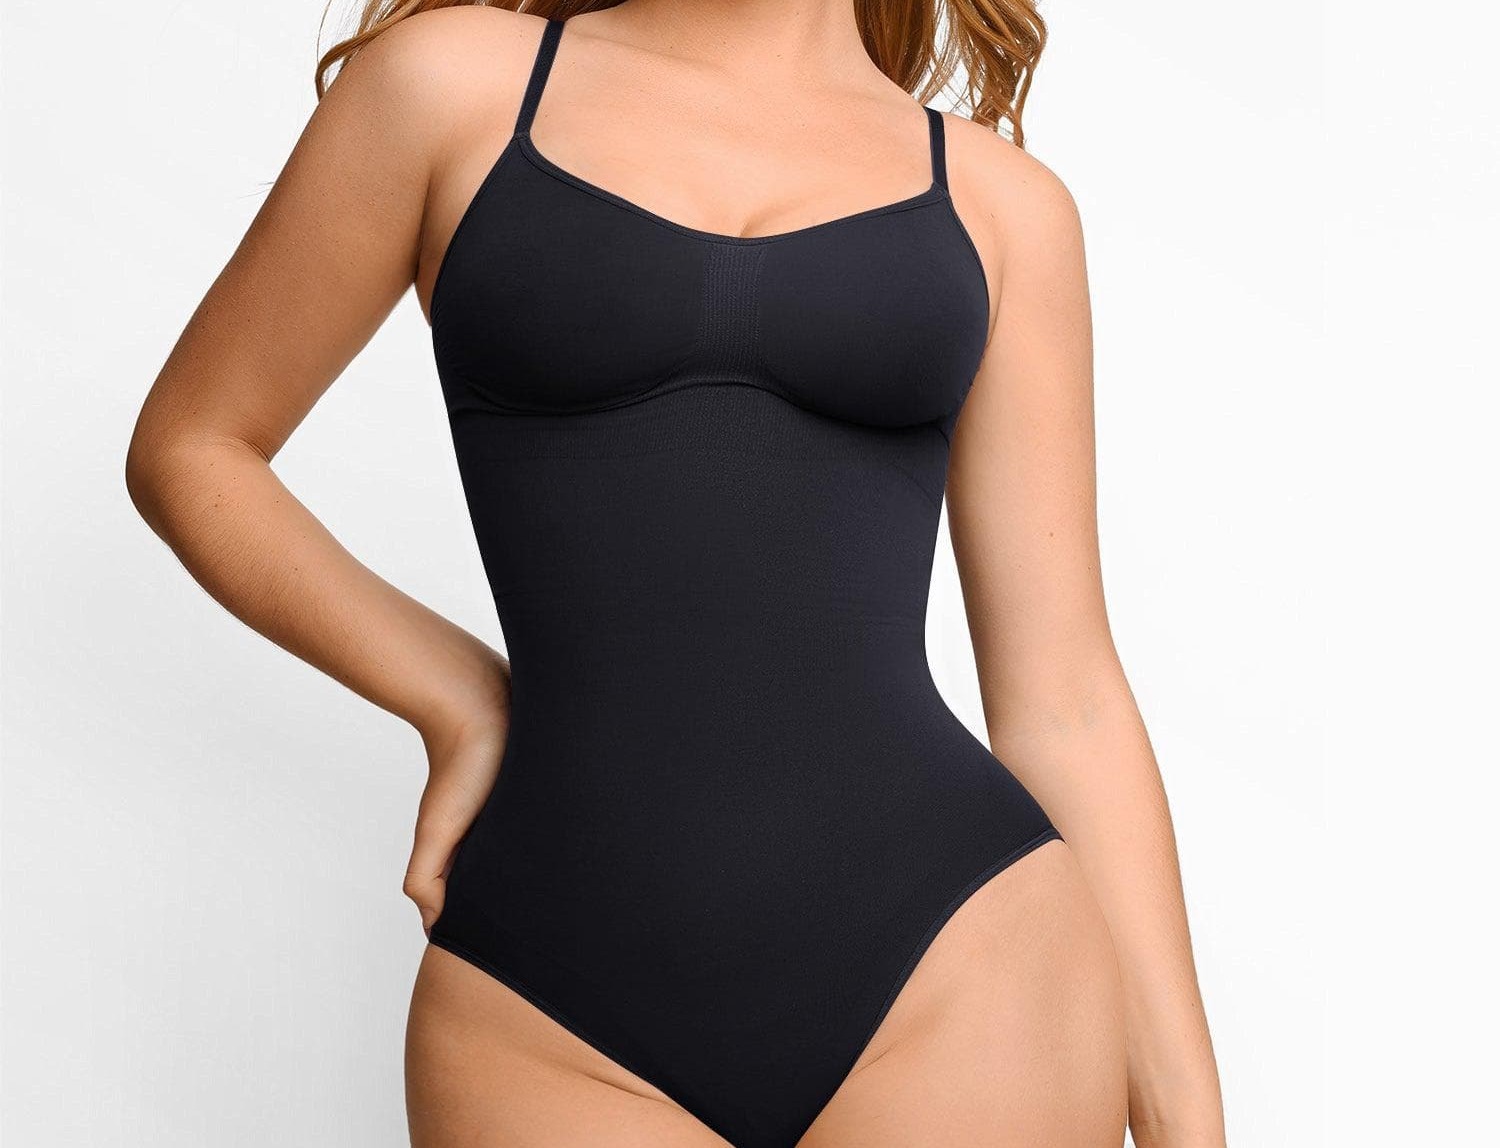
Why wear a bodysuit? Bodysuits have become a popular fashion trend, offering a versatile and streamlined silhouette that is both flattering and comfortable. By repurposing your dress, you can achieve the trendy look of a bodysuit without purchasing a new one.
In this guide, we will walk you through the process from start to finish, providing detailed instructions and helpful tips along the way. Whether you are a seasoned DIY enthusiast or a novice looking to try something new, this tutorial is perfect for you.
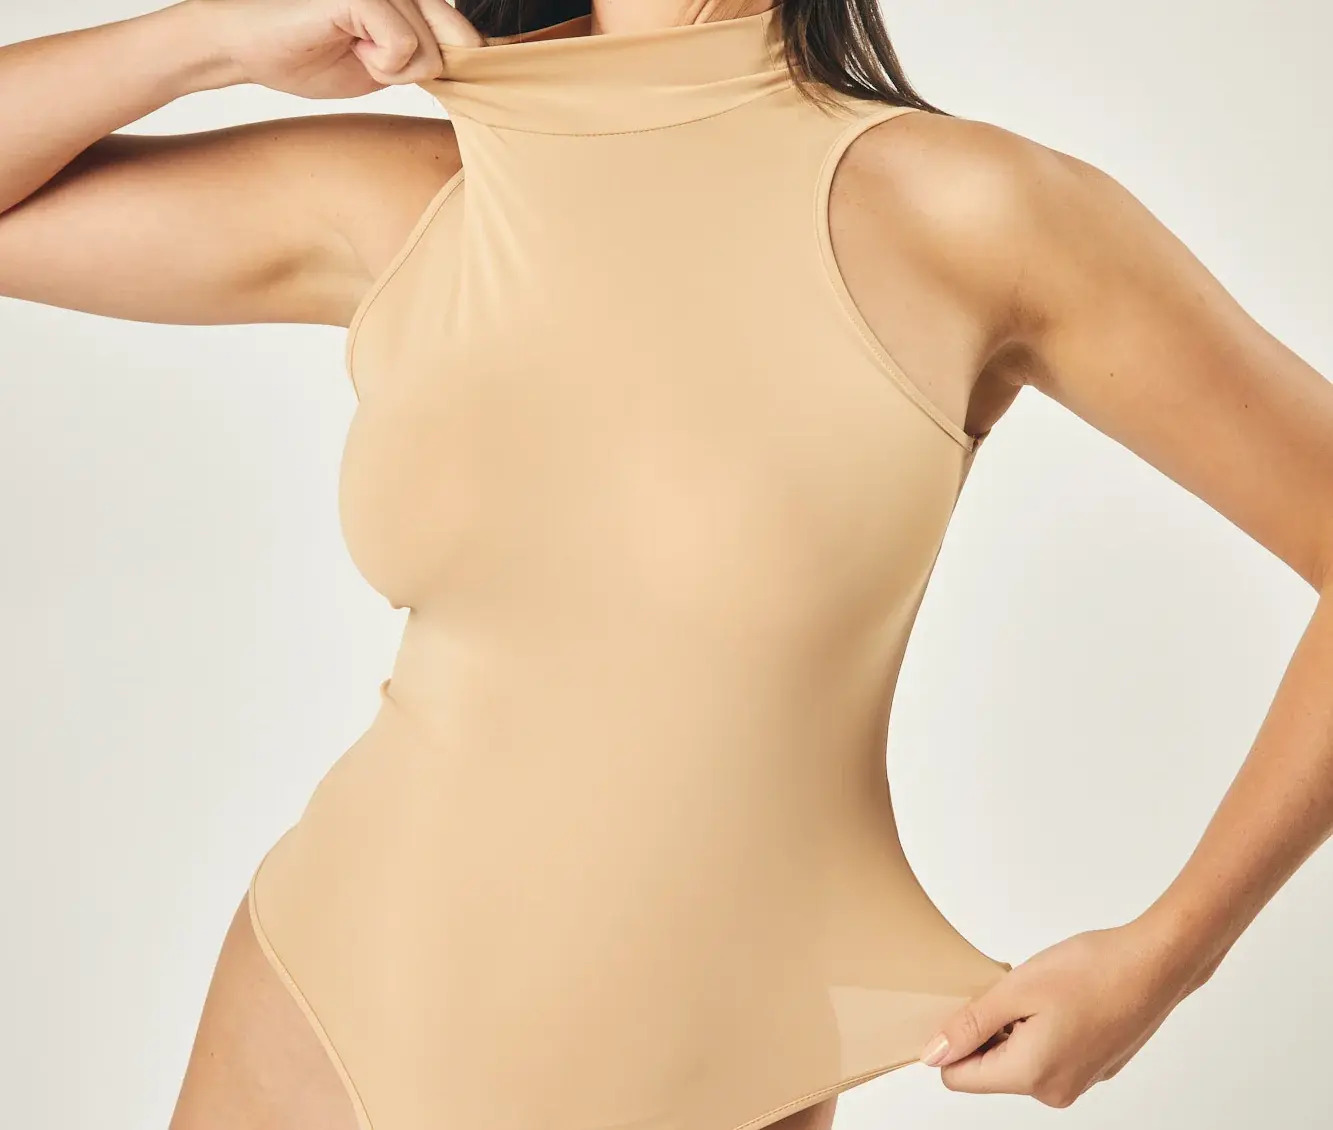
Before we dive in, it’s important to note that the success of this transformation depends on the type of dress you are working with. Ideally, choose a dress made from a stretchy and form-fitting fabric, as it will easily mold to your body and provide the necessary flexibility for a bodysuit. Additionally, make sure the dress has a high enough neckline and sleeves that can be adjusted or removed, depending on the desired bodysuit style.
Now, let’s gather our materials and get started on this exciting DIY project!
Step 1: Gather Materials
Before we begin the transformation process, we need to gather all the necessary materials. Here’s what you’ll need:
- A dress
- Scissors
- Thread (in a matching color)
- A sewing machine or needle for hand sewing
- Snaps or buttons
- Measuring tape
- Pins
- Optional: Elastic or fabric tape for added support
Let’s break down the importance of each item:
A dress: Choose a dress that fits well and has a fabric with some stretch to it. This will ensure a comfortable and form-fitting bodysuit. Consider the style and design of the dress, as it will impact the final look of the bodysuit.
Scissors: High-quality fabric scissors are essential for cutting through the dress material. Make sure your scissors are sharp to achieve clean and precise cuts.
Thread: Use a thread color that matches the dress to ensure a seamless finish. Polyester or cotton thread works well for most fabrics.
Sewing machine or needle: Depending on your sewing skills and preference, you can either use a sewing machine or hand sew using a needle. A sewing machine will provide faster and more precise results, but hand sewing allows for greater control and precision in small areas.
Snaps or buttons: These closures will be used to secure the bodysuit at the crotch area. You can choose snaps specifically designed for clothing or use buttons if you prefer. Make sure they are strong and securely attached to avoid any unexpected opening.
Measuring tape: Accurate measurements are crucial to ensure the bodysuit fits properly. Use a flexible measuring tape to take your waist, hip, and torso length measurements.
Pins: Pins will help hold the fabric in place while you work. They’re especially useful when fitting and adjusting the bodysuit to your body.
Optional: Elastic or fabric tape: If you want extra support or reinforcement in certain areas of the bodysuit, elastic or fabric tape can be added. This is particularly useful for areas that require a snug fit, such as the leg openings.
With all the necessary materials on hand, we are ready to move on to the next step: preparing the dress for transformation.
Step 2: Prepare the Dress
Now that you have gathered all the materials, it’s time to prepare the dress for its transformation into a bodysuit. Follow these steps:
- Start by carefully examining the dress and identifying any features or elements that need to be removed or adjusted. This may include sleeves, collars, or other decorative elements that don’t align with the bodysuit style. Use your scissors to carefully remove these elements, making sure to leave a clean edge.
- If the dress has a low neckline or other areas that need to be raised for a bodysuit, use pins to mark the desired new neckline or modifications. This will serve as your guide when cutting the fabric later.
- Next, try on the dress to determine its fit and make any necessary adjustments. Pin or mark areas that need to be taken in or let out to achieve a snug and comfortable fit. Keep in mind that the bodysuit should fit close to your body, so be prepared to make some alterations for a more streamlined look.
- Once you have marked all the areas that need adjustments, carefully remove the dress and lay it flat on a clean surface. Use your scissors to make the necessary modifications, cutting along the marked lines or seam lines to achieve your desired fit.
- After making the alterations, try on the dress again to ensure that the new fit is comfortable and flattering. Make any final adjustments as needed.
- It’s a good idea to iron or steam the dress at this point to remove any wrinkles and make it easier to work with. Ensure the fabric is smooth and ready for the next steps.
By preparing the dress before moving on to the next steps, you will have a solid foundation to work with and create a well-fitting and stylish bodysuit.
Step 3: Cut and Sew the Crotch Seam
With the dress prepared, it’s time to focus on creating the crotch seam for the bodysuit. Follow these simple steps:
- Put the dress back on and determine the desired length for the bodysuit. Use pins to mark where you want the crotch seam to be.
- Take off the dress again and carefully lay it flat on a clean surface. Make sure the fabric is smooth and taut.
- Using your scissors, cut along the marked line to separate the front and back sections of the dress.
- If necessary, trim any excess fabric to even out the edges and ensure a clean and symmetrical cut. Be cautious not to cut too close to the seam, as this can weaken the fabric.
- Now it’s time to sew the crotch seam. If you are using a sewing machine, set it to a medium-length straight stitch. If hand sewing, use a backstitch for added strength.
- Start sewing from the back of the bodysuit, guiding your stitching along the edge of the fabric. Sew all the way around the crotch, ending at the starting point.
- For additional reinforcement, you can sew another seam parallel to the first, about 1/4 inch away. This will help prevent any unravelling or tearing of the seam.
After completing the crotch seam, try on the bodysuit once again to ensure that it fits properly and comfortably. Make any adjustments or corrections as needed.
Now that you have successfully sewn the crotch seam, it’s time to move on to the next step: creating a snap closure for easy wearability.
Step 4: Create Snap Closure
Creating a snap closure will make it easy to put on and take off your bodysuit. Follow these steps to add this functional feature:
- First, determine the placement of the snaps on the inside of the crotch seam. Use your measuring tape to help ensure they are evenly spaced and aligned.
- Next, attach one side of the snap to the front section of the crotch seam using your chosen method (sewing or using a snap installation tool). Make sure it is securely attached to the fabric.
- Now, fold the back section of the crotch seam over the front section, with the snap attached, and mark where the corresponding snap needs to be placed.
- Attach the second part of the snap to the back section of the crotch seam, aligning it with the previously marked spot.
- Test the snap closures by attaching them together and pulling gently to ensure they are securely fastened.
- If you prefer buttons instead of snaps, you can sew buttonholes on one side of the crotch seam and attach buttons on the other side. Follow the same steps, adjusting based on your chosen closure method.
By creating a convenient snap closure, you can easily put on and remove the bodysuit when needed. This adds functionality and ensures a seamless look when wearing the bodysuit as part of your outfit.
Now that the snap closure is complete, let’s move on to the next step to ensure a perfect fit: trying on the bodysuit and making necessary adjustments.
Step 5: Try on and Make Adjustments
With the snap closure in place, it’s time to try on the bodysuit and make any final adjustments to ensure a perfect fit. Follow these steps:
- Put on the bodysuit and carefully fasten the snap closure. Take note of any areas that feel too loose or too tight.
- Use pins to mark the areas that need adjustments. For example, if the bodysuit feels too loose around the waist, you can take it in by sewing a new seam line.
- Take off the bodysuit and lay it flat on a clean surface to make the necessary alterations.
- Using your pins as a guide, adjust the fit of the bodysuit by sewing additional seams or taking in excess fabric as needed. Remember to try on the bodysuit periodically to test the fit and make any necessary adjustments.
- Once you are satisfied with the fit, remove the pins and gently iron or steam the altered areas to ensure a smooth finish.
It’s essential to take your time during this step to achieve the desired fit. Remember that everyone’s body is unique, and making these adjustments will ensure that your bodysuit fits you perfectly.
After making the final adjustments, try on the bodysuit once again and ensure that it fits comfortably and looks flattering. Make any last-minute tweaks if needed.
With the fit perfected, we can now move on to the final step: completing the bodysuit for a polished and finished look.
Step 6: Finish the Bodysuit
Now that the bodysuit is fitted to perfection, it’s time to add the finishing touches and ensure a polished final look. Follow these steps to complete your bodysuit transformation:
- Inspect the seams and edges of the bodysuit. Trim any loose threads or excess fabric to achieve a clean and professional finish.
- If you want to add additional support to the leg openings, you can attach elastic or fabric tape to the edges. This will help the bodysuit stay in place and provide a snug fit. Simply sew the elastic or fabric tape along the leg openings, stretching it slightly to ensure a secure attachment.
- Use an iron or steamer to press the finished bodysuit, removing any remaining wrinkles or creases. This will give it a crisp and polished appearance.
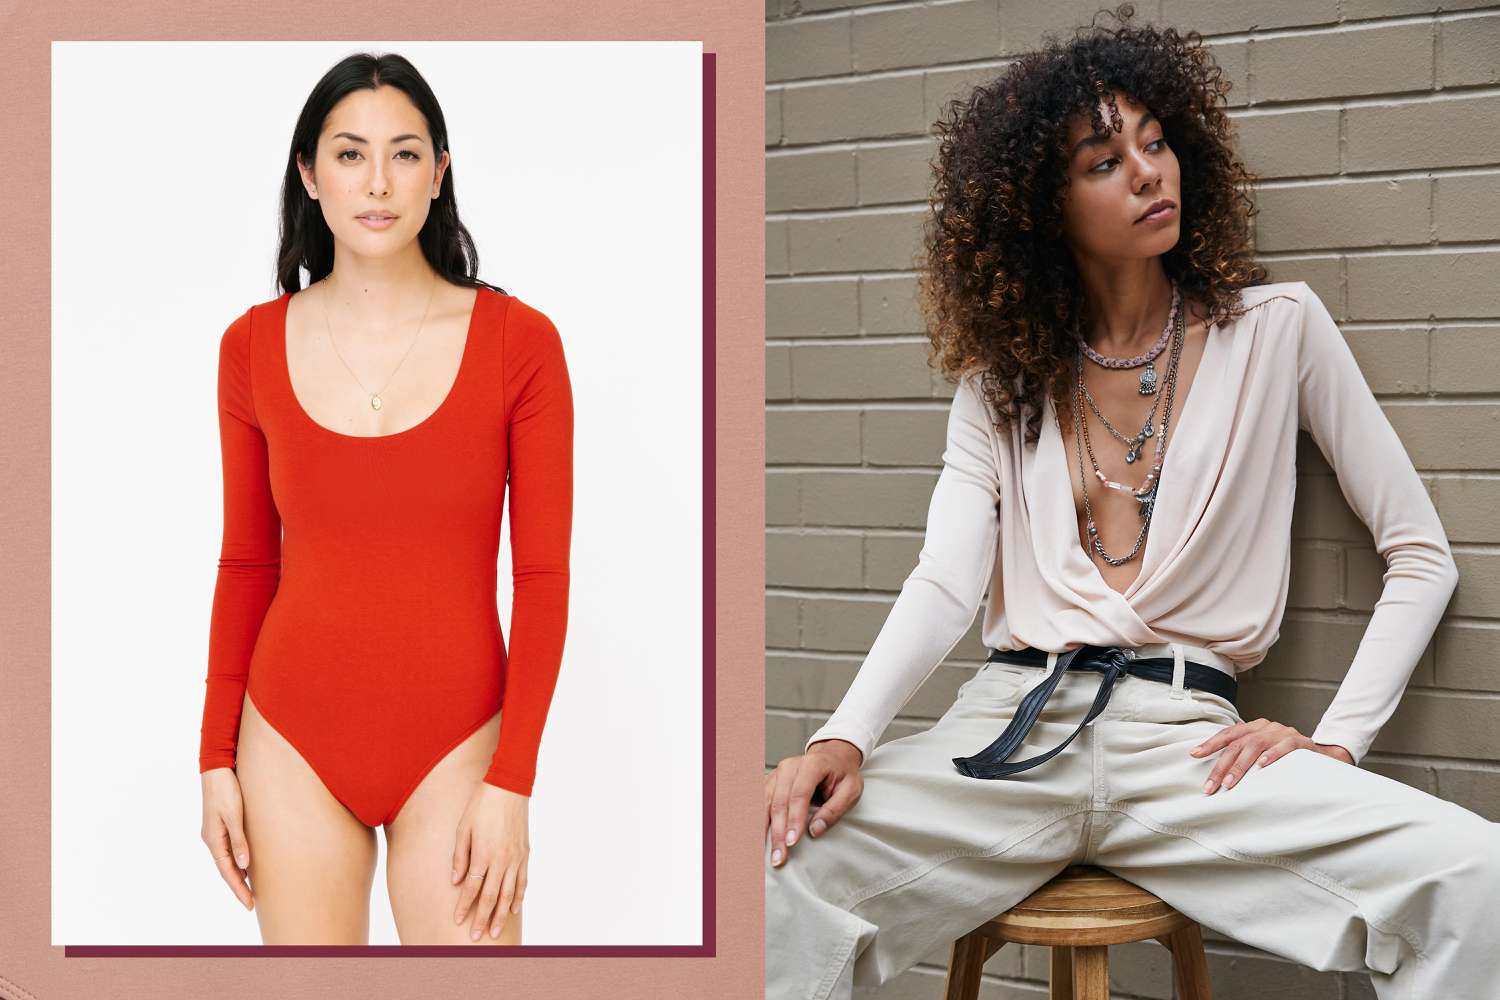
- Now, it’s time to showcase your personalized bodysuit! Pair it with your favorite bottoms, such as jeans, skirts, or shorts, to create stylish and unique outfits.
- Remember to follow the care instructions of the original dress fabric when laundering your bodysuit. This will help maintain its shape and longevity.
Congratulations! You have successfully transformed a dress into a fashionable and versatile bodysuit. Feel proud of your DIY accomplishment and enjoy the endless possibilities of styling your new wardrobe piece!
Remember, this tutorial is just a starting point, and you can explore various design elements and modifications to make your bodysuit even more unique. Get creative with embellishments, fabric choice, or added elements such as lace or mesh panels.
Now that you know how to transform a dress into a bodysuit, you can expand your wardrobe and create beautiful outfits with this versatile and trendy clothing item. Embrace your inner fashion designer and enjoy the satisfaction of wearing your own crafted piece!
Conclusion
Congratulations on successfully transforming your dress into a stylish and fashionable bodysuit! By repurposing an existing garment, you have not only saved money but also added a unique and personalized piece to your wardrobe.
Throughout this step-by-step guide, we have covered everything you need to know to create your own bodysuit. From gathering the materials to making adjustments and finishing touches, each step was designed to ensure a seamless and professional result.
Remember, this tutorial serves as a foundation for your creativity. Feel free to experiment with different fabrics, embellishments, or design elements to make your bodysuit truly stand out. The possibilities are endless!
Creating your own bodysuit not only allows you to follow the latest fashion trends but also encourages sustainable fashion practices. By repurposing and upcycling garments, you help reduce waste and contribute to a more environmentally friendly fashion industry.
So next time you have a dress that you no longer wear or want to give it a new lease of life, consider transforming it into a bodysuit. With a little time, effort, and creativity, you can enjoy a stylish and versatile addition to your wardrobe.
We hope this guide has inspired you to explore your DIY skills and embark on your bodysuit-making journey. Now, go ahead and unleash your inner fashion designer!