Home>How-to Guides>For Women>How To Make A Slip Dress Tutorial
For Women
How To Make A Slip Dress Tutorial
Published: July 31, 2023
Learn how to make a stunning slip dress in our step-by-step tutorial blog. Perfect for women who want to create their own stylish and comfortable wardrobe.
(Many of the links in this article redirect to a specific reviewed product. Your purchase of these products through affiliate links helps to generate commission for Under-tec.com, at no extra cost. Learn more)
Table of Contents
Introduction
Welcome to our slip dress tutorial blog! Slip dresses have become a popular fashion trend in recent years, thanks to their versatility and timeless appeal. Whether you want to achieve a chic and elegant look or a more laid-back and casual style, a slip dress is the perfect choice. In this tutorial, we will guide you through the process of making your own slip dress from scratch. Not only will this save you money, but it will also allow you to customize the dress to your exact preferences.
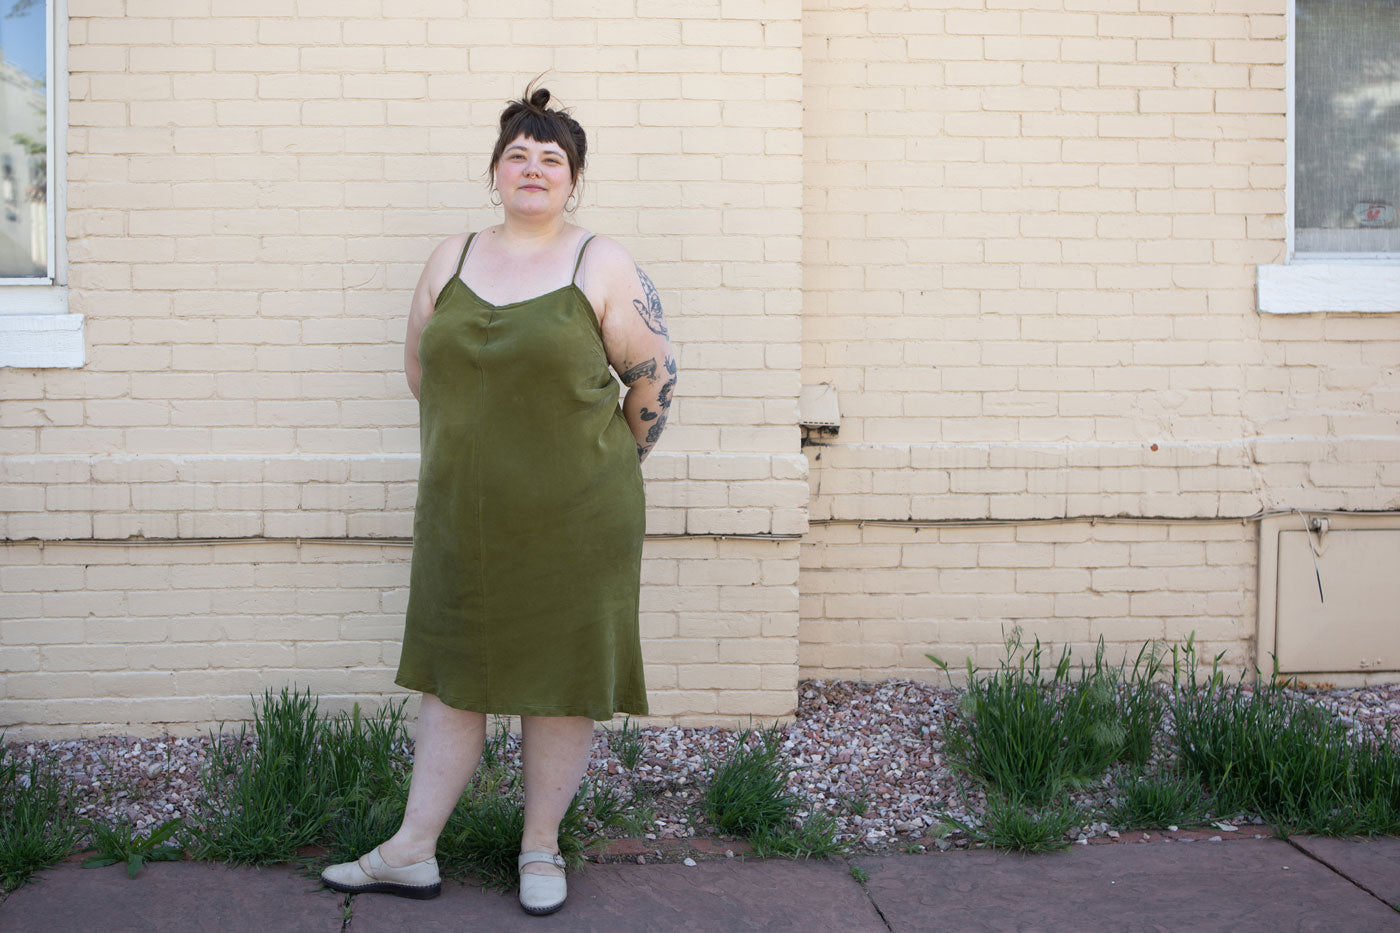
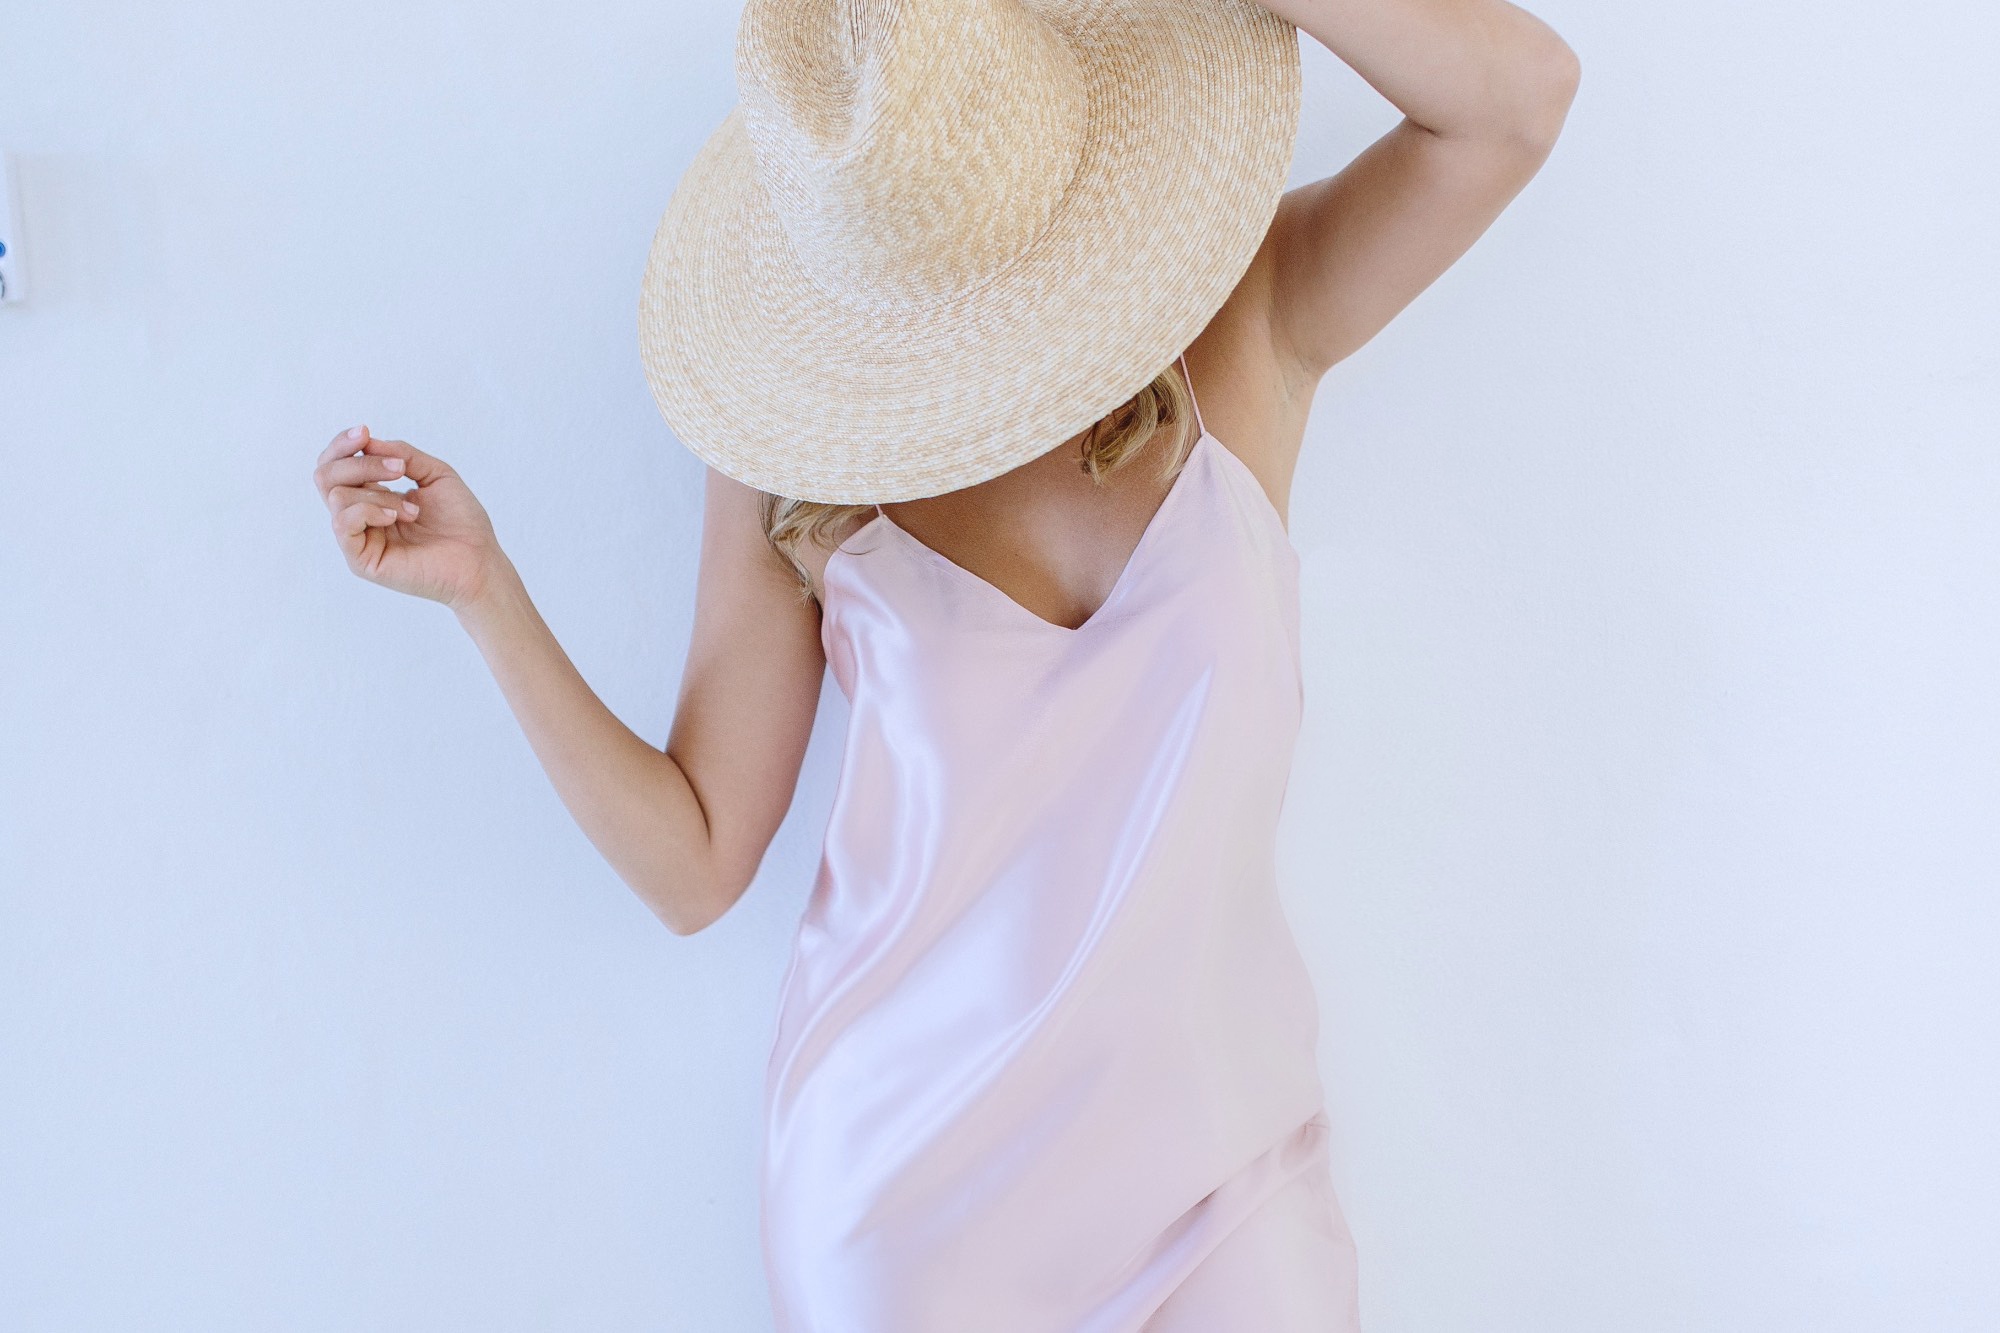
A slip dress is a simple and lightweight dress that typically features thin straps and a loose fit. It can be worn on its own during warmer months or layered with a jacket or sweater for a stylish look in cooler weather. With just a few basic sewing skills and some patience, you can create a beautiful slip dress that will be the envy of all your friends.
In this tutorial, we will cover everything you need to know to make your own slip dress. We will start by discussing the materials you will need and provide tips on choosing the right fabric for your dress. We will then guide you through taking accurate measurements to ensure a perfect fit. Next, we will walk you through the process of cutting the fabric and sewing the bodice of the dress. We will also cover how to attach the straps and sew the skirt. Finally, we will provide some tips and tricks for adding those finishing touches that will make your slip dress truly unique.
Whether you are a beginner or an experienced seamstress, this tutorial is designed to be accessible and easy to follow. So grab your sewing machine, gather your supplies, and let’s get started on creating a beautiful slip dress that will make heads turn!
Materials Needed
Before you begin making your slip dress, it’s important to gather all the necessary materials. Here is a list of items you will need:
- Fabric: Choose a lightweight fabric with a good drape, such as silk, satin, or rayon. The amount of fabric needed will depend on your measurements and desired dress length.
- Lining Fabric: Optional, but recommended for added comfort and opacity.
- Thread: Select a thread color that matches your fabric.
- Scissors: Invest in a good pair of fabric scissors for accurate cutting.
- Pins: Essential for securing the fabric in place during sewing.
- Needles: Use sharp needles suitable for your chosen fabric.
- Measuring Tape: A flexible tape measure will be needed to take accurate body measurements.
- Sewing Machine: A basic sewing machine with straight and zigzag stitches will suffice.
- Iron: An iron is essential for pressing seams and giving your dress a polished look.
- Straps: You can use store-bought straps or create your own from fabric.
- Embellishments: Optional, but you can add lace, ribbons, or other decorative elements to personalize your dress.
It’s always a good idea to double-check your supplies before starting the project. Having everything on hand will save you time and ensure a smoother sewing process. Now that you have your materials ready, let’s move on to the next step: choosing the right fabric for your slip dress.
Step 1: Choosing the Right Fabric
Choosing the right fabric is crucial for the success of your slip dress project. The fabric you select will affect the overall look, feel, and drape of the dress. Here are some factors to consider when choosing fabric for your slip dress:
- Drape: Look for fabrics with a good drape, meaning they flow and hang nicely. Lightweight and fluid fabrics like silk, satin, rayon, or crepe are popular choices for slip dresses, as they provide an elegant and flattering silhouette.
- Comfort and Breathability: Since slip dresses are often worn during warmer months or in tropical climates, it’s important to choose breathable fabrics that will keep you comfortable. Cotton, linen, or blends with natural fibers are great options.
- Opacity: Depending on your preference, you may want to consider the level of opacity of the fabric. If you prefer a more sheer and delicate look, choose lightweight fabrics like chiffon or georgette. However, if you want more coverage, consider using a lining fabric to add opacity.
- Pattern and Color: Consider the overall aesthetic you want for your slip dress. Solid colors provide a classic and versatile look, while patterns and prints can add interest and personality to your garment.
- Maintenance: Take into account the care instructions for the fabric. Some fabrics may require special handling, such as dry cleaning or delicate washing, while others are more low-maintenance.
It’s always a good idea to visit a fabric store in person to touch and feel the fabrics before making a decision. This allows you to assess the quality, texture, and drape firsthand. You can also consult with the store personnel for expert advice on fabric selection.
Once you have chosen your fabric, be sure to buy an appropriate amount. The amount of fabric needed will vary depending on your measurements, desired dress length, and any additional design features you plan to incorporate. It’s always better to buy a little extra to account for any mistakes or alterations you may need to make during the sewing process.
Now that you have chosen the perfect fabric, it’s time to move on to the next step: taking accurate measurements for your slip dress.
Step 2: Taking Accurate Measurements
Taking accurate measurements is crucial to ensure a well-fitting slip dress. Here are the key measurements you will need:
- Bust: Measure around the fullest part of your bust with the measuring tape held horizontally.
- Waist: Measure around the narrowest part of your waist, usually just above the belly button.
- Hips: Measure around the fullest part of your hips, typically around 7-9 inches below your waist.
- Length: Decide on the desired length of your slip dress, whether it’s above the knee, knee-length, or ankle-length.
- Strap Length: Measure the desired length of the straps for your slip dress. Consider adjusting the length based on personal preference and comfort.
When taking measurements, it’s essential to keep a few tips in mind:
- Wear a well-fitted bra and underwear to ensure accurate measurements.
- Stand straight and relaxed, with your feet slightly apart.
- Ensure the measuring tape is snug but not too tight, and parallel to the ground.
- Take multiple measurements to ensure accuracy and consistency.
Write down your measurements and keep them handy throughout the sewing process. These measurements will serve as a guide when cutting the fabric and sewing the slip dress.
If you plan to make adjustments or modifications to the pattern, such as adding or reducing ease, make note of it during this step as well.
By taking accurate measurements, you can ensure that your slip dress will fit you perfectly and flatter your body shape. Now that you have your measurements ready, it’s time to move on to the next step: cutting the fabric.
Step 3: Cutting the Fabric
With your measurements in hand, it’s time to cut the fabric for your slip dress. Follow these steps to ensure precise and accurate cutting:
- Prepare your work area: Clear a large, flat surface to lay out your fabric for cutting. Ensure that the surface is clean and free of any obstructions.
- Pre-wash and iron the fabric: If your fabric is prone to shrinking, it’s important to pre-wash and iron it before cutting. This will prevent any distortions or shrinkage after the dress is sewn.
- Prepare the pattern: If you’re using a commercial pattern, carefully follow the instructions provided to trace or cut out the pattern pieces according to your size. Alternatively, if you’re working without a pattern, you can use your measurements to create a custom pattern on pattern paper or newspaper.
- Lay out the fabric: Fold the fabric in half lengthwise with the right sides together. Ensure that the selvage edges are aligned, and the fabric is smooth and free of wrinkles.
- Place the pattern: Position the pattern pieces on the fabric according to the layout guide provided in the pattern instructions. Pay attention to the grainline and fabric flow, especially if your fabric has a directional print or nap.
- Pin or weigh down the pattern: Use pins or weights to secure the pattern pieces to the fabric. Ensure that the pattern is flat and taut to prevent any shifting during cutting.
- Cut the fabric: Using sharp fabric scissors, carefully cut along the marked lines of the pattern pieces. Take your time and make clean, precise cuts. Cut through both layers of fabric if instructed by the pattern.
- Transfer pattern markings: Use tailor’s chalk or fabric markers to transfer any important markings such as notches, darts, or pleat lines onto the fabric. This will help with assembly later on.
After cutting the main pieces, repeat the process for any lining fabric if you choose to line your slip dress.
Double-check that all pieces have been cut accurately and that you haven’t missed any pattern pieces or markings. Organize the cut fabric pieces in a logical order to make it easier during the sewing process.
Cutting the fabric is a crucial step that requires precision and attention to detail. Take your time and ensure that each cut is accurate to achieve a professional-looking slip dress. Now that you have your fabric pieces ready, let’s move on to the next step: sewing the bodice of the dress.
Step 4: Sewing the Bodice
Now that you have your fabric pieces cut, it’s time to start sewing the bodice of your slip dress. The bodice refers to the upper part of the dress, including the front and back pieces. Follow these steps to sew the bodice together:
- Prepare your sewing machine: Set up your sewing machine with a matching thread and a universal needle suitable for your fabric type.
- Pin the front and back pieces: Match and align the corresponding pieces, right sides together. Use pins to secure the side seams, shoulder seams, and any darts or pleats.
- Stitch the side seams: With a straight stitch, sew the pinned side seams of the bodice, using a ⅝-inch seam allowance. Backstitch at the beginning and end of each seam to secure your stitches. Press the seams open or to one side using an iron.
- Grade the seam allowances: To reduce bulk and create a smooth finish, trim the seam allowances to different widths. Trim one seam allowance slightly narrower than the other, then zigzag stitch the raw edges to prevent fraying.
- Attach darts or pleats: If your slip dress has darts or pleats on the bodice, carefully follow the pattern instructions to fold, pin, and stitch them in place. Press the darts or pleats following the pattern’s guidelines.
- Finish the neckline and armholes: Depending on your design, you can finish the raw edges of the neckline and armholes with bias binding, facings, or lining fabric. Consult the pattern or your own design preferences for guidance.
- Try on the bodice: Before proceeding, it’s a good idea to try on the bodice to check the fit. Make any necessary adjustments by taking in or letting out the side seams or making alterations to the darts. This will ensure a proper fit for your slip dress.
Take your time and sew with precision, ensuring that your stitches are straight and secure. Press the seams and darts as you go, using an iron set to the appropriate temperature for your fabric.
By following these steps, you will have completed the bodice of your slip dress. Now, let’s move on to the next step: attaching the straps.
Step 5: Attaching the Straps
Attaching the straps is an important step in completing your slip dress. The straps not only provide support but also add a stylish touch to the overall design. Follow these steps to attach the straps:
- Decide on strap placement: Determine how far apart you want the straps to be on the front and back of the dress. Mark the placement with pins or tailor’s chalk.
- Prepare the straps: If you are using store-bought straps, they may already be finished and ready to use. If you are making your own straps, cut two strips of fabric to the desired length and width. Fold the fabric in half lengthwise with the right sides together, and then stitch along the long edge and one short end. Turn the fabric right side out and press the straps flat.
- Attach the straps: Place the straps onto the right side of the bodice, aligning them with the marked placement. Pin them in place, ensuring they are securely attached. Try on the dress to check the strap placement, adjusting if necessary.
- Sew the straps: Using a straight stitch, sew the straps to the bodice, stitching along the edges or creating an “X” or parallel lines for added strength and decoration. Backstitch at the beginning and end of each strap to secure the stitches.
- Reinforce the straps: To give the straps additional support, you can sew a small rectangle or square of fabric around the attachment point where the straps meet the bodice. This reinforcement will help prevent the straps from tearing or pulling away from the dress over time.
As you attach the straps, double-check that they are symmetrical and evenly positioned on both sides of the bodice. This will ensure a balanced and professional finish.
Once the straps are securely attached, try on the dress again to check the fit and adjust the strap length if necessary. You want the straps to be comfortable and provide adequate support while still allowing freedom of movement.
With the straps attached, you have completed a major step in the construction of your slip dress. Now, let’s move on to the next step: sewing the skirt.
Step 6: Sewing the Skirt
Now that the bodice is complete, it’s time to sew the skirt of your slip dress. Follow these steps to sew the skirt:
- Prepare the skirt fabric: If you’re using a single piece of fabric for the skirt, fold it in half lengthwise with the right sides together. If your skirt has multiple panels or a gathered design, follow the pattern instructions to cut and prepare the fabric pieces accordingly.
- Align and pin the skirt: Match up the edges of the skirt fabric, ensuring the right sides are facing each other. Use pins to secure the side seams.
- Stitch the side seams: With a straight stitch and the appropriate seam allowance, sew the pinned side seams from the hemline up to the desired length of the slit, if applicable. Press the seams open or to one side using an iron.
- Hem the skirt: To finish the bottom edge of the skirt, fold it under by ½ inch, then fold it under again by another ½ inch. Pin in place and stitch close to the folded edge to create a clean, finished hem.
- Attach the skirt to the bodice: With the right sides together, match up the raw edges of the bodice and skirt at the waistline. Pin them together, ensuring that any darts or gathers are evenly distributed.
- Stitch the waistline: Sew the bodice and skirt together at the waistline using a straight stitch. Backstitch at the beginning and end to secure the stitches. Press the waistline seam up towards the bodice.
As you sew the skirt, make sure to maintain an even seam allowance and take your time to ensure neat and even stitching. Press the seams flat as you go to give the dress a professional finish.
If your slip dress has a zipper closure, this is the stage where you would insert the zipper according to the pattern instructions. Follow the specific guidelines to achieve a proper and secure zipper installation.
With the skirt attached, step back and admire your progress. You’re almost done! Now, let’s move on to the final step: adding the finishing touches to your slip dress.
Step 7: Adding Finishing Touches
With your slip dress nearly complete, it’s time to add those final touches that will elevate its look and make it truly personalized. Here are some finishing touches you can consider:
- Embellishments: Add decorative elements to your slip dress, such as lace trim, ribbons, or sequins, to enhance its aesthetic appeal. You can attach these embellishments to the neckline, hemline, or any other desired areas.
- Topstitching: Consider adding topstitching details to your slip dress to give it a polished and professional finish. You can stitch along the waistline, neckline, or straps for added structure and style.
- Add a slit: If you prefer a slip dress with a slit, you can create one at the hemline. Follow the pattern instructions or your own design preferences to incorporate a slit, whether it’s a side slit or a front slit.
- Lining: If you chose not to line your slip dress, you can add a lining at this stage for added comfort and a smoother appearance. Attach the lining to the bodice and skirt separately, following the pattern instructions or your own lining technique.
- Fitting adjustments: Once you have assembled the entire slip dress, try it on once again to check the fit. Make any necessary fitting adjustments, such as taking in or letting out seams, to ensure the dress fits you perfectly.
- Pressing and steaming: Before wearing or storing your slip dress, give it a final press with an iron to remove any wrinkles and ensure a neat and polished look. You can also use a garment steamer to eliminate any remaining wrinkles and give the fabric a fresh appearance.
Remember that these finishing touches are optional but can add that extra flair and uniqueness to your slip dress. Feel free to get creative and experiment with different details and techniques that reflect your personal style.
Once you have added all the finishing touches, step back and appreciate your creation. You have successfully completed your slip dress, from choosing the fabric to sewing the final stitches. Now it’s time to rock your beautiful handmade slip dress with confidence and pride!
Conclusion
Congratulations! You have reached the end of our slip dress tutorial blog. By following the steps outlined in this tutorial, you have learned how to make your own beautiful and stylish slip dress from scratch. From choosing the right fabric to sewing the finishing touches, you have acquired the skills and knowledge to create a custom-fit garment that reflects your personal style.
Making your own slip dress allows you to express your creativity and individuality while saving money compared to purchasing a ready-made dress. You have learned how to select the perfect fabric, take accurate measurements, cut the fabric with precision, sew the bodice and skirt, attach the straps, and add those special finishing touches that make your slip dress unique.
Remember, creating a slip dress takes time, patience, and attention to detail. Don’t be discouraged if you encounter challenges along the way. With practice and experience, your sewing skills will continue to improve, and the end result will be a beautifully constructed slip dress that fits you perfectly.
Now that you have completed your slip dress, it’s time to enjoy wearing it! Whether you dress it up for a special occasion or dress it down for a casual day out, your handmade slip dress will make you feel confident, stylish, and comfortable.
We hope you have found this tutorial informative and inspiring. Making your own clothes is a rewarding and fulfilling endeavor, and we encourage you to continue exploring the world of sewing and fashion. So, gather your materials, fire up your sewing machine, and let your creativity soar as you embark on future sewing projects.
Thank you for joining us on this slip dress-making journey, and happy sewing!