Home>How-to Guides>For Women>How To Sew A Shabby Chic Slip Dress

For Women
How To Sew A Shabby Chic Slip Dress
Modified: July 30, 2023
Discover how to sew a stunning shabby chic slip dress for women. Step-by-step guide with easy-to-follow instructions and tips to create your own stylish garment.
(Many of the links in this article redirect to a specific reviewed product. Your purchase of these products through affiliate links helps to generate commission for Under-tec.com, at no extra cost. Learn more)
Table of Contents
Introduction
Welcome to the world of sewing! If you’re a fashion-forward individual who loves to express your unique style, then learning how to sew your own clothing is a rewarding and empowering skill to have. In this tutorial, we’ll guide you step-by-step on how to sew a shabby chic slip dress that will make you feel effortlessly glamorous.
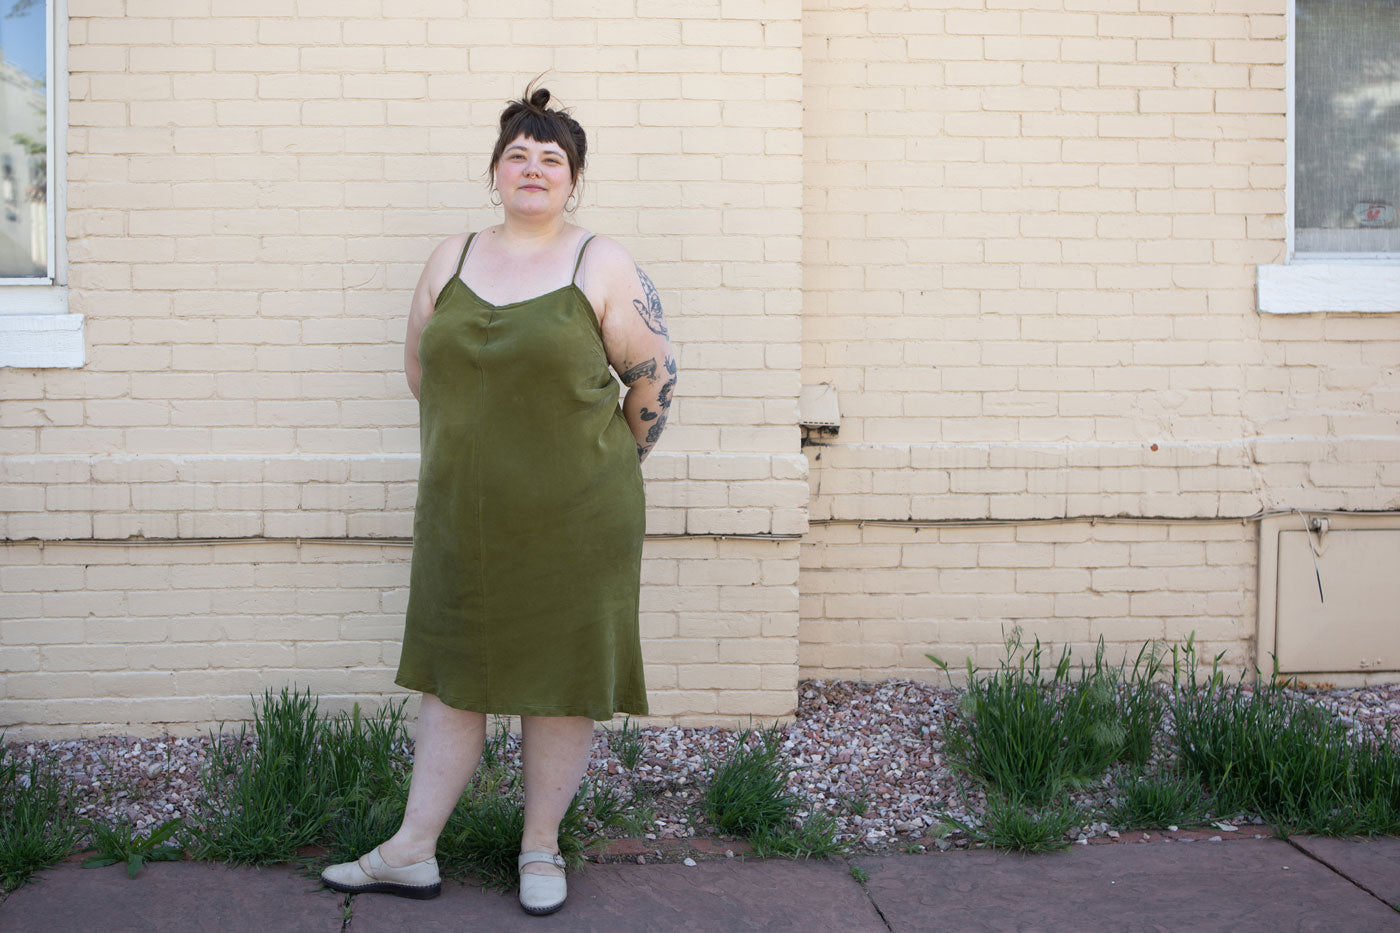
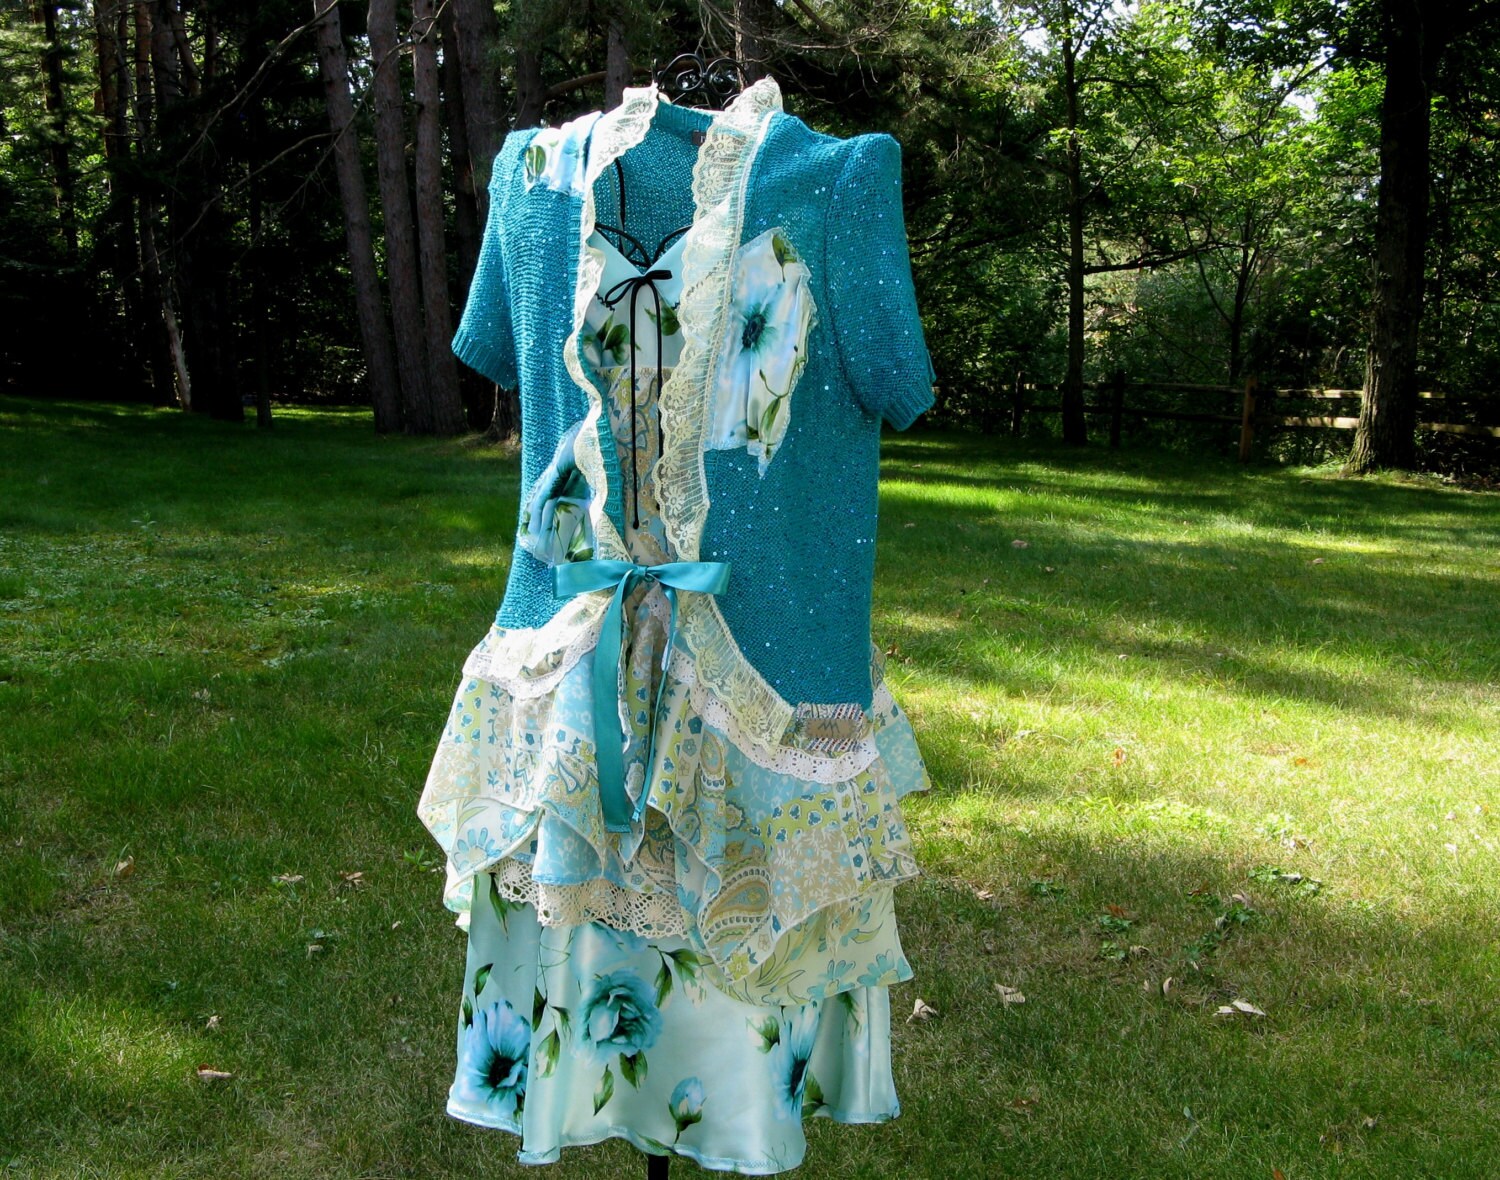
A slip dress is a versatile wardrobe staple that can be dressed up or down for various occasions. With its loose, flowing silhouette and delicate details, the shabby chic slip dress exudes a sense of vintage charm and elegance. Whether you’re attending a garden party, a summer soirée, or simply want to elevate your everyday style, this dress is sure to turn heads.
Creating your own slip dress allows you to personalize every aspect of the garment, from the fabric choice to the fit and finishing touches. It’s a project that can be enjoyed by sewing enthusiasts of all skill levels, from beginners to advanced seamstresses.
Throughout this tutorial, we’ll guide you through the process of choosing the perfect fabric, taking accurate body measurements, creating a pattern, cutting the fabric, and sewing the dress together. We’ll also show you how to customize your slip dress by adding straps or sleeves and provide tips on achieving that shabby chic aesthetic.
So, grab your sewing machine, gather your fabric and supplies, and let’s dive into the world of sewing as we embark on this exciting journey to create a shabby chic slip dress that reflects your personal style.
Materials Needed
Before we begin, let’s gather all the necessary materials for sewing your shabby chic slip dress. Having everything prepared will make the process smoother and more enjoyable. Here’s a list of what you’ll need:
- Fabric: Choose a lightweight, flowy fabric such as silk, chiffon, cotton lawn, or rayon. Ensure that it has enough drape to achieve the desired shabby chic look.
- Lining fabric: If your main fabric is sheer, you’ll need a coordinating lining fabric to provide opacity.
- Paper: Use pattern paper or large sheets of paper to create your pattern.
- Tape measure: This will be used to take accurate body measurements.
- Pencil or chalk: Use these to mark your measurements and pattern onto the fabric.
- Scissors: Invest in a good pair of fabric scissors for cutting the fabric.
- Sewing machine: A basic sewing machine with straight and zigzag stitches will suffice for this project.
- Thread: Choose a thread color that matches your fabric or opt for a contrasting color for decorative purposes.
- Pins: These will be used to secure the fabric layers together during sewing.
- Needles: Have hand-sewing needles on hand for any necessary hand stitching.
- Iron and ironing board: These are essential for pressing your fabric and giving your dress a polished finish.
- Buttons, lace, or other embellishments: Optional, but adding these details can enhance the shabby chic aesthetic of your dress.
Having these materials readily available will ensure a smooth sewing process and help you achieve the best possible results. Remember to choose fabrics and embellishments that align with your personal style and vision for the shabby chic slip dress.
Step 1: Choosing the Fabric
The fabric you choose for your shabby chic slip dress can greatly impact the overall look and feel of the garment. When selecting your fabric, consider the drape, weight, and texture that best suits your personal style and the shabby chic aesthetic.
Opt for fabrics that have a soft and flowy drape, such as silk, chiffon, cotton lawn, or rayon. These materials create a romantic and ethereal look, which is perfect for achieving the shabby chic vibe. Sheer fabrics can also be used, but make sure to have a coordinating lining fabric if you prefer more opacity.
When it comes to color, the shabby chic style often embraces a soft and muted color palette. Think pastel shades such as blush pink, lavender, mint green, or ivory. These colors add a delicate touch to the dress and evoke a sense of vintage charm.
Texture is another important element to consider. Look for fabrics with subtle patterns or delicate texture, such as floral prints, polka dots, or lace overlays. These details contribute to the shabby chic aesthetic and enhance the romantic feel of the dress.
Before making a final decision, it’s a good idea to take a close look at the fabric and envision how it will drape and move when turned into a slip dress. Consider how it will feel against your skin and whether it will be comfortable to wear. You want a fabric that not only looks beautiful but also feels great to wear.
If you’re unsure about your fabric choice, consider purchasing a small sample or swatch first. This allows you to see and feel the fabric in person before committing to a larger amount. It’s also a good idea to consult with the fabric store staff, as they can provide valuable insights and recommendations based on their expertise.
By selecting the right fabric, you set the foundation for creating a shabby chic slip dress that embodies your personal style. So take your time, explore different options, and let your creativity shine as you envision the perfect fabric for your one-of-a-kind dress.
Step 2: Taking Body Measurements
Accurate body measurements are key to ensuring a well-fitting slip dress. When taking your measurements, keep in mind that precision is important, but it’s equally important to remain relaxed and maintain a natural posture. Here’s a step-by-step guide to taking your body measurements:
- Bust: With your arms relaxed at your sides, measure the fullest part of your bust. Make sure the measuring tape is parallel to the floor and not too tight or too loose.
- Waist: Locate your natural waist, which is typically the smallest part of your torso. Wrap the measuring tape around your waist, making sure it’s snug but still comfortable.
- Hips: Measure the fullest part of your hips, around your buttocks. Again, ensure that the measuring tape is parallel to the floor and not too tight or too loose.
- Length: Decide on the desired length for your slip dress, whether it’s above the knee, at the knee, or midi length. Measure vertically from your natural waist to the desired hemline.
- Strap Length: If you plan to add straps or sleeves to your dress, measure the desired length from the top of your shoulder to where you want the straps/sleeves to sit.
- Additional Measurements: Depending on your personal preferences and the design of your slip dress, you may also need to measure other areas such as the neckline, armhole, or waistband. Refer to your chosen pattern or design to determine any additional measurements needed.
When measuring, ensure that the tape is snug but not too tight. It’s helpful to have a friend or family member assist you to ensure accurate measurements. Write down your measurements and refer to them during the pattern-making and cutting process.
It’s important to remember that everyone’s body is unique. Don’t be discouraged by the numbers, as they are simply a tool to help you create a slip dress that fits you perfectly. Allow for ease and comfort when interpreting your measurements, and make any necessary adjustments to the pattern to achieve the desired fit.
Taking accurate body measurements is an essential step in sewing your shabby chic slip dress. By doing so, you’ll be able to create a dress that flatters your figure and makes you feel confident and beautiful. So grab your measuring tape and embrace your unique proportions as you embark on this exciting sewing project.
Step 3: Creating the Pattern
Creating a pattern is a crucial step in sewing your shabby chic slip dress. It allows you to transform your body measurements into a template that will guide you in cutting and sewing the fabric. Here’s a step-by-step guide on how to create your slip dress pattern:
- Gather Supplies: You’ll need pattern paper or large sheets of paper, a ruler, a pencil or pen, and your body measurements.
- Bodice Pattern: Start by drawing a rectangle on the paper, using your bust and waist measurements as the width and the desired length as the height. Divide the rectangle in half vertically to create the front and back pieces of the bodice.
- Armhole and Neckline: Determine the desired shape of the neckline and armhole. Using a curved ruler or by freehand, draw the curves for the front and back neckline, as well as the armholes. It’s a good idea to refer to clothing you already own to get an idea of the desired shape.
- Skirt Pattern: For the skirt, decide on the desired fullness and length. This can range from a simple A-line shape to a more gathered or flared skirt. Measure your waist and hips, and use these measurements to create the width of the skirt pattern. Determine the length of the skirt based on your measurement preferences.
- Using Seam Allowance: Remember to add seam allowances to all pattern pieces. A standard seam allowance is ⅝ inch (1.6 cm), but you can adjust this according to your preference. Mark the seam allowance on the pattern and cut it out.
- Test and Adjust: Once you have created the pattern pieces, transfer them onto a muslin or scrap fabric and stitch them together. This will allow you to do a test fitting and make any necessary adjustments to the pattern before cutting into the final fabric.
Creating your own pattern gives you the freedom to customize the fit and design of your slip dress. It’s important to take your time during this step, ensuring accuracy and precision. Don’t be afraid to make adjustments and refine the pattern until you are satisfied with the shape and fit.
If you prefer not to create your own pattern from scratch, you can also use commercial patterns that cater to slip dresses or modify existing dress patterns to achieve the desired shabby chic style. However, keep in mind that commercial patterns might require some adjustments to fit your unique body shape and the desired style.
With a well-fitted and carefully crafted pattern in hand, you’re ready to move on to the exciting phase of cutting the fabric for your shabby chic slip dress.
Step 4: Cutting the Fabric
Now that you have your pattern ready, it’s time to bring your shabby chic slip dress to life by cutting the fabric. Follow these steps to ensure a clean and precise cut:
- Prepare Your Work Space: Clear a large surface area to lay out your fabric. Make sure it’s clean and free from dust or debris that could transfer onto the fabric.
- Double Check Your Pattern: Lay out your pattern pieces on the fabric, ensuring that they fit within the yardage and are positioned correctly according to the grainline and any pattern matching requirements. Use pins or weights to secure the pattern to the fabric.
- Mark the Fabric: Using a pencil or disappearing ink fabric marker, trace around the pattern pieces onto the fabric. Include any notations such as darts, button placement, or grainline arrows. Marking the fabric helps you maintain accuracy during the cutting process.
- Take Your Time: Use sharp fabric scissors to cut along the traced lines. Take your time and cut slowly to ensure clean edges and prevent any mistakes.
- Make Notches or Clip Curves: Notches are small cuts made into the seam allowance of curves or corner points, while clipping involves making small inward cuts along the seam allowance of convex curves. Notches and clipping help with alignment and ease of sewing the fabric together.
Before proceeding, double-check that you have cut all the necessary pieces according to the pattern and any additional design elements you have incorporated, such as straps or sleeves. Keep in mind that some pattern pieces may need to be cut on the fold, so pay attention to the markings on the pattern and fabric.
As you cut the fabric, take care to follow the grainline to ensure proper drape and fit of the dress. The grainline is indicated on the pattern and should be parallel to the selvage edge of the fabric. This ensures that the fabric hangs correctly when worn.
Once all the fabric pieces have been cut, organize them and keep them in order to avoid confusion during the sewing process. If necessary, label each piece to identify its corresponding part of the dress.
Remember to save any fabric scraps that can be used for future projects or for small embellishments on your shabby chic slip dress.
With your fabric cut and ready, the next step is to sew the different components of the dress together to bring your beautiful slip dress to life.
Step 5: Sewing the Bodice
Now that you have cut the fabric, it’s time to start sewing the bodice of your shabby chic slip dress. The bodice is the top part of the dress that includes the neckline, armholes, and any front or back details. Follow these steps to sew the bodice:
- Prepare Your Sewing Machine: Set up your sewing machine with the appropriate thread and needle for your fabric. Ensure that you have selected the correct stitch for the task at hand, such as a straight stitch or a zigzag stitch for finishing raw edges.
- Pin or Baste: Begin by pinning or basting the darts, if any, following the markings on the pattern. This helps create shape and ensure a proper fit.
- Seam Allowance: Align the fabric pieces with right sides together and pin them in place. Sew along the designated seam lines, using the indicated seam allowance (usually ⅝ inch or as specified in your pattern). Backstitch at the beginning and end of each seam to secure the stitches.
- Press the Seams: After sewing each seam, press the seams open or to one side with an iron. This helps the seams lay flat and gives a professional finish to the bodice.
- Attaching Lining, if Applicable: If your slip dress requires a lining, follow the pattern instructions to attach the lining to the bodice. This usually involves sewing the lining and main fabric together at the neckline and armholes, and sometimes along the side seams.
- Neckline and Armhole Finish: Finish the raw edges of the neckline and armholes with your preferred method, such as bias tape, facing, or a turned-under edge. Sew the finish in place, making sure it lays flat and smooth.
- Final Fitting: Before proceeding to the next step, try on the bodice to check the fit. Make any necessary adjustments, such as taking in or letting out seams, to ensure a comfortable and flattering fit.
Throughout the sewing process, remember to take your time, sew with care, and pay attention to small details. Press your seams after sewing to give your bodice a professional and polished appearance.
By sewing the bodice of your slip dress, you are one step closer to completing your chic and stylish garment. The next step is to attach the skirt and continue sewing the dress to completion.
Step 6: Attaching the Skirt
Now that the bodice of your shabby chic slip dress is complete, it’s time to move on to attaching the skirt. This step will give your dress its signature flowing silhouette. Follow these steps to seamlessly attach the skirt:
- Prepare the Skirt: If your skirt has multiple panels or seams, sew them together according to the pattern instructions. Finish the raw edges of the skirt pieces if necessary.
- Mark the Waistline: On the right side of the bodice and the skirt, mark the center front, center back, and quarter points of both pieces. This will help you align and distribute the fabric evenly.
- Pin and/or Baste: With right sides together, pin or baste the skirt to the bodice. Start by aligning the center front and center back points, then match the quarter points. Secure the fabric with pins or basting stitches, making sure the fabric is even and well-distributed.
- Sew the Waistline: Sew the skirt to the bodice along the waistline, using the designated seam allowance. Backstitch at the beginning and end to reinforce the stitching. If your pattern includes a zipper or other closure, leave an opening in the seam accordingly.
- Press the Seam: Press the waistline seam allowance towards the bodice or upwards, away from the skirt. Pressing helps to blend the seam and create a neat finish.
- Finish the Seam: Finish the raw edges of the waistline seam with your preferred method, such as zigzag stitching, serging, or using bias tape.
After attaching the skirt, try on the dress to ensure a proper fit and check the length. If any adjustments are needed, make them at this stage before moving forward.
Attaching the skirt completes the main construction of your shabby chic slip dress. The next step will be adding straps or sleeves to further enhance the charm and style of your garment.
Step 7: Adding Straps or Sleeves
Adding straps or sleeves to your shabby chic slip dress can elevate its design and provide additional support or coverage. Whether you opt for delicate straps or romantic flutter sleeves, follow these steps to attach them:
- Determine Strap or Sleeve Style: Decide on the type of straps or sleeves that align with your desired aesthetic. Options include spaghetti straps, wide straps, crossed straps, or various sleeve lengths and styles.
- Create the Straps or Sleeves: Using your fabric scraps or additional fabric, cut out the desired length and width for the straps or sleeves. If necessary, follow a pattern or tutorial specific to your chosen style.
- Positioning: Mark the placement of the straps or sleeves on the bodice. This can be at the top of the bodice, along the shoulder seam, or a specific distance from the center front or back.
- Attach the Straps or Sleeves: Align the straps or sleeves with the marked positions and pin them in place. Sew them securely to the bodice using a straight or zigzag stitch, depending on your desired aesthetic and the fabric you are working with.
- Finishing Touches: If desired, consider adding embellishments such as lace trim, ruffles, or decorative stitching to enhance the straps or sleeves and add additional charm to your slip dress.
- Try On and Adjust: Once the straps or sleeves are attached, try on the dress to ensure a comfortable fit and desired look. Make any necessary adjustments, such as adjusting the strap length or tweaking the position of the sleeves.
When attaching straps or sleeves, it’s important to reinforce the stitches and secure them well to ensure durability and longevity. Take your time and sew with care, paying attention to small details that can make a big difference in the overall appearance of your slip dress.
Adding straps or sleeves is the final touch to completing your shabby chic slip dress. It’s time to move on to the last step: adding any finishing touches to give your dress its unique and charming character.
Step 8: Finishing Touches
Now that you have completed the main construction of your shabby chic slip dress, it’s time to add those final touches that will truly make it special and unique. Here are some ideas to consider for the finishing touches:
- Embellishments: Consider adding delicate lace trim, ruffles, or decorative stitching to enhance the romantic and vintage charm of your dress. Embellishments can be added to the neckline, hemline, or anywhere you desire.
- Buttons: If your design calls for a button closure, choose buttons that complement the style and color of your dress. Sew them on carefully and securely, keeping in mind the placement and spacing.
- Hemming: Finish the hem of your slip dress using your preferred method, such as a double-fold hem or a rolled hem. Ensure that the hem is even and the length is as desired.
- Pressing: Use an iron to press your completed slip dress, paying attention to the seams, darts, and any other areas that may need extra shaping or smoothing. Pressing enhances the overall appearance of the dress and gives it a refined finish.
- Try On and Final Fitting: Once all the finishing touches have been applied, try on the dress once more to ensure a perfect fit and to admire your hard work. Take note of any final adjustments or tweaks that may be necessary.
Remember to embrace your creativity and personal style when adding the finishing touches to your slip dress. This is your opportunity to make it truly unique and reflect your own taste.
After the finishing touches have been completed, give your dress a final inspection to ensure that everything is secure, well-finished, and to your satisfaction. Now, it’s time to confidently wear your beautifully crafted shabby chic slip dress and make a statement with your personal style!
Conclusion
Congratulations! You have successfully learned how to sew your own shabby chic slip dress. By following the step-by-step instructions in this tutorial, you have created a beautiful garment that reflects your personal style and showcases your sewing skills.
Sewing your own clothing is a rewarding and empowering experience. Not only do you have the freedom to choose the fabric, fit, and design, but you also gain a deeper appreciation for the craftsmanship and effort that goes into creating a garment.
Throughout this tutorial, we covered the importance of choosing the right fabric, taking accurate body measurements, creating a pattern, cutting the fabric, sewing the bodice and attaching the skirt, adding straps or sleeves, and applying the finishing touches. Each step brought you closer to completing your shabby chic slip dress, honing your sewing skills along the way.
Remember, sewing is a skill that improves with practice, so don’t be discouraged if your first attempt isn’t perfect. Use any challenges or mistakes as learning opportunities and continue to refine your craft.
Now that you have a beautifully handmade slip dress, it’s time to enjoy the fruits of your labor. Whether it’s a garden party, a summer soirée, or a special occasion, slip into your shabby chic dress with confidence and be ready to turn heads.
Don’t forget to share your creation with others, inspire fellow sewing enthusiasts, and continue to explore new sewing projects. Keep experimenting with different fabrics, designs, and styles to expand your sewing repertoire.
Thank you for joining us on this sewing journey. We hope you had fun and gained valuable knowledge and skills in the process. Happy sewing!
