Home>Buying Guides>What Tension And Stitch Length For Sewing Slip Dress
Buying Guides
What Tension And Stitch Length For Sewing Slip Dress
Modified: August 2, 2023
Looking for the perfect slip dress? Discover the ideal tension and stitch length for sewing slip dresses for women, ensuring a flawless fit and finish.
(Many of the links in this article redirect to a specific reviewed product. Your purchase of these products through affiliate links helps to generate commission for Under-tec.com, at no extra cost. Learn more)
Table of Contents
Introduction
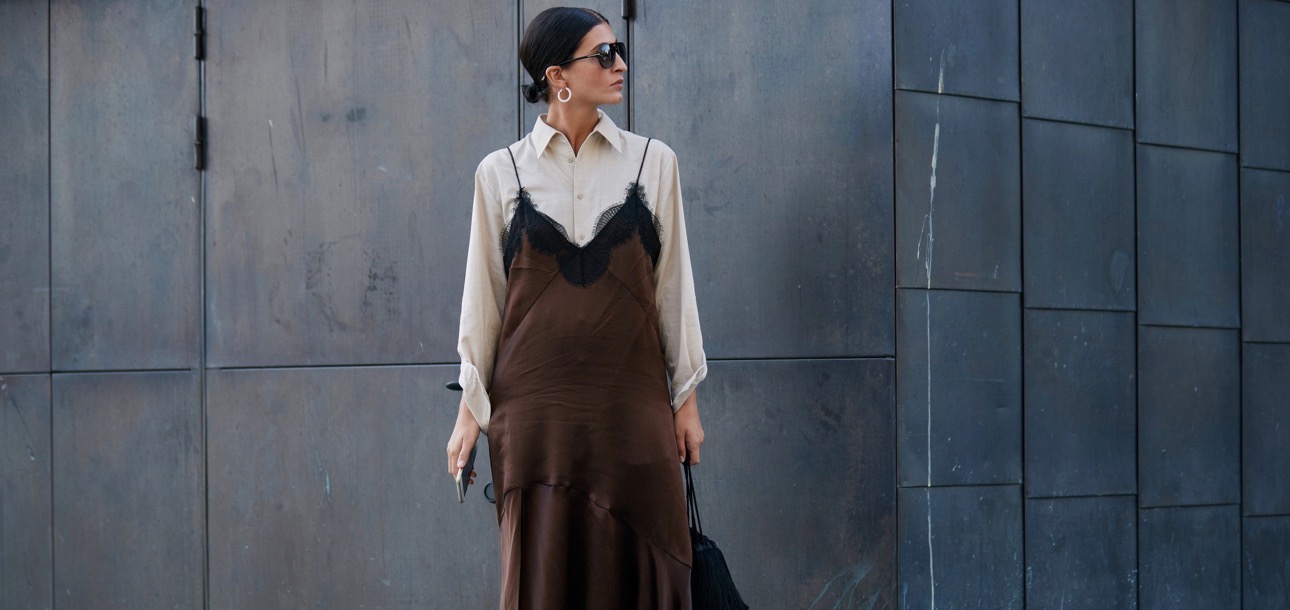
Slip dresses have long been a staple in a woman’s wardrobe, offering a versatile and effortlessly chic style for various occasions. Whether you’re attending a sophisticated cocktail party or enjoying a casual summer outing, a slip dress can make you feel glamorous and feminine. However, to ensure the perfect fit and professional finish of your slip dress, it’s crucial to understand the role of tension and stitch length in the sewing process.
When it comes to sewing slip dresses, achieving the right tension is key. Tension refers to the amount of resistance applied to the thread as it passes through the machine. Proper tension ensures that the stitches are balanced and evenly formed, preventing loose or puckered seams. Additionally, tension affects the overall appearance of the fabric, with incorrect tension resulting in the fabric being pulled or distorted.
Another critical factor to consider is stitch length. The stitch length refers to the distance between consecutive stitches and plays a significant role in the durability and appearance of the garment. The right stitch length helps to prevent seams from unraveling and ensures the seams lie flat and smooth.
Understanding how to adjust tension and select the appropriate stitch length can greatly impact the quality and outcome of your slip dress. In this article, we will delve into the intricacies of tension and stitch length, providing you with the knowledge and techniques to create the slip dress of your dreams.
Understanding Tension in Sewing Slip Dress
When it comes to sewing slip dresses, understanding tension is crucial for achieving professional-looking results. Tension in sewing refers to the amount of resistance applied to the thread as it passes through the machine. It ensures that the stitches are balanced, evenly formed, and that the fabric lies flat.
Proper tension is essential because if the tension is too loose, the stitches may appear sloppy and uneven, compromising the structural integrity of the garment. On the other hand, if the tension is too tight, the fabric may pucker, resulting in an unattractive finished product.
Tension can be adjusted using the tension discs or dial on your sewing machine. Most machines have a numbered tension scale, which allows you to fine-tune the tension to your specific fabric and thread combination. It’s important to note that different fabrics may require different tension settings, so it’s always advisable to test on a scrap piece of fabric before sewing your slip dress.
When adjusting tension, start with the thread tension set at the midpoint on the machine’s tension scale. Sew a small test swatch to check the stitches’ appearance and evaluate if any adjustments are necessary. If the stitches appear too loose, tighten the tension slightly, and if they appear too tight, loosen the tension. Continue making small adjustments until you achieve the desired stitch appearance.
Keep in mind that different types of stitches may require different tension settings. For example, a straight stitch may require a different tension than a zigzag stitch. It’s essential to consult your sewing machine’s manual or test different stitch types to determine the appropriate tension for your slip dress project.
Overall, understanding tension is vital in sewing slip dresses. By mastering tension adjustments, you can create professional-looking garments with even and balanced stitches. Take the time to experiment and practice with different tension settings to achieve the best results for your slip dress sewing projects.
Adjusting Tension for Slip Dress Sewing
Once you understand the importance of tension in sewing slip dresses, it’s essential to know how to adjust it to achieve optimal results. Proper tension ensures that the stitches are balanced, the fabric lies flat, and the overall appearance of the garment is impeccable. Here are some steps to guide you in adjusting tension for slip dress sewing:
- Test on Scrap Fabric: Before you start sewing your slip dress, it’s crucial to test the tension settings on a scrap piece of fabric. Use the same fabric and thread that you will be using for your slip dress to get accurate results.
- Midpoint Tension: Begin with the tension setting at the midpoint on your sewing machine’s tension scale. This is usually a good starting point for most fabrics. Sew a small test swatch to evaluate the stitch appearance and see if any adjustments are needed.
- Observe Stitch Appearance: Examine the stitches on your test swatch closely. If the stitches appear too loose and sloppy, it means that the tension is too low. In this case, tighten the tension slightly by adjusting the tension dial or discs on your machine. If the stitches appear too tight and the fabric is getting pulled, loosen the tension slightly.
- Make Incremental Adjustments: When making tension adjustments, it’s important to do so in small increments. Avoid making drastic changes as it can lead to unintended consequences. Make small adjustments, sew another test swatch, and assess the stitch appearance again. Continue this process until you achieve a balanced and even stitch appearance.
- Consider Thread and Fabric: Different combinations of threads and fabrics may require different tension settings. Thicker fabrics may require slightly looser tension, while delicate fabrics may need a slightly tighter tension. Experiment with different tension settings and observe how the stitches look on various fabric types to find the best combination.
- Regular Testing: As you progress with sewing your slip dress, periodically check the tension and stitch appearance. Fabric layers and seams can sometimes affect the tension, so it’s important to ensure that the stitches remain balanced throughout the project. Make adjustments as needed and continue to test on scrap fabric before sewing on the actual dress.
Remember, adjusting tension is a trial-and-error process, and it may take some practice to find the perfect tension for your slip dress sewing. Take your time, be patient, and don’t hesitate to make small adjustments as you go along. With practice, you’ll develop a keen eye for tension and achieve professional results with your slip dress sewing projects.
Importance of Stitch Length in Sewing Slip Dress
When it comes to sewing slip dresses, the stitch length plays a vital role in both the appearance and functionality of the garment. The stitch length refers to the distance between consecutive stitches and can greatly impact the durability, strength, and overall aesthetic of the finished dress.
One of the main reasons stitch length is important is because it directly affects the seam’s strength. If the stitch length is too short, the stitches may become too close together, resulting in a weaker seam that is prone to breaking or tearing. On the other hand, if the stitch length is too long, the stitches may be too far apart, leading to loose seams that can easily unravel. The right stitch length ensures that the seams are strong and withstand regular wear and tear.
In addition to seam strength, stitch length also affects the appearance of the slip dress. A shorter stitch length creates a denser stitch pattern, which is ideal for fabrics that require stability and a neat finish. On the other hand, a longer stitch length creates a more visible, decorative stitch that can add a unique touch to the slip dress.
Moreover, stitch length can impact the drape and movement of the fabric. For lightweight and flowy fabrics used in slip dresses, a longer stitch length allows the fabric to drape naturally and move with ease. By contrast, a shorter stitch length may hinder the fabric’s drape, resulting in a stiffer and less fluid garment.
It’s important to consider the fabric type and thickness when selecting the stitch length for your slip dress. For delicate fabrics, such as silk or chiffon, a shorter stitch length is recommended to prevent the fabric from fraying or pulling. Heavier fabrics, like satin or jacquard, can handle longer stitch lengths without compromising the strength or appearance of the seams.
Ultimately, the importance of stitch length in sewing slip dresses cannot be overstated. By choosing the right stitch length, you ensure the durability, strength, appearance, and drape of the garment. Take the time to experiment with different stitch lengths on scrap fabric to determine the most suitable option for your slip dress project. With careful consideration and attention to detail, you can achieve beautifully sewn slip dresses that are both stylish and functional.
Choosing the Right Stitch Length for Slip Dress Sewing
Choosing the right stitch length is crucial when sewing slip dresses, as it directly impacts the overall quality and appearance of the garment. The stitch length refers to the distance between consecutive stitches and plays a significant role in achieving durable and visually pleasing seams.
When determining the appropriate stitch length for your slip dress, consider the following factors:
- Fabric Type: Different fabrics require different stitch lengths. For lightweight and delicate fabrics like silk or chiffon, a shorter stitch length is recommended to prevent fraying and ensure the seam holds. Medium-weight fabrics like cotton or linen can be sewn with a moderate stitch length. Heavier fabrics such as satin or wool may benefit from slightly longer stitch lengths.
- Seam Type: Consider the type of seams you’ll be using in your slip dress. For standard seams, a medium stitch length is typically sufficient. However, if you plan to use decorative seams or topstitching, a longer stitch length can showcase these design elements.
- Functional or Decorative: Determine whether the stitches need to be primarily functional or decorative. If the purpose is solely to join fabric pieces together, opt for a stitch length that provides strong and secure seams. If decorative stitching is desired, longer stitch lengths can add visual interest and create unique design elements.
- Gathered or Pleated Areas: For slip dresses with gathered or pleated areas, a longer stitch length is often recommended. This allows for more fabric gathering in a single stitch, resulting in evenly distributed gathers or pleats.
- Test on Scrap Fabric: Prior to sewing your slip dress, always test different stitch lengths on a scrap piece of fabric. This will allow you to observe how the stitches appear on the actual fabric and make necessary adjustments before sewing the dress.
As a general guideline, a stitch length of around 2.5mm to 3mm is suitable for many slip dress sewing projects. However, it’s important to consider your specific fabric, desired seam type, and functional or decorative requirements.
It’s worth noting that personal preference and experimentation also play a role in selecting the stitch length. Every sewist has their own preferred stitch length based on their sewing style and the desired outcome. Therefore, don’t be afraid to experiment with different stitch lengths and evaluate the results to find what works best for you and your slip dress projects.
By carefully considering the fabric type, seam type, and purpose of the stitches, and by testing on scrap fabric, you can confidently choose the right stitch length for sewing slip dresses. This will result in beautifully constructed garments that showcase your sewing skills and reflect your unique style.
Conclusion
Sewing slip dresses requires attention to detail and an understanding of key elements such as tension and stitch length. These factors play a significant role in achieving professional-looking and durable garments.
Understanding tension is essential for achieving balanced and even stitches. By taking the time to test and adjust the tension settings on your sewing machine, you can ensure that your slip dress seams are secure and free from puckering or distortion.
Similarly, choosing the right stitch length is crucial for both the functionality and appearance of your slip dress. Factors such as fabric type, seam type, and desired outcome should be considered when selecting the appropriate stitch length. Through experimentation and test sewing, you can find the perfect stitch length that enhances the strength, visual appeal, and drape of your slip dress.
Remember, sewing slip dresses is both an art and a skill. It takes practice and patience to master tension adjustment and stitch length selection. Don’t be afraid to experiment and make adjustments along the way. With time and experience, you’ll develop a keen eye for what works best for your slip dress projects.
So, whether you’re a beginner sewist or an experienced one, taking the time to understand and optimize tension and stitch length will elevate the quality of your slip dress creations. Enjoy the process, embrace your creativity, and sew beautiful slip dresses that make you feel confident and stylish.