Home>How-to Guides>For Women>How To Turn Slip Dress Into A Puffy Gown

For Women
How To Turn Slip Dress Into A Puffy Gown
Modified: July 30, 2023
Learn how to transform a slip dress into a fabulous puffy gown for women. Step-by-step guide to create a stunning and unique look.
(Many of the links in this article redirect to a specific reviewed product. Your purchase of these products through affiliate links helps to generate commission for Under-tec.com, at no extra cost. Learn more)
Table of Contents
Introduction
Welcome to the world of fashion transformations! If you have a slip dress lying in your closet that you never wear, we have an exciting idea for you. Why not turn that simple slip dress into a stunning puffy gown? With a few simple steps and some basic materials, you can give your slip dress a whole new life and create a glamorous look for any special occasion.
The beauty of this DIY project is that you don’t need to be a professional seamstress to achieve amazing results. All you need is some creativity, a bit of patience, and the willingness to experiment. So, gather your materials, clear some space in your sewing area, and let’s transform that slip dress into a show-stopping puffy gown!
In this guide, we will walk you through the step-by-step process of turning a slip dress into a puffy gown. From choosing the right slip dress to adding layers of tulle and creating a tulle petticoat, we will cover everything you need to know to achieve your desired look. By the end of this article, you will have a stunning puffy gown that will make you feel like the belle of the ball!
Before we dive into the detailed steps, let’s talk about the materials you will need for this project. Don’t worry, you don’t need to break the bank to gather these supplies. Most of them can be easily found in craft stores or ordered online. So, let’s gather our materials and get ready to transform that slip dress!
Materials Needed
Before you start your slip dress transformation, make sure you have the following materials on hand:
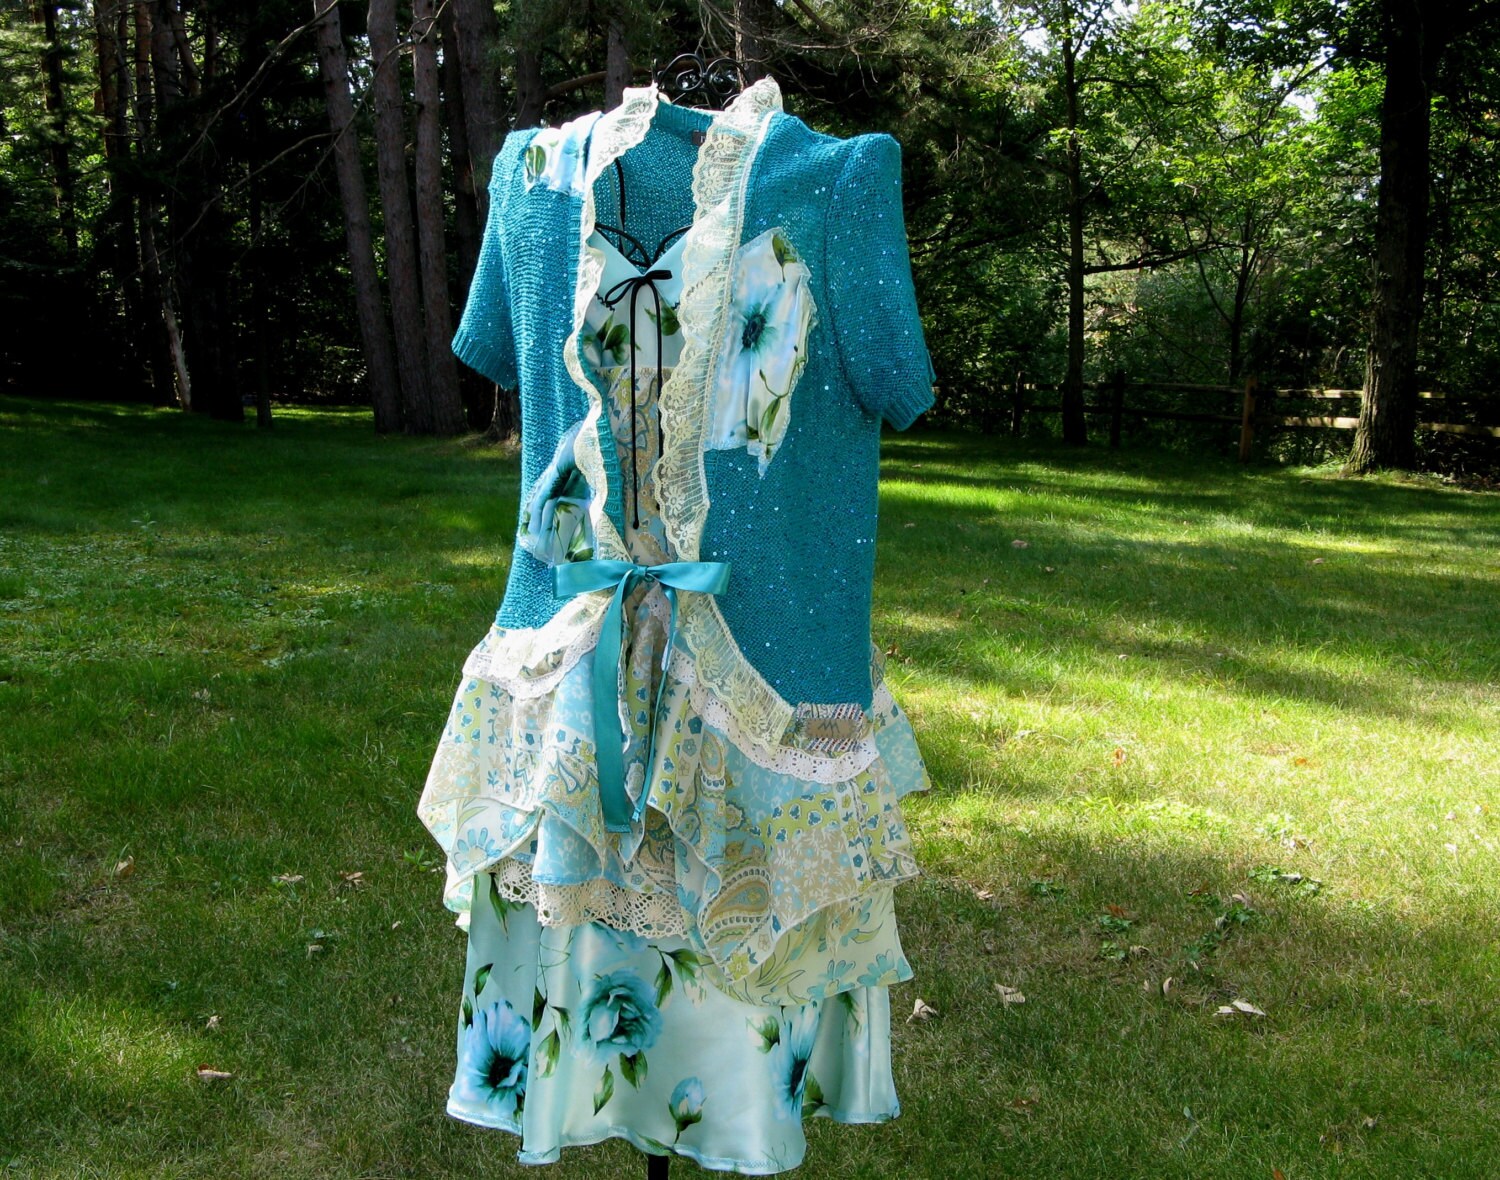
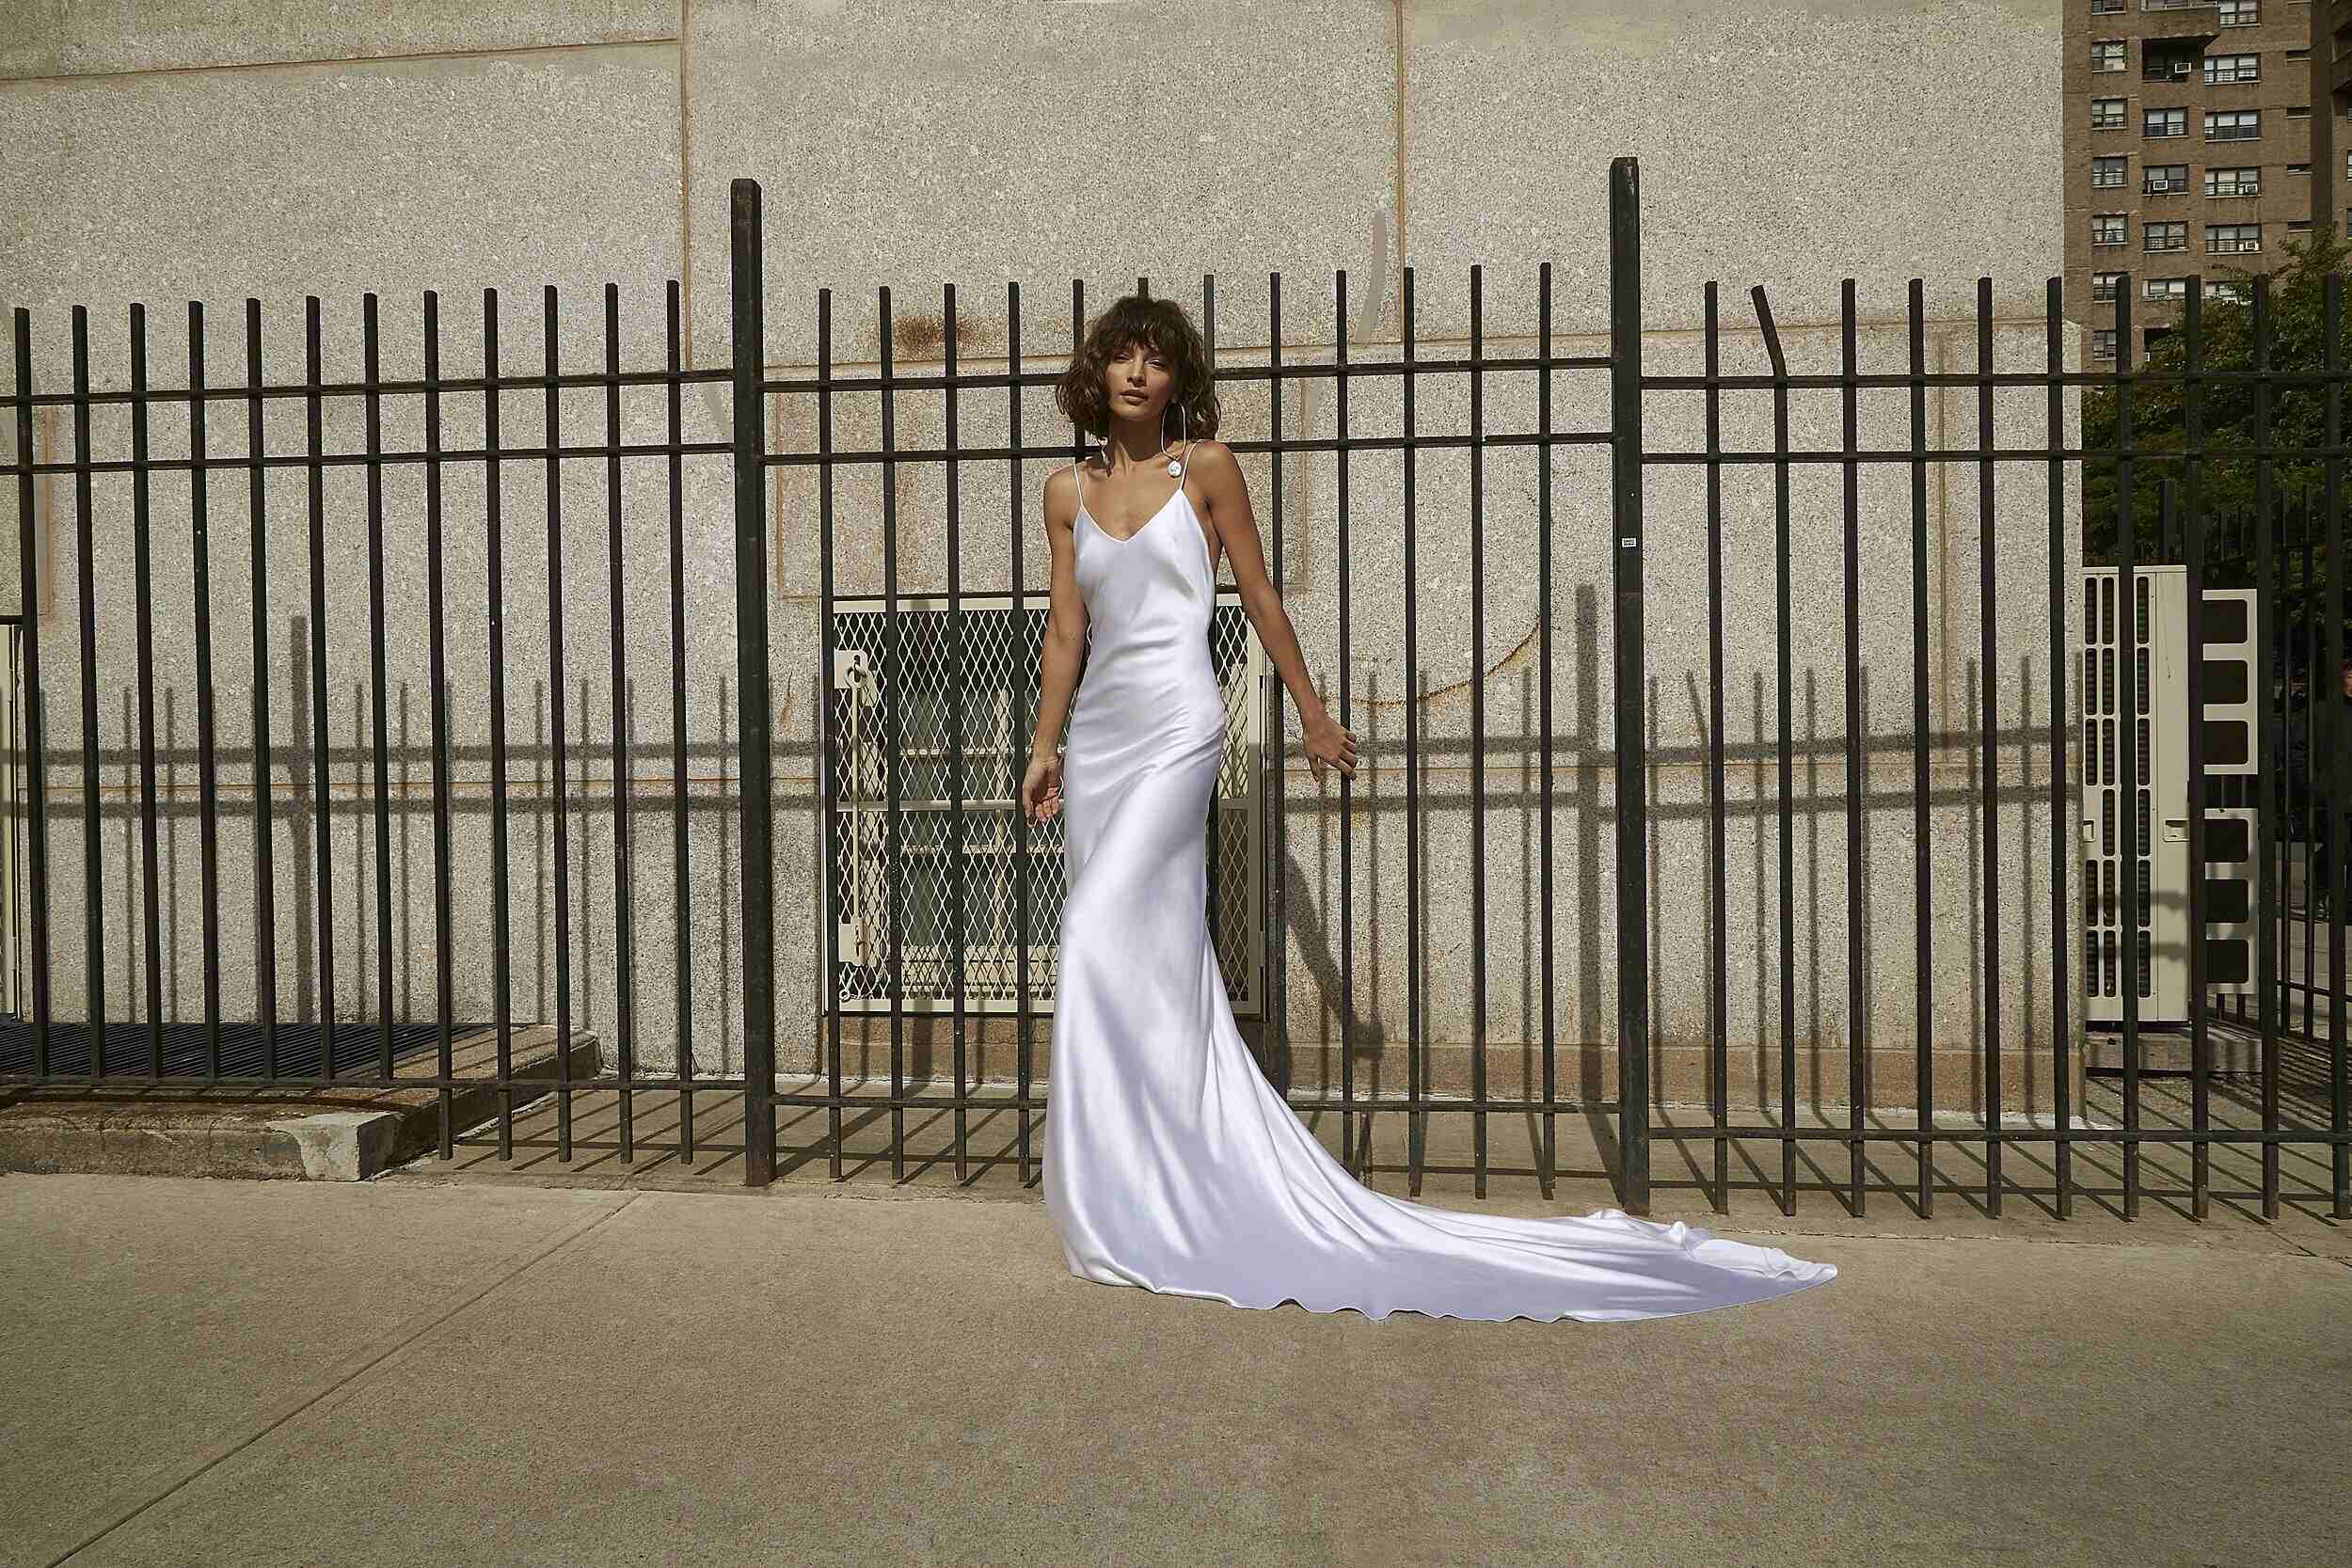
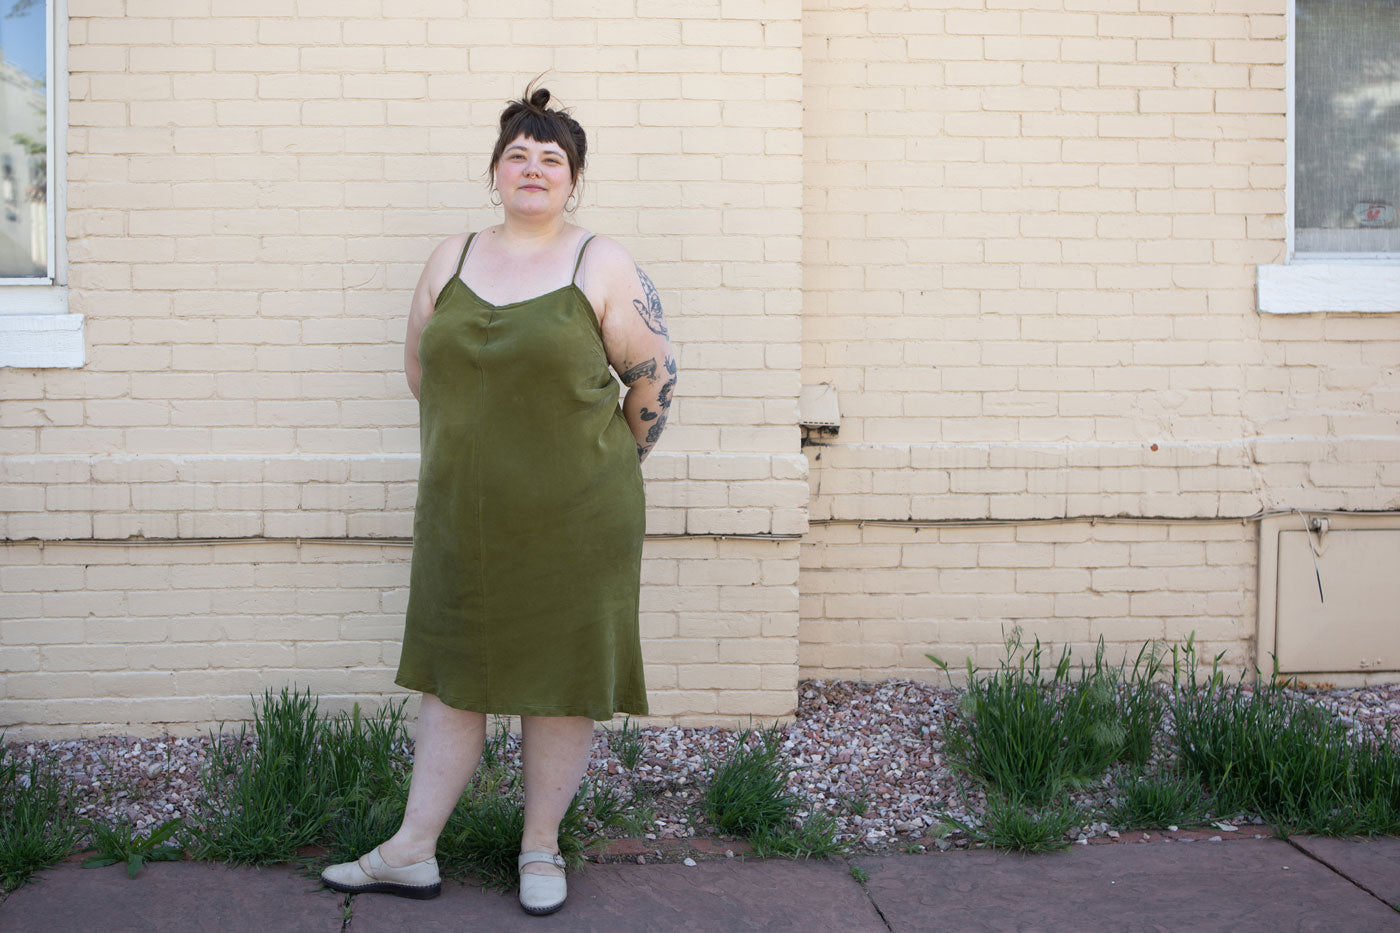
- Slip dress: Choose a slip dress that fits you well and is made of a lightweight fabric. Opt for a solid color or a simple pattern that will complement the puffy gown look.
- Tulle fabric: You will need several yards of tulle fabric to create the layers and volume for your puffy gown. Choose a color that matches or complements your slip dress.
- Elastic: Elastic will be used to create the waistband of the petticoat. Make sure it’s wide enough to provide comfort and support.
- Needle and thread: A basic sewing kit with needles and thread in colors matching your slip dress and tulle fabric is essential for this project.
- Sewing machine (optional): If you’re comfortable using a sewing machine, it can speed up the process. However, you can still achieve great results by hand sewing.
- Scissors: Sharp scissors will come in handy for cutting fabric and trimming excess tulle.
- Measuring tape: Accurate measurements are crucial for creating the perfect fit. A flexible measuring tape will help you achieve precise results.
- Embellishments (optional): If you want to add a touch of sparkle or personalization to your puffy gown, consider embellishments like sequins, rhinestones, or lace trim.
- Pins: Pins will help you keep the fabric in place while sewing and fitting the pieces together. Choose the appropriate size for your project.
Now that you have all the necessary materials, it’s time to dive into the step-by-step process of turning your slip dress into a fabulous puffy gown. Let’s get started!
Step 1: Choosing the Right Slip Dress
The first step in transforming your slip dress into a puffy gown is selecting the right slip dress as your base. Here are a few key factors to consider:
- Fit: Choose a slip dress that fits you well. It should hug your body and be comfortable to wear for an extended period of time. Keep in mind that you’ll be adding layers of fabric, so make sure the slip dress has enough room to accommodate the added volume.
- Length: The length of the slip dress will determine the overall length of your puffy gown. Decide if you want a short, knee-length gown or a full-length floor-sweeping gown. Keep in mind the occasion and your personal style when choosing the length.
- Fabric: Opt for a slip dress made of a lightweight fabric, such as satin or silk, as it will be more comfortable and easier to work with. Avoid slip dresses made of heavy fabrics, as they may weigh down the layers of tulle.
- Color and Pattern: Consider the color and pattern of the slip dress. Solid colors and simple patterns work best for a puffy gown, as they allow the layers of tulle to stand out. Choose a color that complements your skin tone and matches the overall aesthetic you want to achieve.
Once you have found the perfect slip dress, it’s time to move on to the next step: adding layers of tulle to create volume and give your gown that puffy look.
Step 2: Adding Layers of Tulle
Now that you have selected the perfect slip dress, it’s time to add layers of tulle to create volume and give your gown that puffy appearance. Follow these steps to achieve the desired effect:
- Measure and cut the tulle: Start by measuring and cutting the tulle into strips or panels. The length and width of the tulle will depend on the desired fullness and length of your gown. Cut the strips slightly longer than the length of your slip dress to allow for gathering and adjustment.
- Gather and sew the tulle: Once you have cut the tulle, gather it along one edge to create a ruffled effect. You can either do this by hand-sewing a basting stitch or using a sewing machine with a gathering foot. Adjust the gathering until it matches the width of your slip dress.
- Attach the tulle to the slip dress: With the gathered edge of the tulle facing down, pin it to the hemline of the slip dress. Continue pinning the tulle around the entire circumference of the slip dress, adjusting the gathers as needed to ensure an even distribution of volume.
- Sew the tulle to the slip dress: Carefully stitch the gathered edge of the tulle to the slip dress using a straight stitch or a zigzag stitch. Make sure to remove the pins as you go. Repeat this process for each layer of tulle you want to add, adjusting the length and fullness as desired.
Remember to try on the slip dress as you go to ensure the desired volume and shape. If needed, you can always add or remove tulle layers to achieve the perfect puffy effect for your gown. Don’t be afraid to experiment and make adjustments along the way!
With the tulle layers securely attached to your slip dress, you are now ready to move on to the next step: creating a tulle petticoat to further enhance the volume and shape of your puffy gown.
Step 3: Creating a Tulle Petticoat
In this step, we will create a tulle petticoat to provide additional structure, volume, and shape to your puffy gown. Follow these steps to create a stunning petticoat:
- Measure and cut the tulle: Start by measuring and cutting the tulle into wide strips or panels. The length of the tulle should be slightly longer than the desired length of your petticoat. Cut multiple strips to ensure enough fabric for the layers.
- Create the waistband: Take a piece of elastic and measure it around your waist. Cut the elastic to the desired length, leaving a few extra inches for overlapping and sewing. Sew the ends of the elastic together to form a waistband. Ensure a comfortable fit by stretching the elastic slightly while sewing to prevent it from being too tight.
- Attach the tulle strips: Take one of the tulle strips and fold it in half lengthwise. Place the folded tulle on the inside of the waistband, aligning the raw edges with the top edge of the elastic. Sew along the raw edges of the tulle, attaching it securely to the waistband. Repeat this step with the remaining tulle strips, evenly spacing them around the waistband.
- Continue layering the tulle: Once you have attached the first layer of tulle, take another strip and attach it slightly lower on the waistband, overlapping the previous layer. Continue adding layers of tulle, gradually increasing the length and fullness as you move downward.
- Adjust and trim the tulle: After attaching the tulle layers, try on the petticoat and adjust the fullness and length as desired. If necessary, trim any excess tulle to ensure a clean and even hemline.
By creating a tulle petticoat, you are adding more volume and structure to your puffy gown. The petticoat will help the layers of tulle stand out and maintain their shape, giving your gown a dramatic and glamorous look.
Now that you have successfully created a tulle petticoat, it’s time to move on to the next step: attaching the petticoat to the slip dress to complete your stunning puffy gown!
Step 4: Attaching the Petticoat to the Slip Dress
In this step, we will attach the tulle petticoat to the slip dress, ensuring that it stays in place and gives your puffy gown the desired shape. Follow these steps to complete the transformation:
- Put on the slip dress: Start by putting on the slip dress. This will allow you to accurately position and attach the petticoat.
- Place the petticoat over the slip dress: Carefully position the tulle petticoat over the slip dress, ensuring that it is centered and sits at the desired height. The petticoat should cover the entire circumference of the slip dress.
- Pin the petticoat to the slip dress: Use sewing pins to secure the petticoat to the slip dress. Start by pinning the top edge of the petticoat to the slip dress, making sure it is evenly distributed. Continue pinning around the entire circumference, adjusting the gathers and shape as needed.
- Secure the petticoat with stitches: Once the petticoat is pinned in place, carefully remove the slip dress, keeping the petticoat intact. Use a needle and thread to stitch the petticoat to the slip dress along the pinned areas. Use small, discreet stitches to ensure a secure attachment.
- Try on the puffy gown: After securing the petticoat, put on the slip dress along with the attached petticoat. Check the volume, shape, and overall appearance of the puffy gown. Make any necessary adjustments, such as tightening or loosening the gathers.
Attaching the petticoat to the slip dress is a crucial step in creating a cohesive and stunning puffy gown. The secure attachment ensures that the layers of tulle stay in place, giving your gown that desired voluminous look.
Now that your petticoat is seamlessly attached to the slip dress, it’s time to move on to the next step: adjusting the volume and shape of your puffy gown to perfection!
Step 5: Adjusting the Volume and Shape
Now that you have attached the petticoat to your slip dress, it’s time to fine-tune the volume and shape of your puffy gown. Follow these steps to ensure your gown looks just the way you envisioned:
- Try on the puffy gown: Put on the slip dress along with the attached petticoat to get a better sense of the volume and overall appearance. Stand in front of a mirror and observe how the tulle layers fall and create shape. Take note of any areas where the volume may need to be adjusted.
- Adjust the gathers: If you feel that certain areas of the gown require more volume, carefully adjust the gathers of the tulle. You can gently push the fabric towards the desired area, creating more fullness and volume. Take your time to ensure the overall distribution of volume is even and balanced.
- Secure the adjustments: Once you are satisfied with the volume and shape, secure the adjustments by hand stitching the tulle layers in place. Use small, discreet stitches to keep the desired shape intact. This will ensure that the tulle layers stay in place while you move and dance.
- Check the length: Pay attention to the length of the gown. If you feel that the tulle layers are too long and overwhelming, trim them to your desired length. Use sharp scissors to create a clean, even hemline. Remember to leave a little bit of allowance to account for any minor adjustments that may be needed later.
By adjusting the volume and shape of your puffy gown, you create a customized look that enhances your figure and personal style. Take your time during this step to achieve the perfect balance and silhouette.
Now that you have perfected the volume and shape of your puffy gown, it’s time to add the final touches and embellishments. We will cover this in the next step!
Step 6: Adding Embellishments and Finishing Touches
With the volume and shape of your puffy gown adjusted to perfection, it’s time to add those final touches to make your gown truly unique. Here’s how you can add embellishments and put the finishing touches on your masterpiece:
- Choose your embellishments: Decide on the type of embellishments you want to add to your gown. You can choose from options such as sequins, rhinestones, lace trim, or fabric flowers. Consider the overall aesthetic of your gown and the occasion for which you will be wearing it.
- Plan the placement: Visualize where you want to place the embellishments on your gown. It could be along the neckline, on the bodice, or scattered throughout the tulle layers. Use pins or fabric markers to mark the desired locations before attaching the embellishments.
- Attach the embellishments: Use a needle and thread or fabric glue to securely attach the embellishments to your gown. Take your time and pay attention to detail to ensure they are properly secured and won’t come off during wear. If using sequins or rhinestones, consider using a small dab of fabric glue to keep them firmly in place.
- Consider additional details: Aside from embellishments, think about other finishing touches that can elevate the look of your gown. This could include adding a satin ribbon waistband, creating a draped effect with tulle, or incorporating delicate lace appliques. These details will add an extra layer of elegance and sophistication.
- Try on the complete gown: Once you have added the desired embellishments and finishing touches, try on the complete puffy gown. Take a moment to admire your creation, and make any final adjustments if necessary. Ensure that all the embellishments are securely attached and that you are satisfied with the overall look.
The addition of embellishments and finishing touches will not only make your puffy gown stand out but also reflect your personal style and creativity. Let your imagination run wild and make this gown truly your own!
Congratulations! You have successfully transformed a simple slip dress into a stunning puffy gown. With your newly acquired sewing skills and creative flair, you can now confidently rock your one-of-a-kind gown for weddings, parties, or any other special occasion.
Conclusion
Congratulations on completing the transformation of your slip dress into a fabulous puffy gown! By following the step-by-step instructions outlined in this guide, you have turned a simple garment into a show-stopping piece that is uniquely yours.
The process of converting a slip dress into a puffy gown allows you to unleash your creativity and customize your gown to match your personal style and the occasion. From choosing the right slip dress to adding layers of tulle, creating a tulle petticoat, and adjusting the volume and shape, each step has contributed to the stunning end result.
Additionally, the final touches of adding embellishments and other details have elevated your gown to the next level. Whether you have chosen sequins, rhinestones, lace trim, or other embellishments, these additions showcase your individuality and make your gown truly unique.
Remember to take your time throughout the process, fine-tuning each step to meet your desired outcome. You are not limited to the instructions provided in this guide – feel free to experiment and add your own personal touches to make your puffy gown even more special.
Now that you have successfully transformed your slip dress into a puffy gown, it’s time to slip it on, stand tall, and confidently showcase your creation to the world. Rock your new gown with pride, and prepare to receive compliments and admiration wherever you go.
We hope this guide has inspired you to explore more DIY projects and embark on other fashion transformations in the future. Remember, fashion is an expression of your unique style and personality, and the possibilities are endless!