Home>How-to Guides>For Women>How To Make A Crop Tank Top
For Women
How To Make A Crop Tank Top
Modified: July 30, 2023
(Many of the links in this article redirect to a specific reviewed product. Your purchase of these products through affiliate links helps to generate commission for Under-tec.com, at no extra cost. Learn more)
Table of Contents
Introduction
Welcome to the wonderful world of DIY fashion! Making your own clothes not only allows you to express your creativity but also ensures that you have unique and customized pieces in your wardrobe. One trendy and versatile item that you can easily create is a crop tank top. Whether you want to rock it at a summer music festival or pair it with high-waisted jeans for a casual day out, a DIY crop tank top is the perfect addition to your wardrobe.
In this tutorial, we will guide you step-by-step on how to create your own crop tank top. Don’t worry if you’re new to sewing or DIY projects – this is a beginner-friendly tutorial that requires minimal materials and basic sewing skills. So grab your favorite old t-shirt, some scissors, and let’s get started!
Before we dive into the process, it’s important to note that you can customize your crop tank top to your desired length. Whether you prefer a super cropped style or something a bit longer, feel free to adjust the measurements according to your personal preference. Now, let’s gather the materials needed for this DIY project.
Materials Needed
Before you embark on creating your own crop tank top, it’s essential to gather the necessary materials. Don’t worry, you won’t need to break the bank for this DIY project – most of these items can be found in your own home or easily purchased at a local craft store for a minimal cost. Here’s what you’ll need:
- An old T-shirt: Choose a t-shirt that you no longer wear but still love the fabric and color.
- Scissors: Make sure you have a good pair of fabric scissors that are sharp and suitable for cutting through the material.
- Measuring tape or ruler: This will help you measure and mark the desired length for your crop tank top.
- Pins: These will come in handy when securing the fabric before cutting.
- Sewing machine or needle and thread: If you want to finish the raw edges of your crop top, you’ll either need a sewing machine or some basic sewing skills to hand sew the edges.
- Optional: Embellishments such as fabric paint, beads, or lace, if you want to add a personal touch or enhance the look of your crop tank top.
Once you have these materials ready, you’re all set to dive into the DIY process. Remember, it’s always a good idea to have everything prepared before you begin, as it ensures a smoother and more efficient crafting experience. So, gather your materials and let’s move on to the next step: choosing the perfect t-shirt for your crop tank top.
Step 1: Choose a T-shirt
The first step in creating your own crop tank top is selecting the perfect t-shirt to transform. Look into your wardrobe and find a t-shirt that you no longer wear but still love the fabric and color. It could be a plain tee, a graphic tee, or even a vintage find. The choice is yours!
Consider the fit of the t-shirt as well. You want to choose a t-shirt that fits you well in the shoulders and bust area, as this will ensure a more flattering and comfortable fit for your crop tank top. If the t-shirt is slightly larger, that’s okay too – you can always make adjustments in the later steps.
Additionally, keep in mind the length you want for your crop tank top. Take a moment to visualize how short or long you would like it to be, keeping in mind your personal style and the occasion you’ll be wearing it for. If you’re unsure about the length, it’s always better to start with a longer t-shirt, as you can always trim it shorter later on.
Once you’ve chosen the perfect t-shirt, you’re ready to move on to the next step: measuring and marking the desired length for your crop tank top. Grab your measuring tape or ruler and let’s get started!
Step 2: Measure and Mark
Now that you have your chosen t-shirt, it’s time to measure and mark the desired length for your crop tank top. This step is crucial to ensure you achieve the perfect fit and length that you envision.
Start by trying on the t-shirt and deciding where you want the crop line to be. Remember, you can always start with a longer length and make it shorter if needed. Use the measuring tape or ruler to measure from the bottom hem of the t-shirt to the desired length. For a classic crop tank top, a length that hits just above the navel is commonly preferred, but feel free to adjust according to your personal style and preference.
Once you have determined the desired length, carefully mark it on both sides of the t-shirt using a fabric marker, chalk, or pins. Make sure the marks are even and symmetrical on both sides, ensuring a balanced and professional-looking crop tank top.
Before moving on to the next step, take a moment to double-check the marks and the overall length you have chosen. If you’re happy with the measurements, it’s time to move on to the exciting part – cutting the sleeves!
Pro tip: If you’re unsure about the length and hesitant to make permanent marks on your t-shirt, you can use safety pins to temporarily hold the fabric at the desired length. This will allow you to try on the t-shirt and make any adjustments before committing to the final crop length.
Step 3: Cut the Sleeves
Now that you have marked the desired length for your crop tank top, it’s time to transform the sleeves into the sleeveless style. This step will give your DIY creation a breezy and summery look.
Start by laying the t-shirt on a flat surface. Take one sleeve and pull it away from the body of the shirt, making sure it is fully extended. Use your scissors to carefully cut along the marked line on the sleeve. Take your time and make precise cuts to achieve clean and professional-looking results.
Remember to keep the other sleeve intact as you’ll be cutting it in the same manner. This will help ensure symmetry and balance in the final design.
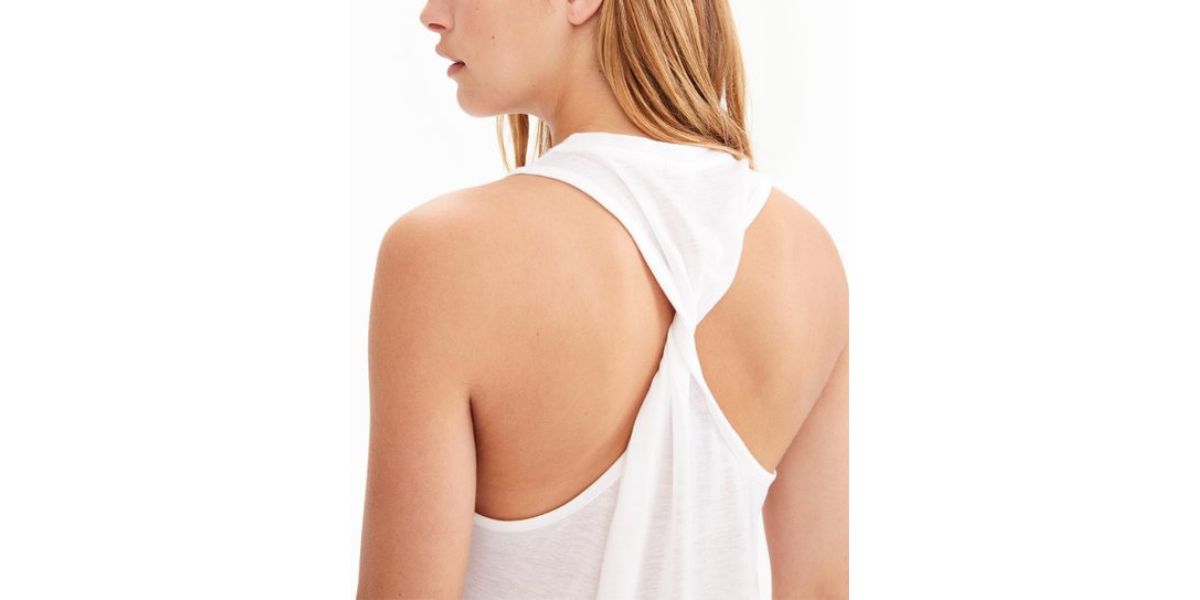
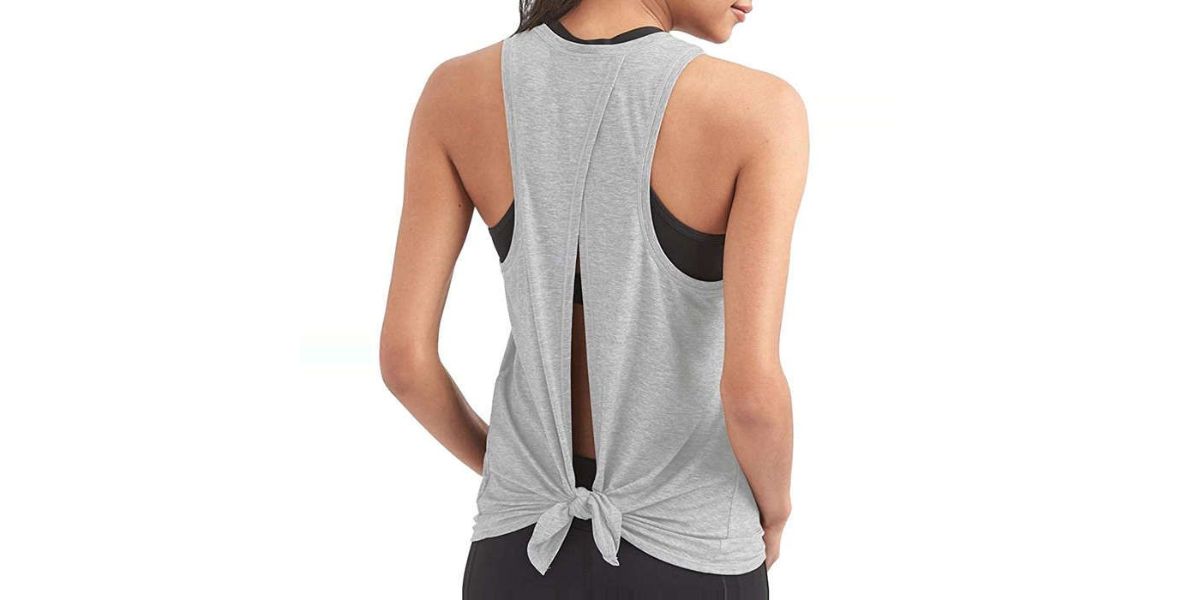
If you prefer a thicker shoulder strap or want to add some personal creativity to your crop tank top, you can choose to cut the sleeves wider or even shape them into different designs like a halter top or racerback style. Just make sure to keep the integrity of the neckline intact if you decide to modify the sleeves.
Once both sleeves are cut, you have successfully transformed your t-shirt into a sleeveless crop tank top! Don’t discard the sleeves just yet, though – they can be repurposed for other DIY projects like headbands or fabric flowers.
Now that the sleeves are out of the way, it’s time to move on to the next step: cutting the neckline to create a flattering and stylish look.
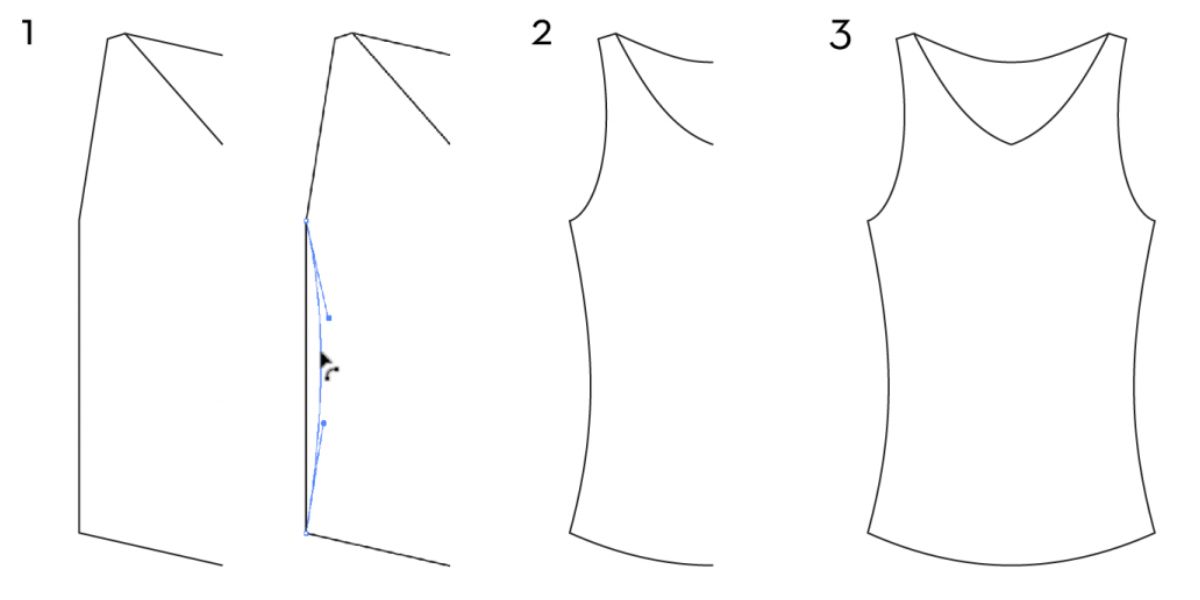
Step 4: Cut the Neckline
With the sleeves removed, it’s time to give the neckline of your crop tank top a fashionable and flattering makeover. By cutting the neckline, you can create a customized look that suits your personal style.
Start by taking a close look at the existing neckline of your t-shirt. Decide on the shape and depth you want for the neckline. Popular options include a classic round neck, a trendy V-neck, or even a bold scoop neck. Use your imagination and consider what will suit you best.
To cut the neckline, start at the shoulder seam and carefully remove a small portion of the fabric, following the desired shape and depth. Remember, it’s always better to start with a smaller cut and gradually increase the depth if needed.
Take your time to make precise and clean cuts as this will enhance the overall appearance of your crop tank top. If you’re unsure about the shape or depth, you can use chalk or a fabric marker to draw the outline before cutting. This will serve as a guide and help ensure symmetry on both sides of the neckline.
Once you have finished cutting the neckline, try on the crop tank top to see how it looks and make any necessary adjustments. If you’re happy with the shape and depth, move on to the next step: cutting the bottom hem.
Pro tip: If you want to add a touch of elegance or uniqueness to your crop tank top, consider adding some decorative elements to the neckline. This could include lace trim, beads, or even embroidery. Get creative and make your crop tank top truly one-of-a-kind!
Step 5: Cut the Bottom Hem
Now that the sleeves and neckline of your crop tank top are looking fabulous, it’s time to focus on the bottom hem. By cutting the hem, you’ll achieve the perfect length and finish for your DIY creation.
Start by laying the t-shirt flat on a surface and smooth out any wrinkles or folds. Take your scissors and carefully cut along the marked line at the bottom of the t-shirt. Make sure to follow the line as smoothly and accurately as possible, ensuring a clean and even edge.
Consider the desired length for your crop tank top. Do you want it to end right above your waistline? Or do you prefer a slightly longer or shorter length? This step allows you to customize the crop top to suit your style and comfort.
If you want a more refined and polished look, you can fold the bottom hem under and sew it in place using a sewing machine or a needle and thread. This will create a finished edge and prevent fraying. However, if you prefer a more casual, raw-edged look, you can leave the bottom hem as is.
Once you have finished cutting the bottom hem, take a moment to try on the crop tank top and assess the length. Make any necessary adjustments by trimming the hem if desired.
With the bottom hem cut, you’re nearing the end of your DIY crop tank top project. The next step will focus on trying on the top and making any last-minute adjustments for a perfect fit.
Pro tip: If you plan to wear your crop tank top with high-waisted bottoms, consider cutting the back slightly longer than the front. This will create a subtle hi-low effect and ensure a comfortable and flattering fit.
Step 6: Try on and Make Adjustments
Now that you have completed the main steps of creating your crop tank top, it’s time to try it on and make any necessary adjustments for the perfect fit and style. Trying it on will give you a better sense of how the crop tank top looks and feels on your body.
Put on the crop tank top and stand in front of a mirror. Check the length, neckline, and overall fit of the top. Take note of any areas that may need tweaking or alterations.
If you find that the crop tank top is too loose or too tight in certain areas, you can make adjustments by taking it in or letting it out. This can be done by taking in the side seams or adding darts to achieve a more tailored fit. Alternatively, you can also make adjustments by adding elastic to the waistband or using a tie-up feature to ensure a secure and comfortable fit.
Examine the neckline and determine if it suits your taste and style. If you feel that it needs further shaping or adjustment, you can make modifications by cutting or reshaping it accordingly.
Remember that this is your customized creation, so feel free to make any changes or modifications that will make you feel confident and comfortable wearing it.
After making any necessary adjustments, try the crop tank top on again to assess the changes you have made. Take your time to ensure that you are satisfied with the fit, length, and overall look.
Once you are confident with the fit and style of your crop tank top, it’s time to move on to finishing the raw edges for a polished and professional appearance. This step will take your crop tank top to the next level!
Pro tip: Don’t be afraid to experiment with accessories and styling options while trying on your crop tank top. Pair it with different bottoms, layer it with jackets or cardigans, and accessorize with jewelry to discover various looks that suit your personal style.
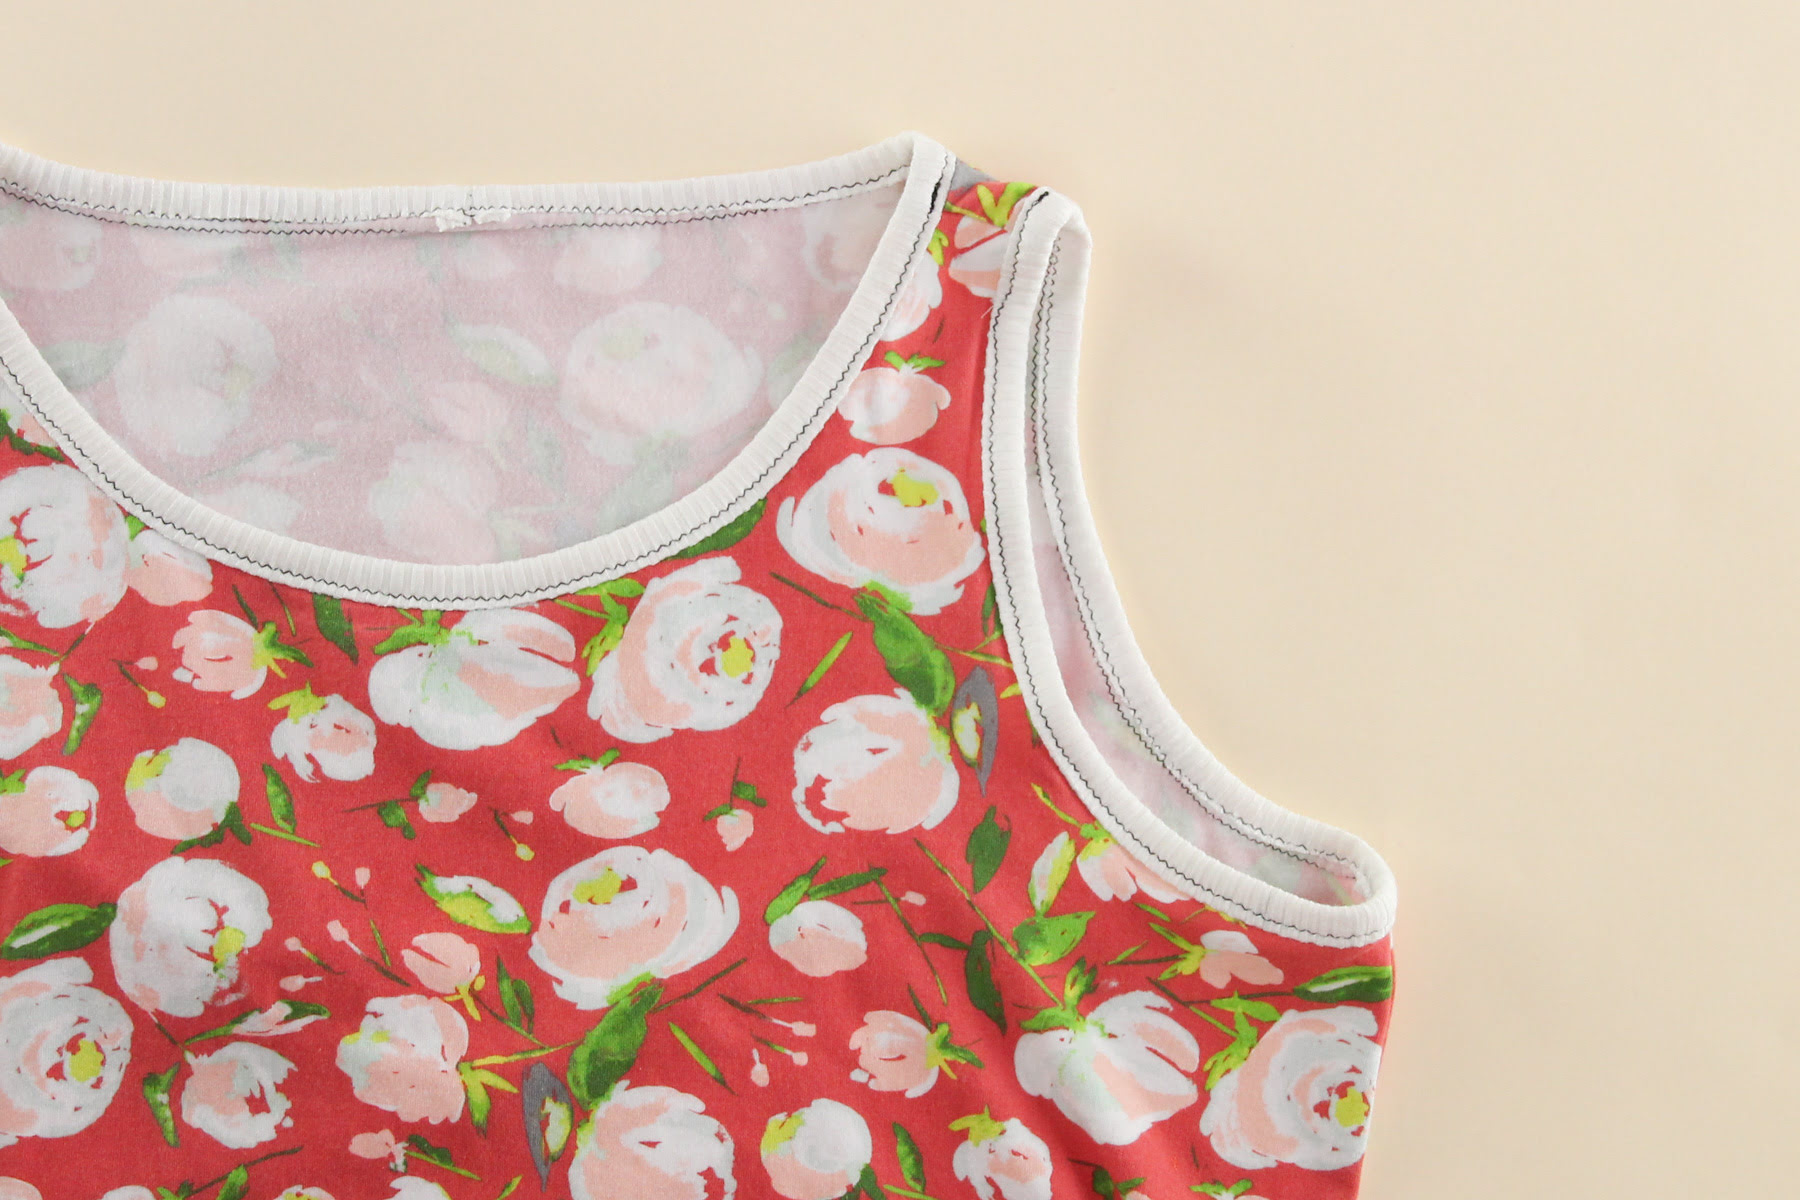
Step 7: Finish the Raw Edges
Now that you have achieved the desired fit and style for your crop tank top, it’s time to give it a finished and polished look by taking care of the raw edges. This step will ensure that your DIY creation stands out and looks professional.
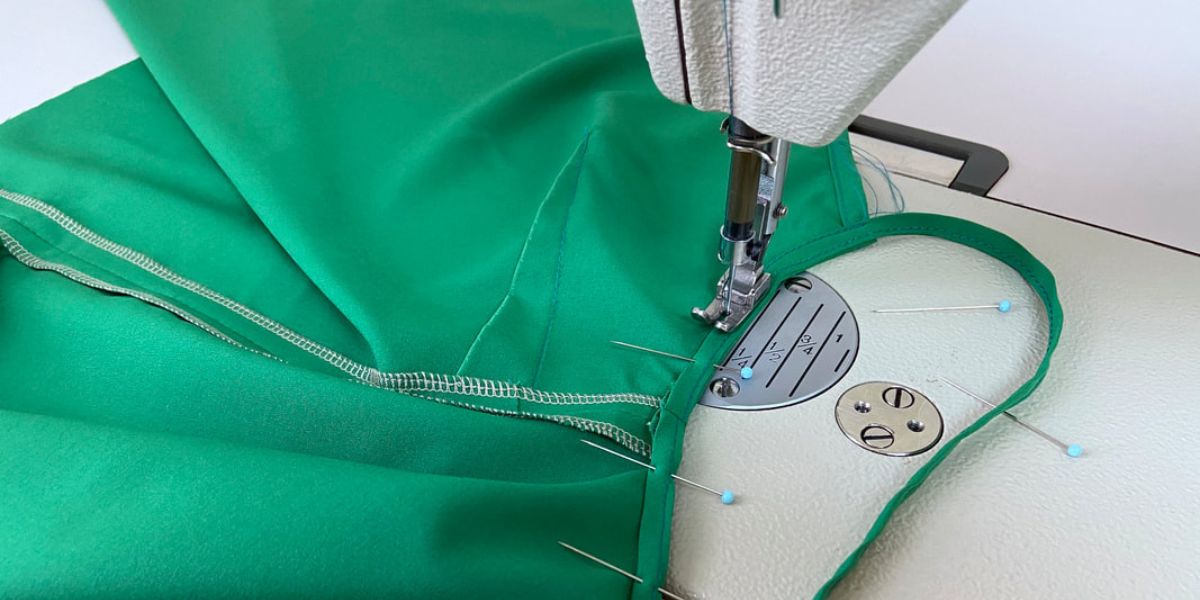
Start by examining the raw edges of the sleeves, neckline, and bottom hem. If you prefer a clean and neat appearance, consider finishing these edges with a sewing machine or needle and thread.
To finish the raw edges, you have a few options:
- Turn and hem: Fold the raw edge under by about half an inch and use a sewing machine or needle and thread to sew a straight stitch along the edge. This will create a clean hemline and prevent the fabric from fraying.
- Zigzag stitch: If you don’t have access to a sewing machine or prefer a quicker alternative, you can use a zigzag stitch along the raw edge to give it a finished look. This will also help prevent fraying.
- Binding: Another option is to use bias binding or fabric tape to bind the raw edges. This creates a decorative and polished finish while ensuring the longevity of your crop tank top.
Choose the finishing method that works best for you and your sewing skills. Remember to take your time and be careful when sewing to achieve clean and even stitches.
Once you have finished the raw edges, give your crop tank top a final press with an iron to smooth out any wrinkles and flatten the seams. This will give your creation a professional and refined look.
With the raw edges finished, your crop tank top is complete and ready to be shown off! Now you can rock your unique and stylish creation with confidence and pride.
Before you go, if you want to add some personal flair or make your crop tank top even more unique, you can move on to the optional step of adding embellishments. This will add that extra touch of creativity and make your crop top truly stand out.
Step 8: Optional: Add Embellishments
Now that your crop tank top is complete, why not take it to the next level by adding some embellishments? This optional step allows you to add unique and personal touches to make your DIY creation even more special.
There are countless ways to embellish your crop tank top, depending on your style and preferences. Here are a few ideas to get you started:
- Fabric paint: Get creative with fabric paint by adding designs, patterns, or even inspirational quotes to your crop tank top. Use stencils or freehand your designs – the choice is yours. Just make sure to follow the instructions on the fabric paint bottle for best results.
- Iron-on patches: If you’re looking for an easy and quick way to add some personality to your crop tank top, consider iron-on patches. Find patches that reflect your interests or make a statement. Simply place the patch on the desired area and use an iron to adhere it to the fabric.
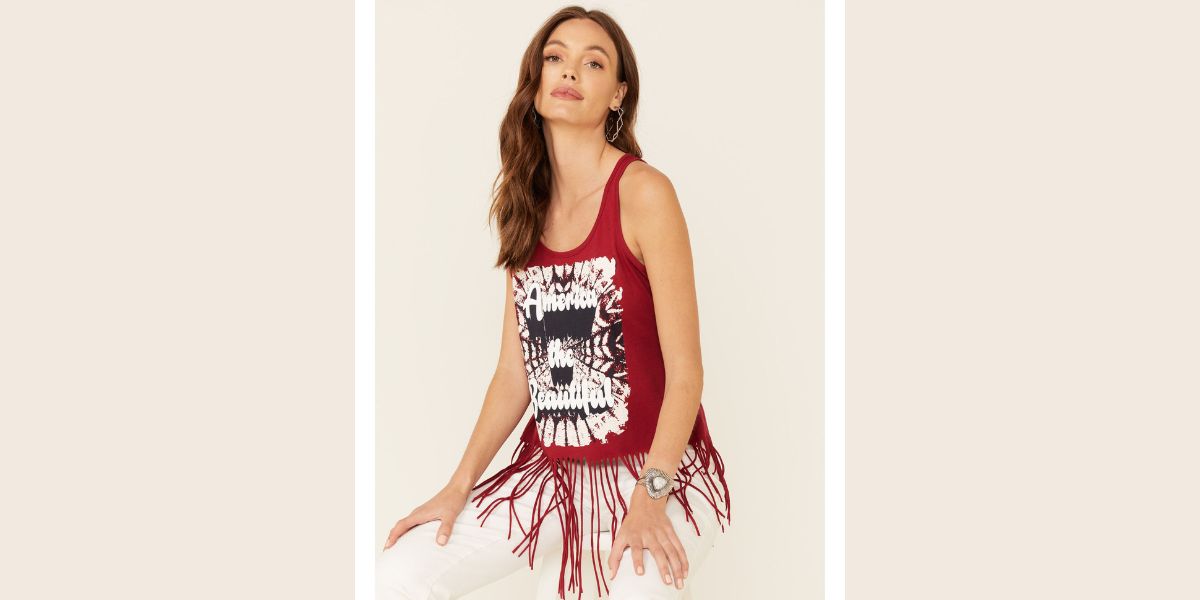
- Lace or trim: Add a touch of femininity and elegance to your crop tank top by sewing on lace or trim along the edges or as a decorative detail. This will give your creation a delicate and sophisticated look.
- Beads or sequins: For a sparkling and glamorous touch, embellish your crop tank top with beads or sequins. Create patterns, add shimmering accents, or even spell out words – the possibilities are endless. Use a needle and thread or fabric glue to secure the beads or sequins in place.
- Embroidery: If you enjoy embroidery, take your crop tank top to the next level by adding embroidered designs. Whether it’s floral motifs, geometric patterns, or personalized monograms, embroidery can add an artistic and intricate touch to your creation.
Remember, embellishing your crop tank top is all about expressing your creativity and personal style. Feel free to mix and match different embellishments or even come up with your own unique ideas. The goal is to make your crop tank top a true reflection of your personality.
Once you have added your desired embellishments, give your crop tank top a final inspection to ensure that everything is secure and nicely done. Now, it’s time to proudly wear and show off your one-of-a-kind creation!
Congratulations on successfully creating your very own crop tank top! Enjoy the process of making and wearing your DIY fashion piece. Be proud of your creativity and don’t be afraid to experiment with different styles and designs in the future.
Conclusion
Congratulations on completing your DIY crop tank top! You have ventured into the world of fashion creativity and successfully transformed a simple t-shirt into a stylish and unique piece. By following the step-by-step instructions, you have learned how to choose the right t-shirt, measure and mark the desired length, cut the sleeves and neckline, and finish the raw edges. Adding optional embellishments allowed you to infuse your personal style and make your crop tank top truly one-of-a-kind.
Creating your own clothes is not only a rewarding and fun experience, but it also allows you to express your creativity and individuality. Now that you have mastered the art of making a crop tank top, you can apply your newfound skills to other DIY fashion projects. Explore different styles, fabrics, and designs to continue expanding your fashion repertoire.
Remember, fashion is not limited to what you find in stores – it’s about embracing your personal style, experimenting with creativity, and having fun with your wardrobe. Your DIY crop tank top is a reflection of your unique taste and fashion sense.
So, wear your crop tank top with pride, knowing that you have created it with your own hands. Pair it with high-waisted jeans, skirts, shorts, or layer it under a cardigan or denim jacket. Let your individuality shine and inspire others to embrace their own creativity.
Now that you’ve completed this project, don’t stop here. Dive into more DIY fashion adventures and continue to explore the world of creativity and self-expression through clothing. Enjoy the process, and most importantly, have fun making your own fashion statements!