Home>How-to Guides>For Women>How To Make A Bikini Top
For Women
How To Make A Bikini Top
Modified: August 2, 2023
Learn how to make a stylish bikini top for women with step-by-step instructions. Create your own unique beach look!
(Many of the links in this article redirect to a specific reviewed product. Your purchase of these products through affiliate links helps to generate commission for Under-tec.com, at no extra cost. Learn more)
Table of Contents
Introduction
When it comes to beach fashion, a bikini top is an essential piece. It not only provides support and comfort but also adds a touch of style to your swimwear ensemble. While there are countless options available in stores, making your own bikini top can be a fun and rewarding DIY project. Whether you want a custom design or simply want to save some money, creating your own bikini top allows you to unleash your creativity and personalize your beachwear.
In this article, we will guide you through the step-by-step process of making a bikini top from scratch. You don’t need to be a professional seamstress; with a few simple materials and basic sewing skills, you’ll be able to create a unique and stylish bikini top that fits perfectly.
Not only will making your own bikini top give you a sense of accomplishment, but it will also allow you to customize the design according to your preferences. You can choose from various fabrics, patterns, and embellishments to create a one-of-a-kind bikini top that reflects your personal style. So, let’s dive in and learn how to make your own bikini top!
Materials Needed
Before you start making your bikini top, gather the following materials:
- Fabric: Choose a fabric that is suitable for swimwear, such as nylon or polyester spandex blend. Make sure the fabric has enough stretch and is comfortable against the skin.
- Lining: It is recommended to use a lining fabric, such as swimwear lining or power mesh, to provide extra support and durability.
- Elastic: Select thin and firm elastic that will provide structure and support to the bikini top. Make sure it is appropriate for swimwear.
- Sewing Supplies: You will need a sewing machine, sewing needles, thread in a matching color, pins, fabric scissors, and a measuring tape.
- Other Supplies: Gather a marking pen or chalk, a ruler or straight edge, bra cups (optional for added shape and support), and any trimmings or embellishments you desire, such as sequins, beads, or ribbons.
Make sure you have all the necessary materials before you begin. Prepare a clean and organized work area to ensure an efficient and enjoyable sewing experience.
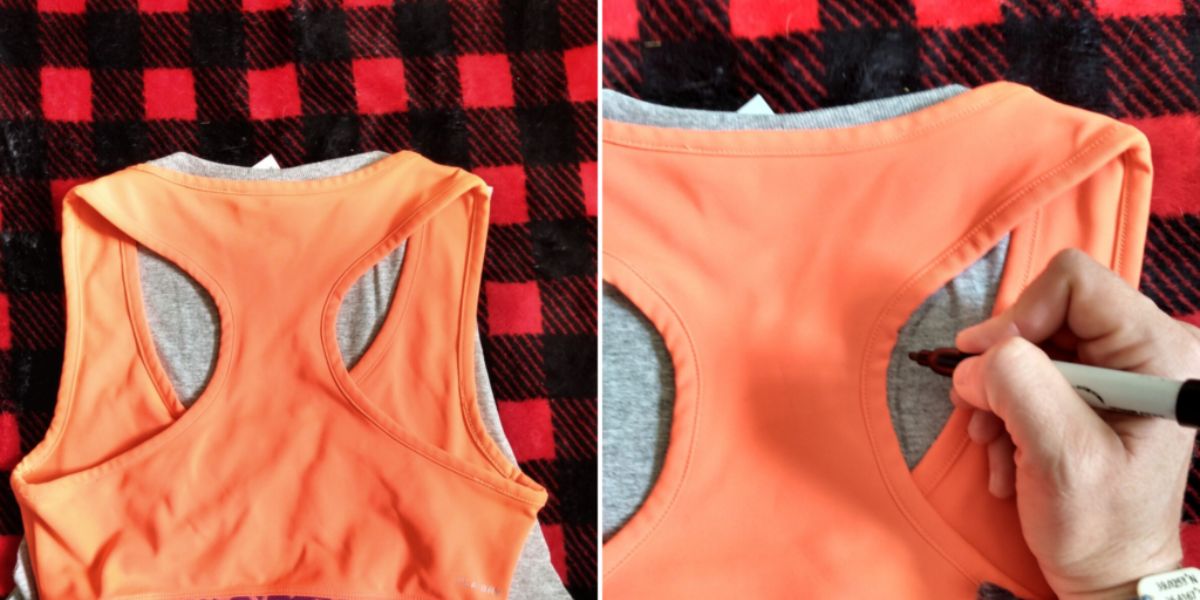
Step 1: Measuring and Cutting
The first step in making a bikini top is to measure your body and cut out the necessary fabric pieces. Here’s how:
- Measurements: Take accurate measurements of your bust size and underbust circumference. Use a measuring tape to ensure precision.
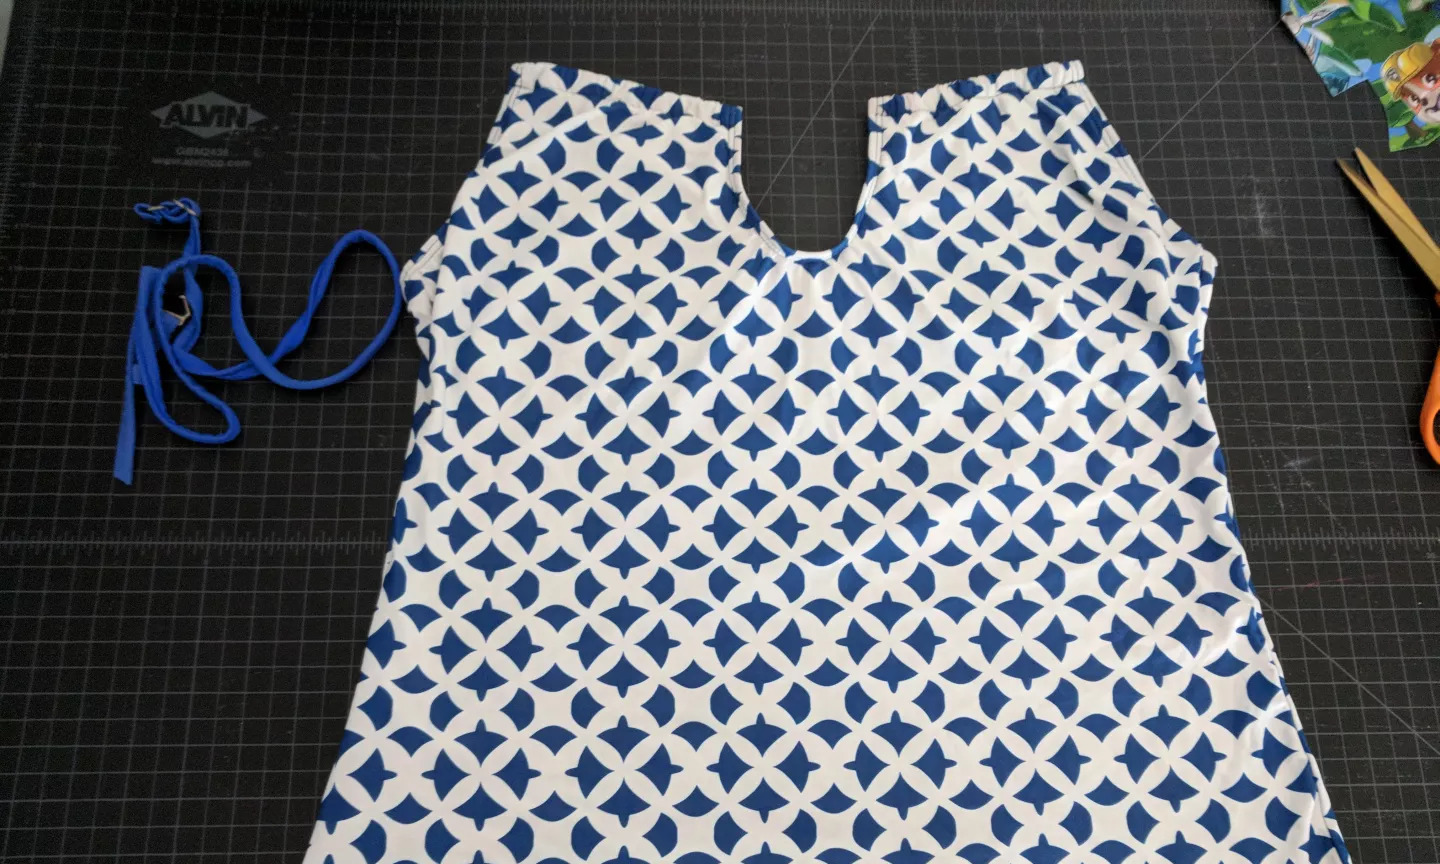
- Cutting the Cups: Based on your bust size, cut two identical cup-shaped pieces from the main fabric and lining fabric. You can use a template or download a pattern online to get the desired shape.
- Cutting the Straps: Cut two long strips of fabric for the shoulder straps and two shorter strips for the back straps. The length and width of the strips depend on your preference and desired fit.
- Optional: If you wish to add extra support and shape to your bikini top, you can cut out bra cups from a separate fabric and line them with the lining fabric.
Ensure that all the fabric pieces are cut neatly and accurately to ensure a professional finish. It’s a good practice to mark each piece to avoid confusion during the sewing process.
By measuring and cutting the fabric pieces correctly, you are setting the foundation for a well-fitting and comfortable bikini top.
Step 2: Sewing the Cups
Now that you have the fabric pieces ready, it’s time to sew the cups of your bikini top. Follow these steps:
- Pin the Main and Lining Fabrics: Place the main fabric and lining fabric for each cup together, with the right sides facing each other. Pin them along the edges to secure them in place.
- Sew the Cup Edges: Using a straight stitch, sew around the curved edges of each cup, leaving the straight edge open. Make sure to backstitch at the beginning and end of the seams to secure them.
- Trim the Seam Allowance: Trim the excess fabric from the seam allowances to reduce bulk and create a clean edge. Be careful not to cut into the stitches.
- Turn the Cups Right Side Out: Carefully turn the cups right side out through the open edge. Use a pencil or a chopstick to gently push out the curves and achieve a smooth shape.
- Press the Cups: To give the cups a polished look, press them with an iron set to a low heat. Be cautious if your fabric is sensitive to heat.
- Optional: If you are using bra cups, place the lined cups inside the main fabric cups. Align them properly and tack them together to secure them in place.
By sewing the cups together, you are creating the foundation of your bikini top. Take your time with this step to ensure neat and precise stitches.
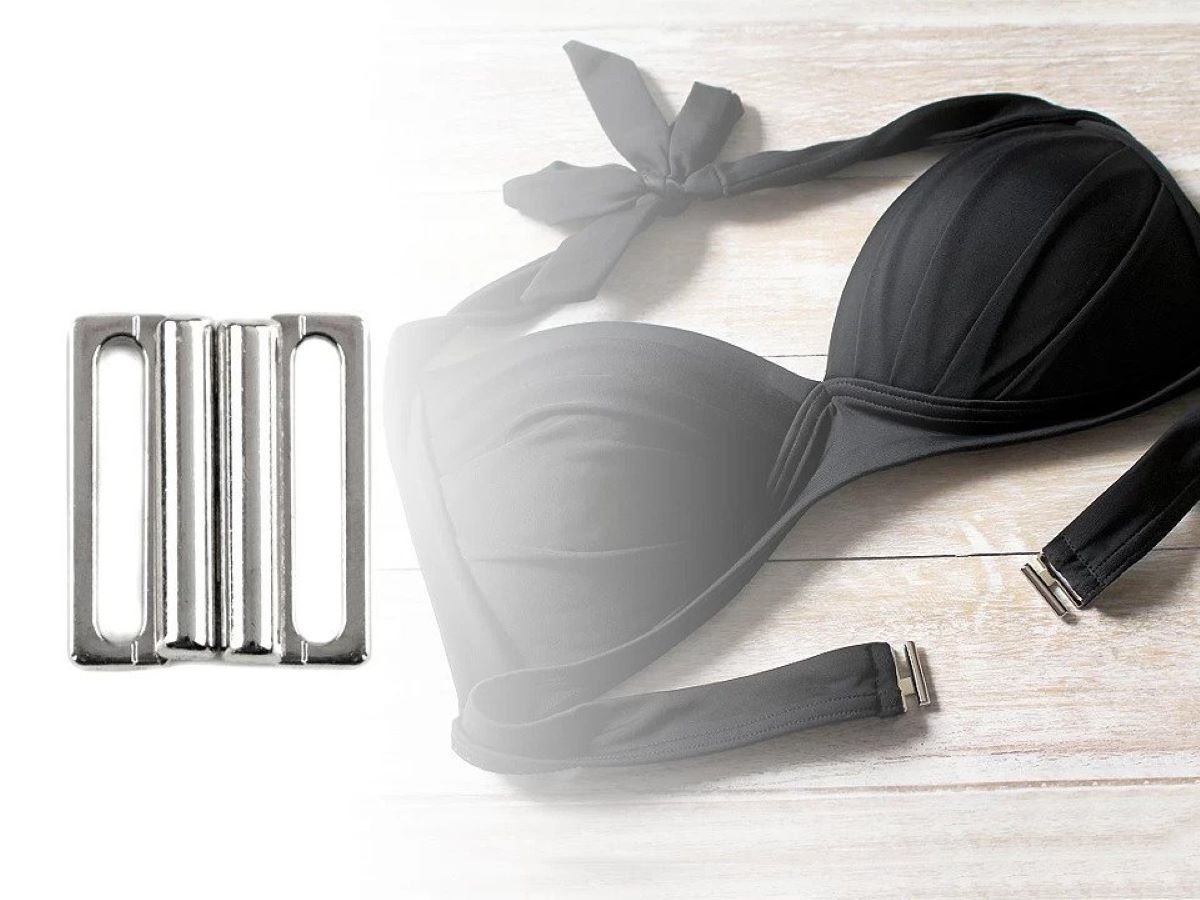
Step 3: Adding Straps
Once the cups are sewn together, it’s time to add the straps to your bikini top. Follow these steps:
- Place the Cups on Your Body: Put on the cups and position them on your body to determine the ideal strap placement. Consider your comfort and desired style.
- Measure and Cut the Shoulder Straps: Measure the desired length for the shoulder straps by placing the tape measure over your shoulder and down to the cup. Add some extra length for adjustments and seam allowance. Cut two shoulder straps accordingly.
- Measure and Cut the Back Straps: Measure the distance between the cups on your back and add some extra length for adjustments and seam allowance. Cut two back straps of the desired length.
- Attach the Shoulder Straps: Pin the ends of the shoulder straps to the top corners of each cup. Make sure the straps are not twisted and align them properly. Stitch them securely in place, reinforcing the attachment points.
- Attach the Back Straps: Pin the ends of the back straps to the bottom corners of each cup on the backside. Adjust the length as needed for a comfortable fit. Stitch the back straps securely in place, making sure they are evenly aligned.
When adding the straps, it’s important to ensure they are securely attached and provide the desired level of support. Take into account your body proportions and adjust the strap length accordingly.
Step 4: Attaching the Straps to the Cups
With the straps in place, the next step is to attach them securely to the cups of your bikini top. Follow these steps:
- Position the Straps: Put on the bikini top and adjust the straps to your desired fit. Check that the cups align properly with your bust and the straps sit comfortably on your shoulders.
- Pin the Straps to the Cups: Once you have determined the ideal strap placement and length, pin the straps securely to the cups. Use several pins to hold them in place and prevent shifting during sewing.
- Sew the Straps to the Cups: Using a straight stitch, carefully sew along the edges of the straps where they meet the cups. Ensure that the stitches are strong and secure, as the straps will bear the weight of the bikini top.
- Reinforce the Attachment Points: After sewing the straps, reinforce the attachment points by backstitching a couple of times. This will provide extra durability and ensure the straps stay in place even with frequent use.
- Try on and Make Adjustments: Put on the bikini top again to check the fit and comfort of the straps. If needed, make any necessary adjustments by repositioning and sewing the straps accordingly.
By attaching the straps securely to the cups, you are ensuring that your bikini top stays in place and provides the necessary support. Take the time to sew the straps properly to guarantee durability and a comfortable fit.
Step 5: Finishing Touches
Now that you have completed the main construction of your bikini top, it’s time to add the finishing touches to make it truly unique and stylish. Here are some ideas:
- Embellishments: Consider adding sequins, beads, or other embellishments to your bikini top for some extra sparkle. Sew them on by hand or use fabric glue for a quick and easy application.
- Trim and Edging: Add a decorative trim or edging along the edges of your bikini top to give it a polished and professional look. You can choose lace, fringe, or even contrasting fabric for this detail.
- Sewing Details: Pay attention to the small sewing details like reinforcing stitches, trimming loose threads, and ensuring all seams are properly finished. This will add to the overall quality and durability of your bikini top.
- Lining and Padding: If you prefer additional coverage and support, you can sew in a lining for added comfort. Additionally, you can insert removable bra pads or foam cups to enhance the shape of the cups.
- Fitting Adjustments: Try on the bikini top and make any final fitting adjustments if needed. This could include shortening or lengthening the straps, taking in or letting out the cups, or making any necessary alterations for a better fit.
Remember, the finishing touches are what make your bikini top unique and reflect your personal style. Be creative and experiment with different options to achieve the desired look.
Conclusion
Congratulations! You have successfully learned how to make your own bikini top from scratch. By following the step-by-step process outlined in this article, you have created a stylish and customized piece that fits you perfectly. Not only did you save money by making it yourself, but you also unleashed your creativity and embraced the joy of DIY fashion.
Making a bikini top allows you to choose fabrics, patterns, and styles that truly represent your unique personality. From selecting the right materials to measuring and cutting, sewing the cups, adding straps, and applying finishing touches, each step contributes to the overall construction and aesthetic appeal of your bikini top.
Remember, practice makes perfect, so don’t be discouraged if your first attempt isn’t flawless. As you gain more experience, you will refine your skills and be able to create even more intricate and intricate pieces.
Now that you have mastered the art of making a bikini top, you can apply your knowledge to create an entire collection of swimwear that is personalized to your taste and style. So, gather your materials, set up your sewing machine, and let your creativity flow as you embark on new bikini-making adventures.
Enjoy your one-of-a-kind bikini top and rock it with confidence on your next beach or poolside outing!