Home>How-to Guides>For Women>How To Make Your Own Tankini Top
For Women
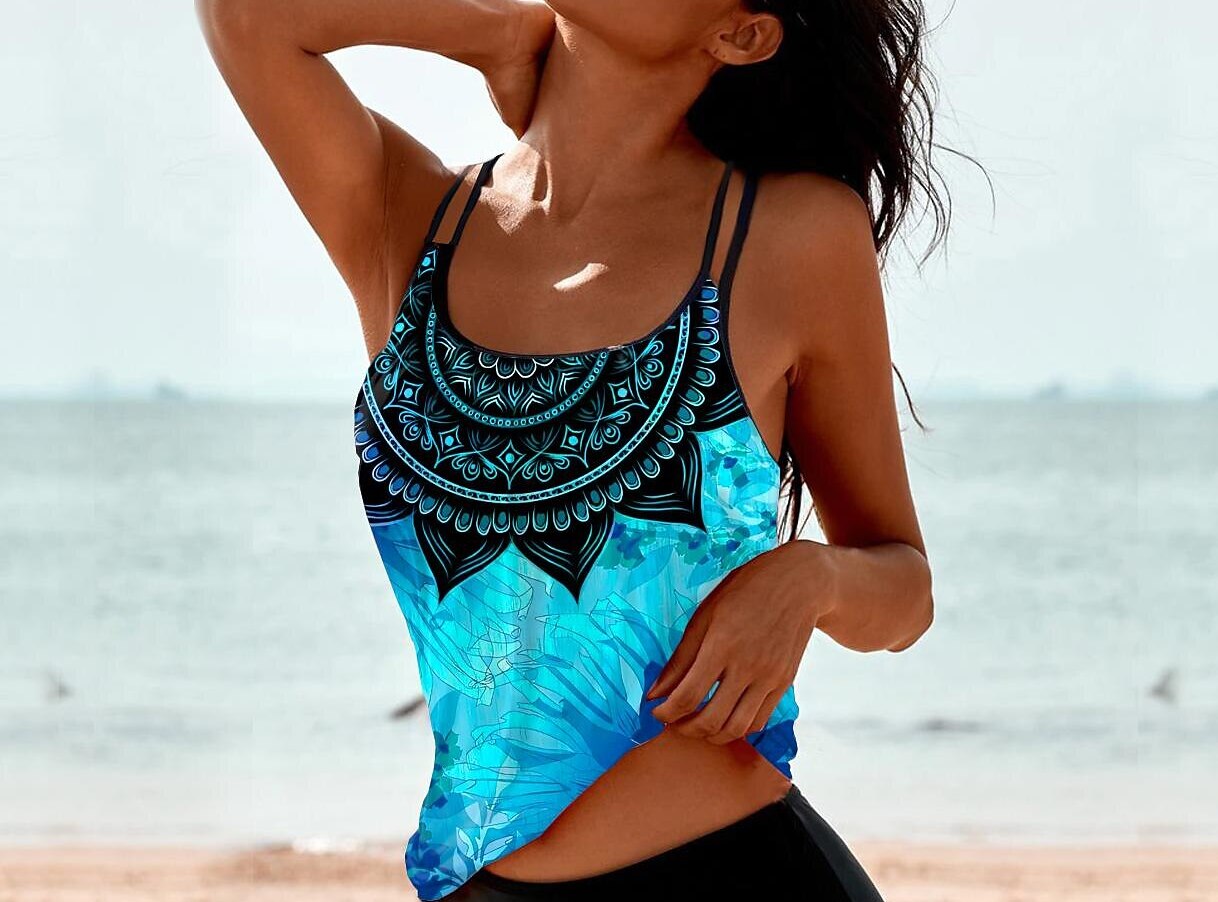
How To Make Your Own Tankini Top
Modified: August 5, 2023
Learn how to create your own stylish tankini top for women with our easy step-by-step guide. Get ready to hit the beach in style!
(Many of the links in this article redirect to a specific reviewed product. Your purchase of these products through affiliate links helps to generate commission for Under-tec.com, at no extra cost. Learn more)
Table of Contents
Introduction
Welcome to the world of DIY fashion! Are you tired of searching high and low for the perfect tankini top that fits your style and body? Look no further, because we have the solution for you. In this article, we will guide you step-by-step on how to make your very own tankini top. Whether you’re a sewing pro or a beginner, this project is sure to bring out your creativity and result in a one-of-a-kind swimsuit top that is uniquely you.
Gone are the days of settling for ill-fitting or overpriced swimsuits. By making your own tankini top, you have full control over the design, fabric, and fit. Not only will you save money, but you will also have the satisfaction of wearing a garment that you crafted with your own hands. So let’s dive into this project and get ready to create a stunning tankini top that will turn heads at the beach or pool.
To get started, you will need a few materials and tools. Don’t worry, the list is simple and affordable. You may already have some of these items in your sewing kit, but if not, they are easily accessible at your local fabric store or online:
- Fabric (stretchy material like spandex or nylon blend)
- Scissors
- Pins
- Sewing machine or needle and thread
- Elastic
- Measuring tape
- Pattern paper or large sheets of paper
With these materials in hand, you’re all set to begin the process of making your own tankini top. Remember, this is your chance to get creative and choose a fabric that reflects your personal style. Whether you prefer bold prints, classic solids, or trendy patterns, the choice is yours.
Next, we’ll guide you through the first step: choosing the perfect fabric for your tankini top. So grab your measuring tape and let’s get started!
Materials Needed
Before you dive into making your own tankini top, it’s essential to gather all the necessary materials. With just a few simple items, you’ll be well-prepared to bring your vision to life. Here’s a list of materials you’ll need to get started:
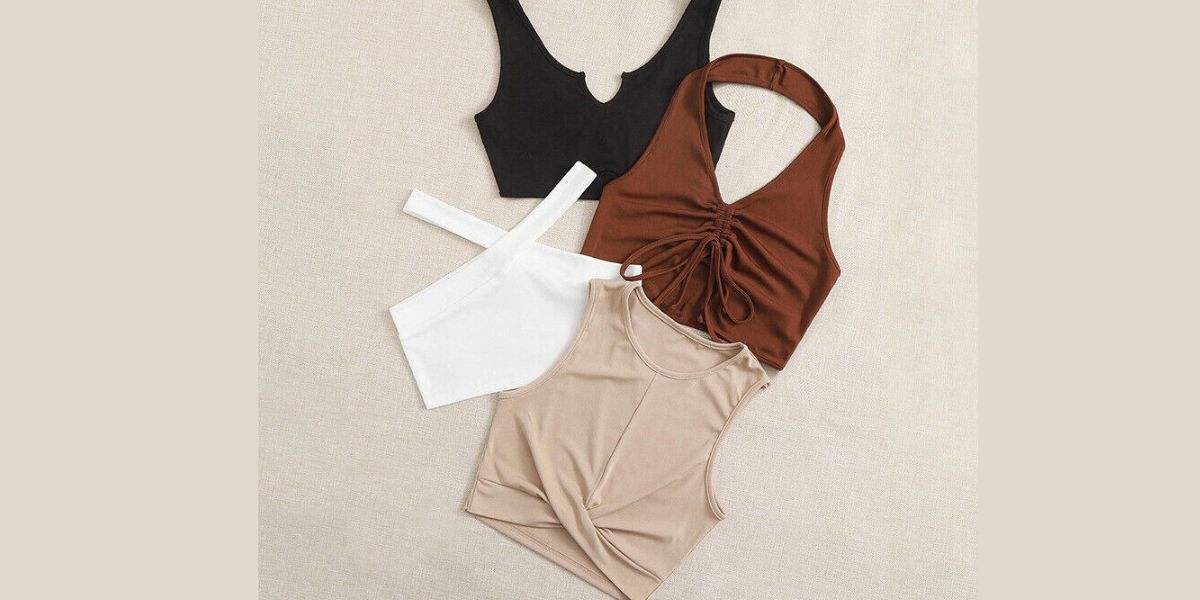
- Fabric: Choose a stretchy material like spandex or a nylon blend. These fabrics are ideal for swimwear as they offer both comfort and flexibility in the water. You can opt for bold prints, classic solids, or trendy patterns depending on your personal style. Be sure to purchase enough fabric to accommodate the pattern measurements and any additional design details you may have in mind.
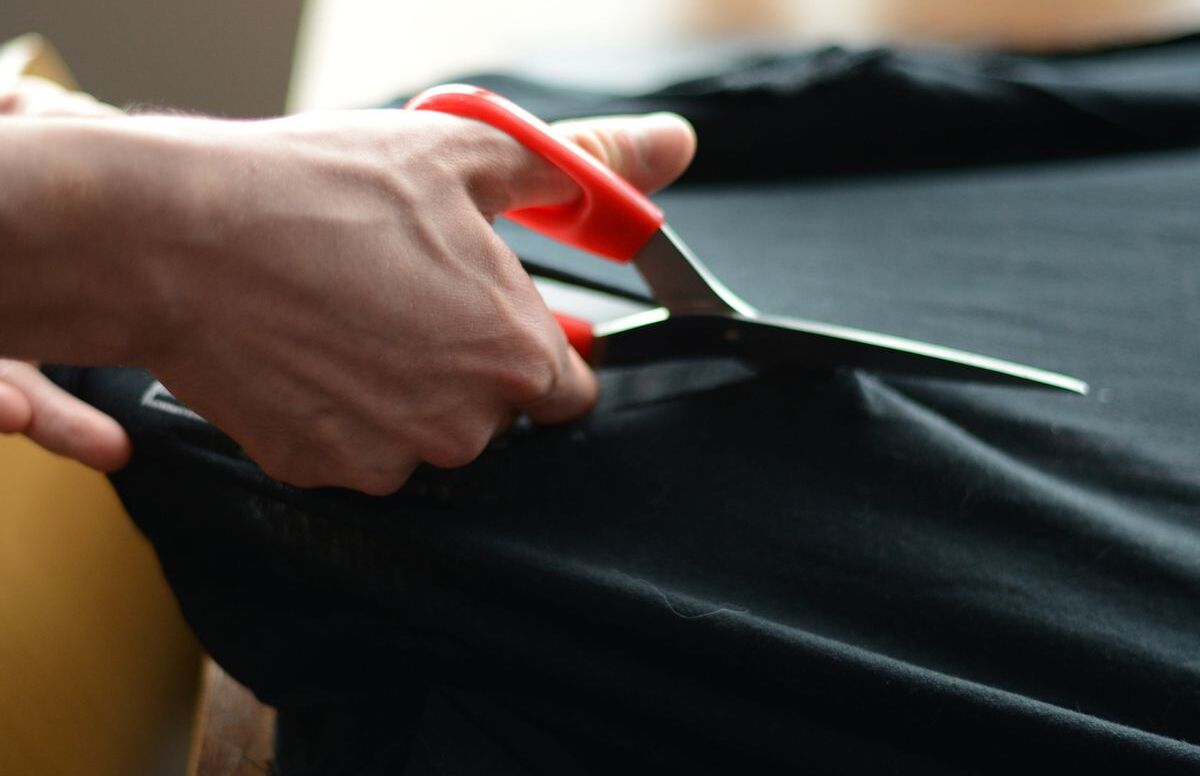
- Scissors: A good pair of fabric scissors is essential for cutting the fabric accurately. Ensure that your scissors are sharp and dedicated solely to fabric cutting to avoid any fraying or damage.
- Pins: Pins will help you hold the fabric in place while sewing. Choose flat-headed pins that won’t snag your fabric, and make sure you have enough to secure the layers of fabric together securely during the sewing process.
- Sewing machine or needle and thread: Depending on your sewing skills and preference, you’ll need either a sewing machine or a needle and thread. A sewing machine will make the process faster and more efficient, but if you’re comfortable sewing by hand, that works too!
- Elastic: Elastic is an essential component of a well-fitted tankini top. Look for swimsuit elastic specifically designed for swimwear projects, as it is resistant to chlorine and saltwater. This elastic will help give your tankini top the right amount of stretch and ensure a snug fit.
- Measuring tape: To create a tankini top that fits your body perfectly, you’ll need a measuring tape to take accurate measurements. Measure your bust, waist, and hips to determine the appropriate size for your tankini top. This will ensure that the final result is comfortable and flatters your figure.
- Pattern paper or large sheets of paper: To create your tankini top pattern, you’ll need pattern paper or large sheets of paper. These will serve as the base for drawing and cutting out your pattern pieces. You can also use newspaper or wrapping paper as a budget-friendly alternative.
With these materials at your disposal, you’re ready to embark on your tankini top-making journey. Remember to choose materials that not only reflect your style but also provide the necessary durability and flexibility for swimwear. Now that you’ve gathered everything you need, it’s time to move on to the exciting step of choosing the right fabric for your tankini top!
Step 1: Choose Your Fabric
The first step in making your own tankini top is selecting the perfect fabric. The fabric you choose will not only determine the overall look of your swimsuit but also its comfort and durability in the water. Here are a few factors to consider when choosing your fabric:
- Stretch: Look for a fabric with a good amount of stretch. Swimwear fabric, such as spandex or a nylon blend, is an excellent choice as it offers both stretch and recovery, ensuring a comfortable and snug fit.
- Support: Depending on the level of support you desire, you can choose a fabric with varying degrees of thickness and structure. If you prefer a more supportive tankini top, consider selecting a fabric with a higher weight or incorporating a built-in shelf bra for added support.
- Prints or Solids: Decide whether you want a tankini top with a bold print, classic solid color, or even a combination of both. Prints can add some fun and personality to your swimsuit, while solids offer a more timeless and versatile look.
- UPF Protection: If sun protection is a priority for you, consider selecting a fabric with UV-protective properties. Look for fabrics labeled with a UPF (Ultraviolet Protection Factor) rating to ensure that your skin is shielded from harmful sun rays.
- Colorfastness: It’s important to choose a fabric that is colorfast, meaning it won’t fade or bleed when exposed to water or sun. This will ensure that your tankini top maintains its vibrant color and appearance over time.
When shopping for fabric, don’t forget to consider the specific design and details you have in mind for your tankini top. For example, if you plan to incorporate ruffles or other embellishments, choose a fabric that will drape and gather nicely.
Once you’ve decided on the fabric, make sure to purchase enough yardage to accommodate the pattern measurements and any additional design elements. It’s always a good idea to buy a little extra, just in case.
Remember, this is your chance to get creative and choose a fabric that reflects your personal style and preferences. Don’t be afraid to mix and match patterns or experiment with different textures. After all, making your own tankini top allows you to customize every aspect of your swimwear, making it uniquely you.
With your fabric selected, you’re now ready to move on to the next step: measuring and cutting the pattern for your tankini top.
Step 2: Measure and Cut the Pattern
Now that you have chosen your fabric, it’s time to measure and cut out the pattern for your tankini top. Creating an accurate pattern is crucial to ensuring a well-fitted and flattering swimsuit. Follow these steps to measure and cut the pattern:
- Take Measurements: Using a measuring tape, measure your bust, waist, and hips. Note down these measurements as they will be essential for selecting the appropriate size and adjusting the pattern if needed.
- Select a Pattern: You have a few options when it comes to selecting a pattern for your tankini top. You can either create your own pattern by tracing an existing tankini top or using a commercial sewing pattern specifically designed for swimwear. Alternatively, there are also free tankini top patterns available online that you can download and print.
- Prepare the Pattern Paper: If you’re creating your own pattern, lay out pattern paper or large sheets of paper on a flat surface. You can also use newspaper or wrapping paper as a cost-effective alternative.
- Trace and Cut: Place your tankini top (or the chosen pattern) on top of the pattern paper and trace around it using a pencil or marker. Ensure that you transfer all the necessary markings, such as darts, notches, and seam allowances. Once traced, carefully cut out the paper pattern.
- Size Adjustments: Compare your measurements with the measurements on the pattern. If needed, make size adjustments by grading between different sizes or adding/reducing length at specific points. Remember to adjust all corresponding pattern pieces for a consistent fit.
- Mark and Label: To avoid confusion during the sewing process, mark and label each pattern piece. Indicate the front and back pieces, as well as the placement of straps, bust darts, and any other design features.
Once you have cut out all the pattern pieces, double-check that you have everything you need. Lay them out on your fabric, ensuring that you place the pieces following the fabric’s grain line, as indicated on the pattern. This will help maintain the fabric’s stretch and drape in the correct direction.
Using fabric scissors, carefully cut around each pattern piece, taking care to cut accurately along the lines. Pay attention to any notches or markings on the pattern that will help you align and assemble the pieces correctly later on.
With the pattern pieces cut out, you are now ready to move on to the next step: sewing the side seams of your tankini top.
Step 3: Sew the Side Seams
With your pattern pieces cut out, it’s time to assemble your tankini top. In this step, we will focus on sewing the side seams, which will bring the front and back pieces together. Follow these instructions to sew the side seams:
- Prepare the Front and Back Pieces: Lay out your front and back pieces with the right sides together, aligning the side seams.
- Pinning: Starting at the underarm area, carefully pin the front and back pieces together along the side seams. This will ensure the pieces stay aligned during sewing. Use enough pins to secure the fabric, but make sure they don’t obstruct your sewing path.
- Stitching: Using a sewing machine or needle and thread, stitch a straight seam along the pinned side seam, starting from the underarm and ending at the hemline. Sew with a medium-length stitch and a 3/8-inch seam allowance. Remember to backstitch at the beginning and end of your seam to secure it.
- Finishing the Seam: Once the side seams are stitched, trim the seam allowance to reduce bulk. Use pinking shears or a zigzag stitch to finish the raw edges of the seam. This will help prevent fraying over time.
- Pressing: Press the side seams open or to one side using an iron set to the appropriate temperature for your fabric. This will give your tankini top a neat and polished finish.
As you sew the side seams, take care to maintain a consistent seam allowance and ensure that the front and back pieces are sewn together accurately. If you’re using a stretchy fabric, consider using a stretch stitch or a narrow zigzag stitch to allow for movement and prevent popped seams.
Once you have sewn and finished the side seams, try on the tankini top to check the fit. This will give you an opportunity to make any necessary adjustments before moving on to the next steps.
Now that the side seams are complete, you’re one step closer to enjoying your handmade tankini top. In the next step, we will focus on creating the neckline, adding a unique touch to your swimwear creation.
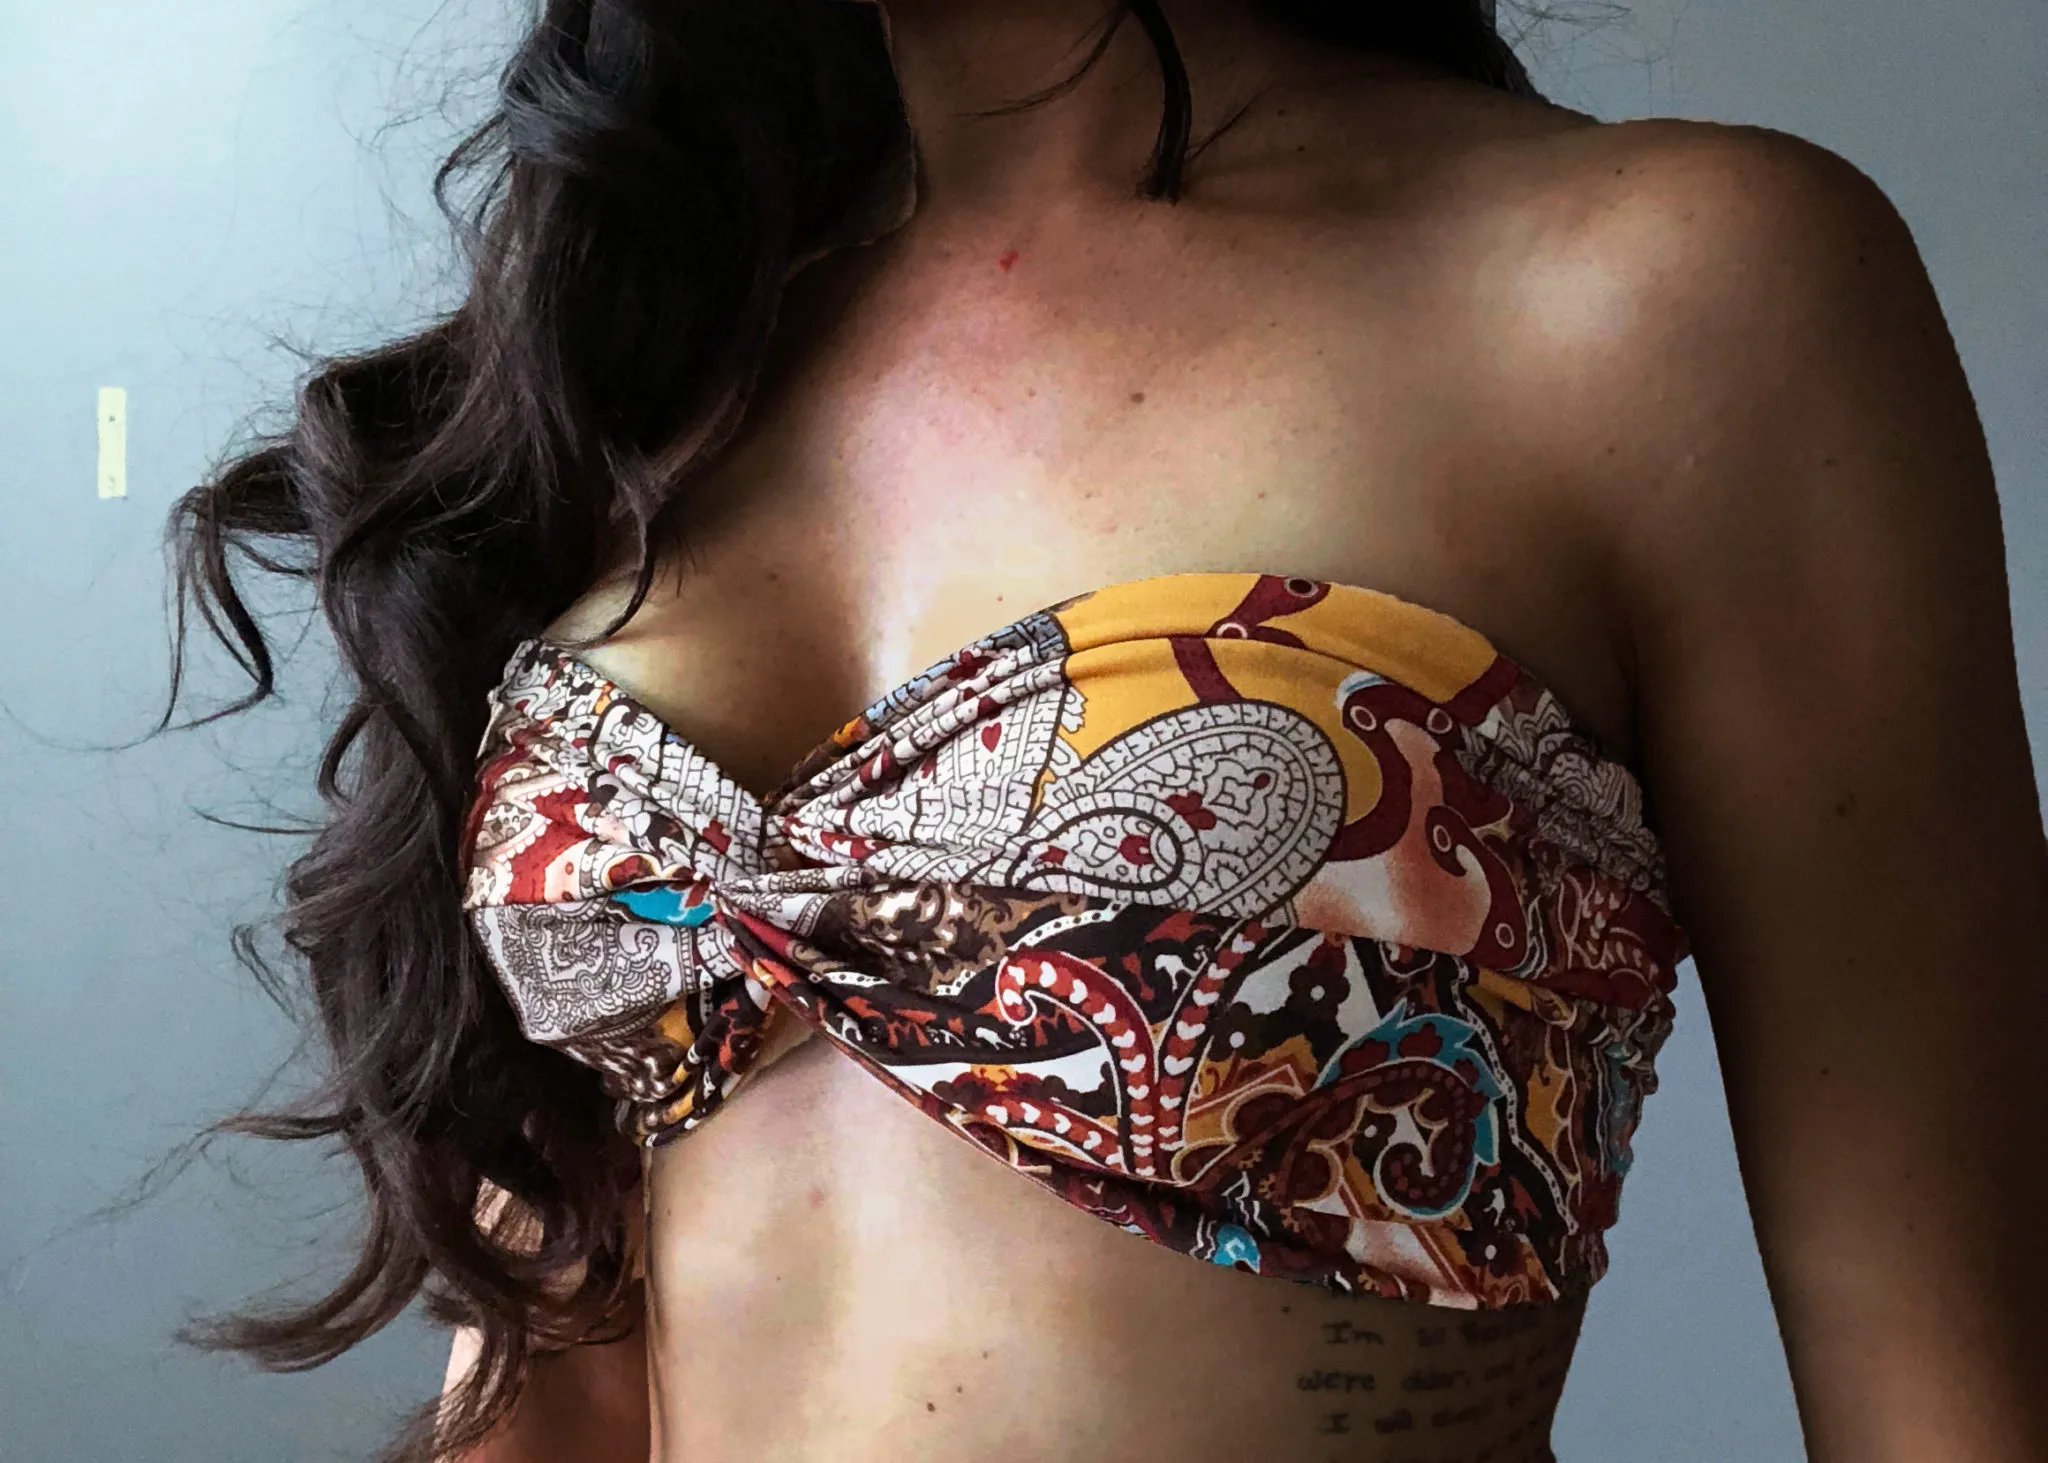
Step 4: Create the Neckline
Creating the neckline of your tankini top is a crucial step that adds both functionality and style to your swimwear. The neckline can vary depending on your preference, whether you prefer a simple scoop neck, a trendy halter top, or a stylish sweetheart neckline. Follow these steps to create the neckline:
- Mark the Neckline: With the tankini top turned inside out, use tailor’s chalk or fabric pen to mark the desired shape and depth of the neckline. Ensure that the marks are even and symmetrical on both sides.
- Stabilize the Neckline: To prevent the neckline from stretching out during sewing, it’s a good idea to stabilize it with clear elastic or fabric stay tape. Cut a piece of elastic or tape slightly shorter than the length of the neckline and pin or baste it to the marked line.
- Tack the Elastic or Tape: Secure the elastic or fabric stay tape by sewing it on along the marked neckline. Sew a row of straight stitches or use a zigzag stitch to ensure it stays in place. Make sure to stretch the elastic slightly as you sew to match the length of the neckline evenly.
- Trim Excess: If necessary, trim any excess elastic or tape that extends beyond the marked neckline. Be careful not to cut into the main fabric.
- Finish the Neckline: To give the neckline a clean and professional finish, fold the raw edge of the fabric towards the wrong side by approximately 1/4 inch. Press the fold in place and pin if necessary. Then, stitch the folded edge down using a straight stitch or a narrow zigzag stitch. This will create a neat and polished edge.
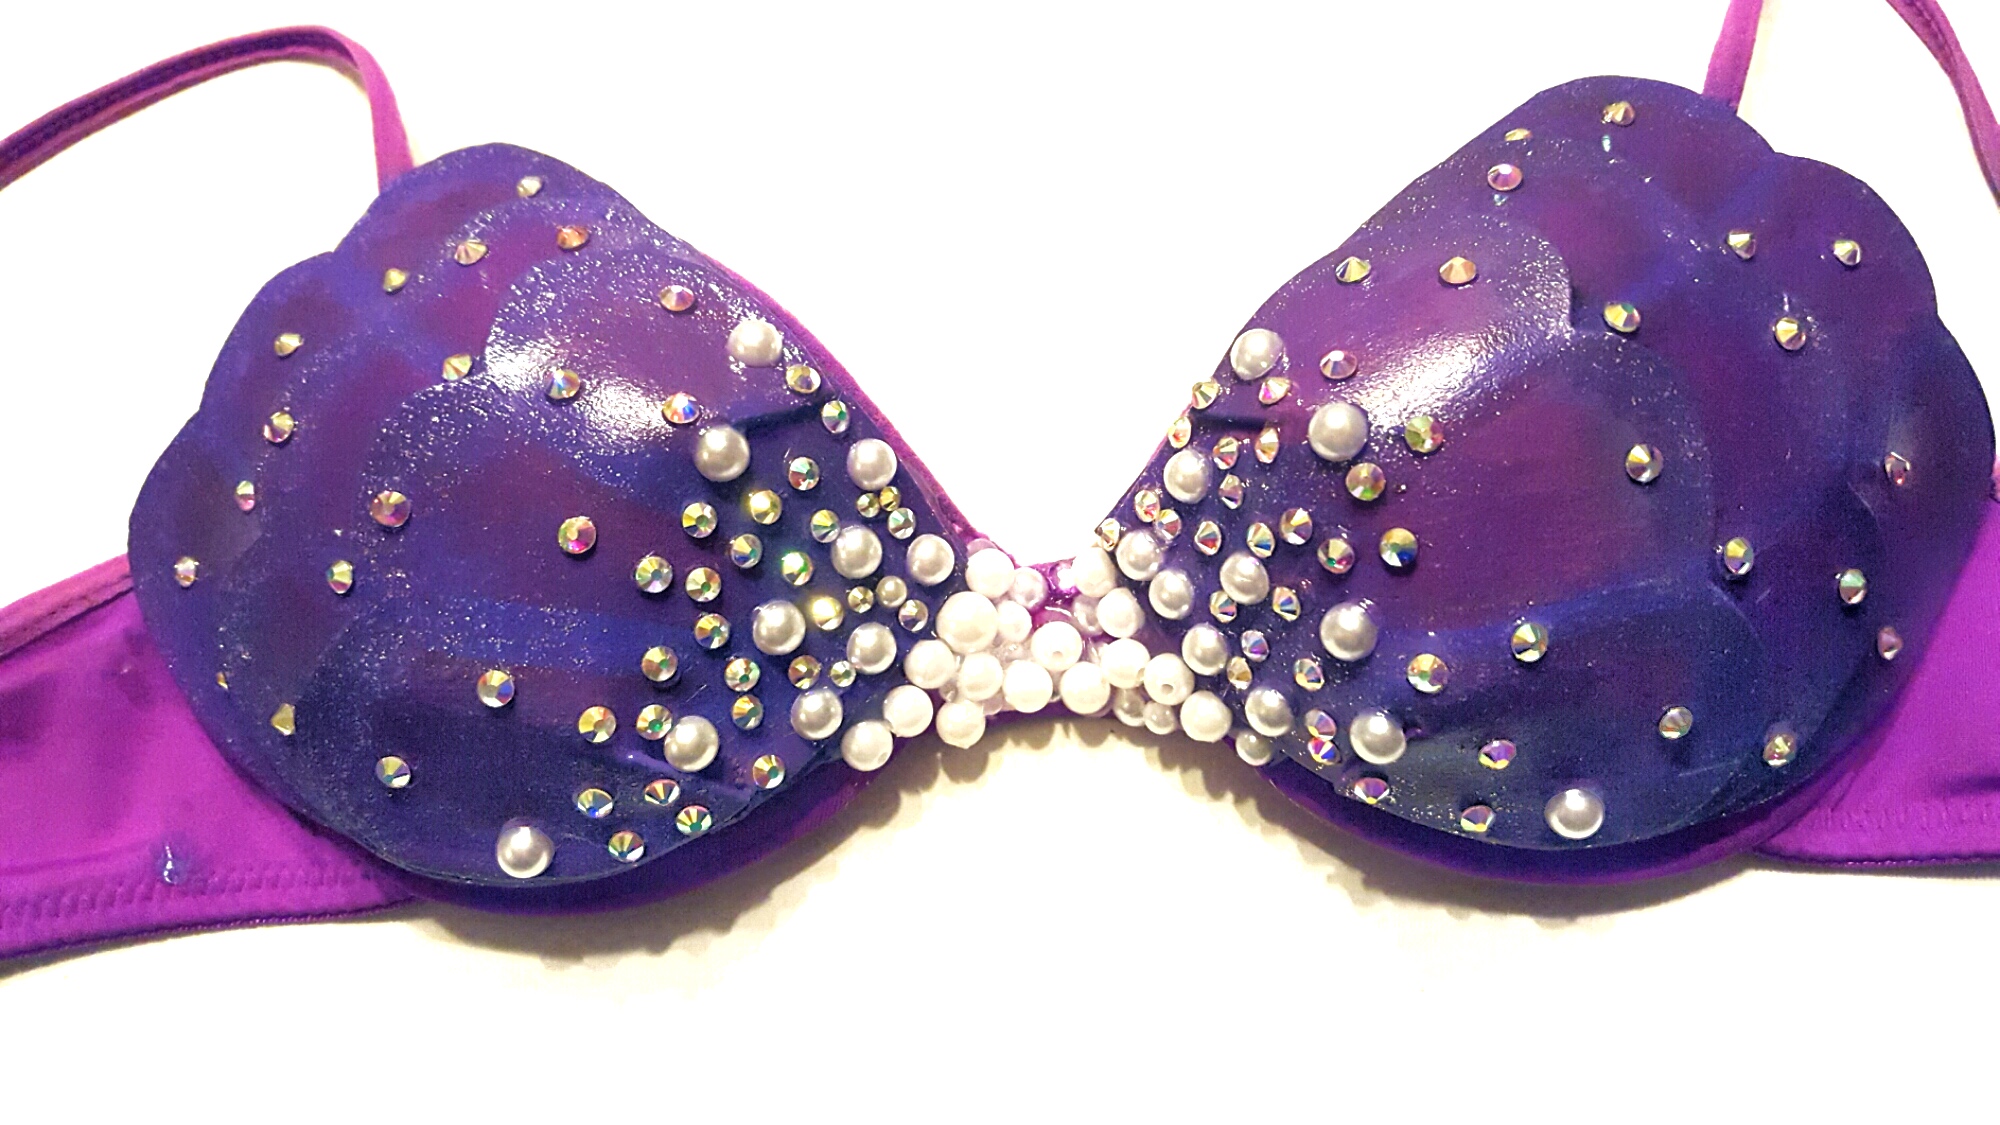
- Optional: Add Decorative Trim: If you want to add an extra touch of style to your tankini top, consider attaching a decorative trim along the neckline. This could be lace, ruffles, or any other trim of your choice. Pin the trim in place and sew it along the neckline, ensuring that it lays flat and is secured evenly.
Creating the neckline requires attention to detail and precise stitching. Take your time and ensure that the neckline is sewn accurately and securely. Don’t hesitate to try on the tankini top during the process to check the fit and adjust the neckline if needed.
Now that your tankini top has a stylish and well-constructed neckline, it’s time to move on to the next step: adding straps or creating a halter top. This will provide the necessary support and give your tankini top a unique design element.
Step 5: Add Straps or Halter Top
Adding straps or creating a halter top is an important step in making your tankini top. This step provides the necessary support and allows you to customize the style of your swimwear. Follow these instructions to add straps or create a halter top:
- Decide on the Style: Determine whether you want to add traditional straps or create a halter top. Traditional straps are attached to the back and front of the tankini top, while a halter top has straps that tie or fasten behind the neck.
- Strap Placement: Mark the placement of the straps on the back and front of the tankini top. You can choose to position them parallel to each other or crossed at the back for added support and style. Ensure that the strap placement is even and symmetrical on both sides.
- Strap Length: Measure and cut the straps to the desired length, keeping in mind the desired fit and support. Add a couple of extra inches to the length to allow for adjustments during the fitting process.
- Attach the Straps: Pin the ends of the straps to the marked strap placement on the back and front of the tankini top. Sew them in place securely, backstitching at the beginning and end for added durability.
- Test the Fit: Try on the tankini top with the added straps to check the fit and determine if any adjustments are needed. Make sure the straps feel comfortable and provide the desired level of support.
- Create a Halter Top (Optional): If you prefer a halter top style, tie or fasten the straps behind your neck instead of attaching them to the front of the tankini top. Ensure the straps are securely tied or fastened so that they won’t come undone during wear.
- Reinforce the Straps (Optional): If desired, reinforce the strap attachment points by sewing a small rectangle or “X” shape over them. This will provide additional strength and prevent the straps from coming loose.
Adding straps or creating a halter top allows you to customize the fit and style of your tankini top. Make sure the straps are securely attached and comfortable for your preferences. Don’t hesitate to make any necessary adjustments during the fitting process to ensure the perfect fit.
With the addition of straps or a halter top, your tankini top is nearly complete. In the next step, we will focus on finishing the edges to give your swimwear a professional and polished look.
Step 6: Finish the Edges
Finishing the edges of your tankini top is an essential step in creating a clean and professional-looking swimwear piece. This step ensures that the raw edges of the fabric are neatly sealed and prevents fraying over time. Follow these steps to finish the edges of your tankini top:
- Choose a Finishing Technique: There are several methods you can use to finish the edges of your tankini top, such as using a serger/overlock machine, a zigzag stitch, or a rolled hem. Choose the method that works best for your fabric and the equipment you have available.
- Fabric Preparation: If using a serger or zigzag stitch, make sure the fabric edges are trimmed evenly before finishing. If using a rolled hem, press the fabric edges to create a smooth and precise finish.
- Finishing with a Serger/Overlock Machine: If you have a serger or overlock machine, use it to sew along the raw edges of your tankini top. This will trim and enclose the edges in one step, creating a professional finish. Follow the instructions of your specific machine for optimal results.
- Finishing with a Zigzag Stitch: If you don’t have a serger, a zigzag stitch can be an excellent alternative for finishing the edges. Set your sewing machine to a narrow zigzag stitch and sew along the raw edges, ensuring that the stitches enclose the edge of the fabric. This will prevent fraying and add durability to your tankini top.
- Finishing with a Rolled Hem: If you prefer a more delicate finish, consider using a rolled hem. Fold the raw edge of the fabric twice towards the wrong side, using your iron to press the folds in place. Then, stitch close to the folded edge to secure the hem, creating a clean and narrow finish.
- Pressing: Once the edges are finished, give your tankini top a final press using a warm iron. This will help set the stitches and ensure a smooth and wrinkle-free appearance.
Finishing the edges of your tankini top not only adds a professional touch but also helps to prolong the life of your swimwear. By preventing fraying and securing the fabric, the finished edges enhance the overall quality and durability of the garment.
With the edges finished, your tankini top is almost complete. Now it’s time for the exciting step of trying on the swimwear and making any necessary adjustments to ensure the perfect fit.
Step 7: Try On and Make Adjustments
Now that you have successfully completed all the previous steps, it’s time to try on your newly crafted tankini top and make any necessary adjustments to ensure the perfect fit. Here’s what you need to do:
- Try it On: Put on your tankini top and assess the fit. Pay attention to how it feels around the bust, waist, and hips, as well as the comfort level of the straps or halter top.
- Check for Fit: Observe how the tankini top conforms to your body shape. Take note of any areas that may be too loose or too tight. It’s essential to feel comfortable and confident in your swimwear, so make adjustments accordingly.
- Make Necessary Alterations: If you find that the tankini top needs adjustments, make the necessary alterations. This could include taking in or letting out the side seams, adjusting the strap length, or slimming down the neckline. Take your time and make precise changes to achieve the desired fit.
- Revisit the Stitching: If you made alterations to the tankini top, make sure to reinforce the stitching in those areas. This will ensure the longevity of the garment and prevent any unraveling or weak points.
- Final Try-On: After making the adjustments and reinforcing the stitching, try on the tankini top again to ensure that the alterations have resulted in the desired fit. Take note of how it looks and feels, and make any additional adjustments if needed.
- Finishing Touches: Once you are satisfied with the fit, give your tankini top a final once-over. Check for any loose threads, snip them off, and ensure that the overall appearance is neat and polished. This attention to detail will elevate the quality and finish of your handmade creation.
Remember, every body is unique, and customization is key to creating a tankini top that fits you perfectly. Don’t be afraid to take the time to make necessary adjustments and alterations to achieve the most flattering and comfortable fit for your body shape.
With the final adjustments made, you can now confidently wear your one-of-a-kind tankini top, knowing that it was crafted with your own hands and designed to reflect your individual style and personality.
Conclusion
Congratulations! You have successfully completed the process of making your own tankini top. By following the step-by-step instructions in this article, you have transformed a few pieces of fabric into a personalized and stylish swimwear piece that fits you perfectly.
Throughout this project, you have learned valuable sewing skills and techniques, such as selecting the right fabric, measuring and cutting a pattern, sewing side seams, creating a neckline, adding straps or a halter top, finishing the edges, and making necessary adjustments. These skills will not only come in handy for future sewing projects but also empower you to take control of your wardrobe and create garments that match your unique style and body shape.
By making your own tankini top, you have also achieved a sense of accomplishment and self-expression. You can proudly show off your creation at the beach or the pool, knowing that it is truly one-of-a-kind. Plus, the cost-effectiveness of making your own swimwear allows you to save money while creating high-quality garments.
Remember, don’t be afraid to experiment and add your own personal touch to future projects. You can further customize your tankini top by adding embellishments, such as ruffles, sequins, or even embroidery. The possibilities are endless, and the end result will be a stunning piece that reflects your unique style.
Now that you have successfully completed your tankini top, it’s time to enjoy the fruits of your labor and showcase your creativity. So grab your beach bag, slip into your handmade swimwear, and confidently embrace the sun, sand, and water in style!
Happy sewing and have a fantastic time rocking your beautiful tankini top!