Home>Women's Underwear>Bras>How To Make Your Bra Backless
Bras
How To Make Your Bra Backless
Modified: September 23, 2023
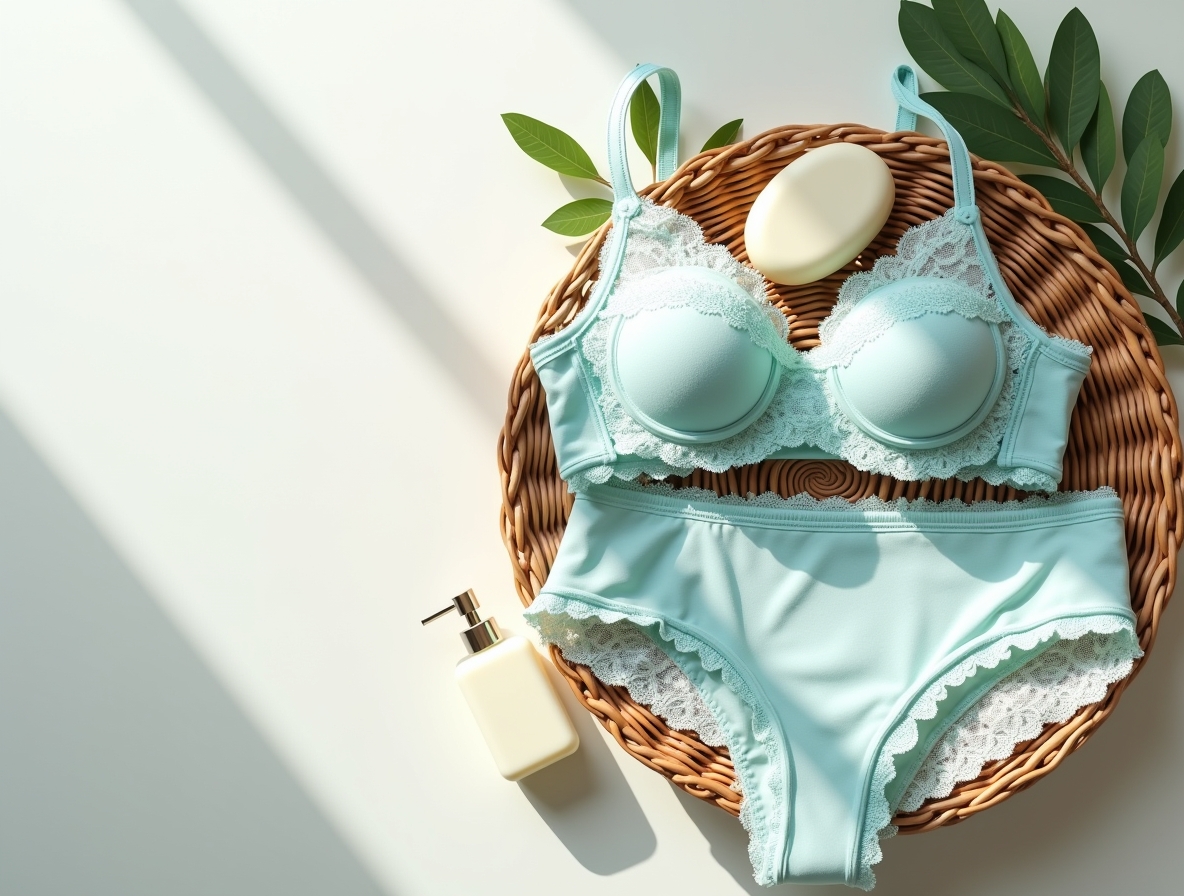
Discover the secrets of making your bras backless with our step-by-step guide. Get the perfect fit and support while flaunting your favorite backless outfits.
(Many of the links in this article redirect to a specific reviewed product. Your purchase of these products through affiliate links helps to generate commission for Under-tec.com, at no extra cost. Learn more)
Table of Contents
Introduction
When it comes to fashion, sometimes we want to wear outfits that showcase our shoulders or back without the constraints of a traditional bra. Whether it’s a stunning backless dress, a stylish halter top, or a flirty strappy tank, going braless may not always be an option. That’s where the backless bra comes in. This ingenious undergarment allows you to achieve the look you desire while still providing support and coverage.
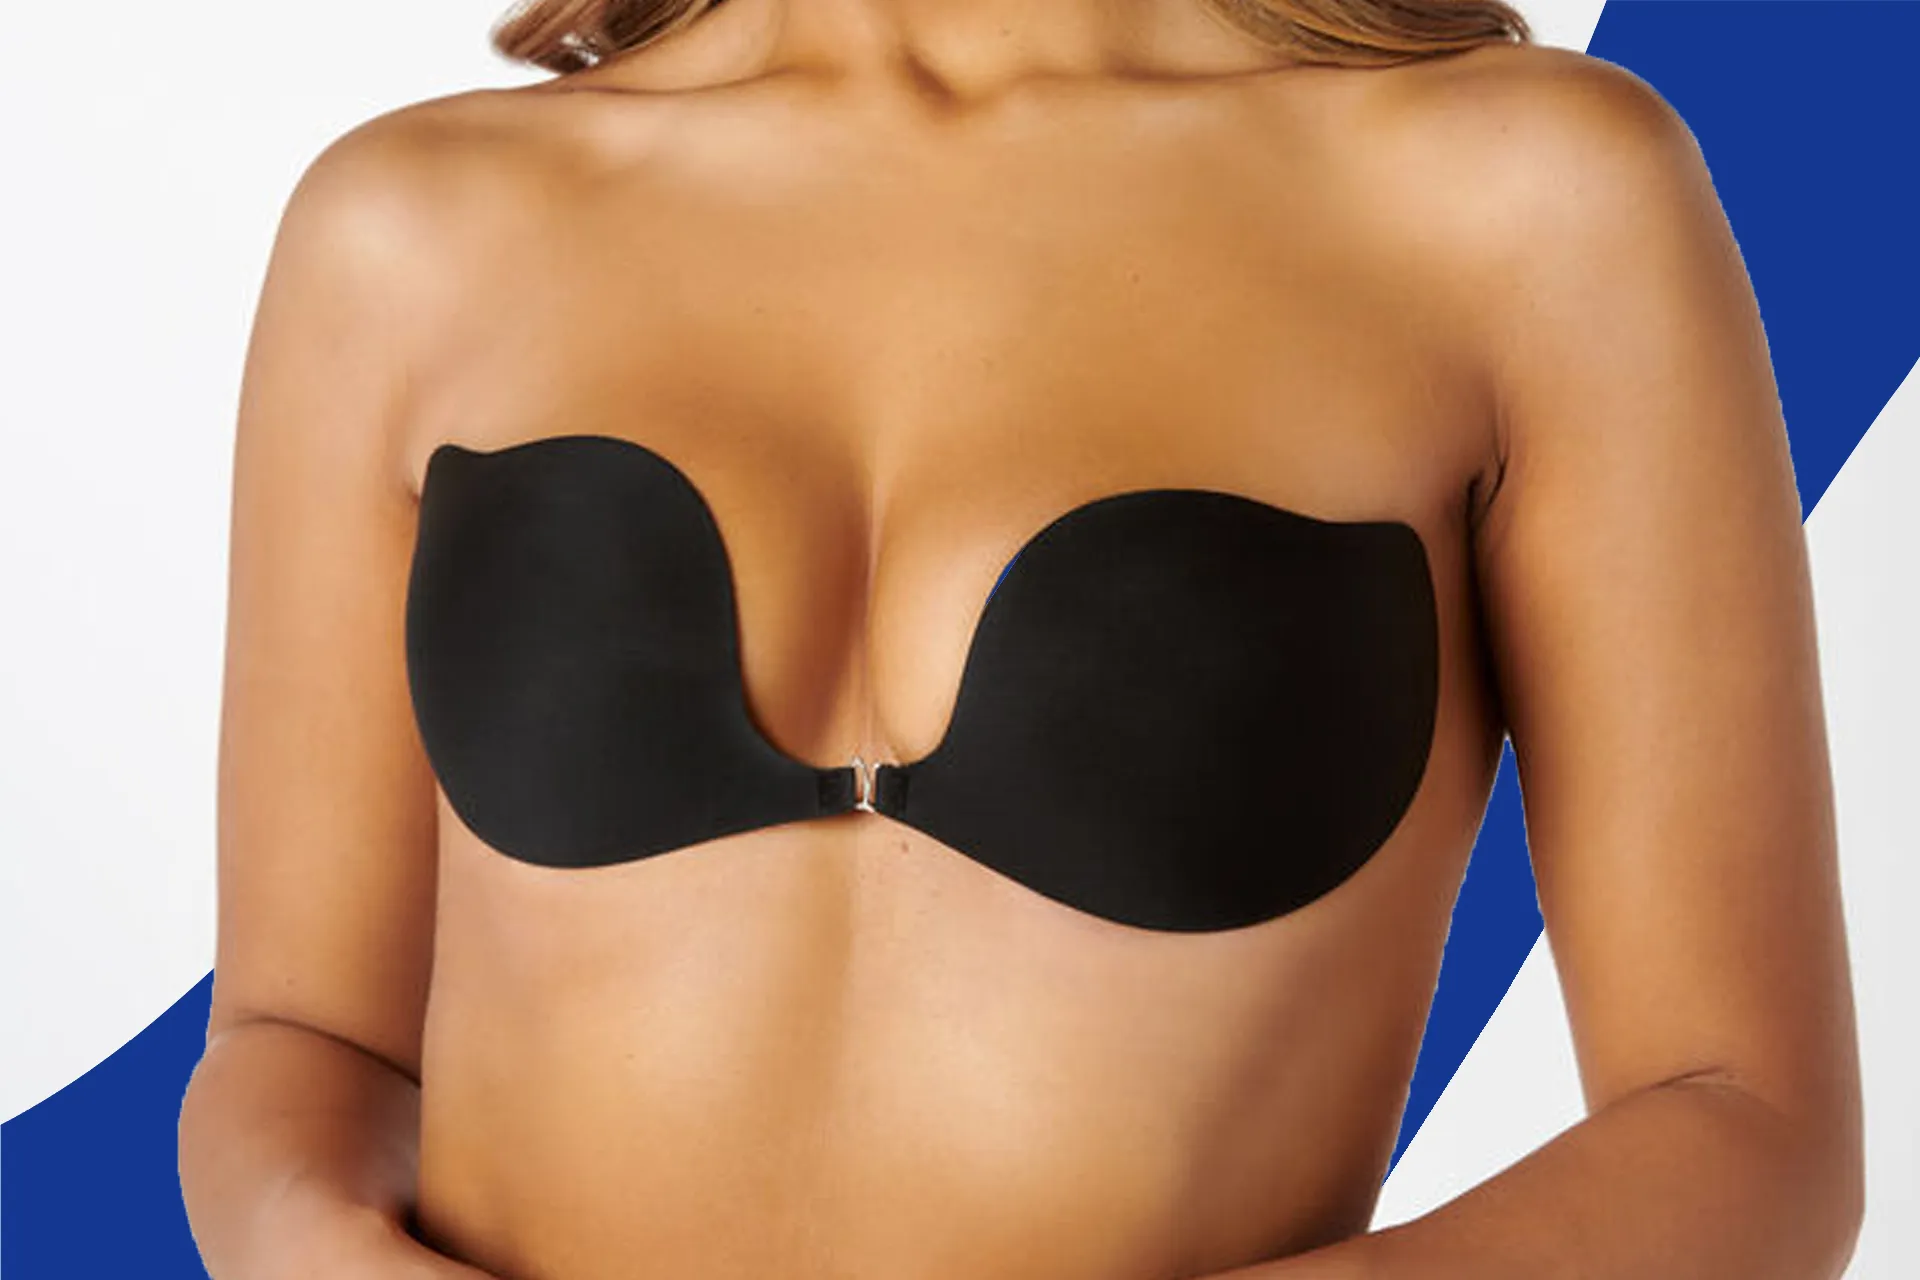
A backless bra is designed with a unique construction that allows you to wear it with confidence, knowing that it will remain invisible under your chosen outfit. It typically features adhesive cups that lift and shape your breasts, while a strong adhesive backing keeps the bra securely in place for hours of comfort and support. With advancements in technology and design, backless bras have become an essential accessory for any fashion-conscious individual.
While you can certainly purchase a backless bra from various retailers, there is another cost-effective option: making your regular bra backless. By using simple techniques and tools, you can transform your existing bras into backless alternatives, allowing you to expand your wardrobe without breaking the bank. In this article, we will guide you through the process of making your bra backless, helping you achieve the perfect fit and look for any outfit.
Before we delve into the steps, it’s important to note that not all bras are suitable for this conversion. It’s recommended to choose a bra with detachable straps and a low back that will allow for easy customization. Additionally, ensure that the bra fits well and provides adequate support to avoid any discomfort or potential wardrobe malfunctions.
Now, let’s move on to the step-by-step process of making your bra backless and reclaiming the freedom to wear the outfits you love.
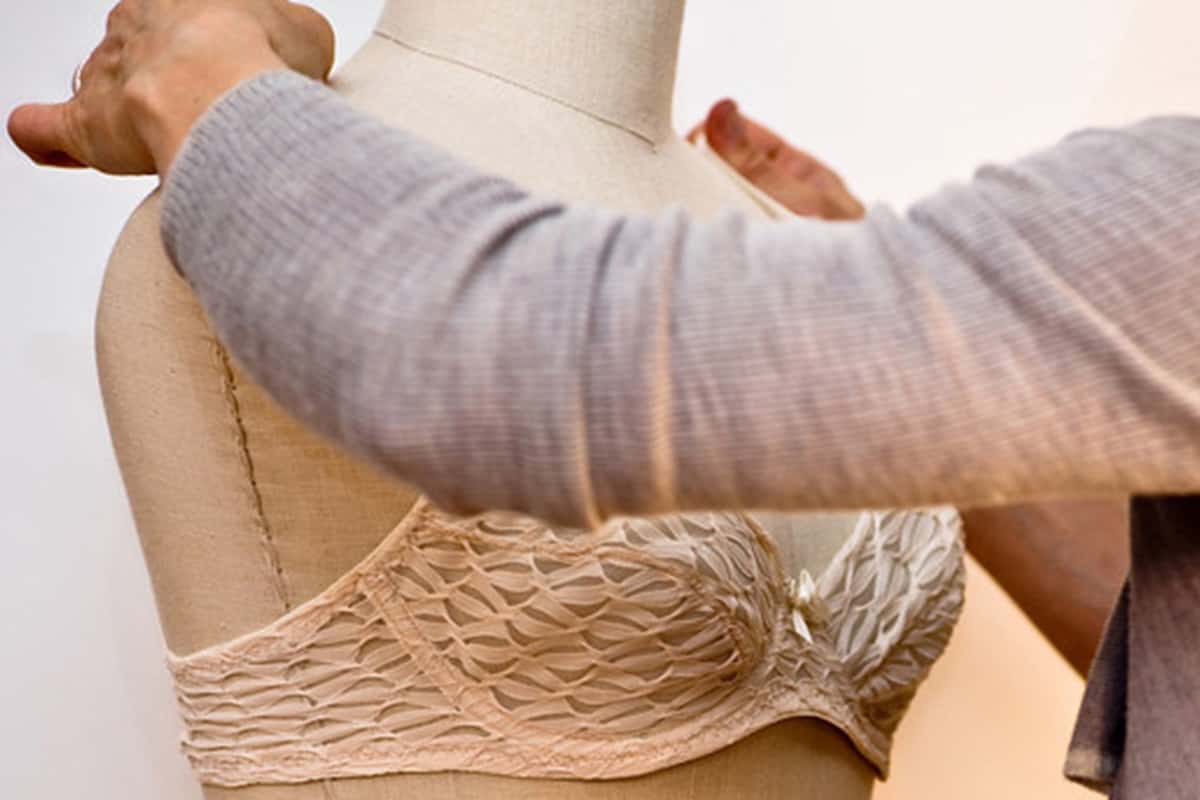
Step 1: Choose a Suitable Bra
The first step in making your bra backless is to choose a suitable bra that can be easily modified. Look for a bra that has detachable straps and a low back design. This will allow you to customize the bra to fit your backless outfit without compromising support or comfort.
When selecting a bra, it’s essential to consider the level of support you need. If you have a larger bust, opting for a bra with underwire or molded cups can provide the necessary support. On the other hand, if you have a smaller bust, a bra with padded cups or push-up features can enhance your natural curves.
Additionally, take note of the fabric and color of the bra. Depending on the outfit you plan to wear, you may want to choose a bra that matches or complements the color of your clothing. Opting for a seamless or nude-colored bra can also ensure that it remains discreet under sheer or light-colored fabrics.
Once you have chosen the bra, make sure it fits well. Bras that are too tight or too loose can cause discomfort and affect the overall look of your outfit. Take accurate measurements to determine your bra size, or alternatively, get professionally fitted at a lingerie store to ensure a perfect fit.
Remember, the key to making your bra backless is to have a bra with detachable straps. This allows you to easily remove the straps when needed and attach them back when you want to wear the bra conventionally. Look for bras that have detachable straps with hooks or clasps.
Now that you have selected a suitable bra, you are ready to move on to the next step: preparing your bra for conversion.
Step 2: Prepare Your Bra
Before you start making your bra backless, it’s essential to properly prepare it for the conversion process. This step will ensure that your modifications are secure and that your bra remains comfortable to wear.
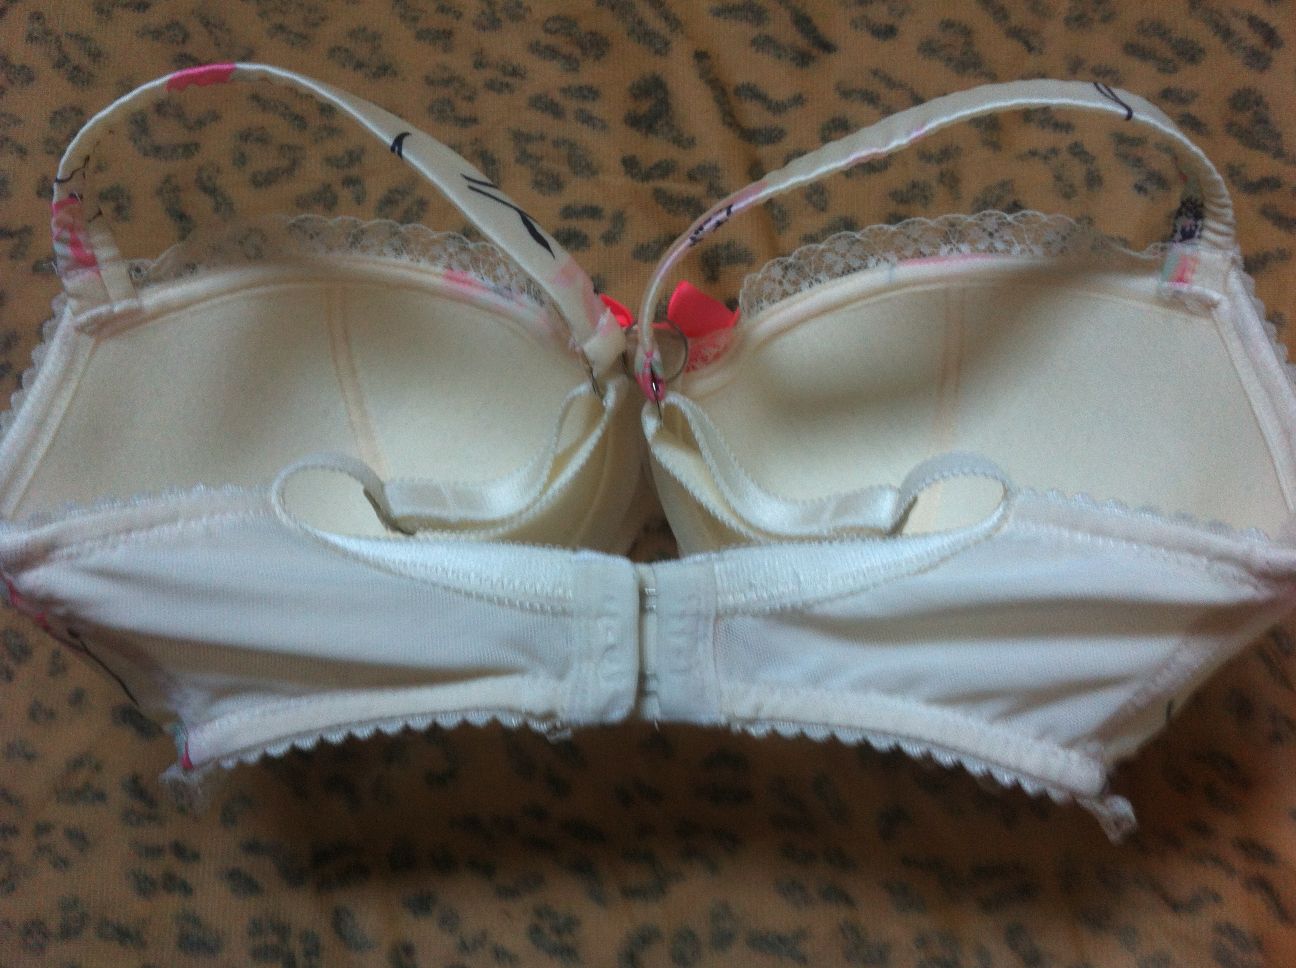
Start by removing the bra straps completely. Carefully unhook or detach the straps from the bra cups and set them aside. It’s important to keep the straps in a safe place so that you can reattach them later if you want to wear the bra conventionally.
Next, assess the back of your bra. If there is any excess fabric or features that may hinder the backless conversion, trim or remove them. This could include any decorative elements, bows, or additional bands that may be present. Remember to use sharp scissors and cut carefully to avoid damaging the bra.
Take a moment to ensure that the remaining parts of the bra, such as the cups and the band, are in good condition. Check for any loose threads or fraying fabric and tidy up if necessary. It’s essential to have a structurally sound bra to achieve the desired backless effect.
If your bra has adjustable hooks or clasp at the back, you may need to reposition them to achieve the desired low back effect. Carefully detach the hooks or clasps from the existing position and sew or reattach them in a lower position. This will create more space at the back and allow you to wear the bra with low-backed outfits.
Finally, it’s a good idea to give your bra a gentle hand wash or machine wash (according to the care instructions) before wearing it as a backless bra. This will ensure that it’s clean and fresh, ready for your next stylish ensemble.
With your bra properly prepared, you’re now ready to move on to the next step: attaching the bra converters.
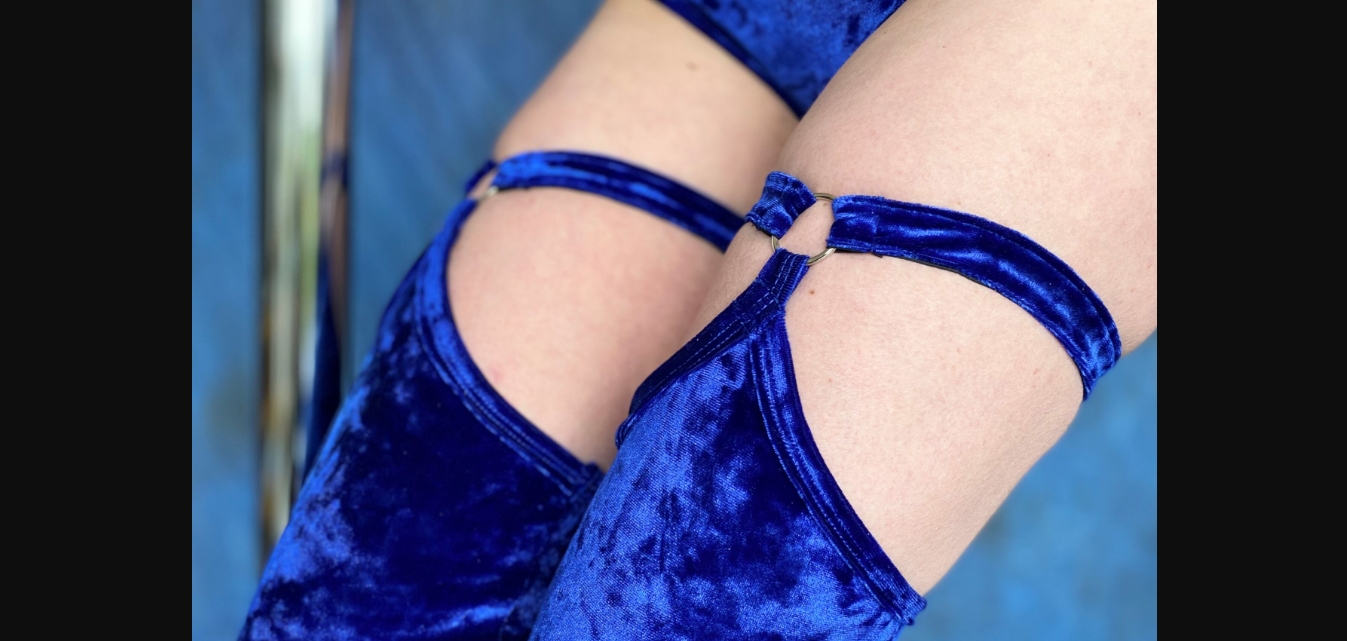
Step 3: Attach Bra Converters
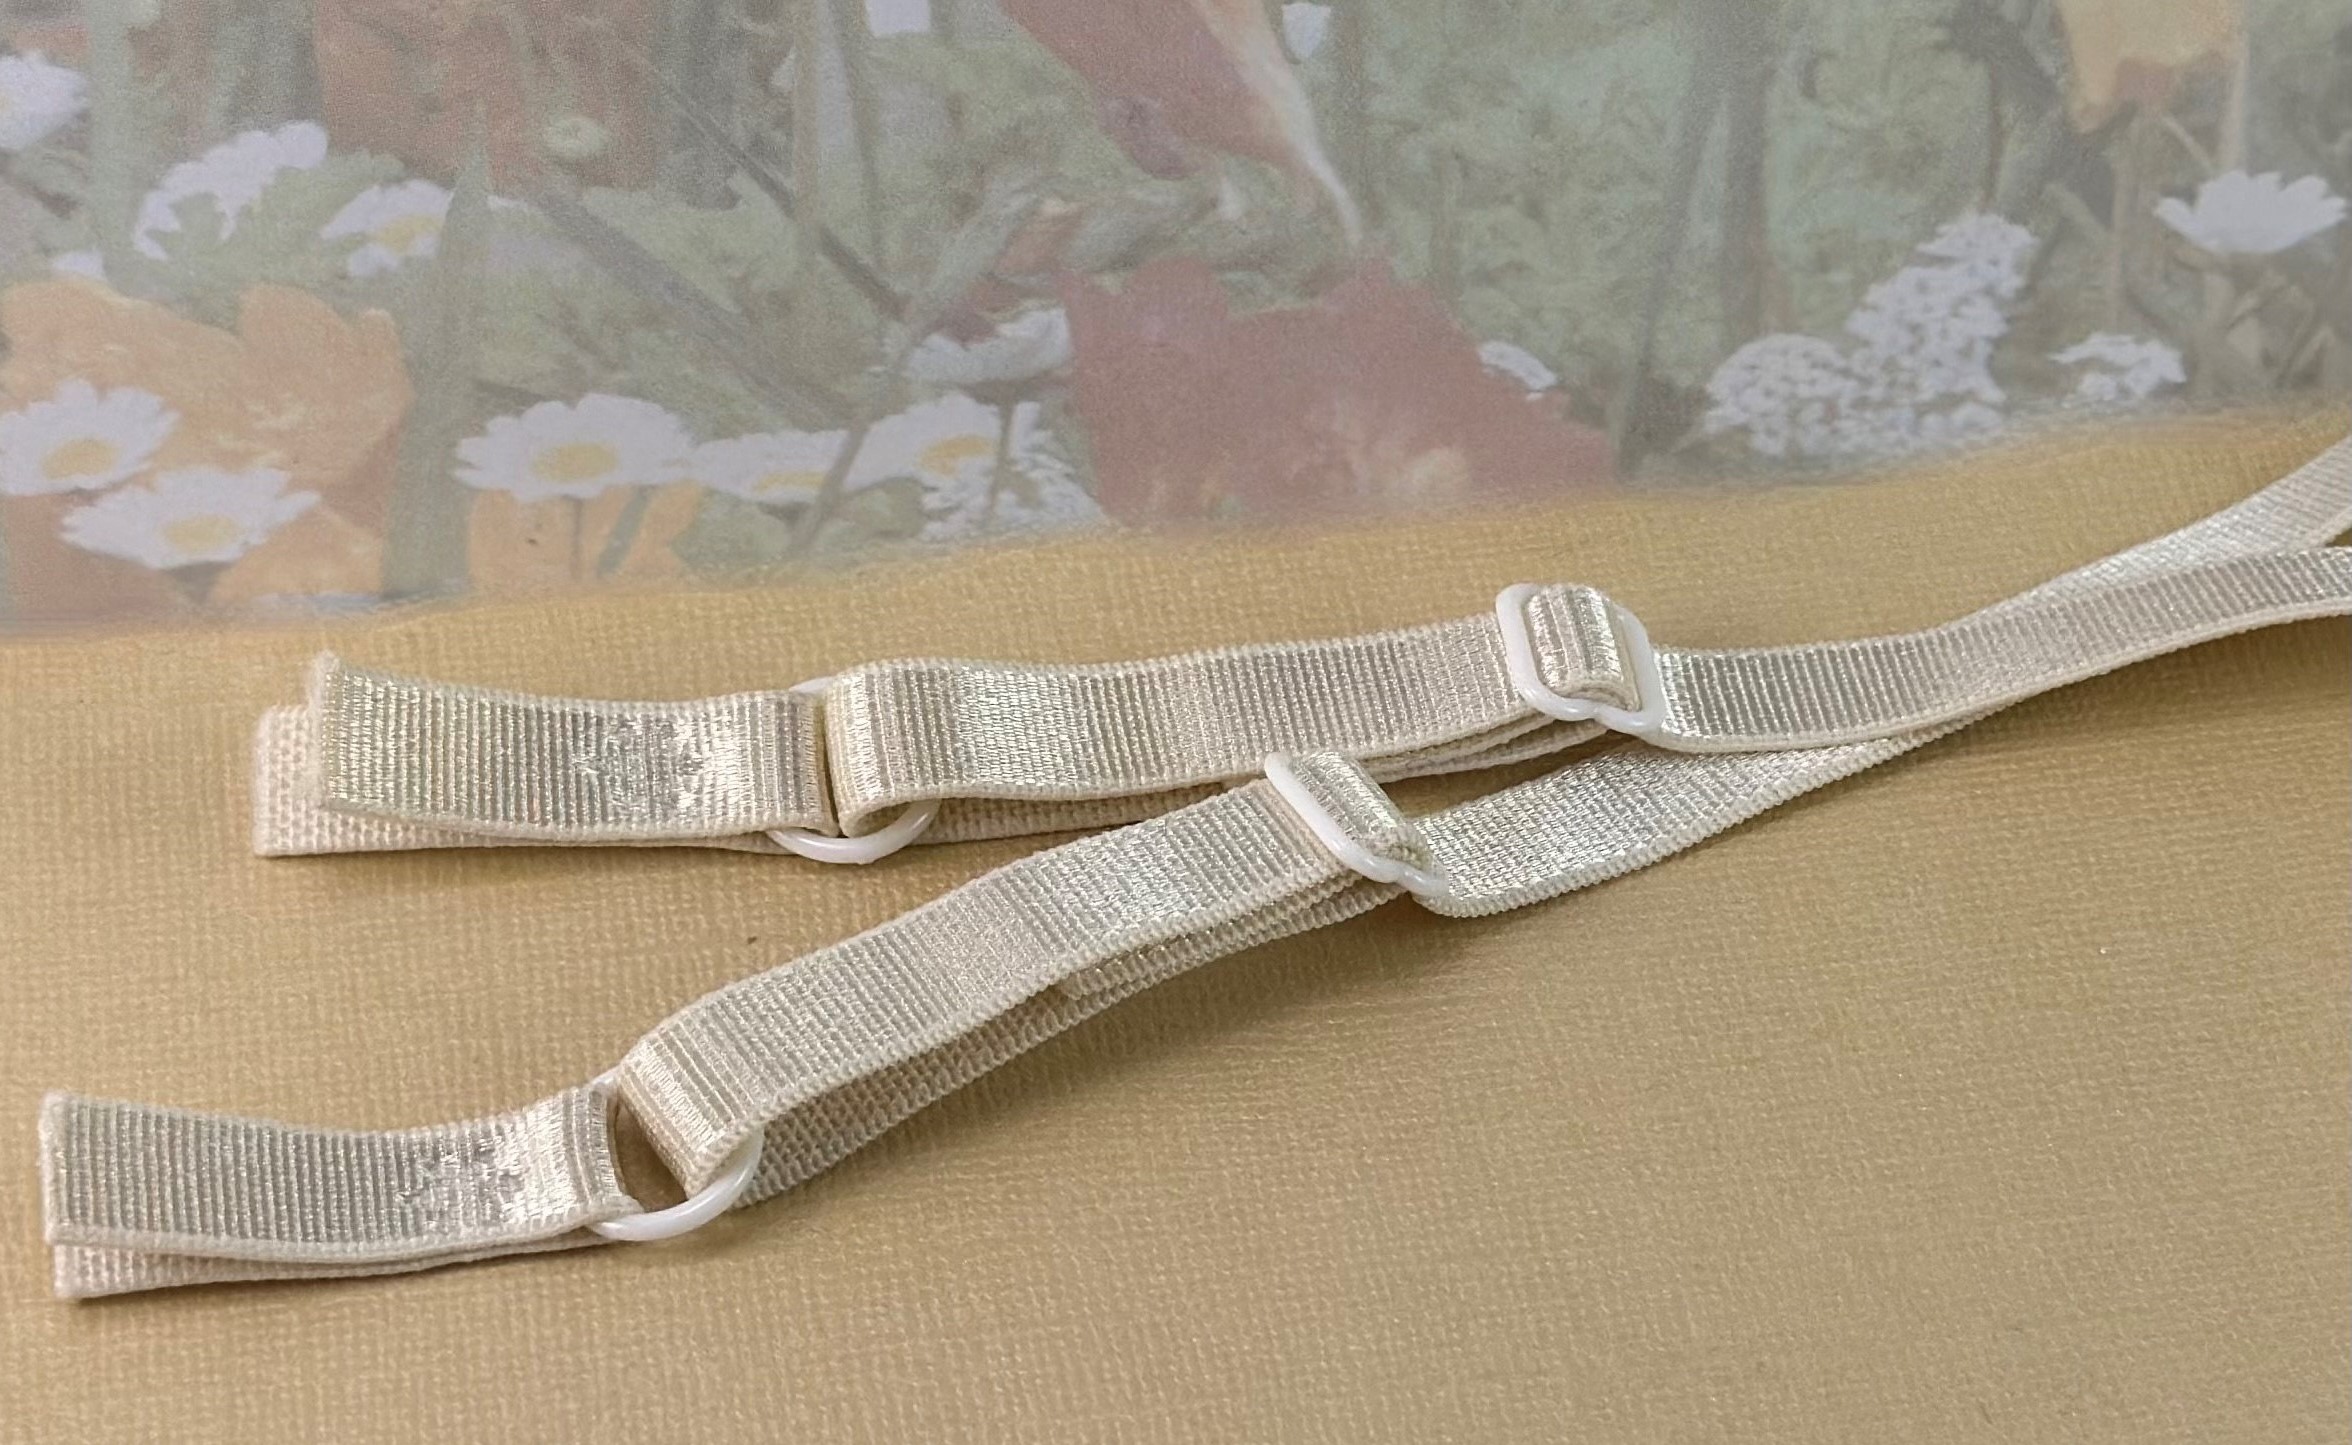
To transform your regular bra into a backless bra, you’ll need to attach bra converters. These handy tools will help keep your bra securely in place while giving you the freedom to wear backless or low-backed outfits.
Start by purchasing bra converters that are specifically designed for backless wear. These converters typically consist of a central connector and two side straps. They are made of a flexible and durable material that provides a secure hold without causing discomfort or irritation.
Take one of the converters and position it at the center of your bra. Align the central connector with the center of the bra band, ensuring that it sits snugly against your skin. The central connector should be at the same level as the closure of your bra.
Attach the side straps of the converter to the sides of the bra band. Secure them tightly, making sure they are evenly spaced and parallel to the center of the bra. Adjust the length of the straps as needed to achieve the desired level of lift and support.
Repeat the same process with the second converter on the other side of your bra. Make sure both converters are securely attached, creating a stable backless foundation for your bra.
Once the converters are in place, double-check their positioning and adjust if necessary. Ensure that they are securely attached to prevent any slipping or movement during wear.
When attaching the converters, be mindful of any decorative elements on the back of your bra. You may need to position the converters strategically to avoid covering or interfering with these embellishments. This will help maintain the aesthetic appeal of the bra while still achieving the backless effect.
With the bra converters successfully attached, you’re one step closer to enjoying the versatility of a backless bra. However, there is one more crucial step: adjusting the straps for a perfect fit.
Step 4: Adjust the Straps
Now that you have attached the bra converters, it’s time to adjust the straps of your backless bra to achieve a comfortable and supportive fit.
Start by putting on the bra and ensure that the backless converters are securely in place. The bra band should sit at your natural waistline, providing adequate support and lift.
With the bra on, adjust the length of the straps to your desired level of comfort and support. Begin by loosening the straps slightly and then gradually tighten them until you feel that the bra provides the desired lift and shape for your bust.
Keep in mind that the purpose of adjusting the straps is to achieve the optimal fit without compromising the backless effect. The straps should be tightened just enough to provide the necessary support but still remain discreet under your backless or low-backed outfit.
As you adjust the straps, make sure they are symmetrical and evenly positioned. This will ensure that your bra sits smoothly on your body and enhances your natural silhouette.
Once you have adjusted the straps to your liking, take a moment to move around and test the fit of the backless bra. Make sure it feels secure and comfortable, and that it provides the necessary support for your bust.
If you feel any discomfort or if the bra doesn’t fit properly, make further adjustments as needed. It may take a few tries to find the perfect strap length and fit, so don’t hesitate to experiment until you find the most comfortable and flattering configuration.
Remember, the goal is to achieve a backless look without sacrificing support and comfort. By adjusting the straps effectively, you can ensure that your backless bra hugs your body in all the right places, giving you the confidence to flaunt your fashionable backless outfits.
With the straps adjusted, it’s time to move on to the final step: testing the backless bra and making any necessary adjustments.
Step 5: Test and Make Necessary Adjustments
With your backless bra fully prepared, it’s important to test it out and make any necessary adjustments to ensure a perfect fit and comfortable wear.
Put on your chosen backless or low-backed outfit and wear your newly converted backless bra. Take a moment to check yourself in the mirror and assess how the bra looks with your outfit. Ensure that it remains discreet and doesn’t create any visible lines or bulges.
Move around and perform different motions to test the stability of the backless bra. Jump, twist, and reach your arms overhead to see if the bra stays securely in place. This will give you the confidence to wear your outfit without worrying about any wardrobe malfunctions.
If you feel any discomfort or find that the bra is not staying in place, it may be necessary to make some adjustments. This could involve tightening the straps, repositioning the converters, or even trying different types of converters for a better fit.
Make sure to test the backless bra with different outfits to see how it performs with various necklines and back designs. This will help you gauge its versatility and determine if any further modifications are needed for specific garments.
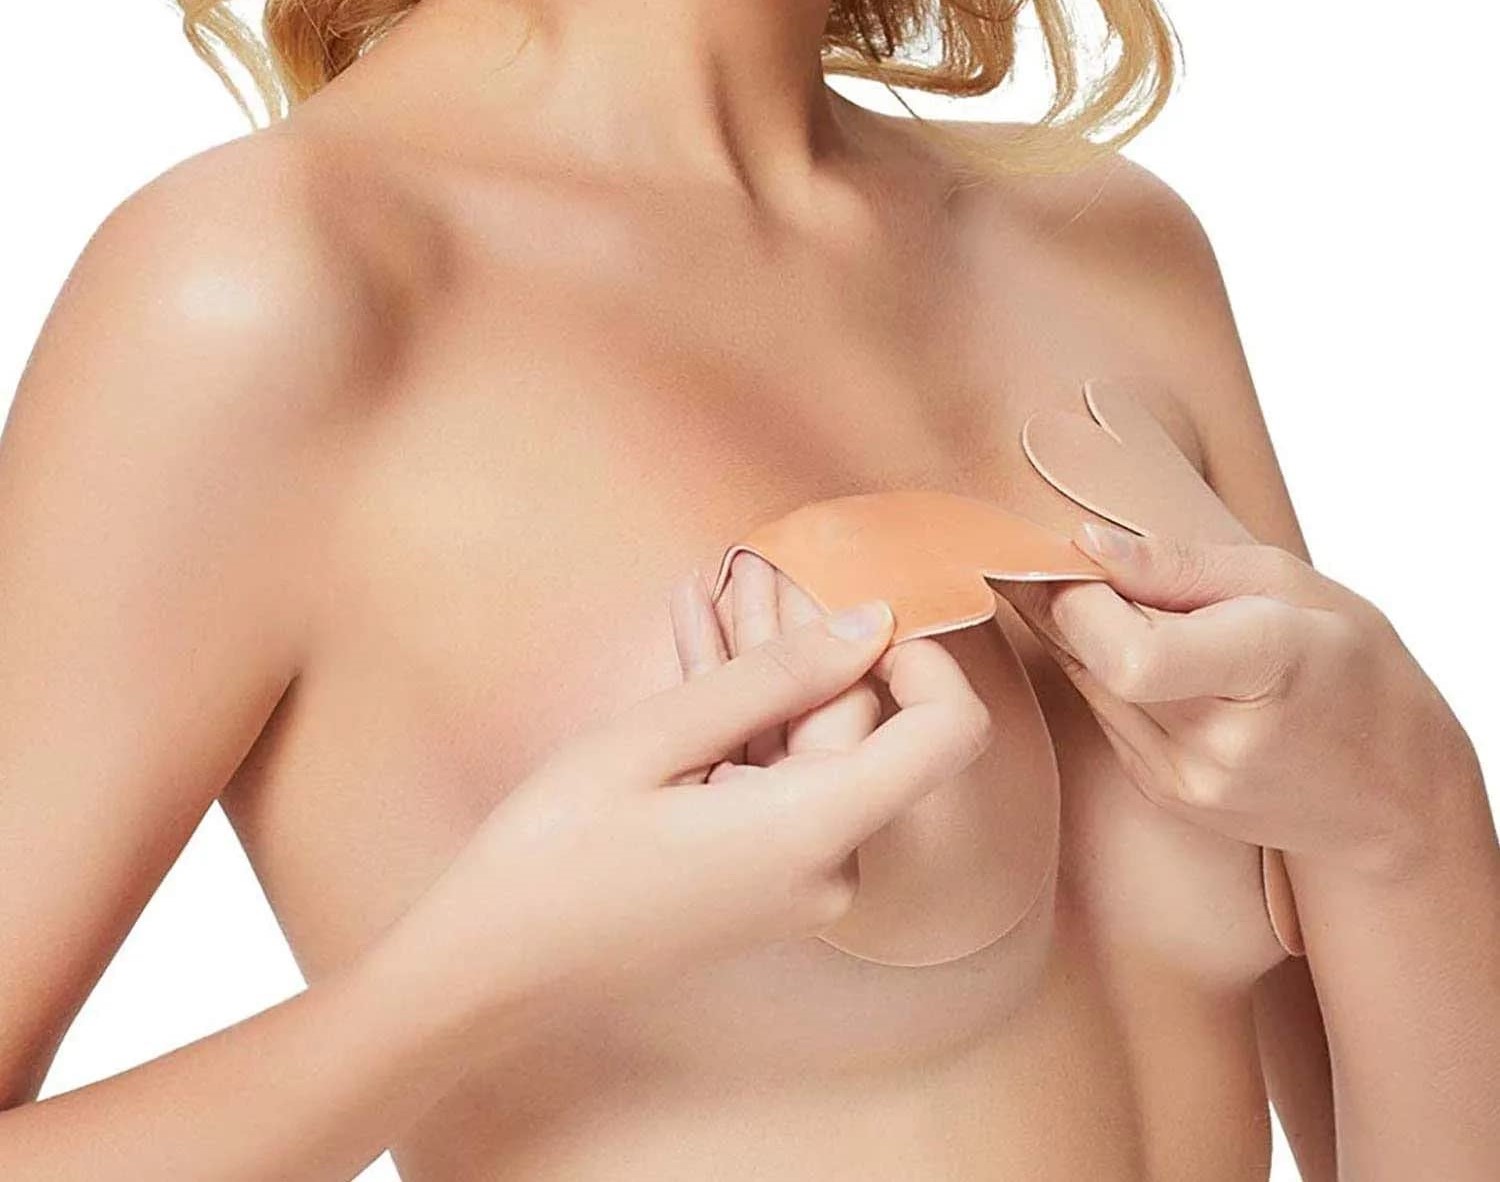
Additionally, pay attention to how the backless bra feels throughout the day. If you experience any discomfort or irritation, consider using silicone nipple covers or adhesive petals to provide extra protection and comfort.
Remember that every body and bra combination is unique, so don’t be discouraged if it takes a bit of trial and error to find the perfect fit. The key is to be patient and persistent in making the necessary adjustments until you achieve the desired comfort and support.
By testing and making the necessary adjustments, you’ll be able to enjoy the freedom and versatility of a backless bra while feeling confident and comfortable in your chosen outfits.
Now that you have successfully converted your regular bra into a backless bra, you can confidently wear your favorite backless or low-backed outfits without sacrificing support or style. Enjoy the flexibility and fashion-forward look that a well-fitted backless bra can offer!
Conclusion
Transforming your regular bra into a backless bra opens up a whole new world of fashion possibilities. With a few simple steps, you can achieve the ultimate combination of support, comfort, and style.
Choosing a suitable bra with detachable straps and a low back design is the first step. Ensure that the bra fits well and provides the necessary support for your bust.
Preparing your bra by removing any excess fabric, adjusting the hooks or clasps, and giving it a gentle wash sets the foundation for a successful backless conversion.
Attaching bra converters securely to the center and sides of the bra allows you to wear backless outfits confidently. Make sure to position the converters strategically to avoid covering any decorative elements on the back of your bra.
Adjusting the straps to achieve a comfortable and supportive fit is crucial. Find the perfect strap length that provides the desired lift while remaining discreet under your backless or low-backed outfit.
After making the adjustments, it’s important to test the backless bra with different outfits and movements to ensure its stability and comfort. Make any necessary tweaks or changes to enhance the fit and feel.
Ultimately, with a well-converted backless bra, you can confidently showcase your shoulders and back in stunning backless dresses, halter tops, and strappy tanks. Embrace the freedom and style that a backless bra provides, and revolutionize your wardrobe.
By following these steps and incorporating a bit of creativity and ingenuity, you can make your regular bras backless and unleash the full potential of your fashion choices.
So, go ahead and experiment with different looks, feel empowered, and rock those eye-catching backless outfits with confidence!