Home>How-to Guides>For Women>How To Make Bra Racerback
For Women
How To Make Bra Racerback
Modified: August 26, 2023
Discover the simple steps to make a trendy racerback for women's bras, offering both style and comfort. Perfect for adding a chic touch to your lingerie collection.
(Many of the links in this article redirect to a specific reviewed product. Your purchase of these products through affiliate links helps to generate commission for Under-tec.com, at no extra cost. Learn more)
Table of Contents
Introduction
Welcome to the world of DIY fashion! If you’re tired of your regular bra straps creeping up your shoulders or showing under your racerback tops, then you’ve come to the right place. In this article, we will show you how to make a bra racerback, a simple yet effective solution to enhance your comfort and style.
Whether you’re a seasoned seamstress or a complete novice, this project is suitable for everyone. Plus, you’ll not only save money by repurposing an existing bra but also add a unique touch to your lingerie collection. So, let’s get started and transform your regular bra into a fashionable racerback!
Before we dive into the step-by-step process, here’s a quick overview of the materials you’ll need:
- An old bra with detachable straps
- Scissors
- Needle and thread
- Elastic
- Measuring tape
- Pins
Now that you have all the necessary materials, let’s move on to the first step of preparing the bra for the racerback transformation.
Materials Needed
Before we begin creating the racerback bra, let’s gather all the materials you’ll need for this DIY project:
- An old bra with detachable straps: Look for a bra that you no longer wear or don’t mind altering. Make sure it has detachable straps for easy customization.
- Scissors: A pair of sharp fabric scissors will be essential for cutting the straps and any other necessary adjustments.
- Needle and thread: You’ll need a needle and thread that matches the color of your bra for sewing purposes. Make sure to choose a thread that is strong and durable.
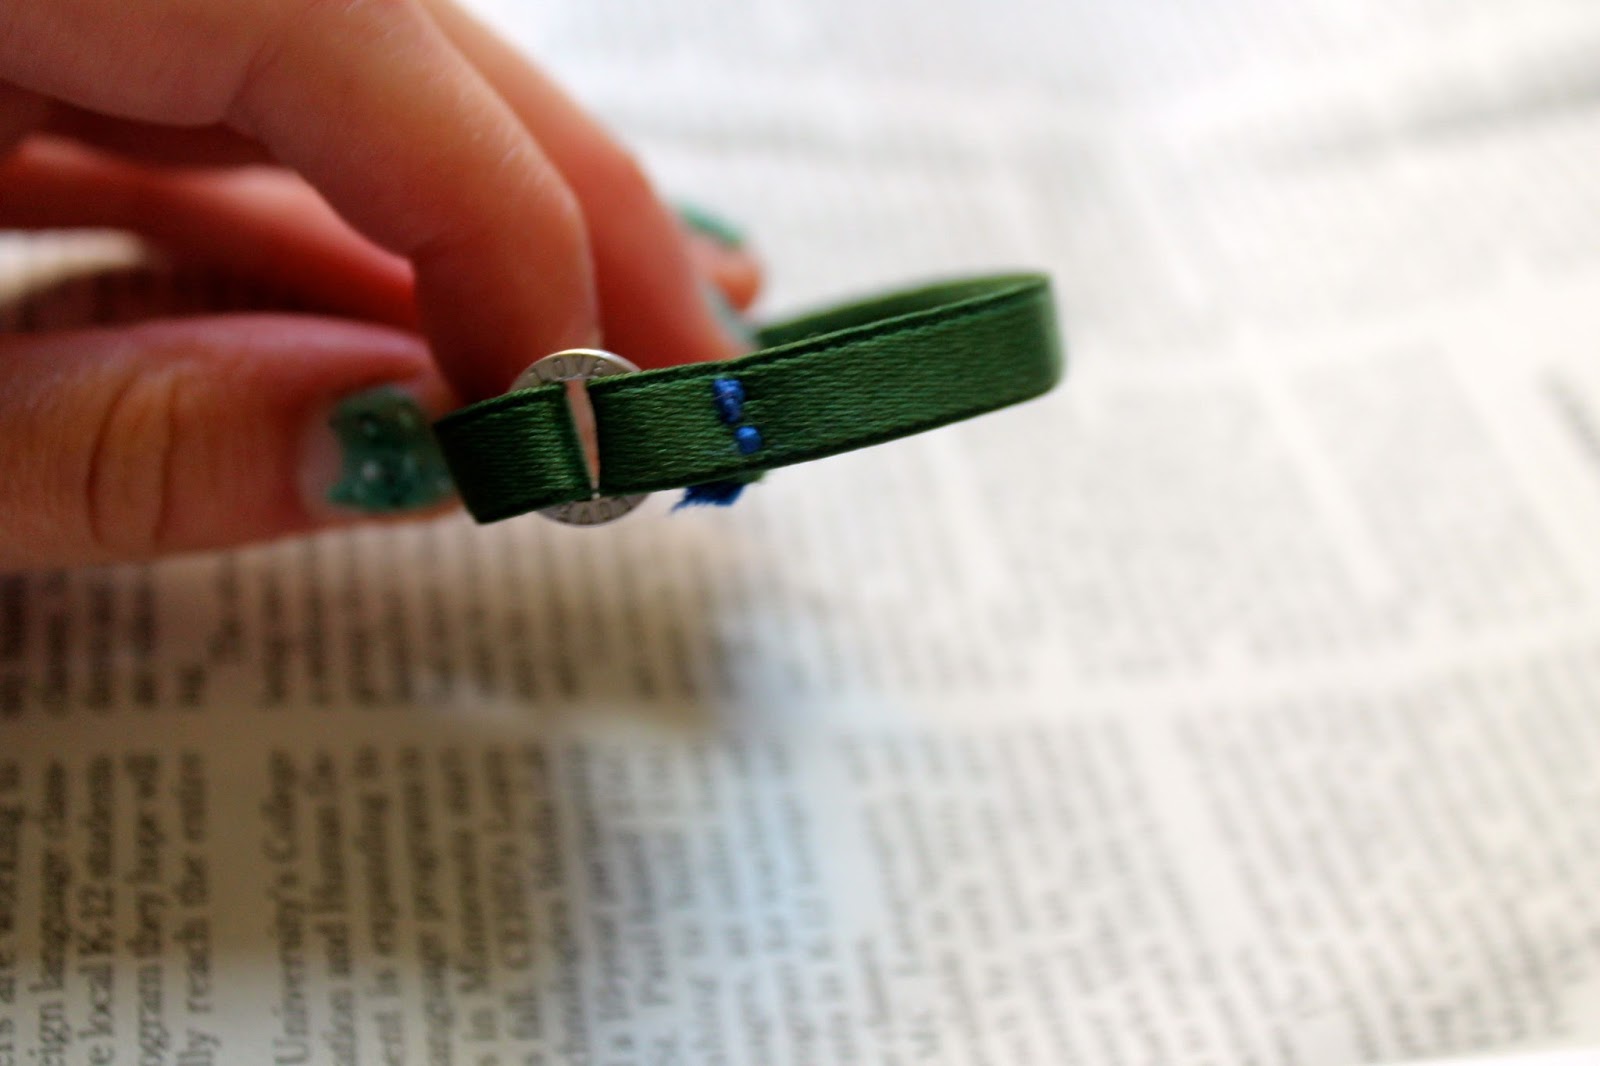
- Elastic: Elastic will be used to create the racerback shape and provide the necessary support. Choose a medium-width elastic that is comfortable against your skin.
- Measuring tape: To ensure the proper fit and alignment of the racerback straps, you’ll need a measuring tape to take accurate measurements.
- Pins: Pins will help hold the straps and elastic in place during the sewing process. Make sure to have enough pins to secure all the components securely.
By gathering these materials, you’ll be fully prepared to transform your ordinary bra into a stylish and comfortable racerback design. Remember to choose high-quality materials for the best results and longevity of your customized bra.
Step 1: Preparing the Bra
Before we can begin transforming the bra into a racerback style, we need to make a few preparations:
- Choose the right bra: Select a bra with detachable straps that you’re willing to modify. Ensure that the bra is in good condition and fits you properly.
- Detach the straps: Start by unhooking the bra straps from the back of the bra. Most bras have small hooks or clips that hold the straps in place. Carefully remove them to detach the straps completely.
- Inspect the bra: Take a close look at the back strap of the bra. If it is too narrow or flimsy, you may need to reinforce it with an extra layer of fabric or elastic for better support.
- Prep the bra for alterations: Lay the bra on a flat surface, ensuring that the cups are facing up. Smooth out any wrinkles or creases in the fabric to get a clear view of the back strap area.
By following these initial steps, you’ll have a solid foundation to work with as we move on to measuring and attaching the racerback straps. Take your time to ensure that the bra is clean, well-fitting, and ready for customization. Let’s continue to the next step: measuring and marking the straps.
Step 2: Measure and Mark the Straps
Now that we have prepared the bra, it’s time to measure and mark the straps to create the racerback design. Follow these steps:
- Put on the bra: Wear the bra and adjust the shoulder straps to your desired comfort level. This will help you determine the ideal position for the racerback straps.
- Measure the length: Take a measuring tape and measure the distance between the top edge of one shoulder strap to the top edge of the other shoulder strap across your back. This will serve as the length for the racerback straps.
- Mark the cutting point: Use a fabric marker or chalk to mark the midpoint of the measured length. This will indicate where you need to cut the fabric to create two separate racerback straps.
- Create a diagonal line: From the marking point, draw a diagonal line towards the outer edge of each shoulder strap of the bra. This will give you the desired angle for the racerback design.
- Double-check the measurements: Take a step back and assess the marked points and angles on the bra. Ensure that they are symmetrical and aligned properly before proceeding.
Accuracy is crucial at this stage, as it will determine the fit and comfort of your customized racerback bra. Take your time to measure and mark the straps correctly before moving on to the next step: cutting the straps.
Step 3: Cut the Straps
Once you have measured and marked the straps for your racerback bra, it’s time to proceed with cutting the straps. Follow these steps:
- Remove the bra: Take off the bra and lay it flat on a secure surface. This will make it easier to work with and ensure precise cutting.
- Identify the marked points: Locate the markings you made in the previous step. These points indicate where you need to cut the shoulder straps.
- Secure the bra: Use pins to hold the bra straps in place at the marked points. This will prevent them from shifting or moving while cutting.
- Cut the straps: With a pair of sharp fabric scissors, carefully cut along the marked lines. Take your time and make clean, straight cuts to ensure a professional-looking result.
- Test the length: Once the straps are cut, hold the bra up by the cups and drape the straps over your shoulders. Check if the length and positioning of the straps feel comfortable and secure. Make any adjustments if needed.
Remember to exercise caution while cutting the straps to avoid any accidental damage to the bra or yourself. Take your time and ensure the cuts are even and aligned properly. With the straps cut and measured, we can now move on to the next step: sewing the straps.
Step 4: Sew the Straps
With the straps of your bra cut to the desired length, it’s time to secure them in place by sewing. Follow these steps to sew the racerback straps onto the bra:
- Thread the needle: Choose a thread that matches the color of your bra and thread it through the needle. Make sure the thread is securely attached and knot the end to prevent it from coming loose during sewing.
- Start sewing: Position the bra straps at the back of the bra where you want them to be attached. Begin sewing by inserting the needle through the fabric of the bra, starting from the inside and pulling it all the way through.
- Create strong stitches: Make small, neat stitches along the edges of the bra straps to secure them firmly. You can use a straight stitch or a zigzag stitch depending on your preference and the fabric of the bra.
- Continue sewing: Sew along the entire length of the bra straps, ensuring that they are securely attached at all points. Take your time and maintain even stitching for a professional finish.
- Tie off the thread: Once you have sewn the straps in place, tie off the thread with a secure knot at the end. Trim any excess thread to give the bra a clean and polished look.
Remember to sew slowly and carefully to avoid any mishaps or mistakes. Take breaks if needed to maintain precision and focus. With the straps securely sewn onto the bra, we’re ready to move on to the next step: attaching the racerback straps to the bra.
Step 5: Attach the Straps to the Bra
Now that we have sewn the racerback straps to the bra, it’s time to attach them to the bra cups for a secure and comfortable fit. Follow these steps to attach the straps:
- Put on the bra: Wear the bra and adjust the racerback straps so they comfortably rest on your shoulders.
- Align the straps: Hold the bra cups in place while adjusting the racerback straps to ensure they align properly with the back strap and do not twist or bunch up.
- Secure with pins: Use pins to temporarily secure the racerback straps to the bra cups. This will prevent them from slipping or moving during the next steps.
- Sew the straps: Starting from the bottom of each bra cup, sew the racerback straps to the cups using small, neat stitches. Work your way up towards the top of the cups, ensuring that the straps are securely attached.
- Test the fit: Once the straps are sewn to the cups, put on the bra again to test the fit and comfort. Make any necessary adjustments by loosening or tightening the stitches to achieve the desired fit.
Take your time when attaching the racerback straps to ensure they are securely in place and properly aligned with the bra cups. With the straps attached, we’re almost done! In the next step, we’ll test and make any final adjustments to the racerback bra.
Step 6: Test and Adjust
With the racerback bra straps sewn onto the cups, it’s time to test the fit and make any necessary adjustments for optimal comfort and support. Follow these steps to ensure a perfect fit:
- Put on the bra: Wear the bra and adjust the racerback straps to sit comfortably on your shoulders. Make sure they provide the desired amount of support and do not dig into your skin.
- Check for any discomfort: Move around and perform various activities while wearing the bra to check for any discomfort or areas that need adjustment. Pay attention to the straps, back strap, and overall fit of the bra.
- Make necessary alterations: If you experience any discomfort or find areas that need improvement, carefully make necessary alterations. This could include adjusting the placement of the racerback straps or refining the fit of the back strap.
- Reinforce the stitches: In case you find any areas where the stitches may need reinforcement, sew over them again to ensure added durability and security.
- Test again: After making the adjustments and reinforcing the stitches, put on the bra once more and test the fit. Ensure that it provides the desired level of support and comfort.
Remember, the goal is to create a racerback bra that fits you perfectly and enhances your comfort throughout the day. Take the time necessary to test and adjust the bra until you are fully satisfied with the fit and functionality.
Conclusion
Congratulations! You have successfully transformed your regular bra into a stylish and functional racerback design. By following the step-by-step instructions in this guide, you have learned how to make your bra more comfortable and versatile.
The process of creating a bra racerback may seem daunting at first, but with the right materials and a little patience, it is a project that anyone can accomplish. Not only does it provide a solution to those pesky falling straps, but it also adds a trendy touch to your wardrobe.
Remember to choose a bra with detachable straps, measure and mark the straps accurately, and sew them securely onto the bra cups. With a few adjustments and tests, you can customize the fit to suit your unique body shape and preferences.
Now that you know how to make a bra racerback, you have the freedom to wear racerback tops and dresses without worrying about visible bra straps. Plus, you can enjoy the added comfort and support that a racerback design offers.
Feel free to experiment with different bra styles, strap widths, and materials to create a variety of racerback looks. Get creative and have fun customizing your bras to match your personal style.
With your newly transformed racerback bra, you can confidently rock your favorite outfits without any strap-related concerns. So go ahead, show off your style and enjoy the comfort and versatility of your customized racerback bras!