Home>How-to Guides>For Women>How To Make Bra Strap
For Women
How To Make Bra Strap
Modified: August 2, 2023
Discover how to make bra strap adjustments for women with our easy-to-follow guide. Say goodbye to uncomfortable straps and hello to the perfect fit!
(Many of the links in this article redirect to a specific reviewed product. Your purchase of these products through affiliate links helps to generate commission for Under-tec.com, at no extra cost. Learn more)
Table of Contents
Introduction
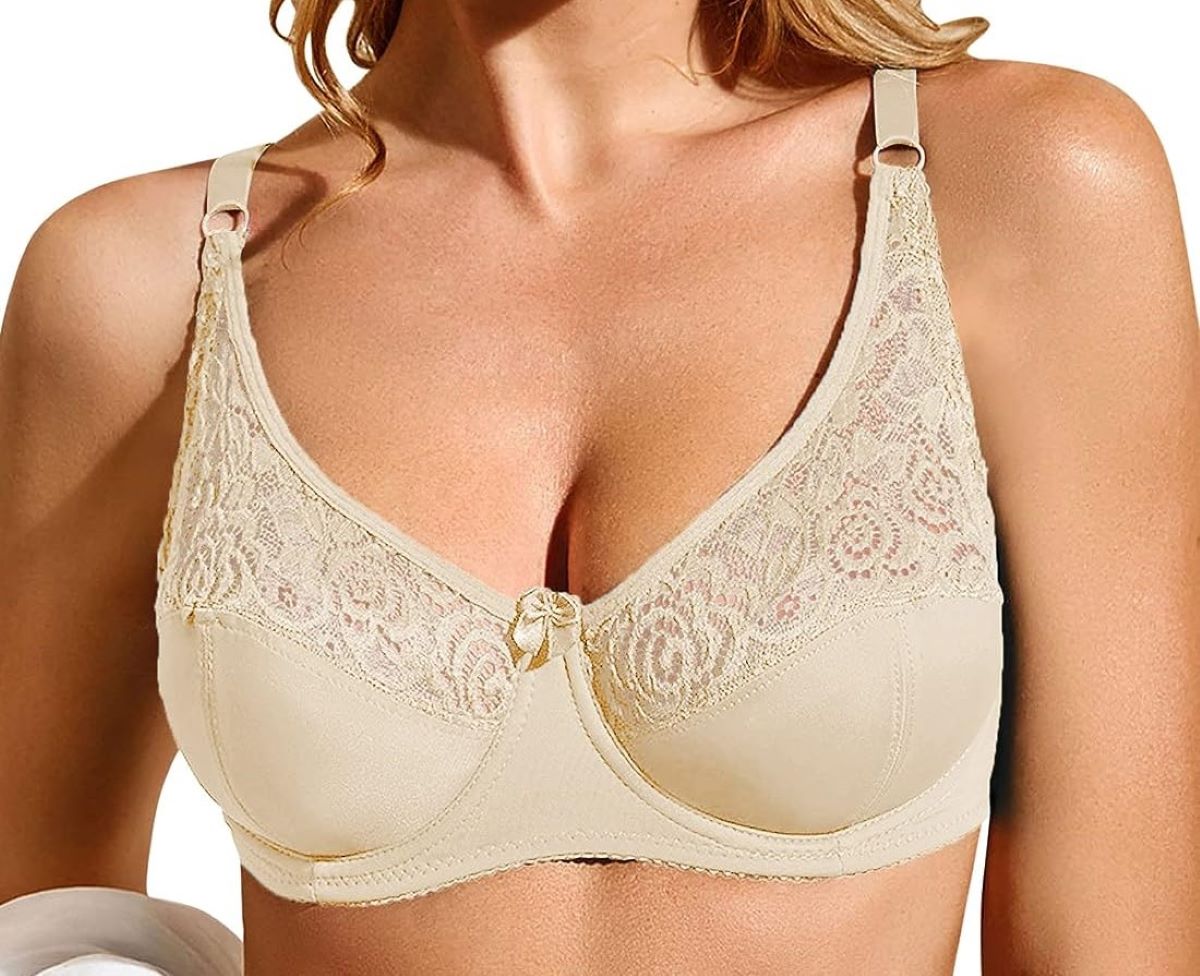
The bra strap is an essential part of every woman’s lingerie collection. It provides support and ensures a comfortable fit, allowing women to feel confident and secure throughout the day. However, sometimes the standard bra straps may not be the right fit for everyone or may not match the style of a particular outfit. In such cases, making your own bra strap can be a practical and creative solution.
Creating your own bra strap gives you the freedom to customize its length, width, color, and material to suit your unique needs and preferences. Whether you want a strap that blends seamlessly with your skin tone or one that adds a pop of color to your ensemble, making your own bra strap allows you to create a personalized accessory.
In this article, we will guide you through the step-by-step process of making your own bra strap. We will provide you with the necessary information and materials required, ensuring that you have all the tools at hand to create a comfortable and stylish bra strap that meets your exact specifications.
So, if you’re ready to unleash your creativity and enjoy a perfectly tailored bra strap, let’s dive into the materials needed and the step-by-step instructions for crafting your own unique bra strap!
Materials Needed
Before you begin making your own bra strap, gather the following materials:
- Elastic: Choose a high-quality elastic that is comfortable against the skin and has a good amount of stretch. The width of the elastic will depend on your personal preference and the level of support you desire.
- Fabric: Select a fabric that complements your bra or outfit. You can choose from a variety of options such as cotton, satin, lace, or even a decorative trim. Ensure that the fabric is soft, durable, and easy to work with.
- Scissors: Use a sharp pair of scissors to cut the elastic and fabric. Make sure they are clean and rust-free for precise cuts.
- Sewing machine or needle and thread: Depending on your comfort level with sewing, you can either use a sewing machine or opt for hand sewing with a needle and thread.
- Thread: Choose a thread that matches the color of your fabric or elastic. Using a polyester thread would be ideal for its strength and durability.
- Hardware: You will need bra strap hardware, including sliders and hooks, to attach the bra strap to your bra. Match the hardware color to the rest of your bra for a seamless look.
- Pins: Utilize pins to hold the fabric and elastic together while sewing. These will help keep everything in place for a neater finish.
- Measuring tape: Ensure accurate measurements by using a measuring tape to measure the desired length of your bra strap.
- Iron and ironing board: Iron the fabric before sewing to remove any wrinkles and ensure a smooth finish. Make sure the iron is set to the appropriate temperature for your fabric type.
Once you have gathered all these materials, you are ready to move on to the next step: taking the measurements.
Step 1: Measurement
The first step in making your own bra strap is to take accurate measurements. Properly measuring the length of the strap ensures a comfortable fit that provides adequate support. Here’s how:
- Put on a well-fitting bra. This will give you a baseline for measuring the strap length that works for you.
- Using a measuring tape, measure the distance from the bottom of one bra cup, over your shoulder, and down to the bottom of the opposite bra cup. This will give you the total length of the strap needed.
- Take note of this measurement and keep it in mind as you move on to the next steps.
It’s important to remember that everyone’s body is unique, so you may need to adjust the strap length to suit your comfort level and preferred fit. Taking accurate measurements will ensure that your custom strap fits snugly and comfortably.
Now that you have your measurements, it’s time to move on to step two: cutting the fabric.
Step 2: Cut the Fabric
Once you have your measurements, it’s time to cut the fabric for your bra strap. Here’s what you need to do:
- Measure and mark the desired width of your strap on the fabric. This width can vary depending on your preference and the level of support you desire.
- Using sharp scissors, carefully cut along the marked line to create your fabric strap. Make sure to cut clean, straight edges for a professional finish.
- If you prefer a more decorative bra strap, you can opt to cut the fabric into a different shape or add embellishments such as lace or trim. This step allows you to add a personalized touch to your bra strap design.
Before moving on to the next step, ensure that your fabric strap is the correct length as per your measurements and that it is cut to your desired width. Double-check that the edges are neat and free from any frayed threads.
Now that you have your fabric strap ready, it’s time to move on to step three: sewing the ends.
Step 3: Sew the Ends
Now that you have your fabric strap, it’s time to sew the ends to create a neat and secure finish. Follow these steps:
- Fold one end of the fabric strap about ¼ inch (0.6 cm) towards the wrong side and secure it with pins. This will create a clean edge and prevent fraying.
- Using either a sewing machine or a needle and thread, stitch along the folded edge to secure it in place. Use a straight stitch or a zigzag stitch for added durability.
- Repeat this process for the other end of the fabric strap, ensuring that both ends are neatly finished.
- Trim any excess thread and remove the pins.
By sewing the ends of the fabric strap, you create a sturdy base for attaching the hardware and ensure that the strap will withstand regular use and washing.
With the ends sewn, you can now move on to step four: attaching the hardware to your bra strap.
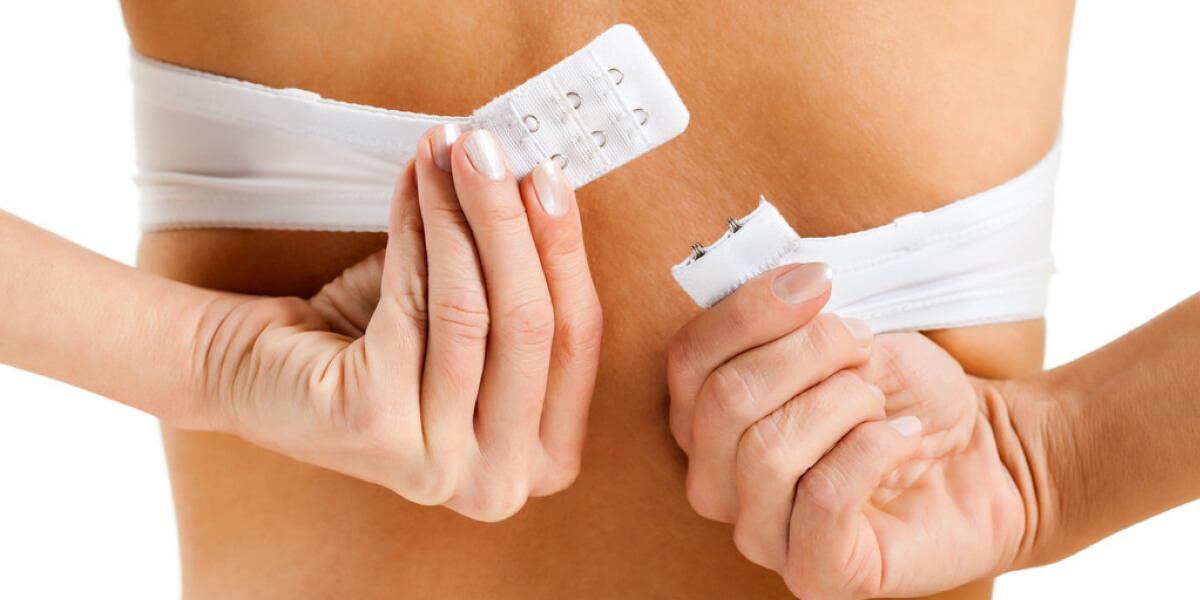
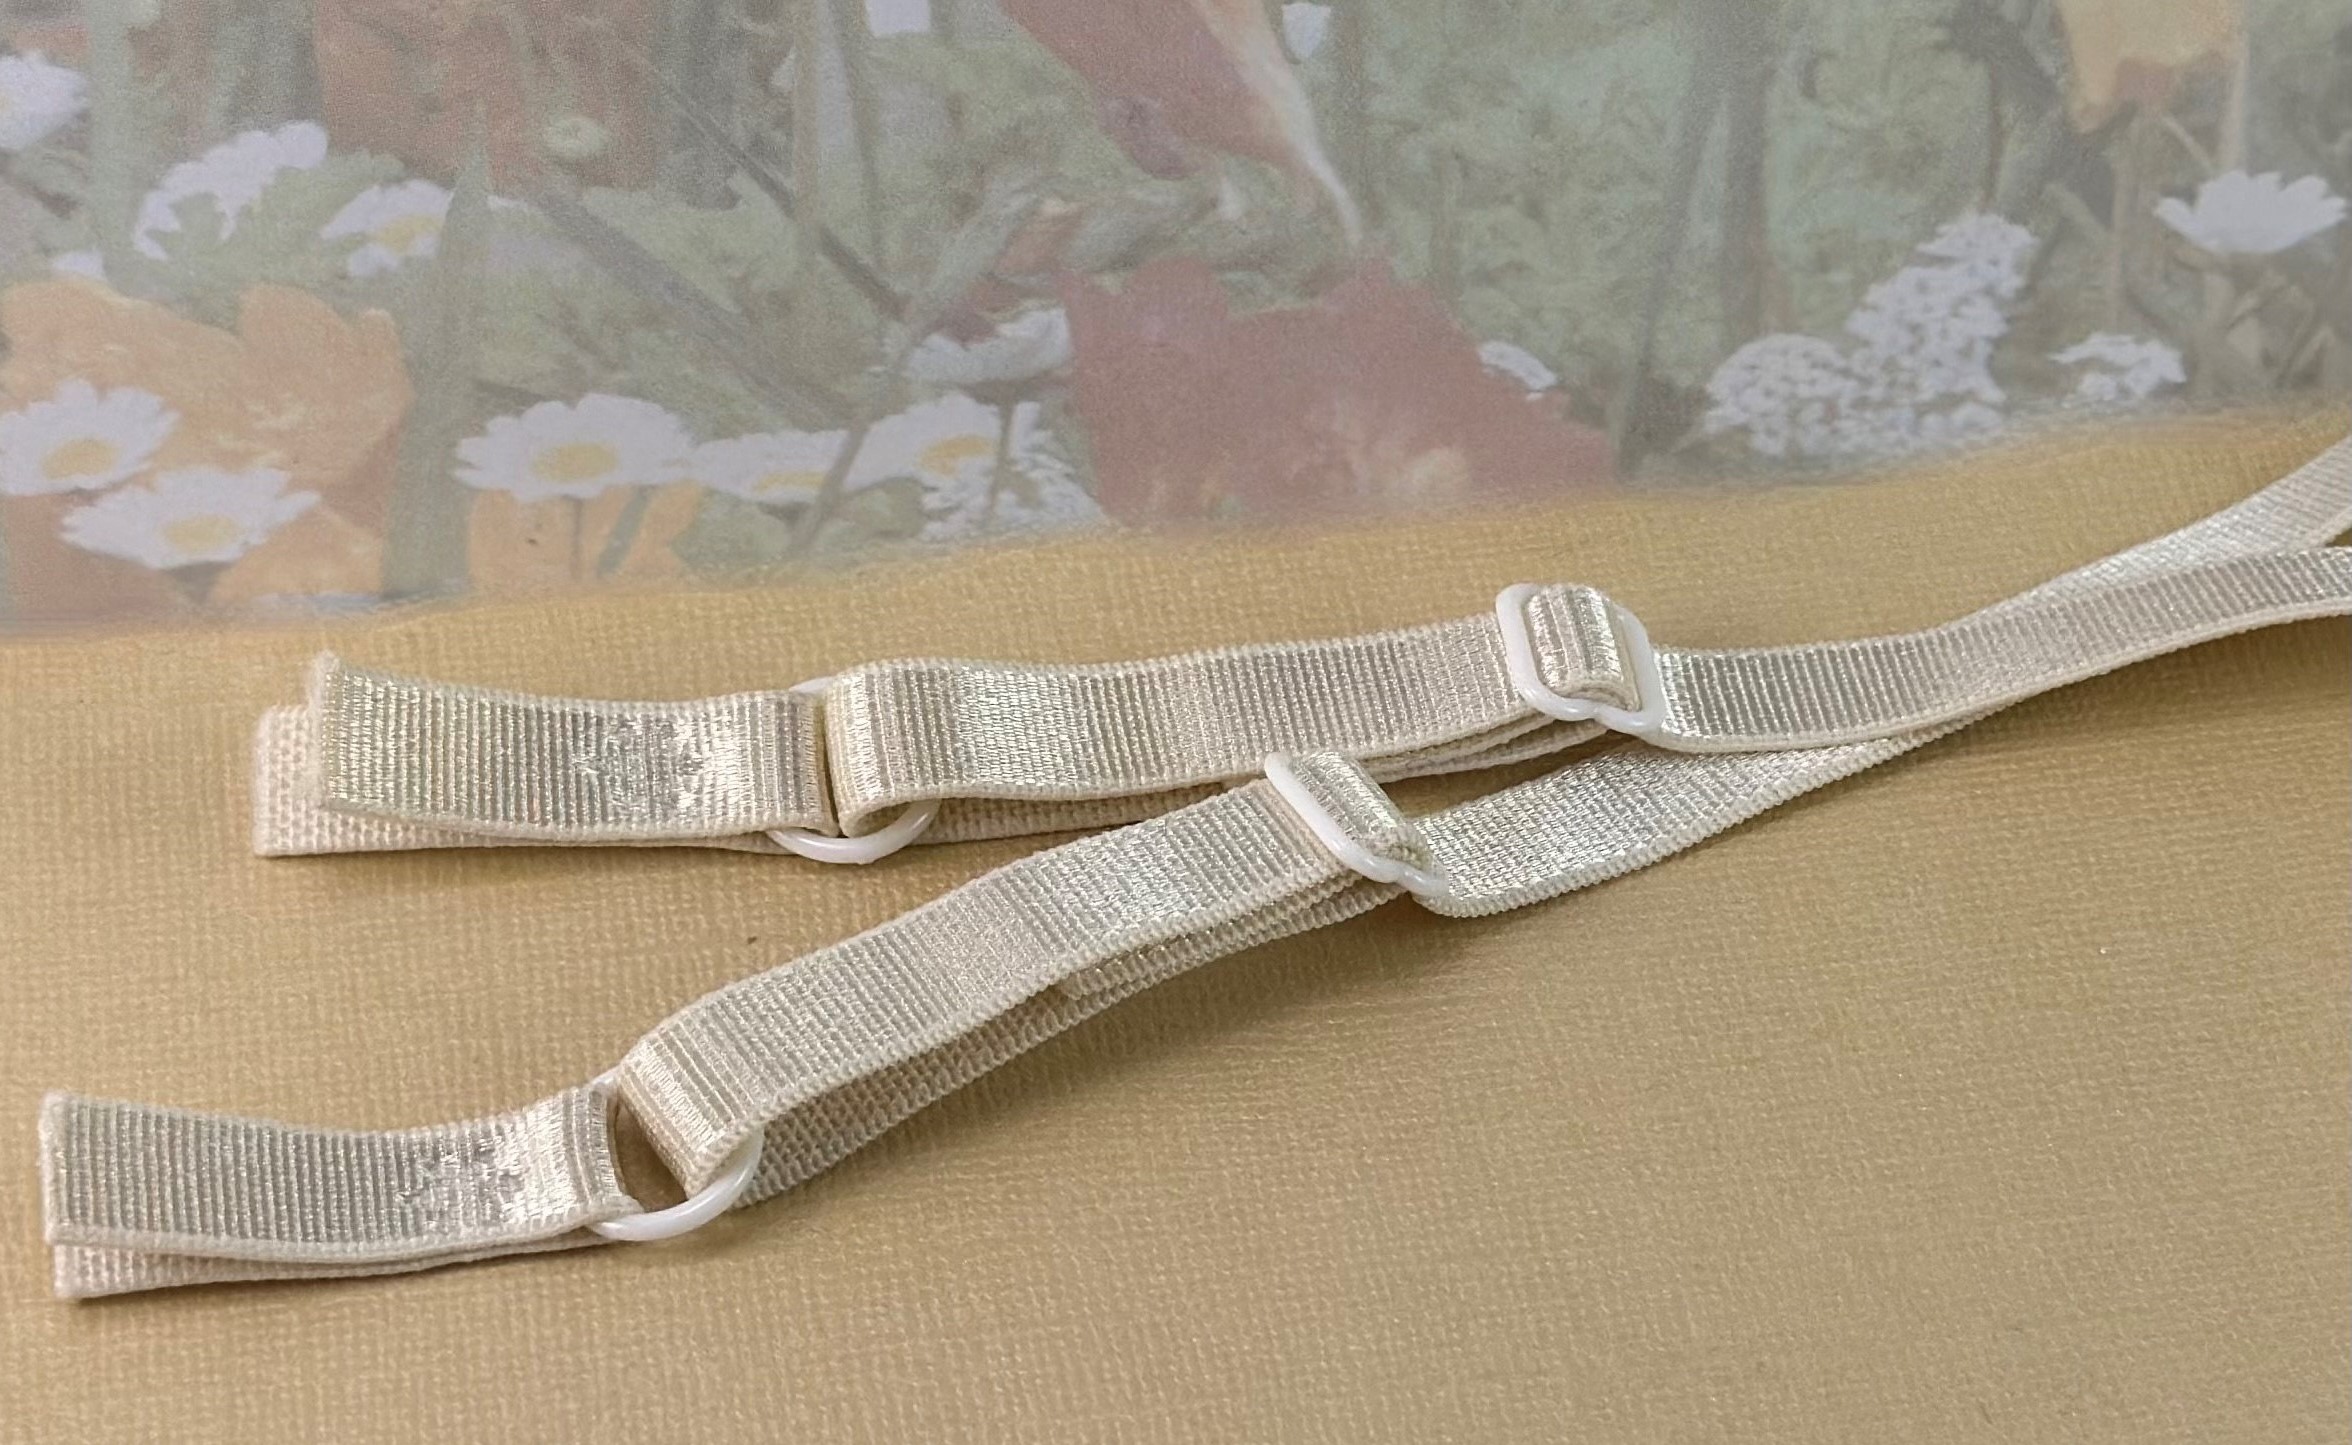
Step 4: Attach the Hardware
Attaching the hardware is a crucial step in making your own bra strap. This hardware includes sliders and hooks that allow you to adjust the length of the strap and securely fasten it to your bra. Follow these steps to attach the hardware:
- Take one end of the fabric strap and thread it through the slider. Position the slider towards the end of the strap, leaving a small tail sticking out.
- Fold the tail end of the fabric strap over the slider and secure it with pins.
- Using a sewing machine or needle and thread, stitch across the folded tail end to secure the slider in place. Be sure to sew through all layers of fabric for added strength.
- Next, thread the opposite end of the fabric strap through the hook. Position the hook towards the other end of the strap, leaving a small tail sticking out.
- Fold the tail end over the hook and secure it with pins.
- Stitch across the folded tail end to secure the hook in place, just as you did for the slider.
- Trim any excess thread and remove the pins.
By attaching the hardware, you create a functional and adjustable bra strap that can be easily secured to your bra and adjusted to your desired length.
With the hardware attached, it’s time to move on to step five: adjusting the length of your bra strap.
Step 5: Adjust the Length
Now that your hardware is securely attached, you can adjust the length of your bra strap to ensure a comfortable and customized fit. Follow these steps:
- Pull the fabric strap through the slider to loosen or tighten the strap to your desired length.
- Put on your bra and adjust the strap length so it sits comfortably on your shoulders and provides the desired level of support.
- Once you have determined the correct length, hold the fabric strap in place and ensure that both sides are adjusted equally to maintain balance.
- Double-check the strap length in the mirror to ensure it is to your liking.
By adjusting the length of your bra strap, you can customize the fit to match your unique body shape and personal comfort preferences.
After adjusting the length, it’s time to move on to the final step: testing and finishing your newly crafted bra strap.
Step 6: Test and Finish
With your bra strap adjusted to the desired length, it’s important to test its functionality and make any final adjustments before finishing the project. Follow these steps:
- Put on your bra and ensure that the strap sits comfortably on your shoulders and provides the support you need.
- Move your arms and upper body to test the strap’s flexibility and durability. Check for any discomfort or slipping.
- If necessary, make minor adjustments to the strap length or positioning to achieve optimal comfort and support.
- Once you are satisfied with the fit and functionality, trim any excess fabric from the ends of the strap for a neat and tidy finish.
- Give the strap a final press with an iron, using the appropriate heat setting for your fabric, to create a smooth and polished look.
By testing and making any necessary adjustments, you ensure that your newly crafted bra strap meets your desired comfort and functionality standards.
Congratulations! You have successfully made your own bra strap. Now you can confidently wear your customized strap and enjoy the perfect fit and style.
Remember, you can use this method to create multiple bra straps in different colors and designs, allowing you to mix and match with your bras and outfits.
Enjoy the creative process of making your own bra straps and elevating your lingerie game!
Conclusion
Creating your own bra strap is not only a practical solution but also an opportunity to unleash your creativity and personalize your lingerie collection. By following the simple steps outlined in this guide, you can make a bra strap that perfectly fits your body and matches your unique style.
Throughout this process, we discussed the materials needed, including elastic, fabric, scissors, sewing machine or needle and thread, thread, hardware, pins, measuring tape, and an iron. These materials, combined with your measurements, allow you to craft a comfortable and stylish bra strap.
From measuring the strap length to cutting the fabric, sewing the ends, attaching the hardware, adjusting the length, and finally testing and finishing, each step plays a vital role in creating a functional and well-fitted bra strap.
With your finished bra strap, you can enjoy the confidence and comfort of a customized fit. Whether you choose to match it with your bra or make a bold statement with contrasting colors, your handmade strap will add a personal touch to your lingerie collection.
We hope this guide has inspired you to tap into your creativity and experiment with different fabrics, colors, and designs to make your own unique bra straps. Embrace the process, have fun, and enjoy the satisfaction of creating a functional accessory that enhances your lingerie experience.
Now, go ahead and make your own bra strap, and empower yourself with comfort, style, and confidence!