Home>Women's Underwear>Bras>How To Make Bra Strap Bracelet
Bras
How To Make Bra Strap Bracelet
Modified: August 2, 2023
Learn how to repurpose your old bras into stylish accessories with this step-by-step guide on making a stunning bra strap bracelet. Perfect for adding a unique touch to any outfit!
(Many of the links in this article redirect to a specific reviewed product. Your purchase of these products through affiliate links helps to generate commission for Under-tec.com, at no extra cost. Learn more)
Table of Contents
Introduction
Welcome to the world of DIY fashion! If you’re looking for a unique and trendy accessory to liven up your style, look no further than a bra strap bracelet. This simple yet stylish accessory is made using bra straps and can be customized to suit your individual taste. Whether you have some old bras that you no longer wear or want to create a one-of-a-kind bracelet, making a bra strap bracelet is a fun and creative way to upcycle and accessorize.
Not only are bra strap bracelets fashionable, but they are also a great conversation starter. Imagine the surprise and admiration you’ll receive when you tell someone that your stylish bracelet is made from bra straps! Plus, by repurposing old bra straps, you’ll be giving them a new lease on life instead of tossing them into the landfill.
While making a bra strap bracelet may sound intimidating, it’s actually a simple process that requires just a few materials and some creativity. In this step-by-step guide, we’ll walk you through the process of creating your own bra strap bracelet. From preparing the bra straps to adding decorative elements, you’ll learn everything you need to know to make a stunning and unique accessory.
So, grab your old bras, gather your supplies, and let’s dive into the world of bra strap bracelets. Get ready to show off your personal flair and make a fashion statement like no other!
Materials Needed
Making a bra strap bracelet requires just a few simple materials. Before you get started, make sure you have the following items:
- Bra straps: Look for old bras that you no longer wear or visit a local thrift store to pick up some inexpensive bras. Choose straps that are in good condition and match the style you want for your bracelet.
- Scissors: A sharp pair of scissors will be necessary for cutting the bra straps to the desired length.
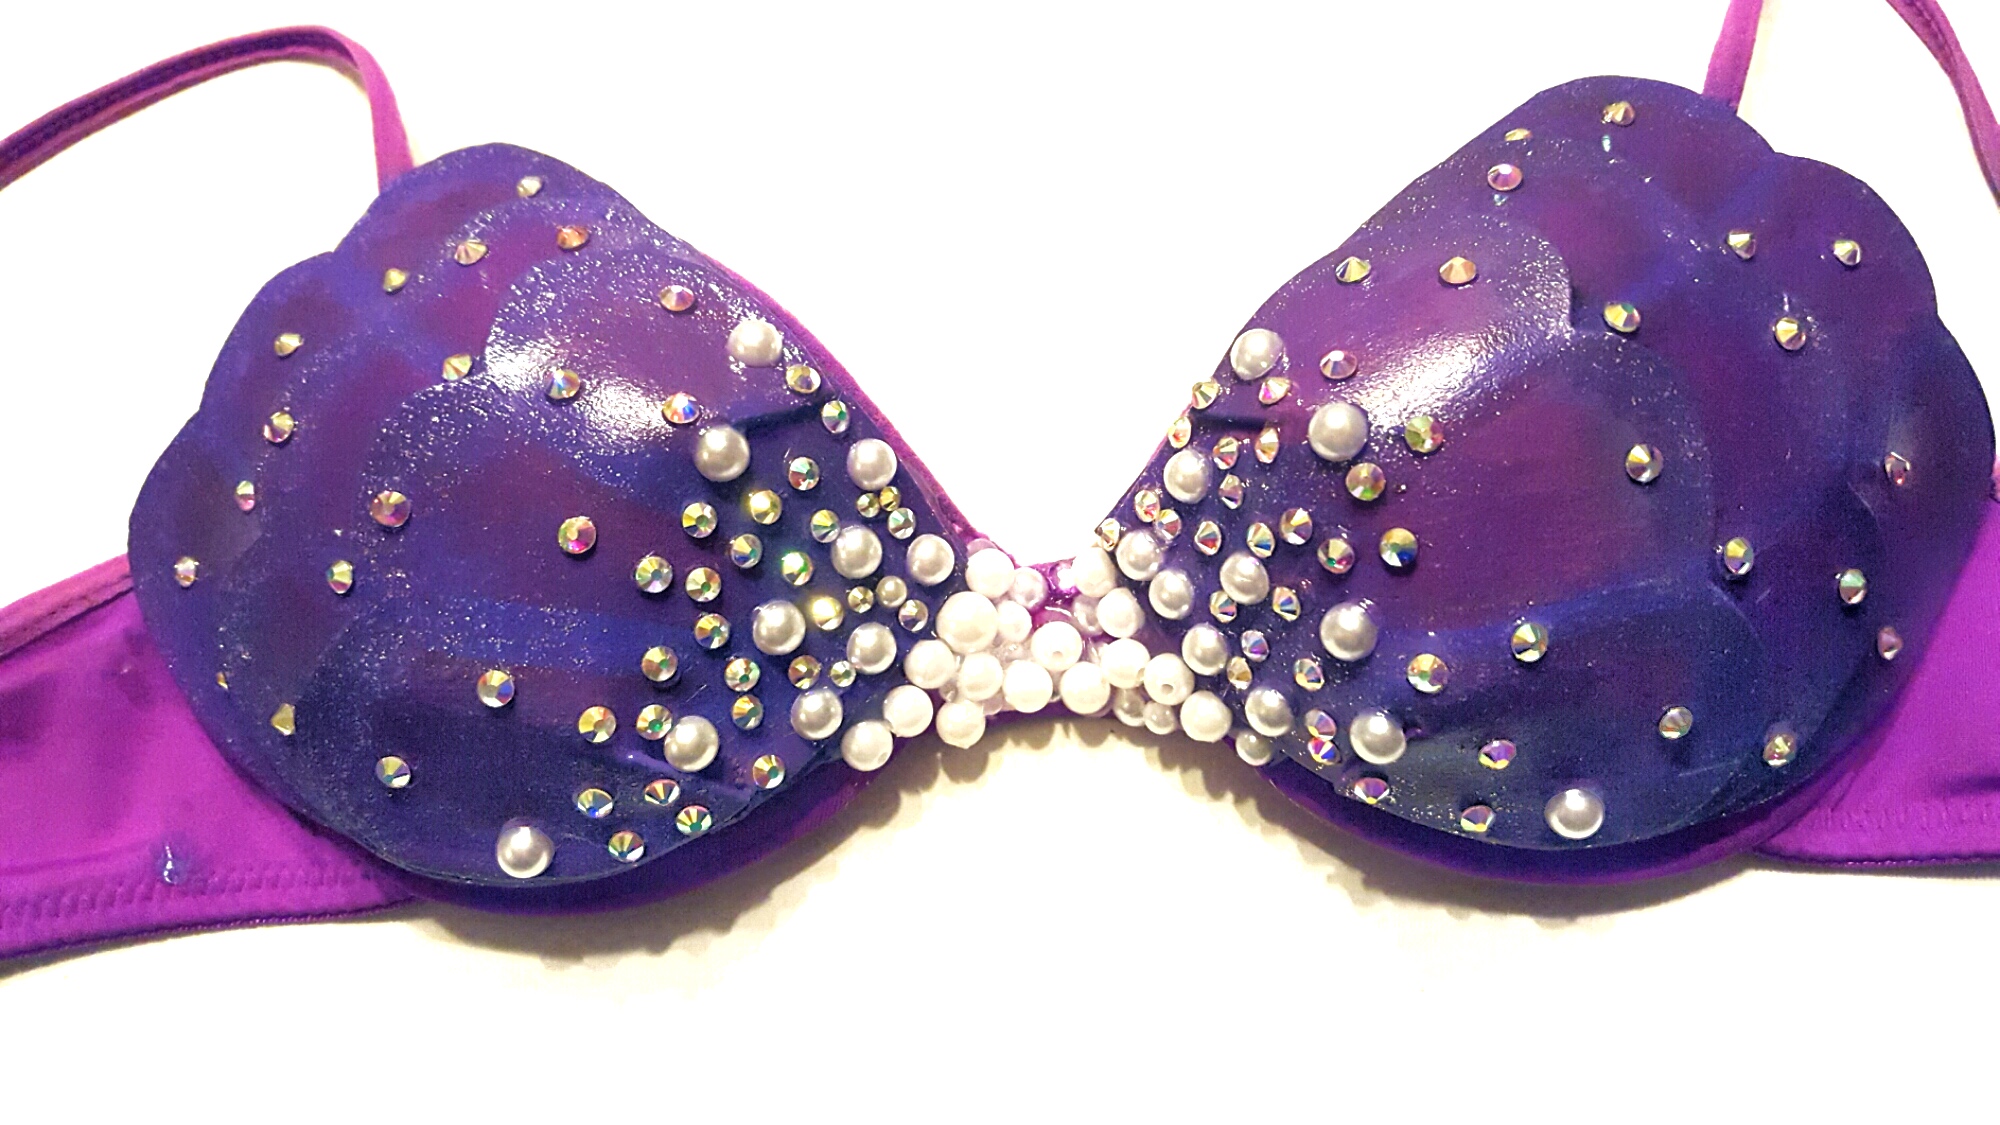
- Beads and decorative elements: To add some pizzazz to your bracelet, gather a collection of beads, charms, crystals, or any other decorative elements that suit your style and taste.
- Jewelry findings: You’ll need some jewelry findings to complete your bracelet. This includes a clasp or fastening device, jump rings, and a pair of pliers to attach them.
- Needle and thread or glue: Depending on the design you choose, you may need a needle and thread to secure the beads and decorative elements onto the bra straps. Alternatively, you can use glue for a quick and easy assembly.
- Measuring tape or ruler: For accurate measurements, have a measuring tape or ruler on hand to ensure the bracelet fits comfortably.
Remember, while these are the basic materials needed to make a bra strap bracelet, feel free to get creative and personalize your bracelet by incorporating other elements such as ribbons, fabric scraps, or even small trinkets that hold sentimental value.
Now that you have all the necessary materials, let’s move on to the next steps to create your very own bra strap bracelet!
Step 1: Preparing the Bra Straps
Before you can start transforming your bra straps into a stylish bracelet, it’s important to properly prepare them. Follow these steps to ensure your bra straps are ready for the next stages of the process:
- Clean the bra straps: If you’re using old bras, make sure to give the bra straps a thorough cleaning. Hand wash them with mild soap and water, rinse well, and allow them to air dry. This will ensure that your bracelet is clean and ready to wear.
- Remove any hardware: Some bra straps may have hooks, sliders, or other hardware attached. Use a pair of pliers to carefully remove any of these pieces, leaving behind a plain strap. This step will make it easier to work with the straps and customize your bracelet design.
- Trim the ends: Take a pair of scissors and trim any excess fabric or frayed edges from the bra straps. This will give your bracelet a clean and polished look.
Once you’ve completed these steps, your bra straps will be prepped and ready for the next stage of creating your bra strap bracelet. By starting with clean and trimmed straps, you’ll achieve a more professional and finished result.
Now that your bra straps are prepared, it’s time to move on to the next step: measuring and cutting.
Step 2: Measuring and Cutting
Now that your bra straps are prepped, it’s time to measure and cut them to the desired length for your bracelet.
- Measure your wrist: Take a measuring tape or ruler and wrap it around your wrist to determine the desired length for your bracelet. Add an extra inch or two to allow for the clasp and a comfortable fit.
- Mark the length: Use a pen or marker to make a small mark on the bra strap at the desired length. Ensure that the mark is visible and will not be covered up when you add decorative elements.
- Cut the bra straps: Take a sharp pair of scissors and carefully cut the bra straps at the marked point. Make sure the cut is clean and straight, as this will affect the overall appearance of your bracelet.
Remember, it’s better to start with a longer bra strap and trim it further if needed, rather than cutting it too short initially. You can always make adjustments later, but once the strap is cut too short, it can’t be lengthened.
After cutting the bra straps to the desired length, ensure that both straps are the same length. This will help your bracelet look uniform and balanced when worn.
Now that you have perfectly measured and cut bra straps, it’s time to move on to the next step: adding beads and decorative elements to create a unique design.
Step 3: Adding Beads and Decorative Elements
With your measured and cut bra straps ready, it’s time to get creative and personalize your bracelet by adding beads and decorative elements. Follow these steps to add a unique touch to your bra strap bracelet:
- Plan your design: Before you start, envision the design you want for your bracelet. Consider the color scheme, pattern, and placement of the beads and decorative elements. This will help you stay organized and achieve the desired look.
- Choose your beads: Select the beads you want to incorporate into your bracelet. You can use a single type of bead for a clean and minimalist look or mix and match different styles and sizes for a more eclectic design. Consider using beads that complement your personal style or match certain outfits.
- String the beads: If desired, you can use a needle and thread to string the beads onto the bra straps. Alternatively, you can use glue to attach the beads directly onto the straps. Experiment with different bead placements and patterns until you achieve the desired look.
- Add decorative elements: In addition to beads, you can also incorporate other decorative elements such as charms, crystals, or small trinkets. Attach these elements using a needle and thread or glue, depending on the material.
- Secure the beads and decorative elements: After adding the beads and decorative elements, make sure they are securely attached to the bra straps. If using thread, tie a knot at the end to secure the beads in place. If using glue, allow it to dry completely before moving on to the next step.
Don’t be afraid to get creative and experiment with different combinations of beads and decorative elements. This is your chance to make a statement and showcase your unique style.
Now that you’ve added the beads and decorative elements, your bra strap bracelet is starting to take shape. But before you can wear it, you need to attach a clasp or fastening device.
Step 4: Attaching a Clasp or Fastening Device
To complete your bra strap bracelet and ensure it stays securely on your wrist, you’ll need to attach a clasp or fastening device. Follow these steps to add the finishing touch:
- Select a clasp: Choose a clasp or fastening device that matches your bracelet’s style and complements the material of the bra straps. There are various types of clasps available, such as lobster clasps, toggle clasps, or magnetic clasps.
- Open the jump rings: Using a pair of pliers, gently open one of the jump rings that come with the clasp. To open the jump ring, hold it on either side of the split with the pliers and twist one side away from you and the other towards you. Avoid pulling the sides apart, as this can distort the shape of the ring.
- Attach the jump ring: Insert one end of the bra strap through the open jump ring and close it using the pliers. Make sure the jump ring is securely closed, as this will prevent the bracelet from coming undone.
- Repeat for the other end: Open another jump ring and insert the other end of the bra strap. Attach it to the other end of the clasp and close the jump ring. This will complete the attachment of the clasp.
- Check the security: Give your bracelet a gentle tug to ensure that the clasp is securely attached and won’t come undone easily. If necessary, adjust the placement of the jump rings for a snug fit.
When attaching the clasp, be mindful of the orientation of the bra strap. Ensure that it doesn’t twist or get tangled, as this can affect the overall appearance and comfort of your bracelet.
Congratulations! You’ve successfully attached a clasp or fastening device to your bra strap bracelet. All that’s left now are a few finishing touches.
Step 5: Finishing Touches
With your bra strap bracelet almost complete, it’s time to add a few finishing touches to ensure it looks polished and ready to wear. Follow these steps to give your bracelet that extra touch of perfection:
- Trim any excess: Take a close look at your bracelet and trim any excess thread, if applicable. This will give your bracelet a clean and neat appearance.
- Adjust the fit: Put on your bracelet and check the fit. If it feels too loose or too snug, you can make minor adjustments by adding or removing jump rings or adjusting the length of the bra strap.
- Inspect for durability: Take a moment to inspect your bracelet for any loose beads, charms, or decorative elements. Make sure they are securely attached. If necessary, reinforce the attachment with a bit of glue or an additional stitch.
- Polish and clean: If your beads or decorative elements are made of metal, you may want to give them a gentle polish using a soft cloth. This will enhance the shine and overall appearance of your bracelet.
Take the time to ensure that your bra strap bracelet meets your expectations. This is your chance to make any final adjustments and ensure that you’re completely satisfied with the finished product.
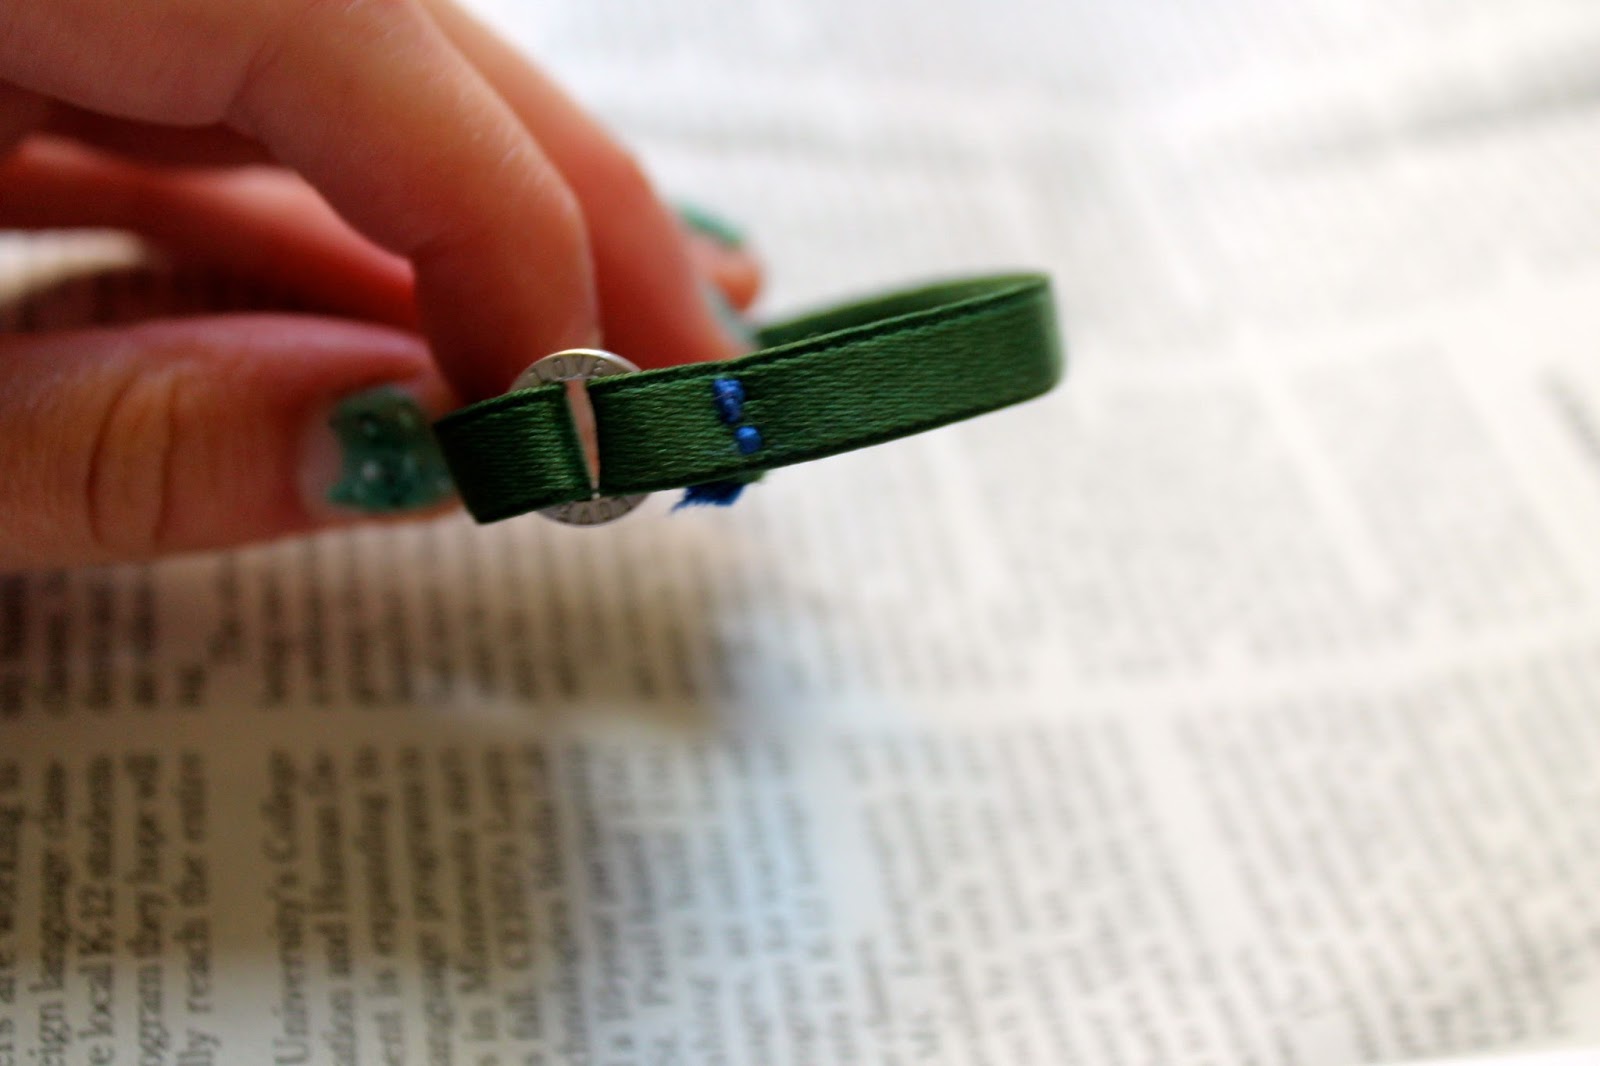
Now that you’ve added the finishing touches, it’s time to put on your unique and stylish bra strap bracelet and show it off to the world!
Conclusion
Congratulations on creating your very own bra strap bracelet! By repurposing old bra straps and adding your personal flair, you’ve transformed a simple accessory into a unique and fashionable piece of jewelry.
Making a bra strap bracelet is not only a creative and fun activity, but it’s also an eco-friendly way to upcycle materials and reduce waste. Instead of throwing away old bras, you’ve given them a new lease on life and turned them into something stylish and beautiful.
Remember, the process of making a bra strap bracelet is highly customizable. You can experiment with different bead arrangements, decorative elements, and even experiment with different bra strap styles and colors. The possibilities are endless, and your imagination is the only limit.
So, put on your bra strap bracelet, and let it become a conversation starter. Embrace the unique and handmade aspect of your accessory, and be proud to show off your creativity and fashion sense.
We hope you enjoyed this step-by-step guide on how to make a bra strap bracelet. Now, it’s time to rock your new accessory and inspire others to transform everyday items into beautiful and one-of-a-kind creations!