Home>How-to Guides>For Women>How To Make Pumping Bra
For Women
How To Make Pumping Bra
Modified: August 6, 2023
Learn how to make a comfortable and functional pumping bra for women, ensuring a seamless breastfeeding experience.
(Many of the links in this article redirect to a specific reviewed product. Your purchase of these products through affiliate links helps to generate commission for Under-tec.com, at no extra cost. Learn more)
Table of Contents
Introduction
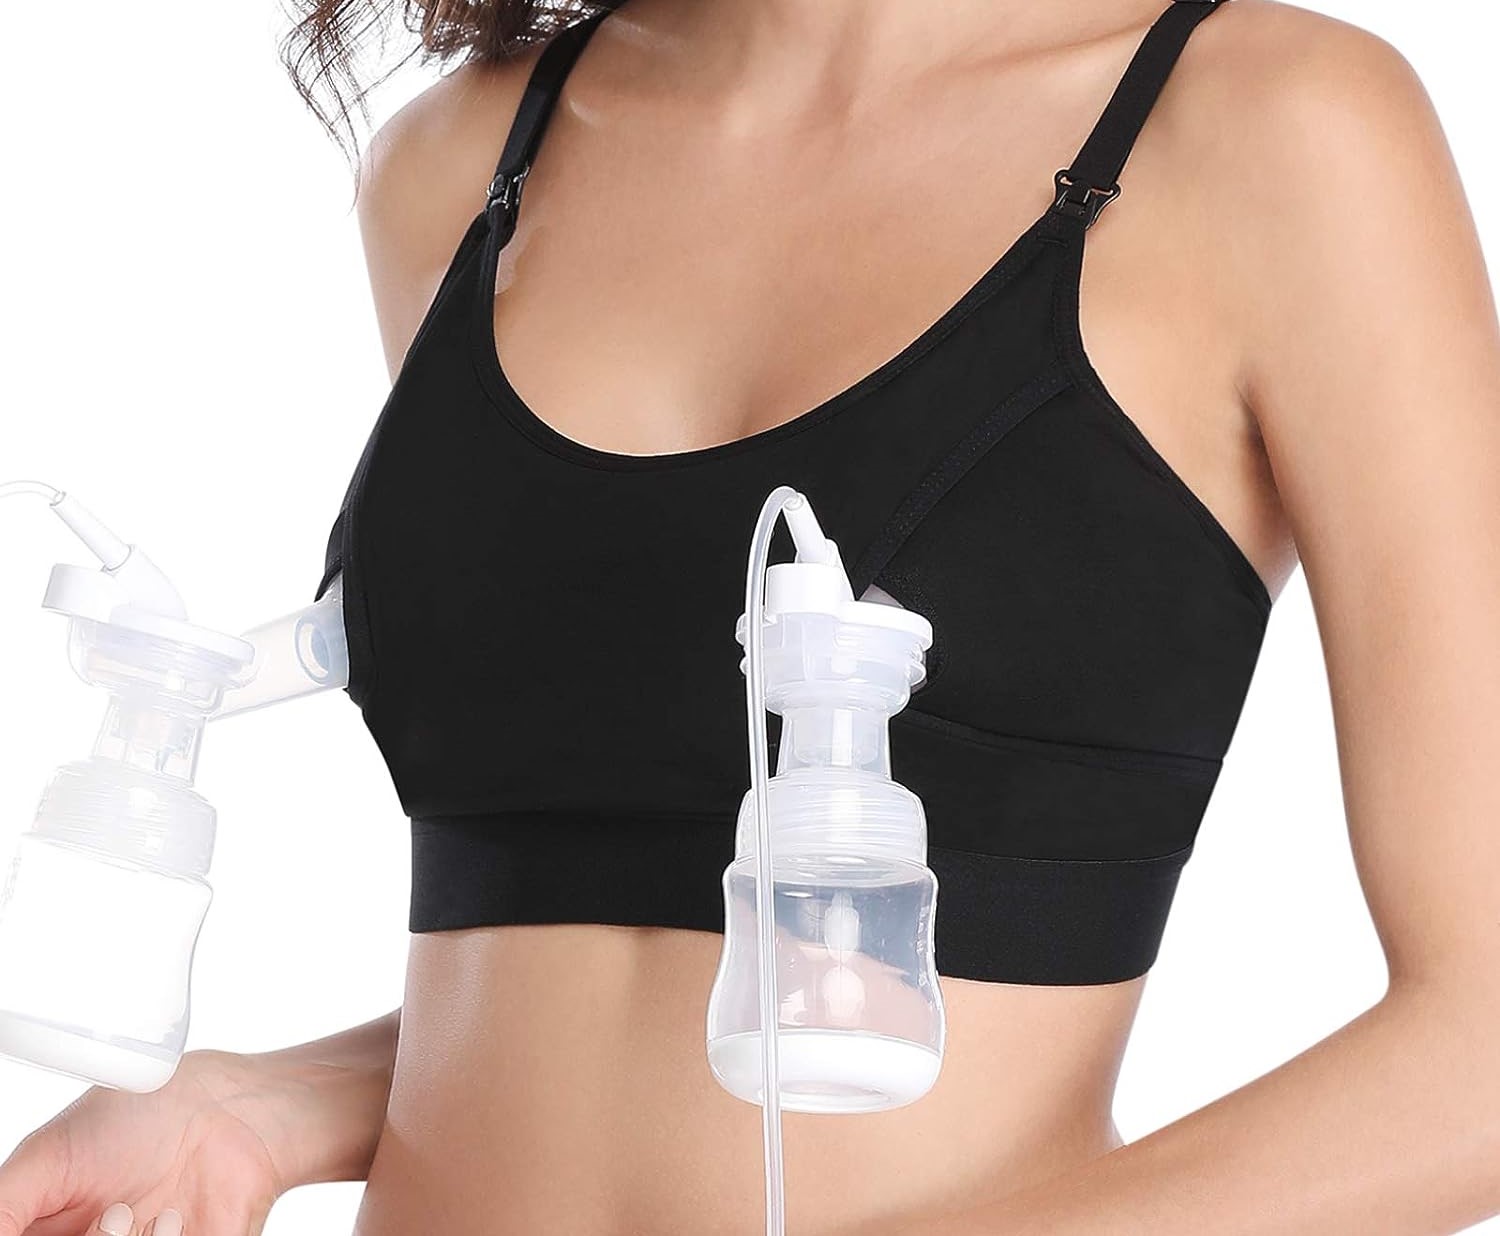
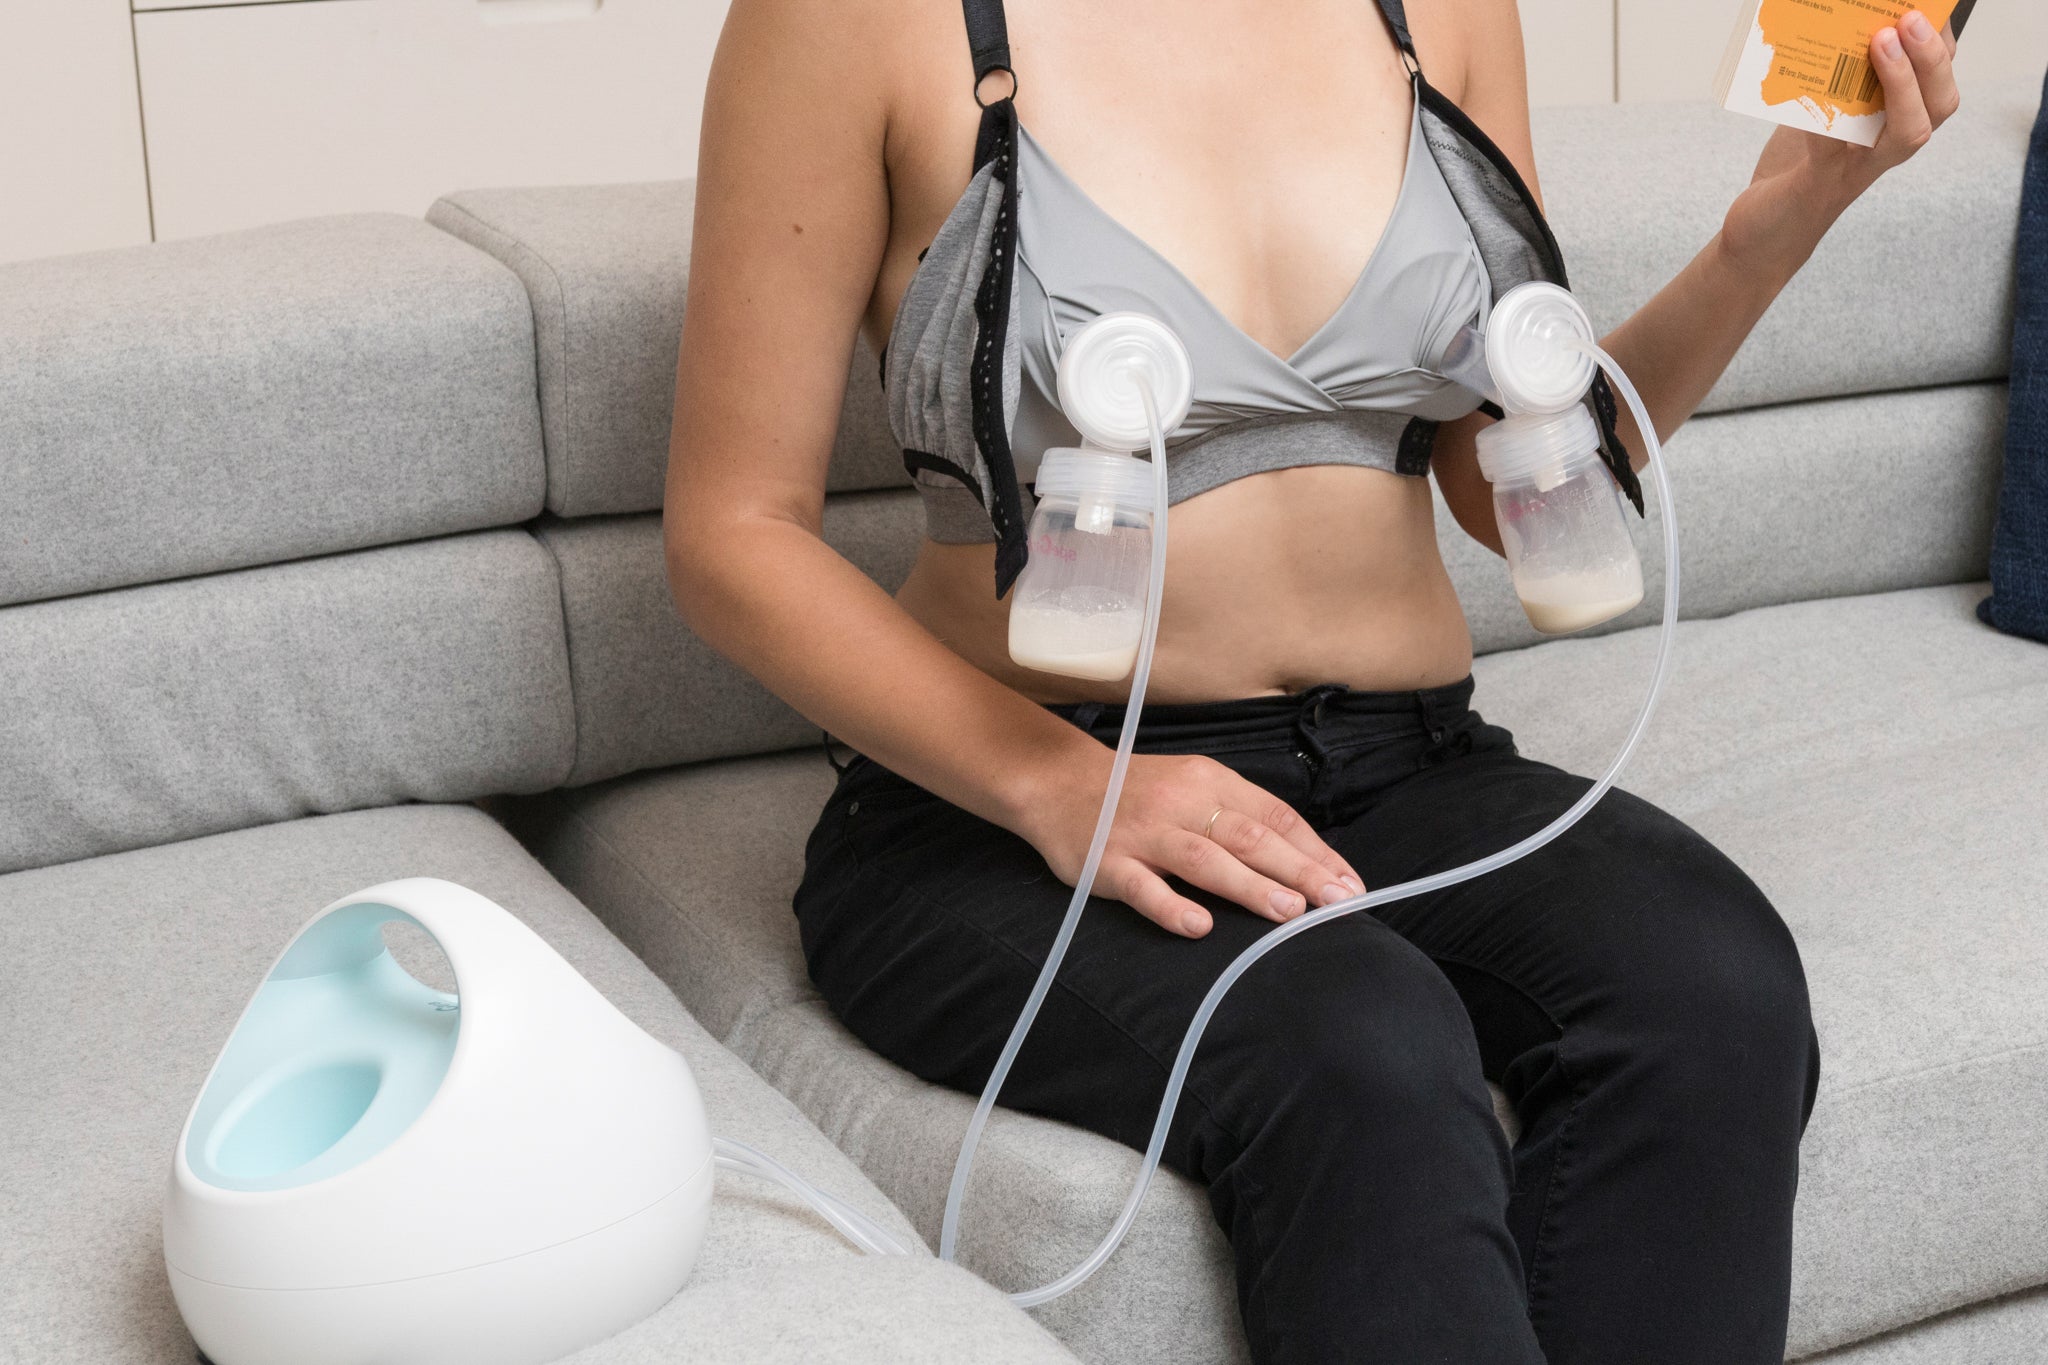
When it comes to the journey of motherhood, one essential item that every breastfeeding mother needs is a pumping bra. A pumping bra is designed to provide support and convenience while allowing you to express milk hands-free. It not only saves time but also makes pumping more comfortable and efficient.
While there are many pumping bras available in the market, making your own can be a great DIY project. Not only does it give you the freedom to choose the fabric, style, and size, but it also allows you to customize the bra to suit your unique needs and preferences.
In this step-by-step guide, we will walk you through the process of making your own pumping bra. Whether you’re a seasoned seamstress or just starting out with sewing, this project is simple enough for anyone to tackle.
Before we dive into the details, let’s take a look at the materials you’ll need for this project.
Materials Needed
Before you start making your own pumping bra, it’s important to gather all the necessary materials. Here’s a list of what you’ll need:
- Fabric: Choose a stretchy and breathable fabric, such as cotton-spandex blend, to ensure comfort and flexibility.
- Elastic: Use a wide elastic band to provide support and hold the bra in place.
- Thread: Select a thread that matches the color of your fabric.
- Scissors: A good pair of fabric scissors will make cutting the fabric a breeze.
- Sewing machine: While it’s possible to sew the bra by hand, using a sewing machine will save you time and give you a neater finish.
- Pins: These will help hold the fabric in place while you sew.
- Measuring tape: Use a measuring tape to take accurate measurements and ensure a proper fit.
- Hook and eye closure: This will be used to fasten the bra at the back.
- Optional: If you want to add some padding to the bra cups for extra support, you can also gather breast pads or foam inserts.
Now that you have all the materials ready, let’s move on to the next step: measuring and cutting the fabric.
Step 1: Gather Necessary Supplies
Before you embark on making your own pumping bra, you’ll need to gather all the necessary supplies. Here’s a step-by-step guide on what you’ll need to do:
- Choose the right fabric: Select a fabric that is soft, stretchy, and breathable. Look for a cotton-spandex blend, as this will provide both comfort and flexibility.
- Pick the right elastic: Choose a wide elastic band that will provide the necessary support and keep the bra in place while you pump.
- Select the appropriate thread: Use a thread that matches the color of your fabric to ensure a seamless finish.
- Get a good pair of scissors: Invest in a pair of fabric scissors to make cutting the fabric easier and more precise.
- Make use of a sewing machine: While it is possible to sew the bra by hand, using a sewing machine will save time and provide a neater finish.
- Secure the fabric with pins: Use pins to hold the fabric in place while you sew, ensuring that it remains in position throughout the process.
- Take measurements: Use a measuring tape to take accurate measurements of your bust, underbust, and shoulder width. This will help you create a bra that fits properly.
- Consider optional additions: If you want to add extra support or padding to your pumping bra, you can gather breast pads or foam inserts.
Once you have gathered all the necessary supplies, you’re ready to move on to the next step: measuring and cutting the fabric.
Step 2: Measure and Cut the Fabric
Now that you have gathered all the necessary supplies, it’s time to measure and cut the fabric for your pumping bra. Here’s a step-by-step guide on how to do it:
- Measure your bust: Wrap a measuring tape around the fullest part of your bust to determine the circumference. Make sure the tape is snug but not too tight.
- Measure your underbust: Wrap the measuring tape around your ribcage, just beneath your breasts, to measure the underbust circumference.
- Measure your shoulder width: Measure the distance from the base of your neck to the edge of your shoulder on both sides to determine your shoulder width.
- Cut the fabric: Use the measurements you have taken to cut out the fabric pieces for the cups, band, and straps. Make sure to add seam allowances to all edges.
- Cut the elastic: Cut a piece of elastic that matches the underbust measurement, minus a few inches to allow for stretch.
Remember to double-check your measurements and use sharp fabric scissors to ensure clean cuts. Take your time with this step to ensure accuracy, as it will directly impact the fit and comfort of your pumping bra.
With the fabric pieces and elastic cut, you’re now ready to move on to the next step: sewing the cups.
Step 3: Sew the Cups
Now that you have the fabric pieces cut out, it’s time to sew the cups for your pumping bra. Follow these steps to create the cups:
- First, fold the fabric pieces in half: Take the fabric cut for the cups and fold it in half, ensuring that the right sides are facing each other.
- Next, sew the curved edge: Using a sewing machine or a needle and thread, sew along the curved edge of the fabric, leaving the straight edge open. This will create the shape of the cup.
- Turn the cups right-side out: Carefully turn the fabric right-side out so that the seam is on the inside. You can use a blunt object, such as a pencil, to gently push out the corners and create a smooth cup shape.
- Repeat for the second cup: Repeat the above steps to create the second cup.
Once both cups are sewn and turned right-side out, you can give them a gentle press with an iron to remove any creases or wrinkles. This will ensure that the cups of your pumping bra have a clean and professional finish.
With the cups sewn, you can now proceed to the next step: creating the band.
Step 4: Create the Band
Now that the cups of your pumping bra are ready, it’s time to create the band. Follow these steps to create a comfortable and supportive band:
- Take the fabric cut for the band: Fold the fabric in half, with the right sides facing each other, and align the shorter edges together.
- Sew the shorter edges: Using a sewing machine or a needle and thread, sew along the shorter edges of the fabric to join them together. This will create a loop for the band.
- Measure and mark the elastic: Place the elastic along the outer edge of the fabric loop and mark where it meets the starting point.
- Sew the elastic: Sew the elastic to the fabric loop, stretching it slightly as you sew to ensure a snug fit.
- Close the band: Once the elastic is sewn, sew the remaining gap in the fabric loop to close the band.
Make sure to sew the elastic securely, as it will provide the necessary support for your pumping bra. Double-check the fit of the band by stretching it slightly; it should feel snug but not tight.
With the band created, you can now move on to the next step: attaching the straps.
Step 5: Attach the Straps
With the band of your pumping bra completed, it’s time to attach the straps. Follow these steps to ensure a secure and comfortable fit:
- Position the fabric loops for the straps: Place the fabric loops on the outer edges of the cups, aligning them with the top edges of the cups.
- Sew the fabric loops: Sew the fabric loops securely to the cups, ensuring that they are evenly positioned and aligned.
- Adjust the strap length: Try on the bra and adjust the length of the fabric loops to ensure a comfortable fit. The straps should provide support without digging into your shoulders.
- Sew the strap ends: Once the strap length is adjusted, sew the ends of the fabric loops together to secure them in place.
Ensure that the straps are evenly attached and positioned on both cups to maintain balance and symmetry. Double-check the strap length to ensure a proper and comfortable fit for your pumping bra.
With the straps attached, you’re now ready for the next step: adding the closure.
Step 6: Add the Closure
Now that the cups and straps of your pumping bra are in place, it’s time to add the closure for a secure and adjustable fit. Follow these steps to complete this stage:
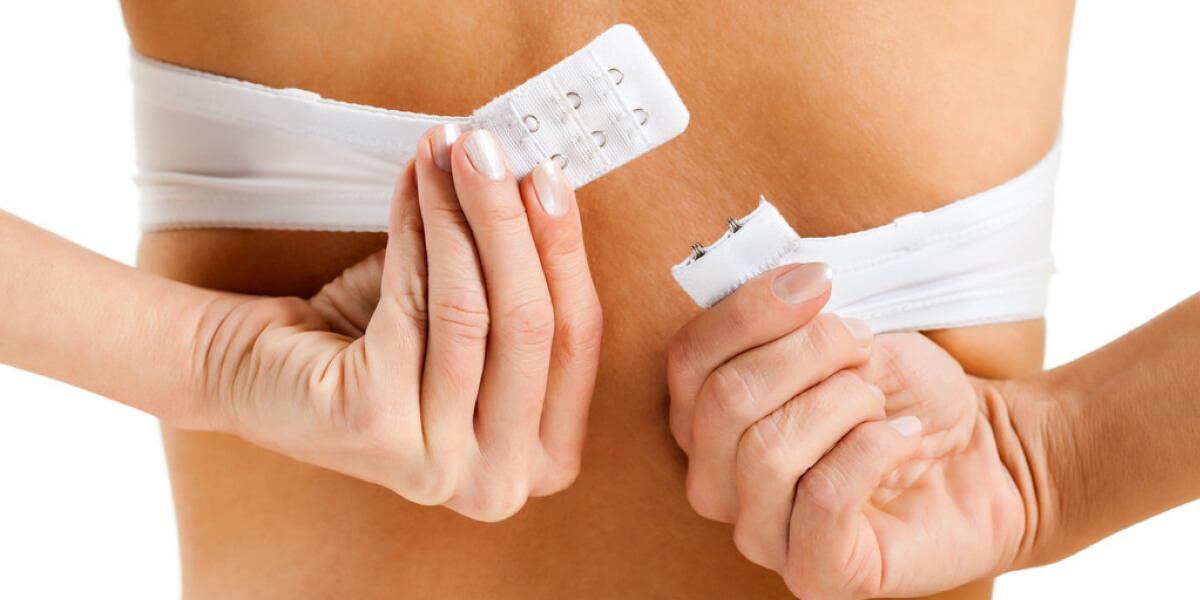
- Measure and mark the placement of the closure: Take the hook and eye closure and position it on the back of the band. Mark the placement with a fabric pen or pins.
- Sew the closure to the band: Using a sewing machine or a needle and thread, sew the closure securely to the marked positions on the band.
- Double-check the alignment and functionality: Make sure that the hooks and eyes of the closure align properly when fastened and that the band provides a comfortable and snug fit when closed.
The closure provides adjustability to accommodate changes in your body shape and size. It allows you to tighten or loosen the band as necessary, ensuring a comfortable and supportive fit for your pumping bra.
With the closure in place, you’re now ready for the final step: personalizing and customizing your pumping bra.
Step 7: Personalize and Customize
Now that the main construction of your pumping bra is complete, you have the freedom to personalize and customize it to suit your preferences. Here are a few ideas to customize your bra:
- Add extra padding: If you prefer more support or coverage, you can insert breast pads or foam inserts into the cups of your bra. This can provide additional comfort and shape.
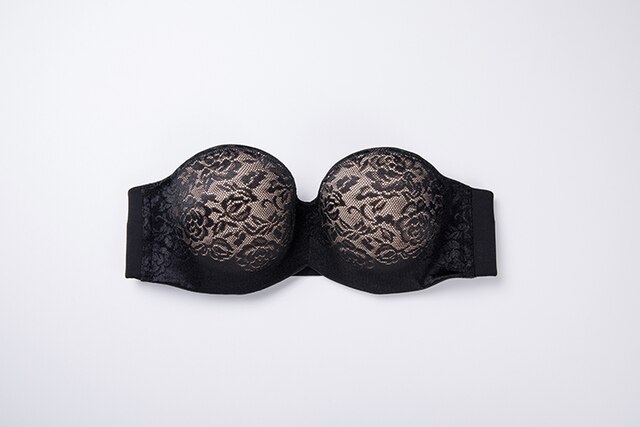
- Decorate the bra: Get creative and add decorative elements to your bra. You can sew on lace trim, bows, or other embellishments to make your pumping bra visually appealing.
- Choose different fabric prints: Experiment with different fabric prints and colors to reflect your personal style. Choose patterns or designs that make you feel confident and joyful.
- Add extra features: Consider adding additional features to your pumping bra, such as pockets for storing breast pads or a loop for attaching a hands-free pumping device. These customizations can further enhance the functionality of your bra.
Remember, the goal is to create a pumping bra that not only meets your functional needs but also makes you feel comfortable and confident while expressing milk. Don’t be afraid to get creative and make your bra truly unique to you!
With your personalized touches added to the bra, take a moment to try it on and ensure that it fits comfortably and securely. Make any necessary adjustments before enjoying the convenience and comfort of your homemade pumping bra.
Congratulations! You have successfully completed all the steps to make your own personalized pumping bra. Now you can enjoy the benefits of hands-free pumping while feeling stylish and comfortable.
Conclusion
Congratulations on successfully creating your own pumping bra! By following the steps outlined in this guide, you have not only saved money but also personalized your bra to meet your unique needs and style.
Having a pumping bra is essential for breastfeeding mothers who want to express milk conveniently and hands-free. Making your own allows you to choose the fabric, customize the fit, and add personal touches that make the bra truly yours.
Throughout this DIY project, you have learned how to gather the necessary supplies, measure and cut the fabric, sew the cups, create the band, attach the straps, add the closure, and personalize the pumping bra to suit your preferences.
Remember, the key to making a functional and comfortable pumping bra is choosing high-quality fabric, ensuring proper measurements, and securely sewing all the components together. Taking your time and paying attention to the details will result in a bra that fits well and supports you throughout your breastfeeding journey.
Now, go ahead and enjoy the convenience and comfort of your homemade pumping bra. Whether you’re pumping at home, at work, or on the go, you can nourish your baby while enjoying the freedom of hands-free expression.
Don’t forget to share your creation with other breastfeeding mothers, as they may find inspiration and encouragement from your experience. Happy pumping!