Home>How-to Guides>For Women>How To Make A Bra Out Of A T-Shirt
For Women
How To Make A Bra Out Of A T-Shirt
Modified: August 4, 2023
Learn how to transform a regular t-shirt into a stylish bra for women. Step-by-step guide with easy instructions for a trendy DIY project.
(Many of the links in this article redirect to a specific reviewed product. Your purchase of these products through affiliate links helps to generate commission for Under-tec.com, at no extra cost. Learn more)
Table of Contents
Introduction
Welcome to the world of DIY fashion! Have you ever looked at an old T-shirt and wondered what you could do with it? Well, look no further because we have a fun and innovative idea for you – making a bra out of a T-shirt! Not only is this a creative way to upcycle your old clothes, but it is also a practical solution for those times when you need a comfortable and stylish bra without breaking the bank. In this article, we will guide you through the steps of transforming your T-shirt into a fashionable bra that fits you perfectly.
Now, you might be thinking, “But how is it possible to turn a T-shirt into a bra?” It’s easier than you might think! With a few simple cuts and adjustments, you can create a custom-fit bra that not only provides support but also looks great. Plus, by using a T-shirt that you already own, you can personalize your bra to match your style and preferences.
This DIY project is perfect for those who love getting creative and trying out new things. It’s a great way to customize your wardrobe and express your unique style. So, grab your scissors, gather your materials, and let’s get started on transforming your T-shirt into a fabulous bra!
Step 1: Gather the materials
Before you embark on your T-shirt to bra transformation journey, it’s important to gather all the necessary materials. Don’t worry, you won’t need anything too fancy or expensive – just a few basic items that you likely already have at home. Here’s what you’ll need:
- A T-shirt: Choose a T-shirt that you no longer wear, ensuring it’s clean and in good condition.
- Scissors: Make sure you have a pair of sharp scissors that will easily cut through fabric.
- Elastic band: This will be used to create the support and adjustability of your bra. Opt for a soft and comfortable elastic band.
- Sewing kit: Including a needle and thread, or a sewing machine if you’re comfortable using one.
- Optional: Decorative accessories such as lace, beads, or fabric paint to personalize your bra.
Once you have all your materials gathered and ready, you’re one step closer to creating your own unique T-shirt bra. Now, let’s move on to the next step: choosing the right T-shirt for the job.
Step 2: Choose the right T-shirt
When it comes to transforming a T-shirt into a bra, not all shirts are created equal. It’s important to choose the right T-shirt that will provide the desired fit and comfort. Here are some things to consider when selecting your T-shirt:
- Size: Pick a T-shirt that is close to your bra size. Remember, you will be cutting and reshaping the fabric, so choose one that will provide enough material to work with.
- Fabric: Opt for a T-shirt made from a stretchy and breathable fabric. Cotton or jersey materials work well for this DIY project.
- Design: Consider the design of the T-shirt, especially the neckline. A T-shirt with a scoop neck or V-neck will work best, as it will allow for easy reshaping and cutting.
- Support: If you’re looking for more support, choose a T-shirt that has a thicker fabric or a snug fit.
- Comfort: Prioritize your comfort by selecting a T-shirt that feels soft against your skin and doesn’t have any irritating seams or tags.
Remember, the success of your DIY T-shirt bra hinges on choosing the right shirt as a foundation. Take your time to find the perfect candidate that meets your preferences and fits well. Once you’ve found the ideal T-shirt, it’s time to move on to the next step: cutting the fabric to create the bra cups.
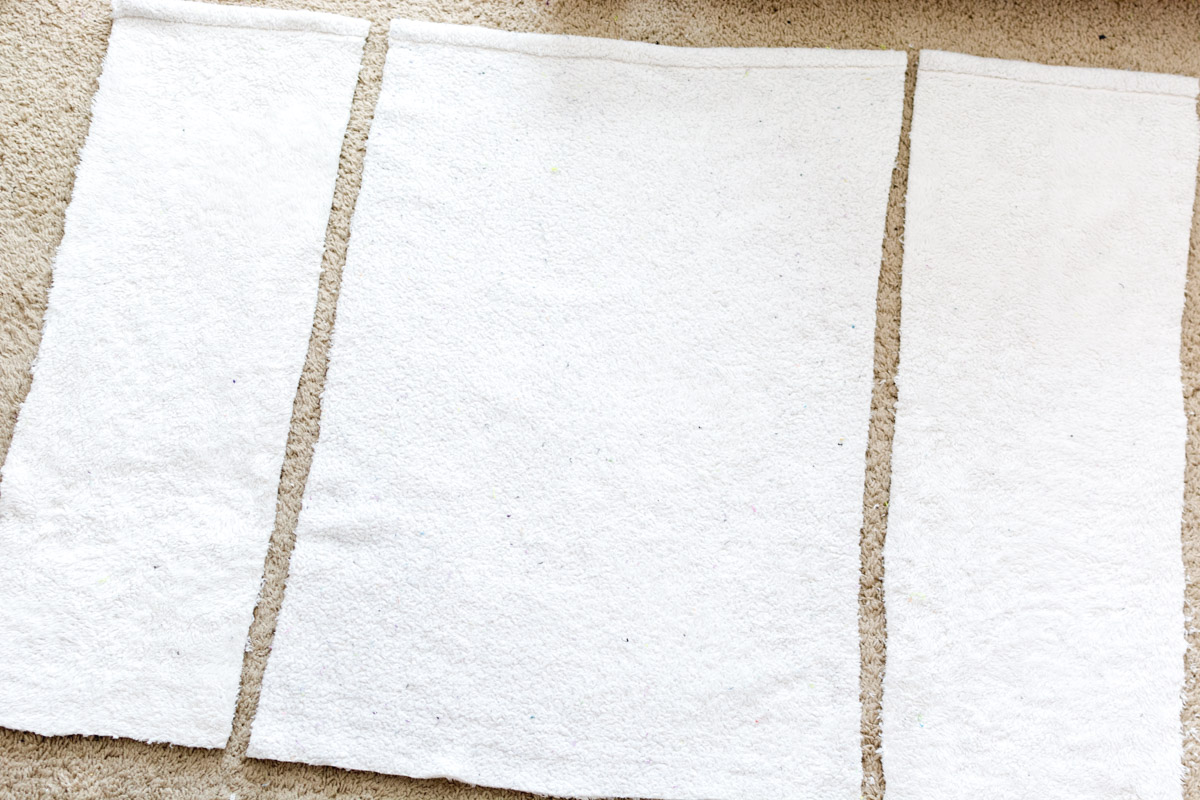
Step 3: Cut the T-shirt
Now that you have your chosen T-shirt ready, it’s time to start the transformation process by cutting the fabric. This step will involve removing certain sections of the T-shirt to create the basic shape of your bra. Follow these instructions to cut the T-shirt:
- Lay the T-shirt flat: Smooth out the T-shirt on a clean and flat surface, making sure there are no wrinkles or folds.
- Determine the bra shape: Decide on the desired shape of your bra cups. You can either use an existing bra as a guide or create a new shape that suits your preferences. Use a pen or chalk to mark the outlines of the cups directly onto the T-shirt.
- Cut the fabric: Using a sharp pair of scissors, carefully cut along the marked lines to remove the excess fabric. Leave a border of at least half an inch around the outlines to allow for adjustments later on.
- Separate the front and back: Once the cups are cut out, separate the front and back of the T-shirt by cutting along the sides and removing the sleeves. This will create two separate pieces that will become the front and back of your bra.
Be cautious while cutting and take your time to ensure accuracy. If you’re unsure about the shape or size of the bra cups, it’s recommended to start with smaller cuts and gradually adjust as needed. Remember, you can always trim and refine the shape later on.
With the T-shirt cut and the basic shape of your bra taking form, you’re ready to move on to the next step: creating the bra cups.
Step 4: Create the bra cups
Now that you have the two separate pieces of fabric that will form the front and back of your bra, it’s time to shape them into comfortable and supportive bra cups. Follow these steps to create the cups:
- Try on the fabric: Place the front piece of the T-shirt fabric against your chest, aligning the cups with your breasts. Determine the most comfortable and flattering positioning of the fabric.
- Pin and adjust: Once you’ve found the ideal placement, use safety pins to temporarily hold the fabric in place. Stand in front of a mirror and adjust the cups to ensure they are symmetrical and provide the desired coverage and support.
- Sew the cups: With the fabric still pinned, take a needle and thread (or a sewing machine) and carefully stitch along the edges of the cups. This will permanently secure the shape and prevent any accidental unraveling.
- Trim excess fabric: After sewing, take your scissors and trim any excess fabric outside of the stitched edge. This will give your bra cups a clean and polished finish.
Remember to take your time during this step and make any necessary adjustments along the way. The goal is to create bra cups that fit and flatter your unique shape. Once you’re satisfied with the shape and stitching, it’s time to move on to the next step: adjusting the straps.
Step 5: Adjust the straps
Now that the bra cups are in place, it’s time to focus on the straps of your T-shirt bra. Follow these steps to adjust the straps to your desired length and fit:
- Measure and mark: Put on the bra and determine how long you want the straps to be. Use a tape measure or simply estimate the desired length. Once you have the measurements, mark the points on the fabric where the straps should be attached.
- Cut the straps: Using your scissors, carefully cut along the marked lines to remove the excess fabric from the T-shirt straps.
- Attach the elastic band: Cut the elastic band to match the measured length of the straps. Sew or attach the ends of the elastic band to the marked points on each cup, creating straps that stretch comfortably over your shoulders.
- Secure the straps: Test the fit of the bra by putting it on and adjusting the elastic straps to your preferred tightness. Sew the elastic securely in place, ensuring it is comfortable and does not dig into your skin.
Remember, the straps play an important role in providing support and ensuring a comfortable fit for your T-shirt bra. Take your time to adjust and customize them according to your preferences. Once the straps are secure, feel free to move onto the next step: customizing and decorating your bra.
Step 6: Customize and decorate
Now that you have created the basic structure of your T-shirt bra, it’s time to unleash your creativity and personalize it. Here are some ideas for customizing and decorating your bra:
- Add lace trim: Attach a delicate lace trim along the edges of the bra cups or the straps to give it a feminine touch.
- Embroidery or appliques: Use embroidery thread or fabric appliques to add unique designs or patterns to the fabric of the bra cups.
- Fabric paint or fabric markers: Get artistic and paint your own designs on the fabric using fabric paint or markers.
- Decorative buttons or beads: Sew on decorative buttons or beads to add a pop of color or texture to your bra.
- Ribbon or bows: Attach ribbons or bows to the center or sides of the bra cups for a playful and stylish look.
The possibilities for customization are endless, so let your imagination run wild! Take some time to experiment with different materials and techniques to create a bra that reflects your personal style. Keep in mind that it’s important to choose materials and decorations that are comfortable and will not cause irritation or discomfort when wearing the bra.
Once you are satisfied with the customization and decoration of your T-shirt bra, it’s time for the final step: trying it on and making any necessary adjustments.
Step 7: Try on and make any necessary adjustments
Now comes the exciting part – trying on your newly transformed T-shirt bra! Put it on and assess how it feels and fits on your body. Here are some steps to follow to ensure the perfect fit:
- Check the comfort: Pay attention to how the bra feels against your skin. Make sure there are no areas that feel too tight, restrictive, or uncomfortable.
- Assess the support: Move around and test the level of support provided by the bra. Make sure the straps stay in place and the cups offer adequate coverage and lift.
- Look for any gaps or bulges: Examine the fit of the cups and the band. Ensure there are no gaps or bulges and that the bra sits smoothly against your body.
- Make necessary adjustments: If you notice any fit issues, such as loose straps or gaping cups, make the necessary adjustments. You can sew in additional darts or take in the straps for a better fit.
Keep in mind that creating a bra from a T-shirt may not provide the same level of support as a professionally made bra. However, with some fine-tuning and adjustments, you can achieve a comfortable and supportive fit that suits your needs.
Once you’re satisfied with the fit and comfort of your T-shirt bra, you’re ready to confidently wear it and showcase your creativity and DIY skills!
Congratulations on transforming a simple T-shirt into a stylish and functional bra! With some basic materials, a little creativity, and a touch of sewing, you’ve created a one-of-a-kind garment that perfectly suits your needs and style. Enjoy wearing your unique T-shirt bra with pride!
Conclusion
Transforming a T-shirt into a bra is not only a fun and creative project, but it’s also a great way to upcycle your old clothes and save money. By following the simple steps outlined in this article, you can create a customized and comfortable T-shirt bra that fits you perfectly. From choosing the right T-shirt to cutting, sewing, and adjusting, each step plays a crucial role in creating a bra that meets your needs and reflects your personal style.
Remember, this DIY project allows for endless possibilities in customization and decoration. Add lace, embroidery, or other decorative elements to make your T-shirt bra truly unique. Just ensure that your chosen materials and decorations do not compromise the comfort and functionality of the bra.
While a T-shirt bra made at home may not provide the same level of support as a professionally made one, with some adjustments and fine-tuning, you can achieve a fitting and supportive garment that suits your preferences. Don’t be afraid to make tweaks and modifications as needed to ensure the perfect fit.
Now, go ahead and confidently show off your DIY creation! Wear your T-shirt bra with pride, knowing that you’ve not only made something stylish and practical but also contributed to reducing waste by repurposing an old T-shirt.
We hope you’ve enjoyed this step-by-step guide on how to make a bra out of a T-shirt. Get creative, have fun, and explore the world of DIY fashion. Happy crafting!