Home>How-to Guides>For Women>How To Shrink A Sports Bra
For Women
How To Shrink A Sports Bra
Modified: August 26, 2023
Learn the best techniques for shrinking a sports bra designed specifically for women
(Many of the links in this article redirect to a specific reviewed product. Your purchase of these products through affiliate links helps to generate commission for Under-tec.com, at no extra cost. Learn more)
Table of Contents
Introduction
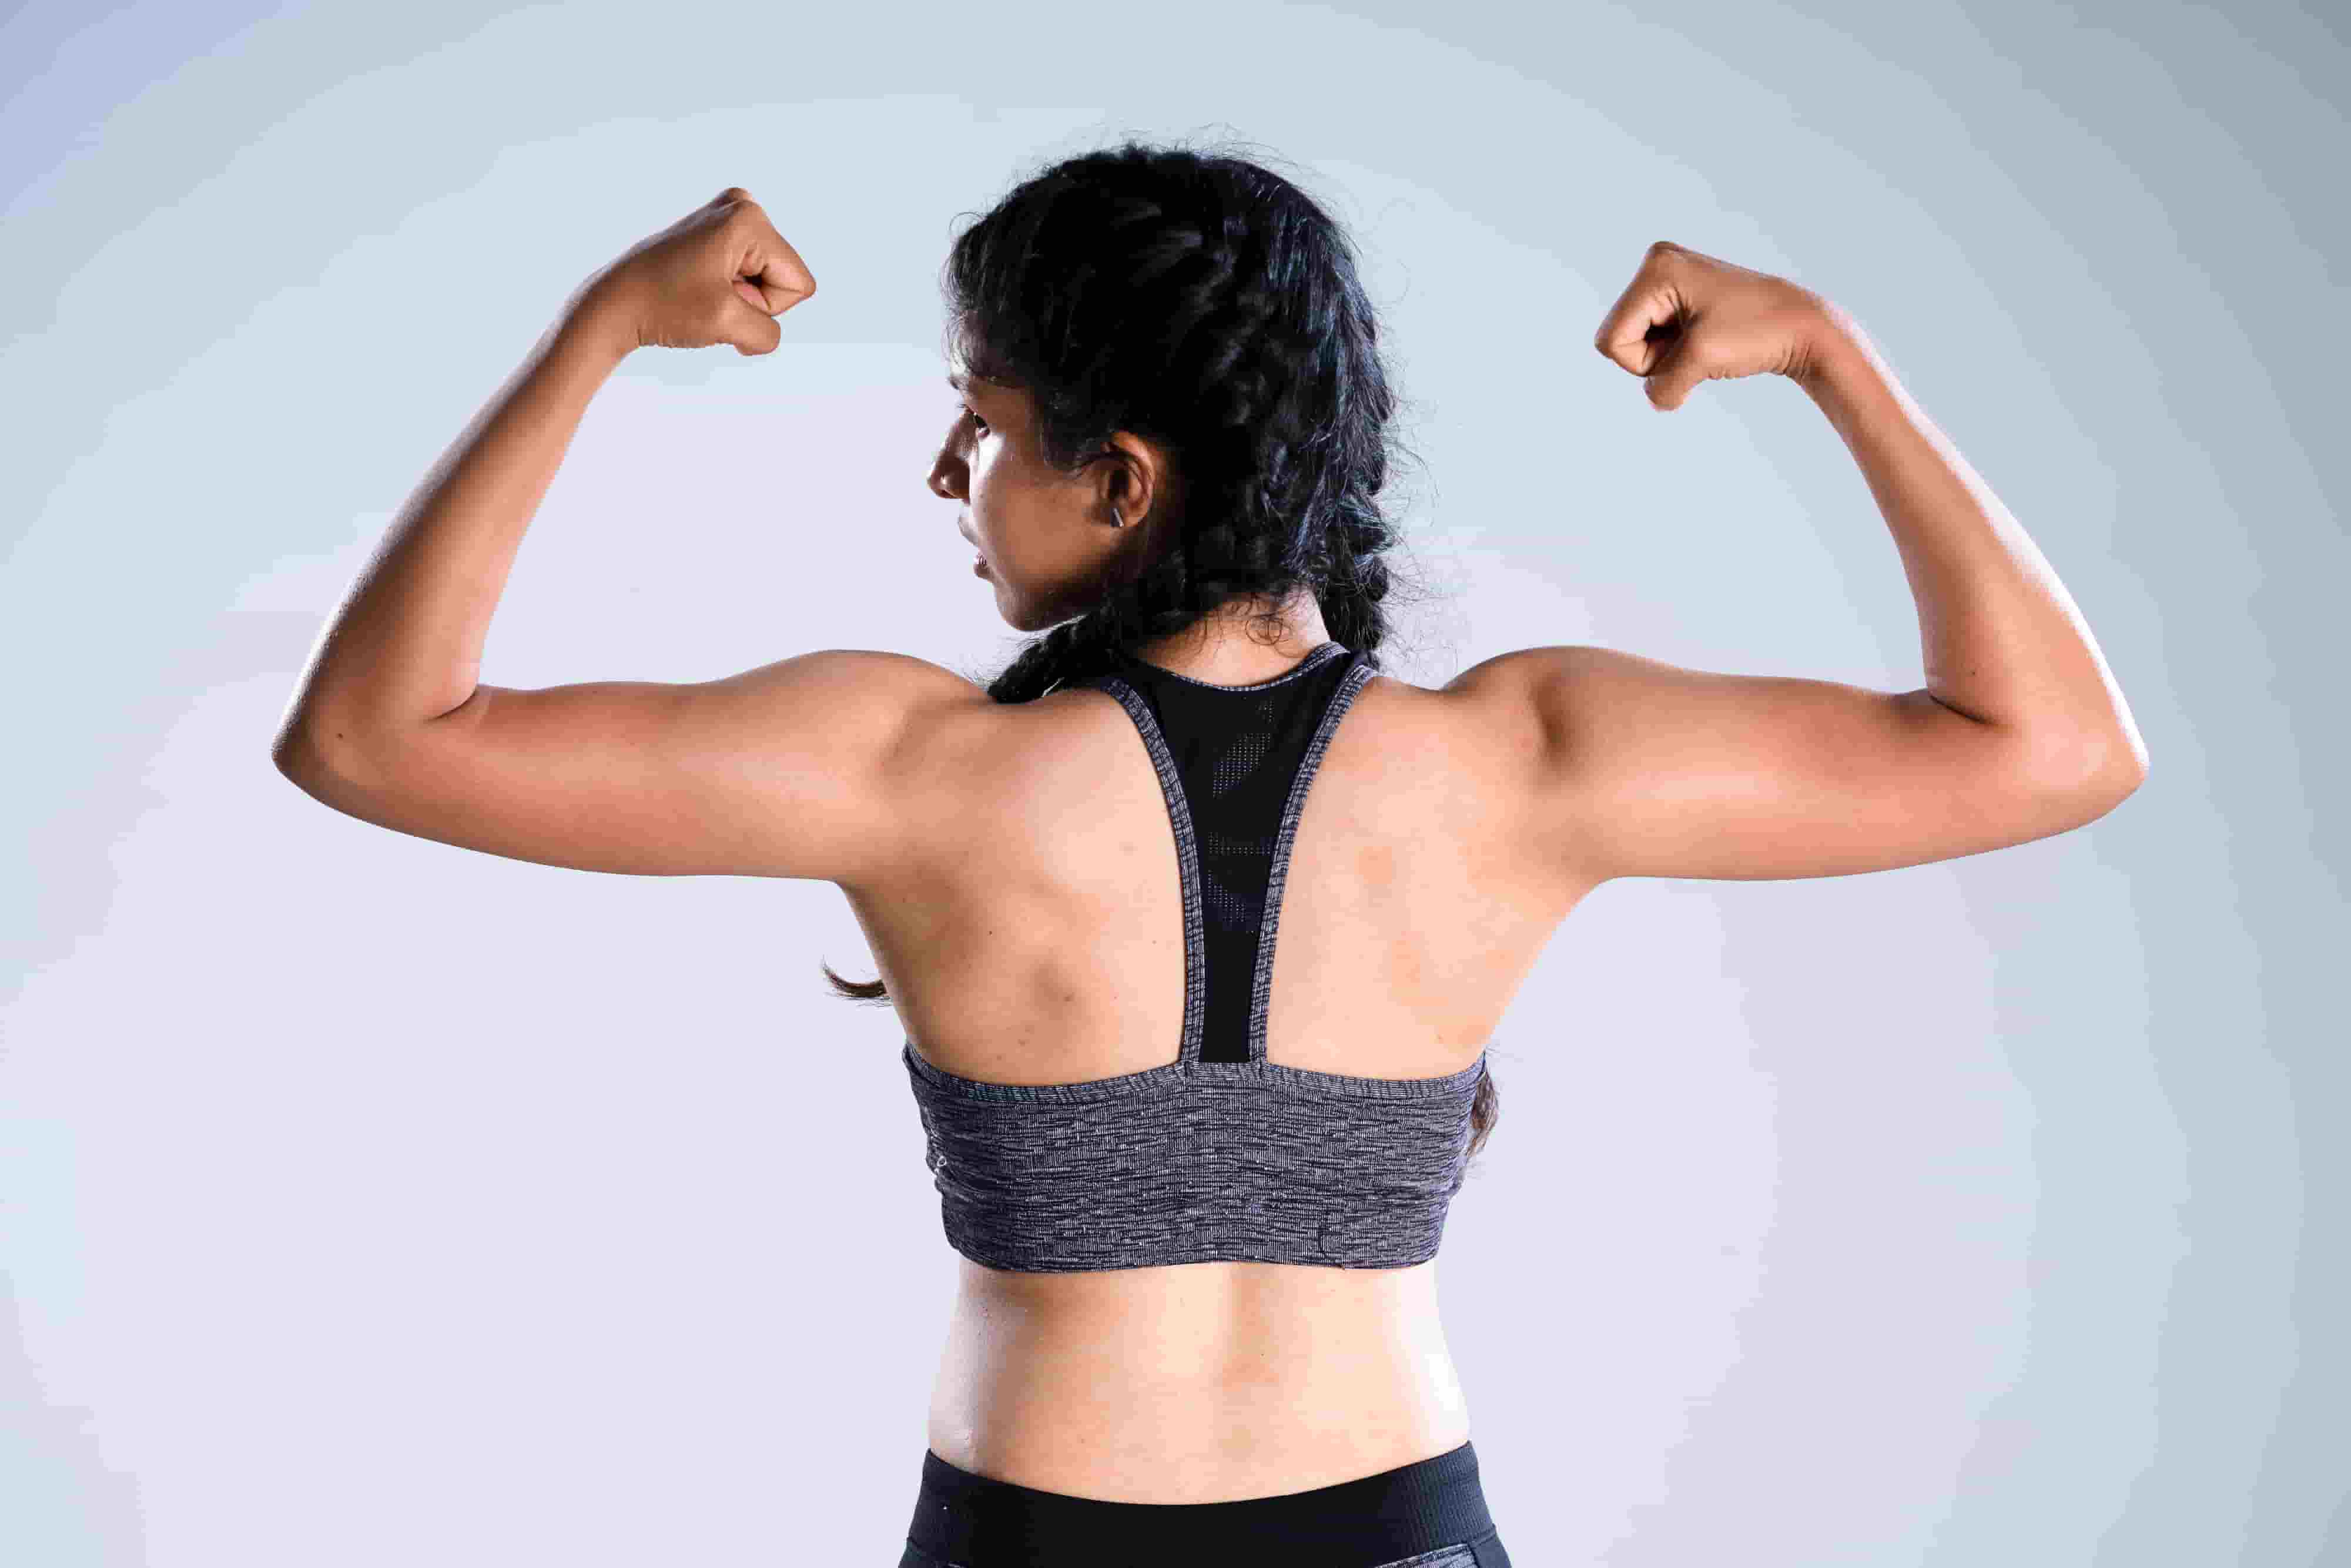
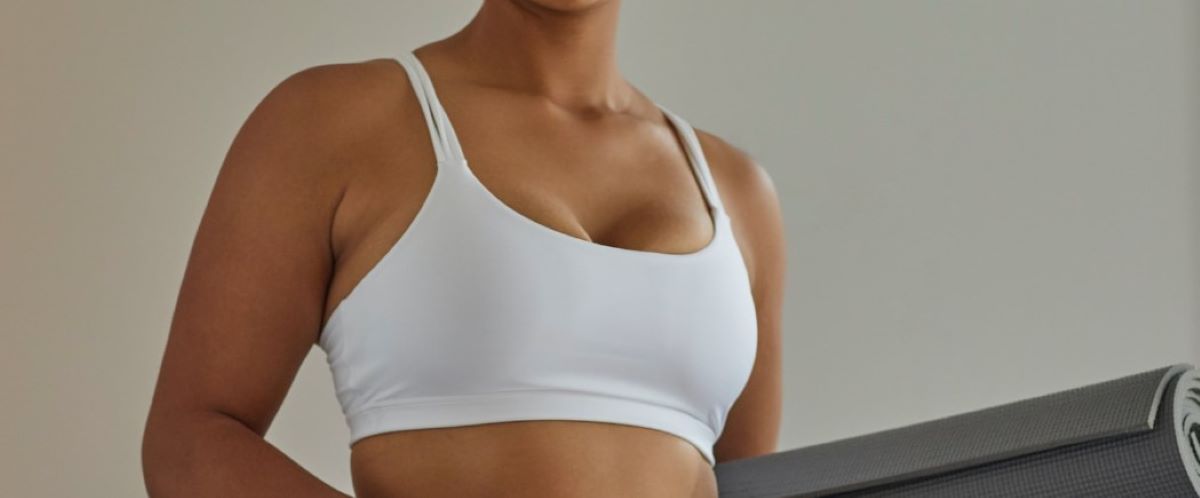
When it comes to athletic activities, having a well-fitted sports bra is essential for women. A sports bra provides the necessary support and comfort, helping to prevent discomfort and potential injuries during exercise. However, there are times when even the most well-fitting sports bra may stretch out over time or not fit as snugly as desired.
If you find yourself with a sports bra that no longer offers the ideal fit, don’t worry! There are several methods you can try to shrink your sports bra and restore its original shape. In this article, we will explore different techniques for shrinking a sports bra, along with tips and precautions to ensure success.
Before diving into the methods, it’s important to understand the structure and functionality of sports bras. Unlike regular bras, sports bras are designed with more compression and support to minimize breast movement during physical activities. They are typically made with a mix of synthetic materials like spandex, elastane, or nylon, which offer stretch and durability.
Now, let’s move on to the next section, where we will delve deeper into what to consider when assessing the fit of your sports bra.
Understanding Sports Bras
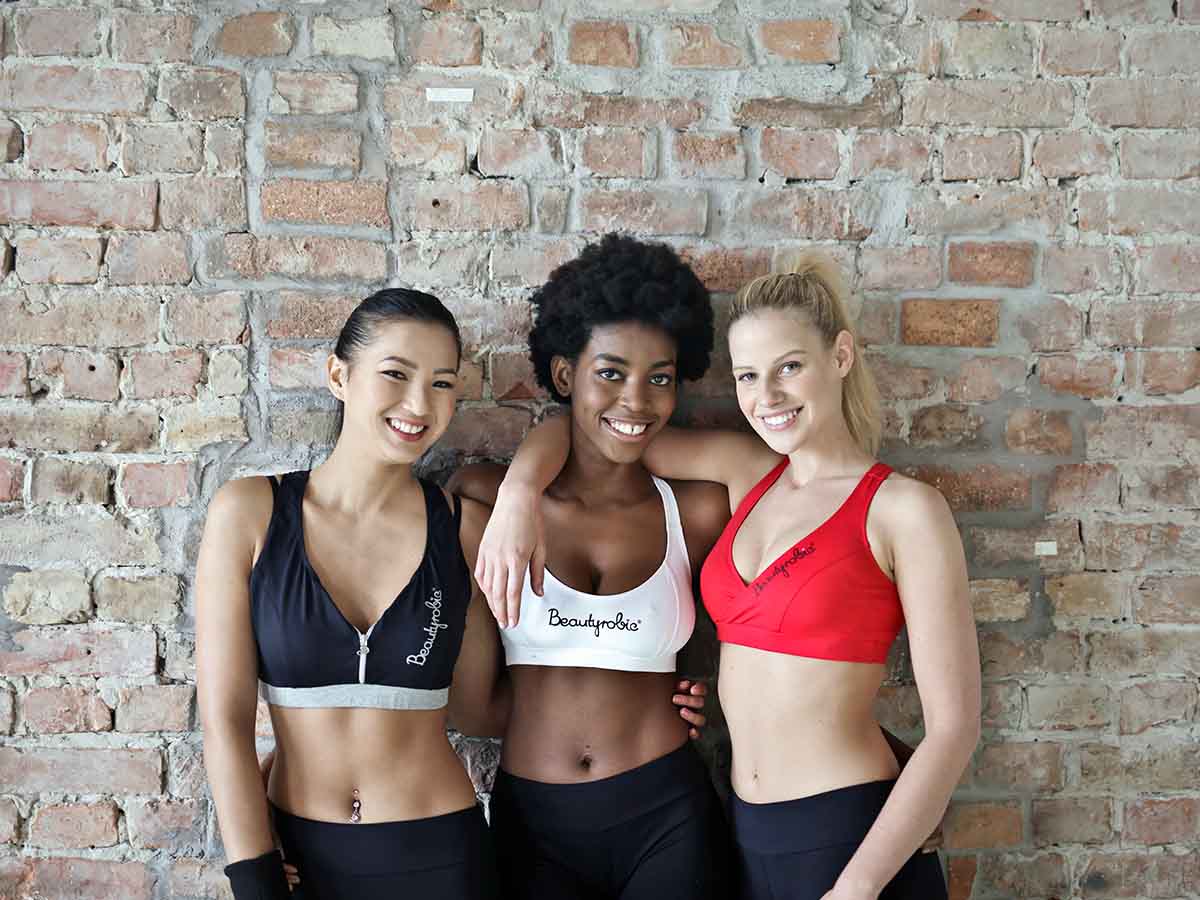
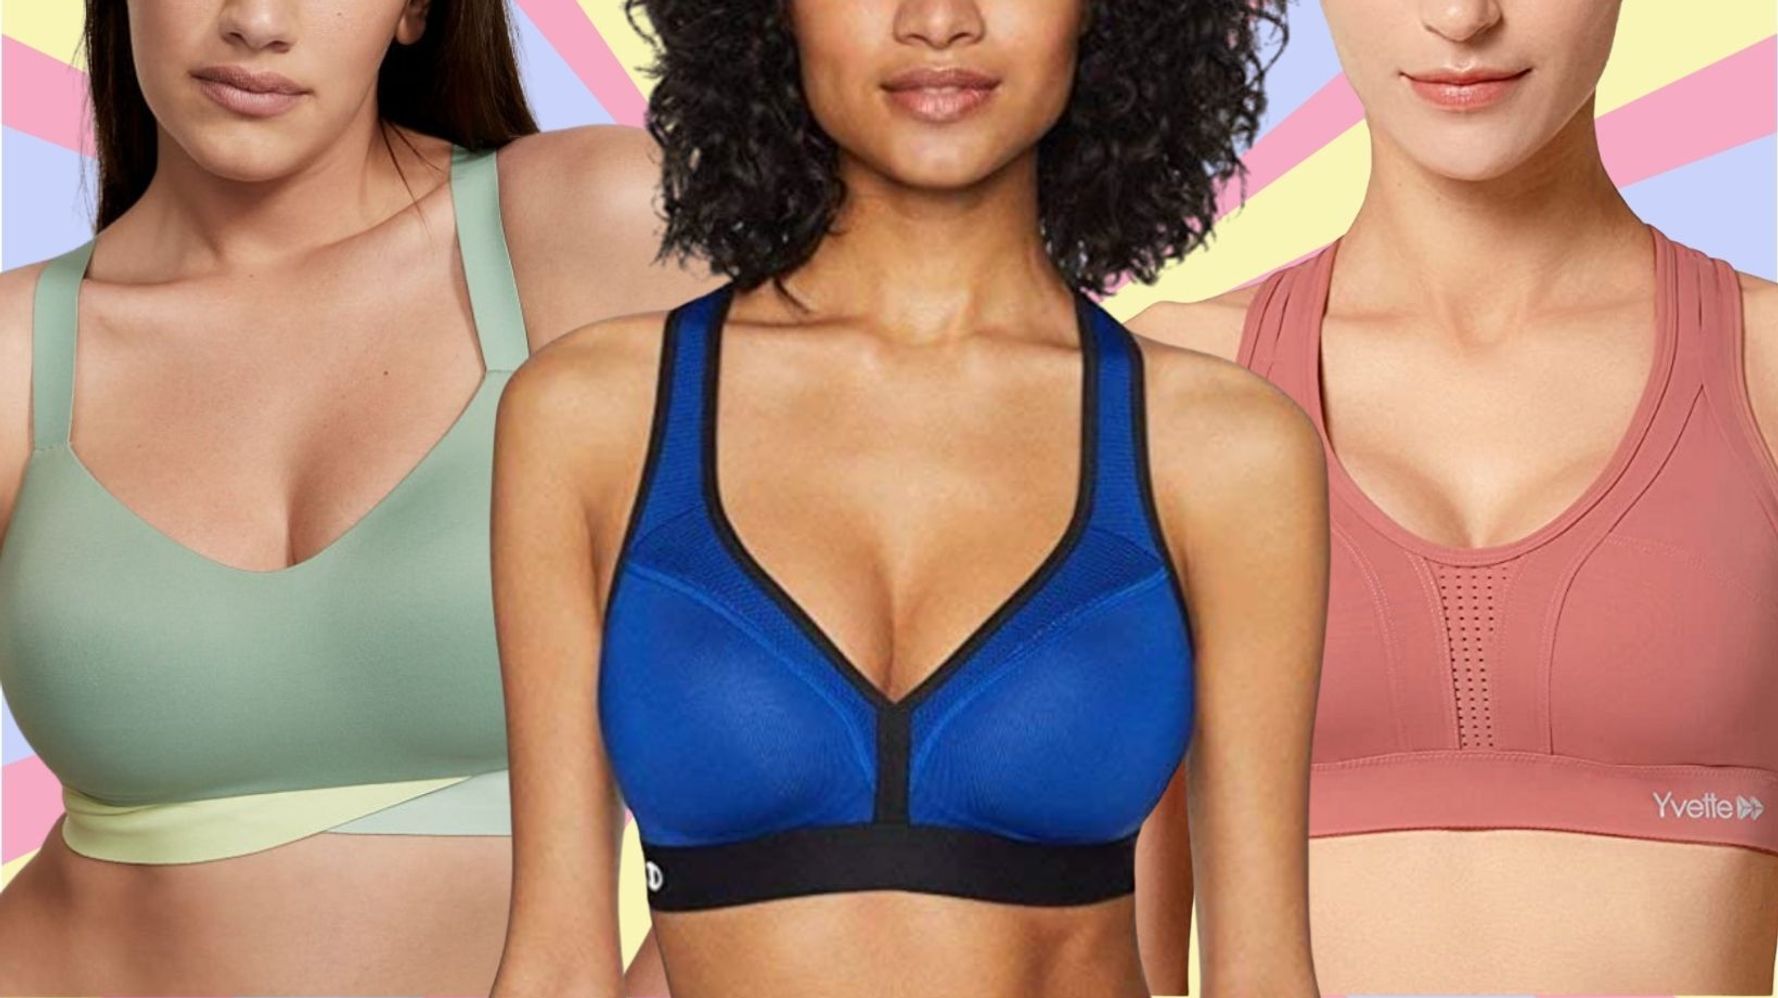
Sports bras are specifically designed to provide support and comfort during athletic activities. Understanding their structure and features can help you choose the right one for your needs.
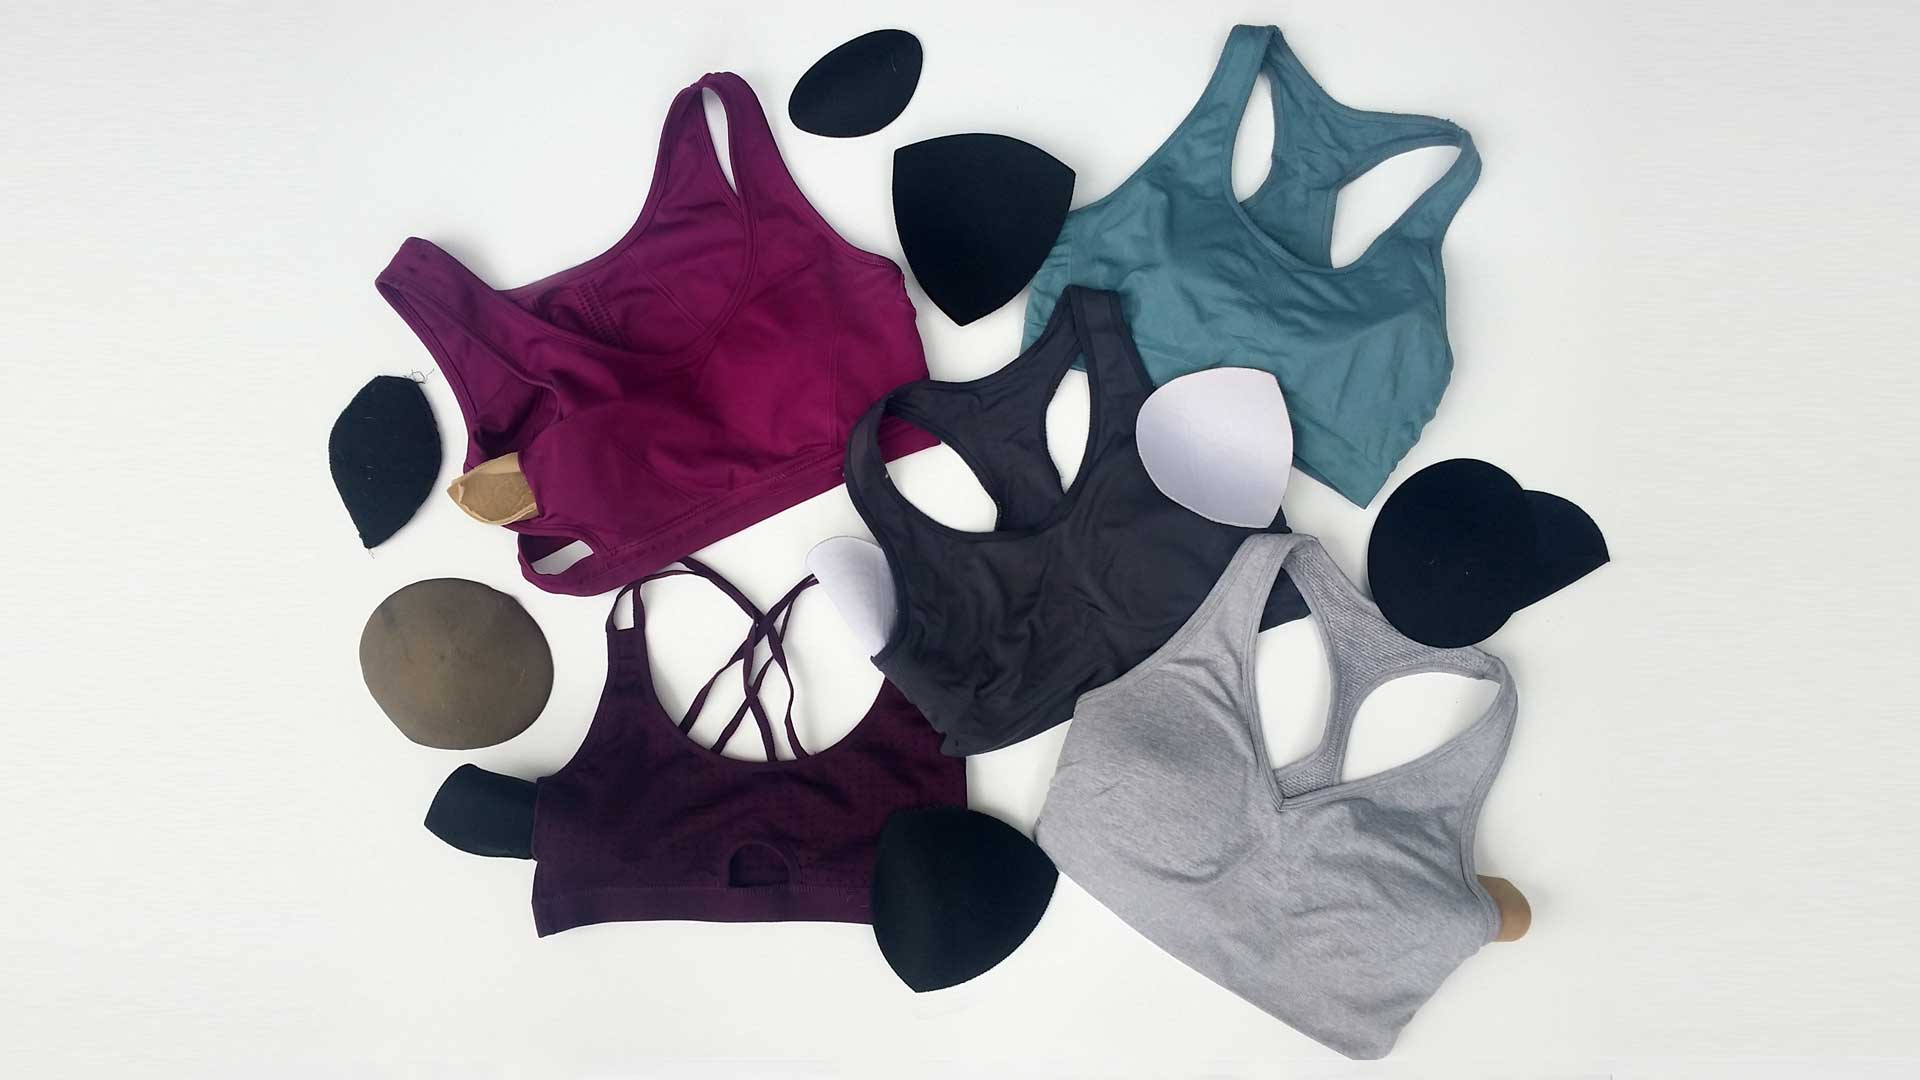
First, consider the different types of sports bras. There are two main categories: compression bras and encapsulation bras. Compression bras compress the breasts against the chest to minimize movement, while encapsulation bras have individual cups that provide support to each breast separately.
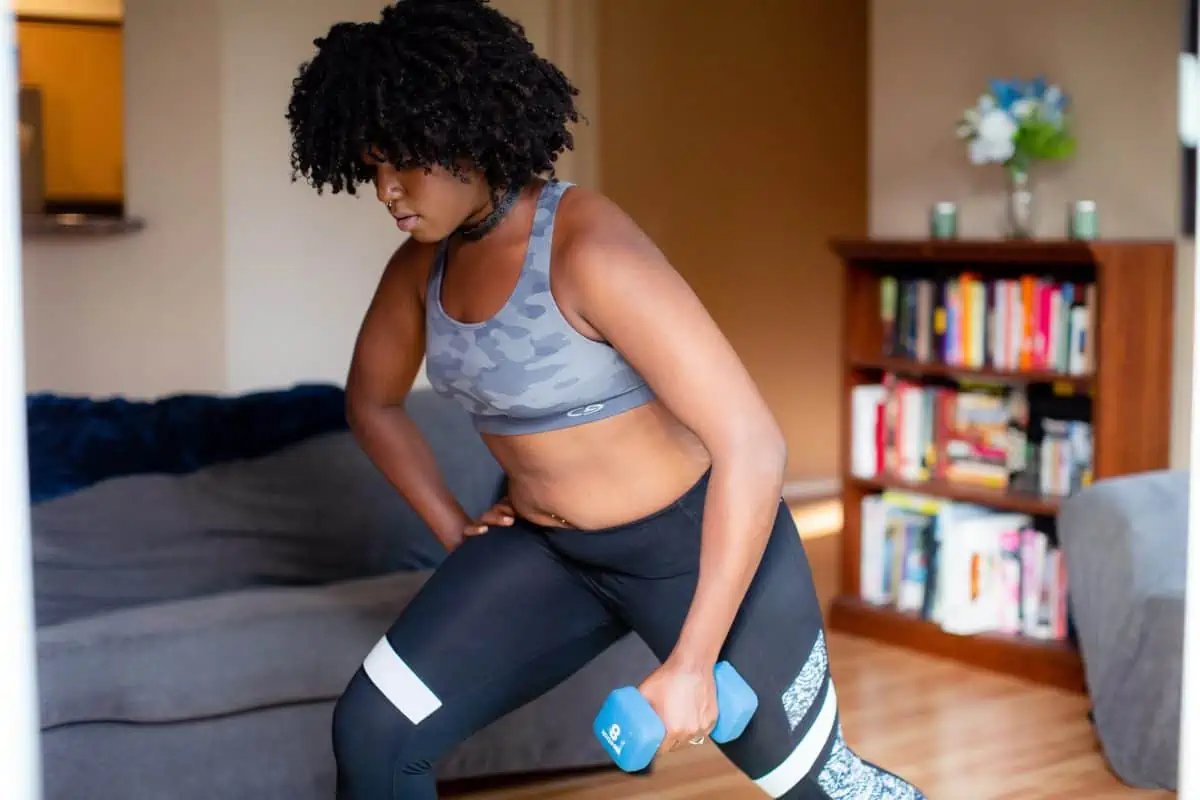
When selecting a sports bra, consider the impact level of your chosen activity. Low-impact activities such as yoga or walking typically require less support, while high-impact activities like running or high-intensity workouts require bras with more compression and support.
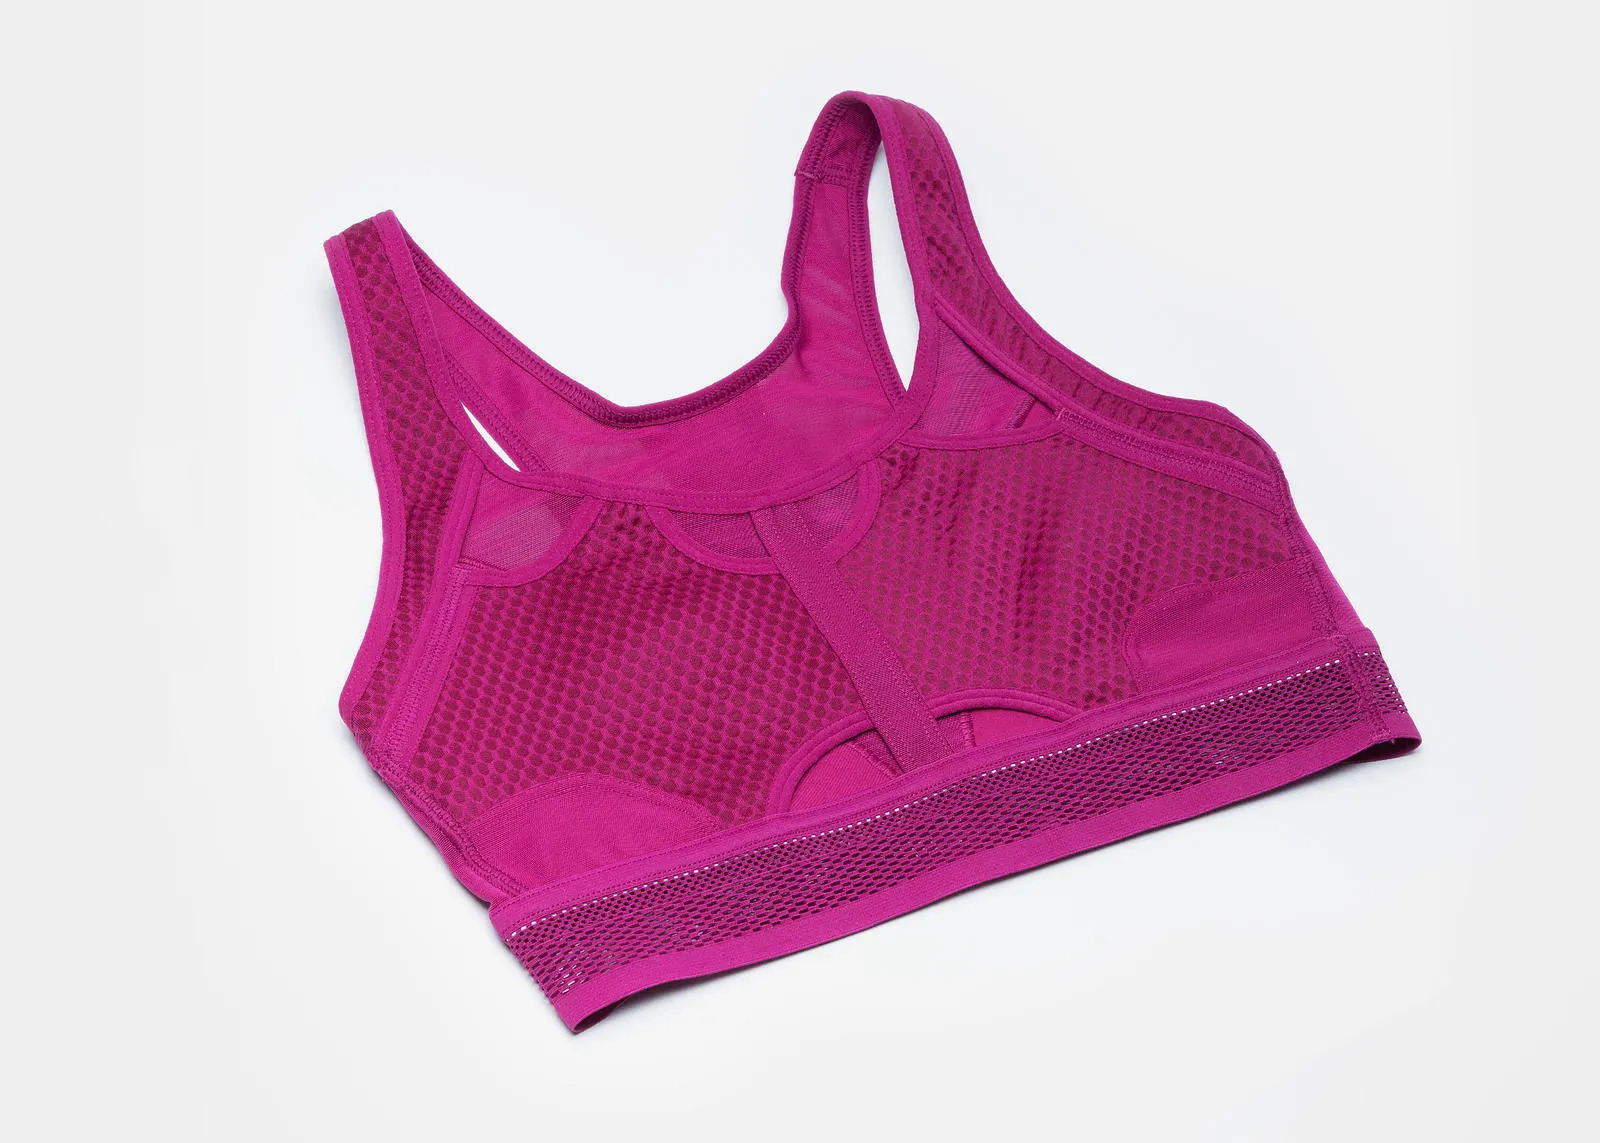
Next, pay attention to the fabric and construction of the sports bra. The materials used should be stretchy, moisture-wicking, and breathable to keep you comfortable and dry during exercise. Look for features such as adjustable straps, a wide underband, and a secure closure to ensure a proper fit.
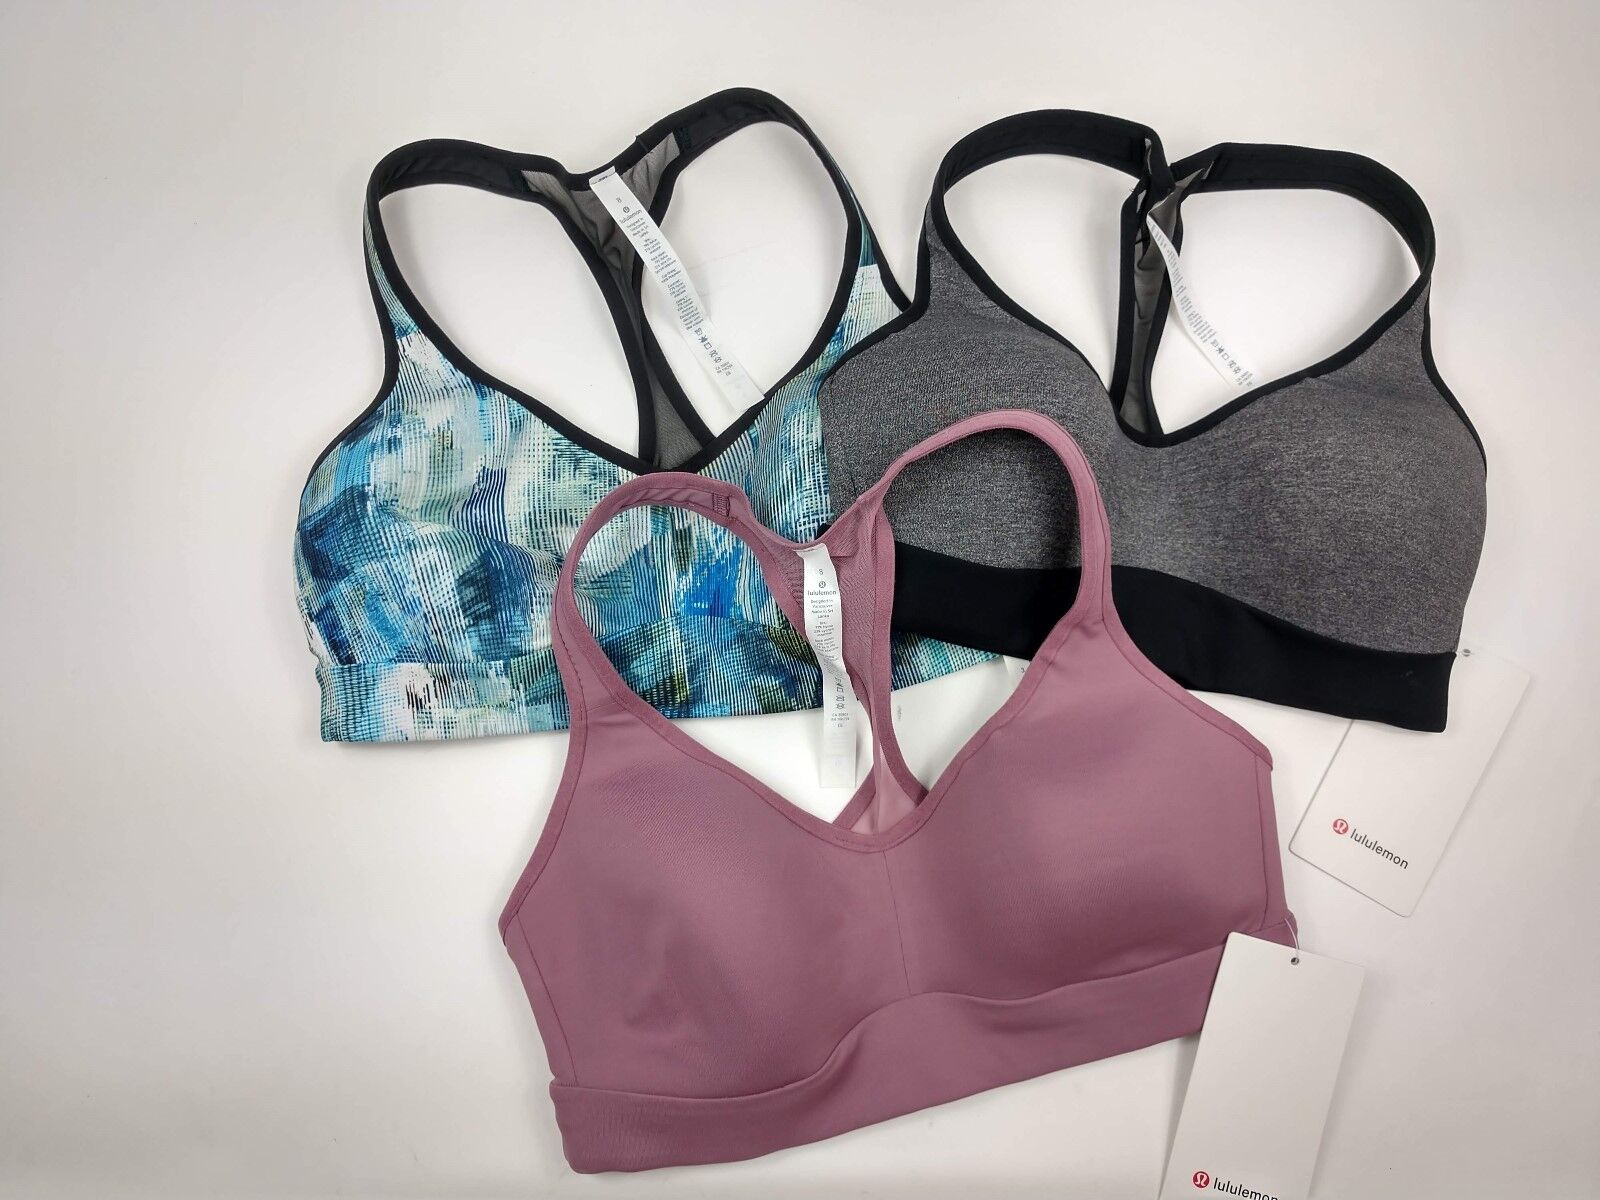
Proper sizing is crucial when it comes to sports bras. To find your correct size, measure your underbust and bust circumference. Use these measurements to determine your band and cup size. Remember that sports bras are designed to fit tighter than regular bras to provide adequate support, so don’t be alarmed if you need a smaller band size.
Another factor to consider is the level of comfort and range of motion provided by the sports bra. It should feel snug, but not overly tight. Make sure the straps don’t dig into your shoulders, and the band stays in place without riding up. Try moving and performing some exercises while wearing the bra to ensure it allows for freedom of movement.
Now that you have a better understanding of sports bras, let’s move on to the next section, where we will discuss how to assess the fit of your sports bra.
Assessing the Fit of Your Sports Bra
Ensuring the proper fit of your sports bra is crucial for comfort, support, and effective performance. Here are some key factors to consider when assessing the fit of your sports bra:
- Band: The band should sit firmly and horizontally around your rib cage without digging into your skin. It should provide support and stay in place throughout your workout.
- Cups: The cups should fully enclose and support each breast, without any bulging or spillage. They should provide a smooth and natural shape.
- Straps: The straps should be adjustable and stay securely in place without digging into your shoulders. They should provide support without causing discomfort.
- Underwire: If your sports bra has an underwire, it should sit flat against your ribcage and follow the natural curve of your breasts.
- Movement: When trying on a sports bra, move around and perform some exercises to assess how well it holds everything in place. Your breasts should feel supported and minimize bouncing.
It’s important to remember that the fit should feel snug but not overly tight. If you notice any discomfort, chafing, or restriction of movement, it may be a sign that the bra is not the right size or style for you.
If you find that your sports bra no longer fits properly due to stretching or time, don’t worry. In the next section, we will discuss various methods for shrinking a sports bra to restore its original shape and fit.
Tips for Shrinking a Sports Bra
If you have a sports bra that has stretched out or doesn’t fit as snugly as you’d like, there are several methods you can try to shrink it. Here are some useful tips to keep in mind:
- Read the care instructions: Before attempting any shrinking methods, check the care label of your sports bra. Some fabrics may not be suitable for certain techniques, so it’s important to follow the manufacturer’s guidelines.
- Start with gentle methods: When attempting to shrink your sports bra, it’s best to start with the gentlest methods first. Washing and drying the bra on high heat or using boiling water should be sufficient for most cases.
- Be patient: Shrinking a sports bra takes time and repeated attempts. Don’t expect immediate results after the first try. Be patient and give the bra multiple attempts before moving on to more extreme methods.
- Gradually increase the intensity: If the gentle methods don’t achieve the desired results, you can gradually increase the intensity. For example, if washing and drying don’t work, you can try boiling the bra or using heat from an iron or steamer.
- Consider alterations: If all else fails, you may want to consider altering the bra. This could involve sewing, tailoring, or adjusting the straps to achieve a better fit.
- Test in small areas: When using heat or boiling water, test the method in a small, less visible area of the bra first. This way, you can assess how the fabric reacts before applying the technique to the entire bra.
- Ensure proper care after shrinking: Once you have successfully shrunk your sports bra, remember to follow the appropriate care instructions to maintain its shape and fit. Avoid excessive stretching or washing in high heat, as this can cause the bra to stretch out again.
With these tips in mind, you can now move on to the next section where we will explore different methods for shrinking a sports bra in detail.
Method 1: Washing and Drying
One of the simplest and most common methods for shrinking a sports bra is through the process of washing and drying. Here’s how you can do it:
- Step 1: Check the care label: Before attempting any washing and drying method, read and follow the care instructions on the label of your sports bra. Different fabrics may require specific handling.
- Step 2: Use hot water: Fill a basin or sink with hot water, preferably not exceeding 120°F (49°C). Submerge your sports bra and let it soak for at least 30 minutes.
- Step 3: Agitate the bra: Gently massage and knead the fabric of the bra while it is soaking. This helps to relax the fibers and promotes shrinkage.
- Step 4: Rinse and squeeze: After soaking, rinse the sports bra with cool water to remove any soap residue. Squeeze out excess water, being careful not to stretch the fabric.
- Step 5: Dry on high heat: Place the sports bra in a dryer on high heat for 10-15 minutes. The heat will facilitate the shrinking process.
- Step 6: Check the fit: After drying, try on the sports bra to assess the fit. If it has shrunk to your satisfaction, you can stop the process. If more shrinkage is desired, repeat the washing and drying steps.
Remember that while washing and drying can help shrink a sports bra, it may not be suitable for all fabrics. Delicate or specialty fabrics may require alternative methods to avoid damaging the bra.
Now that you know how washing and drying can help shrink your sports bra, let’s move on to the next section where we will explore another method: boiling.
Method 2: Boiling
If your sports bra requires more intense shrinking, boiling it can be an effective method. Follow these steps to shrink your sports bra using boiling water:
- Step 1: Prepare a pot: Fill a pot with enough water to fully submerge your sports bra. Make sure the pot is large enough to accommodate the bra without overcrowding.
- Step 2: Heat the water: Place the pot on the stove and bring the water to a boil. You can add a cup of vinegar to the water for added shrinkage, but this is optional.
- Step 3: Submerge the bra: Once the water is boiling, turn off the heat and carefully place the sports bra into the hot water. Use a spoon or tongs to fully submerge it.
- Step 4: Let it sit: Allow the bra to soak in the hot water for at least 10-15 minutes. Stir occasionally to ensure even exposure to the hot water.
- Step 5: Remove and cool: After soaking, use tongs or a spoon to remove the sports bra from the hot water. Rinse it with cool water to stop the shrinking process.
- Step 6: Squeeze out excess water: Gently squeeze out the water from the bra, making sure not to stretch the fabric. Avoid twisting or wringing the bra, as this can damage its shape.
- Step 7: Air dry: Lay the sports bra flat on a clean towel or hang it up to air dry. Avoid using high heat or direct sunlight to dry the bra, as this can cause further stretching.
- Step 8: Check the fit: Once the bra is completely dry, try it on to assess the fit. If it has shrunk to your desired size, the shrinking process is complete. If more shrinkage is needed, you can repeat the boiling method.
Keep in mind that boiling is a more intense method and should only be used for fabrics that can withstand high temperatures. Be cautious and test the method on a small area of the bra before submerging the entire garment.
In the next section, we will discuss another method that involves altering the straps of your sports bra to achieve a better fit.
Method 3: Altering the Straps
If your sports bra fits well overall but has loose or excessively stretched-out straps, altering them can help improve the fit. Here’s how you can alter the straps of your sports bra:
- Step 1: Assess the strap length: Put on the sports bra and assess the length of the straps. Determine how much shorter you want them to be for a snug and supportive fit.
- Step 2: Pin the straps: Using safety pins or sewing pins, pin the excess length of the straps to the desired length. Make sure the pins are secure and won’t come undone during the alteration process.
- Step 3: Try on and adjust: Put the sports bra back on and adjust the pins as necessary. Test the fit and comfort of the new strap length. Make sure the straps still offer the necessary support without causing discomfort.
- Step 4: Sew the straps: Once you’re satisfied with the pinned strap length, remove the bra and use a needle and thread or a sewing machine to sew the straps at the desired length. Sew along the existing seam to maintain a clean and seamless alteration.
- Step 5: Trim excess strap: After sewing, carefully trim any excess strap length to tidy up the alteration. Be careful not to cut too close to the seam to avoid unraveling.
- Step 6: Test the fit again: Put the sports bra back on and test the fit with the altered straps. Make sure the bra provides the necessary support and feels comfortable with the new strap length.
Altering the straps of your sports bra allows you to customize the fit to your preferences. However, keep in mind that this method is only suitable if the issue lies primarily with the straps. If the bra requires overall shrinkage, other methods may be more effective.
Now that you know how to alter the straps of your sports bra, let’s move on to the next section where we will explore another method: sewing or tailoring.
Method 4: Sewing or Tailoring
If your sports bra requires significant alterations beyond just the straps, sewing or tailoring can help achieve a better fit. Here’s how you can use sewing or tailoring techniques to alter your sports bra:
- Step 1: Assess the required alterations: Put on the sports bra and assess the areas that need adjustment. This could include taking in the band, adjusting the cup size, or reshaping the overall structure.
- Step 2: Consult a professional tailor: If you’re not confident in your sewing skills, it’s best to consult a professional tailor who is experienced in altering lingerie and sports bras. They can guide you through the process and ensure a precise alteration.
- Step 3: Explain the desired changes: When consulting the tailor, explain the specific alterations you want for your sports bra. They will take your measurements and provide recommendations on how to achieve the best fit.
- Step 4: Professional alteration: Let the tailor work their magic. They will use their expertise to alter the sports bra according to your specifications. This may involve taking in or letting out seams, resizing the cups, or adjusting the straps.
- Step 5: Try on the altered bra: Once the alteration is complete, try on the sports bra to ensure the fit is as desired. Make any necessary adjustments if something doesn’t feel right.
Sewing or tailoring is a more specialized method that requires skill and precision. It’s especially useful if your sports bra requires multiple adjustments or if you’re looking for significant alterations.
Remember to communicate clearly with the tailor and provide any necessary details about the desired fit. This will help them understand your needs and ensure the alterations are done to your satisfaction.
In the next section, we will explore another method that involves using heat to shrink your sports bra.
Method 5: Using Heat
Using heat is another method that can help to shrink a sports bra. Here’s how you can use heat to achieve the desired fit:
- Step 1: Preheat the oven or iron: Preheat your oven to a low temperature (around 150°F or 65°C) or set your iron to a low heat setting. Ensure that the heat is gentle enough to avoid damaging the sports bra.
- Step 2: Place the bra in the oven or heat-resistant bag: If using the oven, place the sports bra on a baking sheet lined with parchment paper or a heat-resistant bag. If using an iron, wrap the bra in a clean cloth or place it inside a heat-resistant bag.
- Step 3: Heat the bra for a short period: Put the sports bra in the oven or use the iron to apply gentle heat for a few minutes. You can start with 5 minutes and adjust the timing based on the desired level of shrinkage.
- Step 4: Remove and cool: Carefully remove the sports bra from the oven or iron and let it cool completely. This allows the fabric to set in its shrunken state.
- Step 5: Try on the shrunk bra: Once the bra is cool, try it on to assess the fit. If it has shrunk to your desired size, the process is complete. If further shrinkage is desired, you can repeat the heating process.
It’s important to note that heat can cause damage to certain fabrics, so it’s crucial to test the method on a small, less visible area of the bra before applying heat to the entire garment. Additionally, be cautious with the temperature and duration of exposure to avoid burning or deforming the bra.
Now that you know how to use heat to shrink a sports bra, let’s move on to the next section where we will discuss some precautions and considerations to keep in mind when attempting these methods.
Precautions and Considerations
While shrinking a sports bra can be effective in achieving a better fit, it’s important to take certain precautions and considerations into account. Here are some key points to keep in mind:
- Check the care label: Always check the care instructions on the label of your sports bra before attempting any shrinking methods. Some fabrics may not be suitable for certain techniques and may require alternative methods.
- Test in a small area: Before applying any shrinking method to the entire sports bra, test it in a small, less visible area first. This allows you to assess how the fabric reacts to the technique and minimize the risk of damage.
- Gentle methods first: Start with the gentlest methods, such as washing and drying on high heat. If these methods don’t achieve the desired results, then gradually move on to more intense techniques like boiling or using heat.
- Be patient: Shrinking a sports bra takes time and repeated attempts. Don’t expect immediate results after the first try. Be patient and give the bra multiple attempts before deciding to move on to other methods or alterations.
- Don’t overdo it: Avoid excessive shrinking or altering the sports bra beyond the necessary fit. Over-shrinking can lead to a bra that is too tight or uncomfortable, and over-altering can ruin the integrity and shape of the bra.
- Consult a professional tailor: If you’re unsure about altering your sports bra yourself, consult a professional tailor who specializes in lingerie alterations. They can provide expert advice and ensure a precise fit without compromising the quality of the bra.
- Proper care after shrinking: After successfully shrinking your sports bra, make sure to follow the appropriate care instructions to preserve its shape and fit. Avoid excessive stretching or washing in high heat, as this can cause the bra to stretch out again.
Remember that not all sports bras can be easily shrunk, especially if they are made from specialty or delicate fabrics. In some cases, it may be best to explore alternative options, such as purchasing a new sports bra in the correct size or seeking professional alterations.
Now that you’re familiar with the precautions and considerations, you can confidently proceed with shrinking your sports bra to achieve a better fit.
Conclusion
Having a well-fitted sports bra is crucial for women who engage in athletic activities. When a sports bra stretches out or no longer offers the desired fit, there are several methods available to help shrink it and restore its original shape. Throughout this article, we explored various techniques, including washing and drying, boiling, altering the straps, sewing or tailoring, and using heat.
Before attempting any shrinking method, it’s important to assess the fit of your sports bra and understand its structure. Consider factors such as band, cups, straps, and overall range of motion to ensure a proper fit. Additionally, it’s crucial to follow the care instructions on the bra’s label and test any technique in a small area before applying it to the entire garment.
While some methods, like washing and drying, are gentle and suitable for most fabrics, others, such as boiling or using heat, require more caution. It’s essential to be patient and not overdo the shrinking process, as excessive shrinking or altering may lead to an uncomfortable fit or damage the bra. In some cases, consulting a professional tailor may be the best choice for achieving a precise fit.
Remember to properly care for your sports bra after shrinking it to maintain its shape and fit. Avoid excessive stretching or subjecting it to high heat that could cause it to stretch out again.
By employing these shrinking methods and taking the necessary precautions, you can breathe new life into your stretched-out sports bras and enjoy the benefits of a snug and supportive fit. Whether you choose to wash and dry, boil, alter, sew or tailor, or apply heat, these methods can help restore your sports bras to their former glory, ensuring comfort, support, and confidence during your athletic endeavors.