Home>How-to Guides>For All>How To Shrink Pajama Pants
For All
How To Shrink Pajama Pants
Modified: July 30, 2023
Discover the ultimate guide on how to shrink pajama pants for all sizes. Follow these simple steps to achieve the perfect fit and enjoy a comfortable night's sleep.
(Many of the links in this article redirect to a specific reviewed product. Your purchase of these products through affiliate links helps to generate commission for Under-tec.com, at no extra cost. Learn more)
Table of Contents
Introduction
Have you ever purchased a pair of pajama pants only to find that they are too long for your liking? Perhaps they constantly get tangled up under your feet, causing you to trip and stumble around. If so, don’t worry – you’re not alone! Fortunately, there is a simple solution to this common problem: shrinking your pajama pants to achieve the perfect length.
Shrinking pajama pants is a relatively straightforward process that requires minimal sewing skills and a few basic materials. By following a few simple steps, you can have your pajama pants shortened to your desired length, allowing for a more comfortable and convenient fit.
In this article, we will guide you through the step-by-step process of how to shrink your pajama pants. From determining the ideal length to sewing them, we’ll cover everything you need to know to achieve the perfect fit for your sleepwear.
Before we get started, let’s take a look at the materials you will need for this project:
Materials Needed
Before you begin the process of shrinking your pajama pants, make sure you have the following materials on hand:
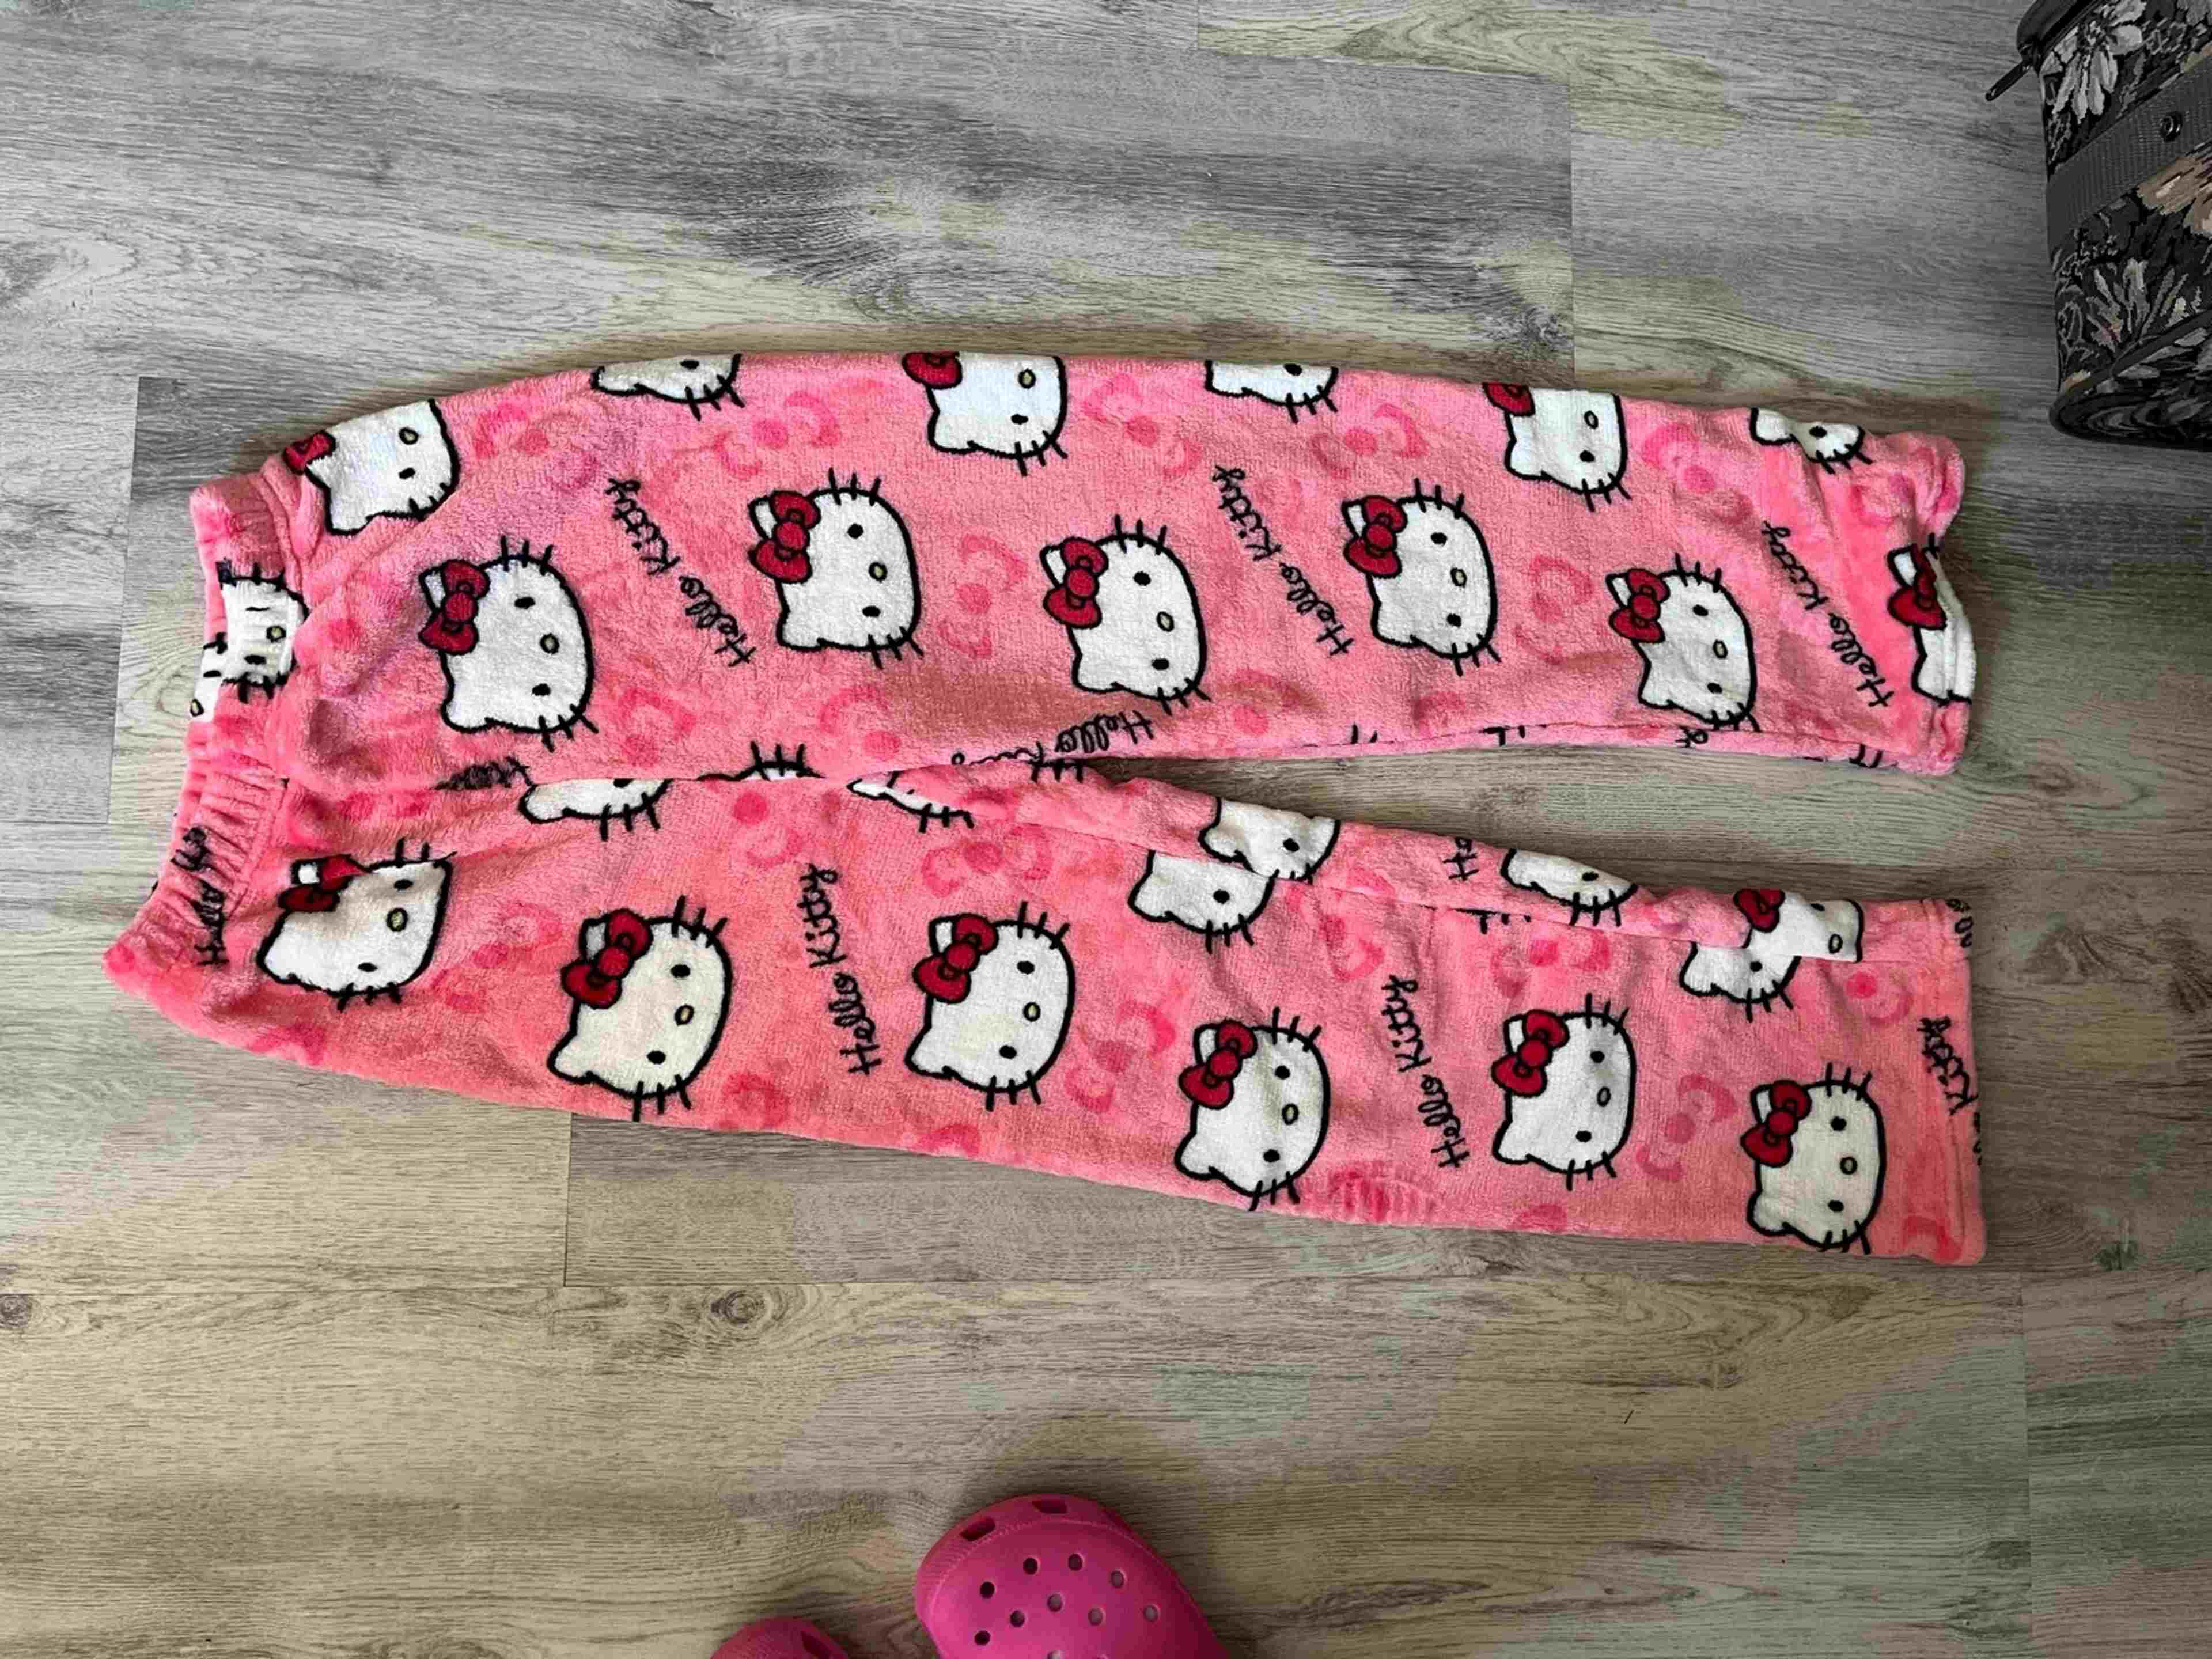
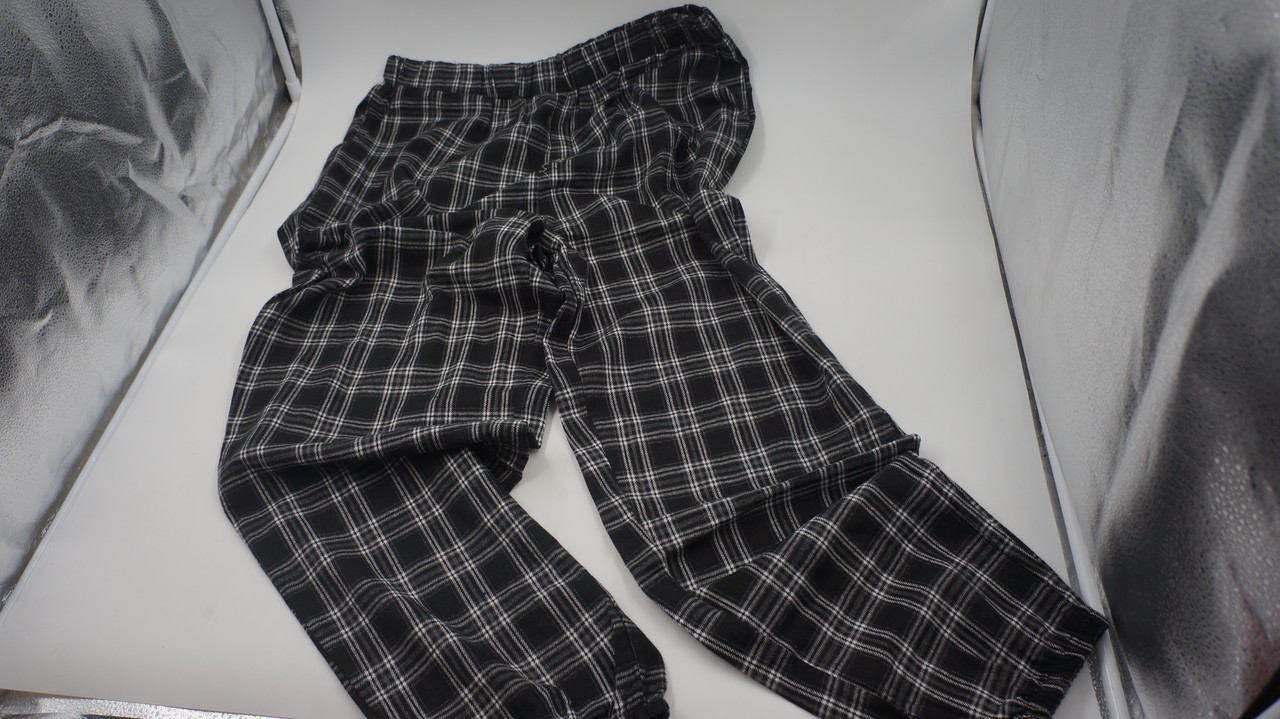
- Pair of pajama pants
- Measuring tape
- Needle and thread or sewing machine
- Seam ripper
- Pins
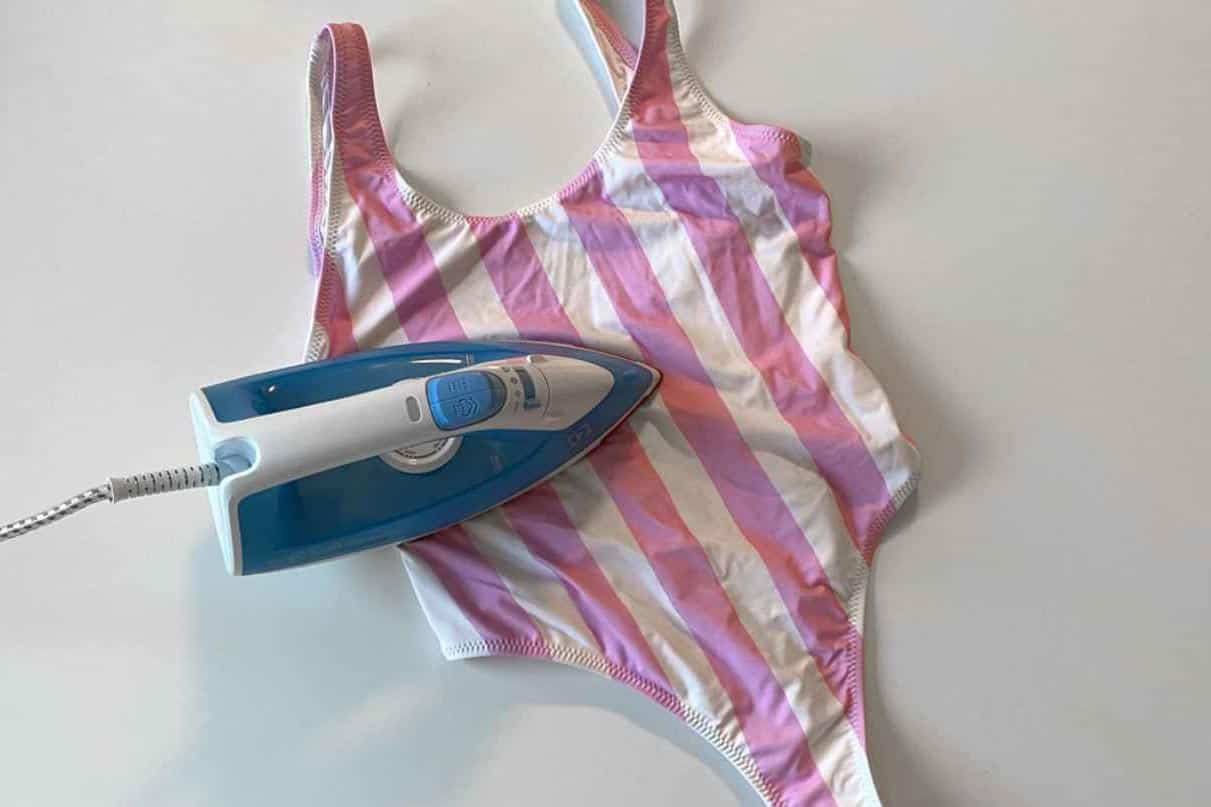
- Iron
These materials are essential for achieving the desired results when altering the length of your pajama pants. The measuring tape will help you determine the ideal length, while the needle and thread or sewing machine will be used to make the necessary alterations.
The seam ripper will come in handy if you need to remove any existing stitches before sewing the pants, and the pins will be used to secure the fabric in place while making your adjustments. Lastly, the iron will be used to press the seams and give your pants a finished look.
Once you have gathered all the necessary materials, you’re ready to move on to the next step: determining the desired length of your pajama pants.
Step 1: Determine the Desired Length
The first step in shrinking your pajama pants is to determine the desired length you want them to be. This will depend on your personal preference and comfort level.
To get an accurate measurement, put on the pajama pants and stand in front of a mirror. Decide how much you want to shorten them by and use a measuring tape to measure from the waistband down to the desired length. Make sure to take note of this measurement as it will be used later in the process.
When determining the desired length, keep in mind that you may want to leave a little extra length to account for shrinkage during the sewing process. It’s always better to err on the side of caution and have them a bit longer than too short.
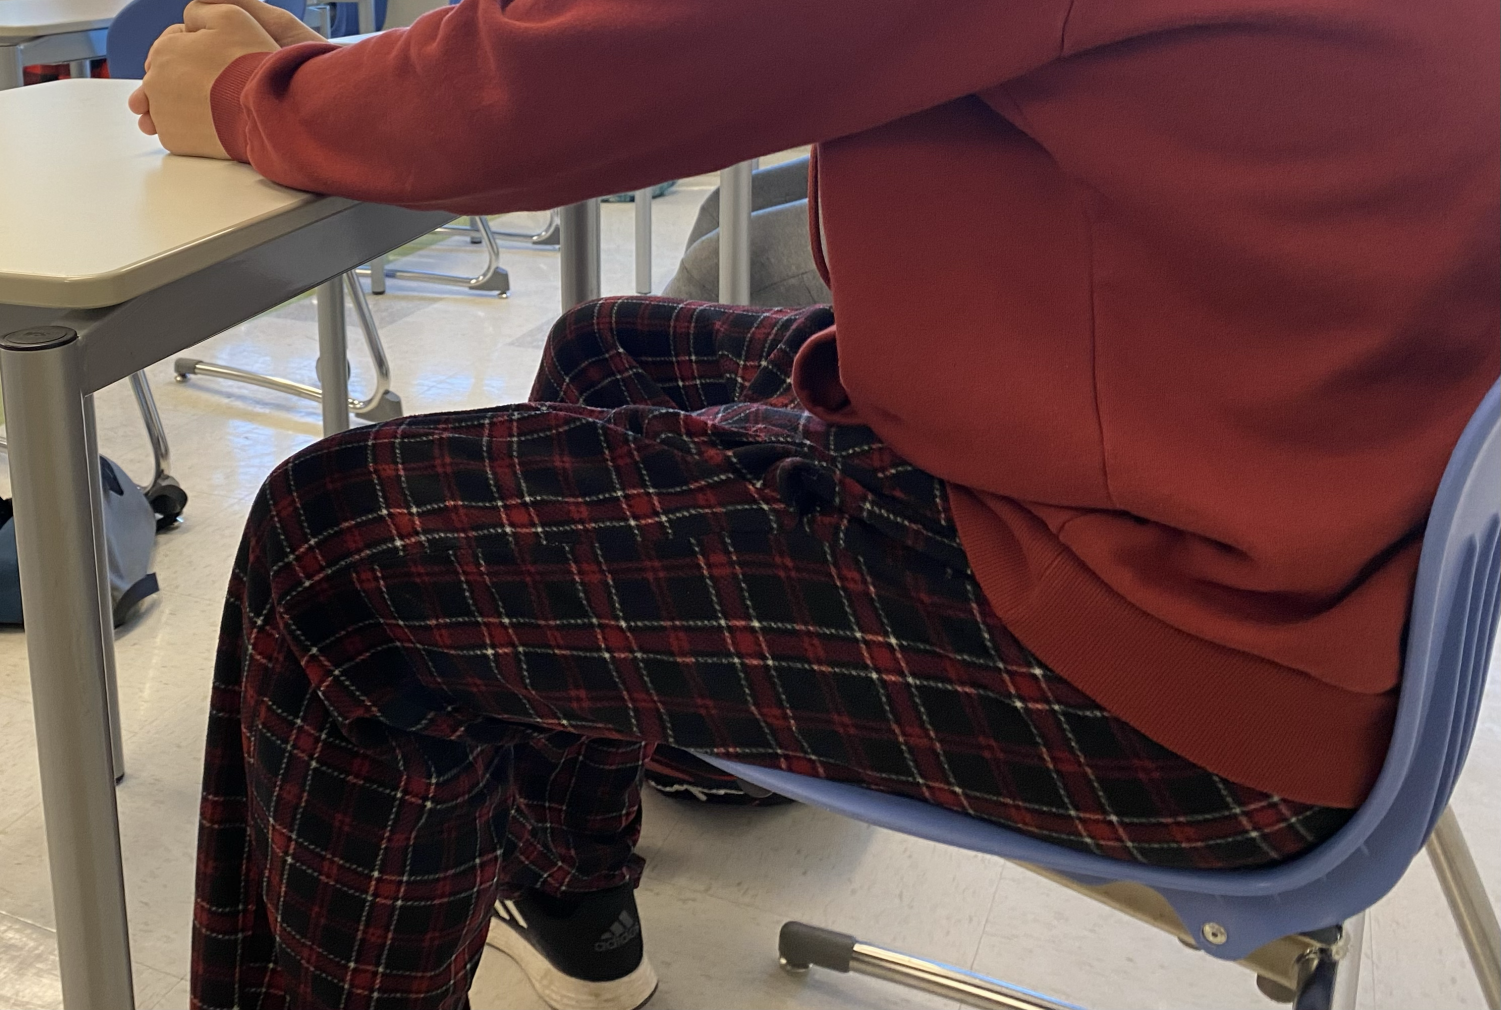
Additionally, consider the purpose of the pajama pants. If you plan to wear them primarily for sleeping, you may want them to be shorter to avoid tripping over them. On the other hand, if you also plan to wear them around the house, a slightly longer length may be more comfortable for everyday activities.
Once you have determined the desired length, you’re ready to move on to the next step: pinning the pants to prepare for sewing.
Step 2: Pinning the Pants
After determining the desired length of your pajama pants, it’s time to start preparing them for the sewing process by pinning them.
Begin by turning the pants inside out. This will allow you to work on the inside of the pants and make the necessary adjustments without affecting the appearance of the exterior fabric.
Next, using the measurement you took earlier, fold up the bottom of each pant leg to the desired length. Make sure to fold it evenly and smooth out any wrinkles or creases. You can use a ruler or another measuring tool to ensure the fold is straight and even on both legs.
Once you have folded the pants to the desired length, it’s time to secure them in place using pins. Start by placing a pin at the side seam of each leg, ensuring that the fold is held firmly. Continue placing pins along the fold, spacing them out evenly, until you reach the other side seam.
Take a moment to try on the pants at this stage to ensure that you are happy with the length and the way they fit. Make any necessary adjustments by adding or removing pins until you achieve the perfect fit.
Once you are satisfied with the pinned length, it’s time to move on to the next step: sewing the pants to permanently alter their length.
Step 3: Sewing the Pants
Now that you have pinned the pajama pants to the desired length, it’s time to sew them to permanently alter their length.
If you are comfortable using a sewing machine, set it to a straight stitch and carefully sew along the folded edge of each leg, removing the pins as you go. Ensure that you backstitch at the beginning and end of each seam to secure the stitches.
If you prefer to sew by hand, thread a needle with a thread that matches the color of the pants. Starting at one side seam, use a straight stitch to sew along the folded edge of the leg, removing the pins as you go. Be sure to make your stitches secure but not overly tight to avoid puckering of the fabric.
As you sew, take your time and keep the stitches as even and straight as possible. This will ensure a professional-looking finish and a secure alteration that will withstand regular washing and wear.
Once you have finished sewing both legs, try on the pants again to ensure that you are satisfied with the new length. If necessary, make any final adjustments by re-pinning and sewing before moving on to the next step.
With the pants now sewn to the desired length, it’s time to move on to the final step: trying on the altered pants to see how they fit.
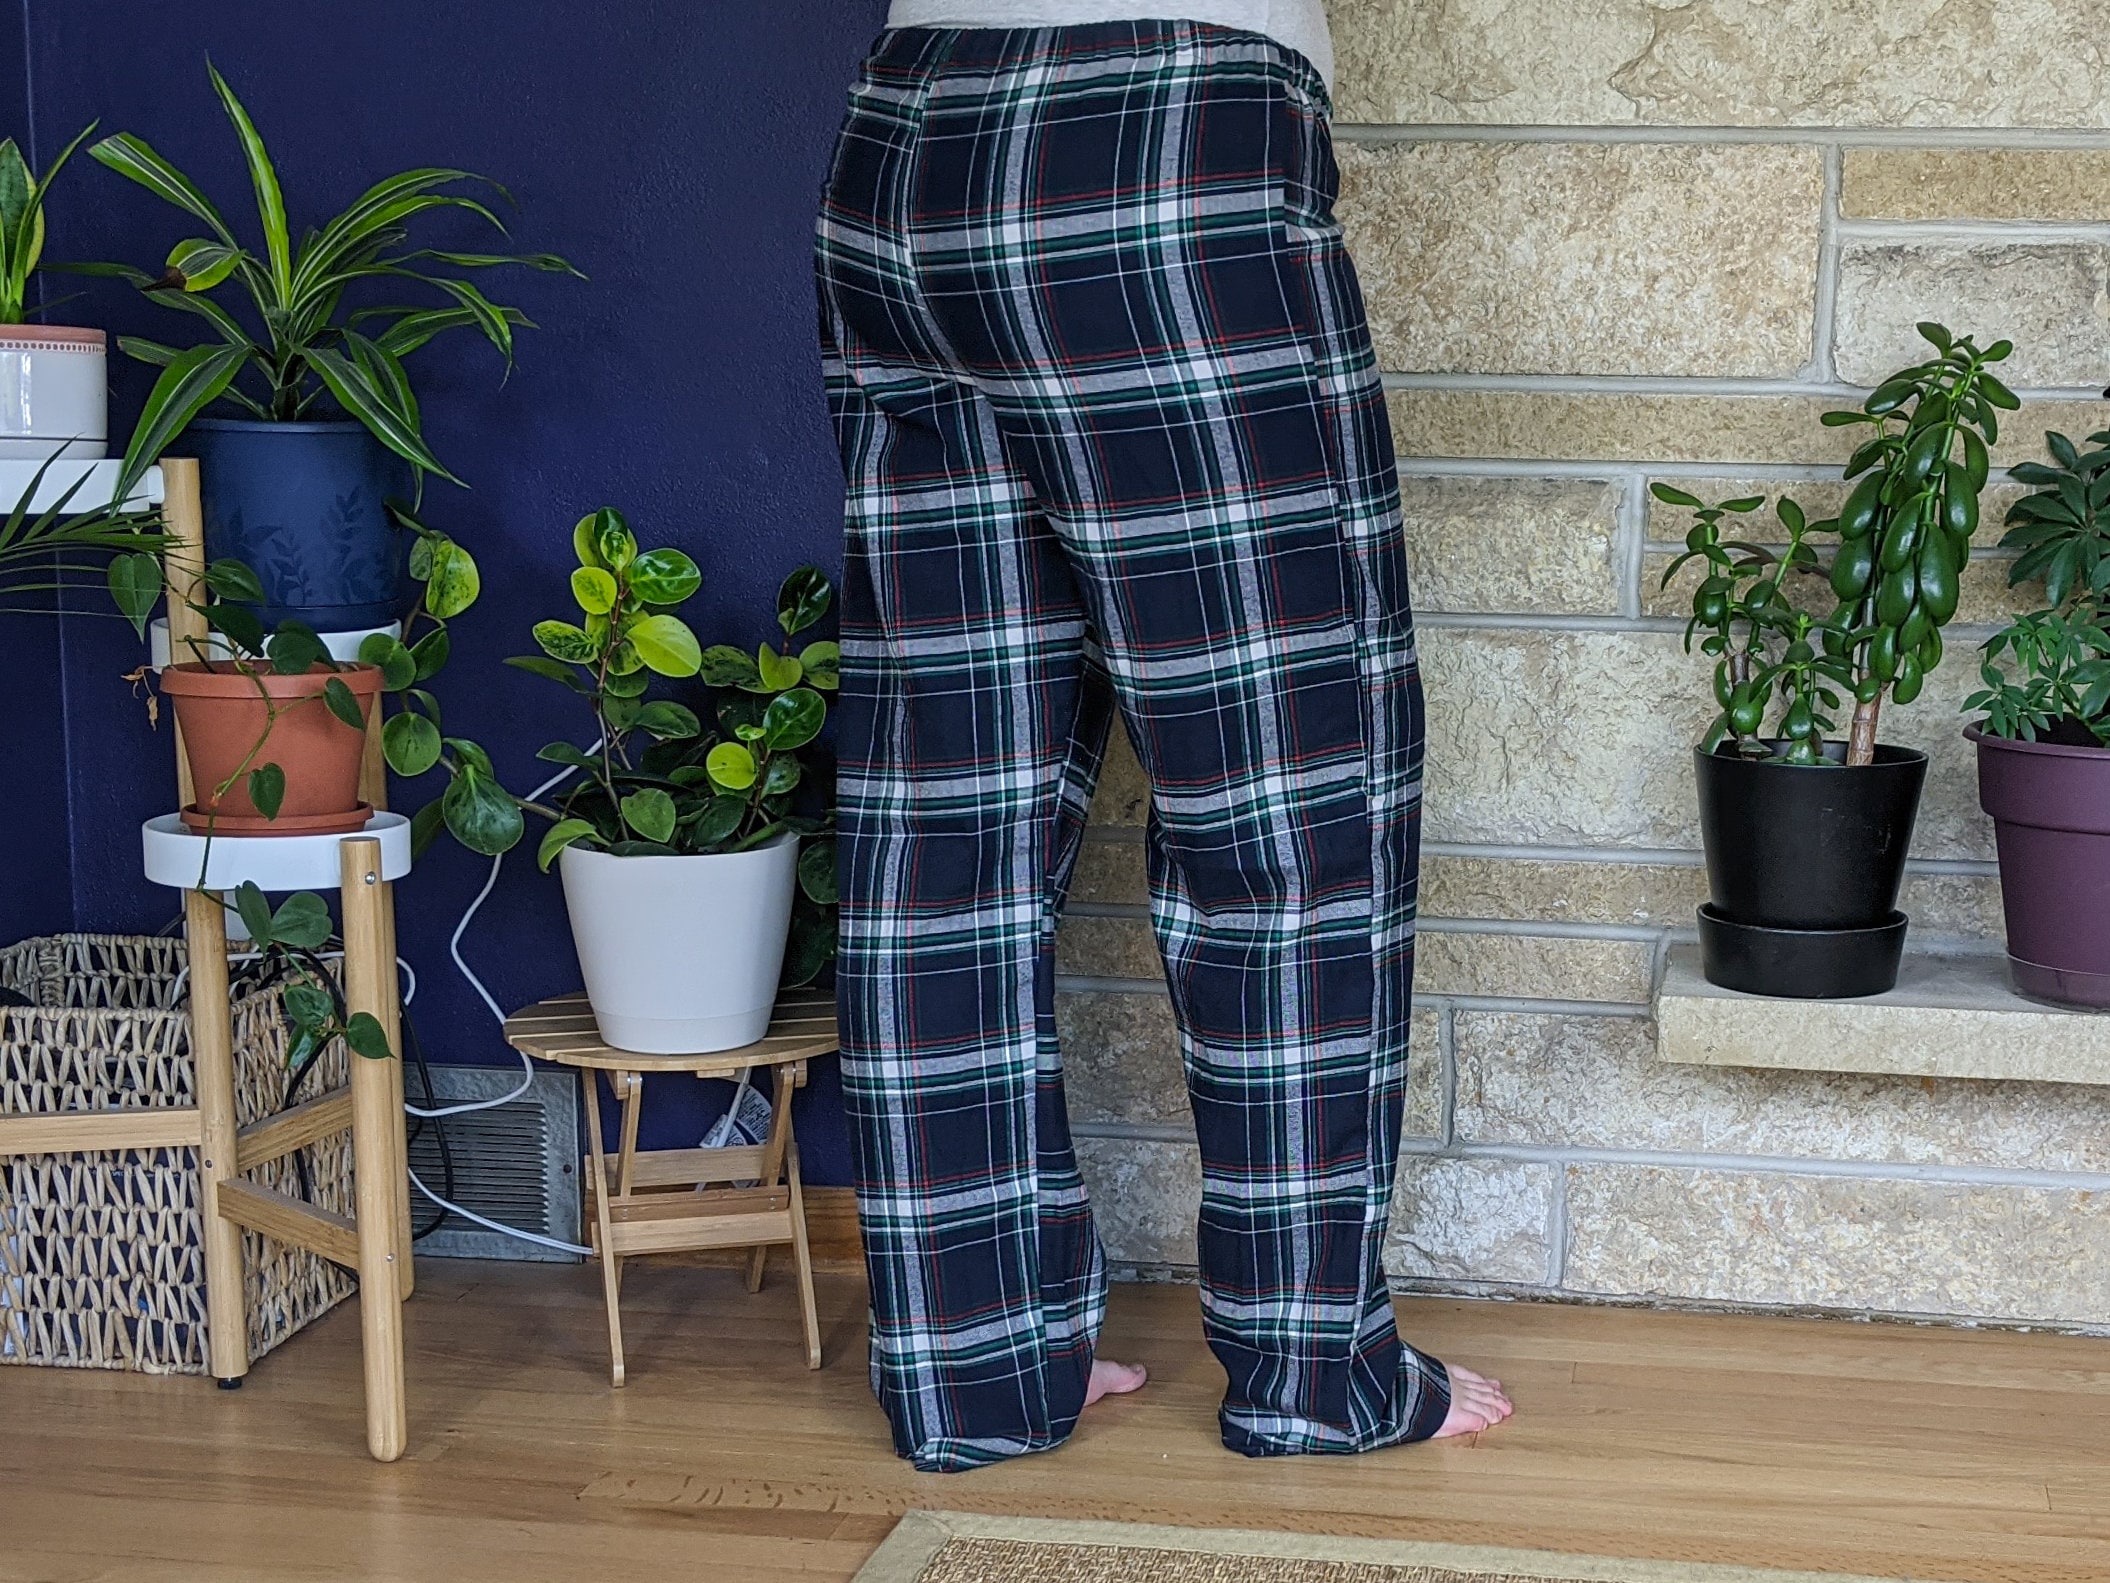
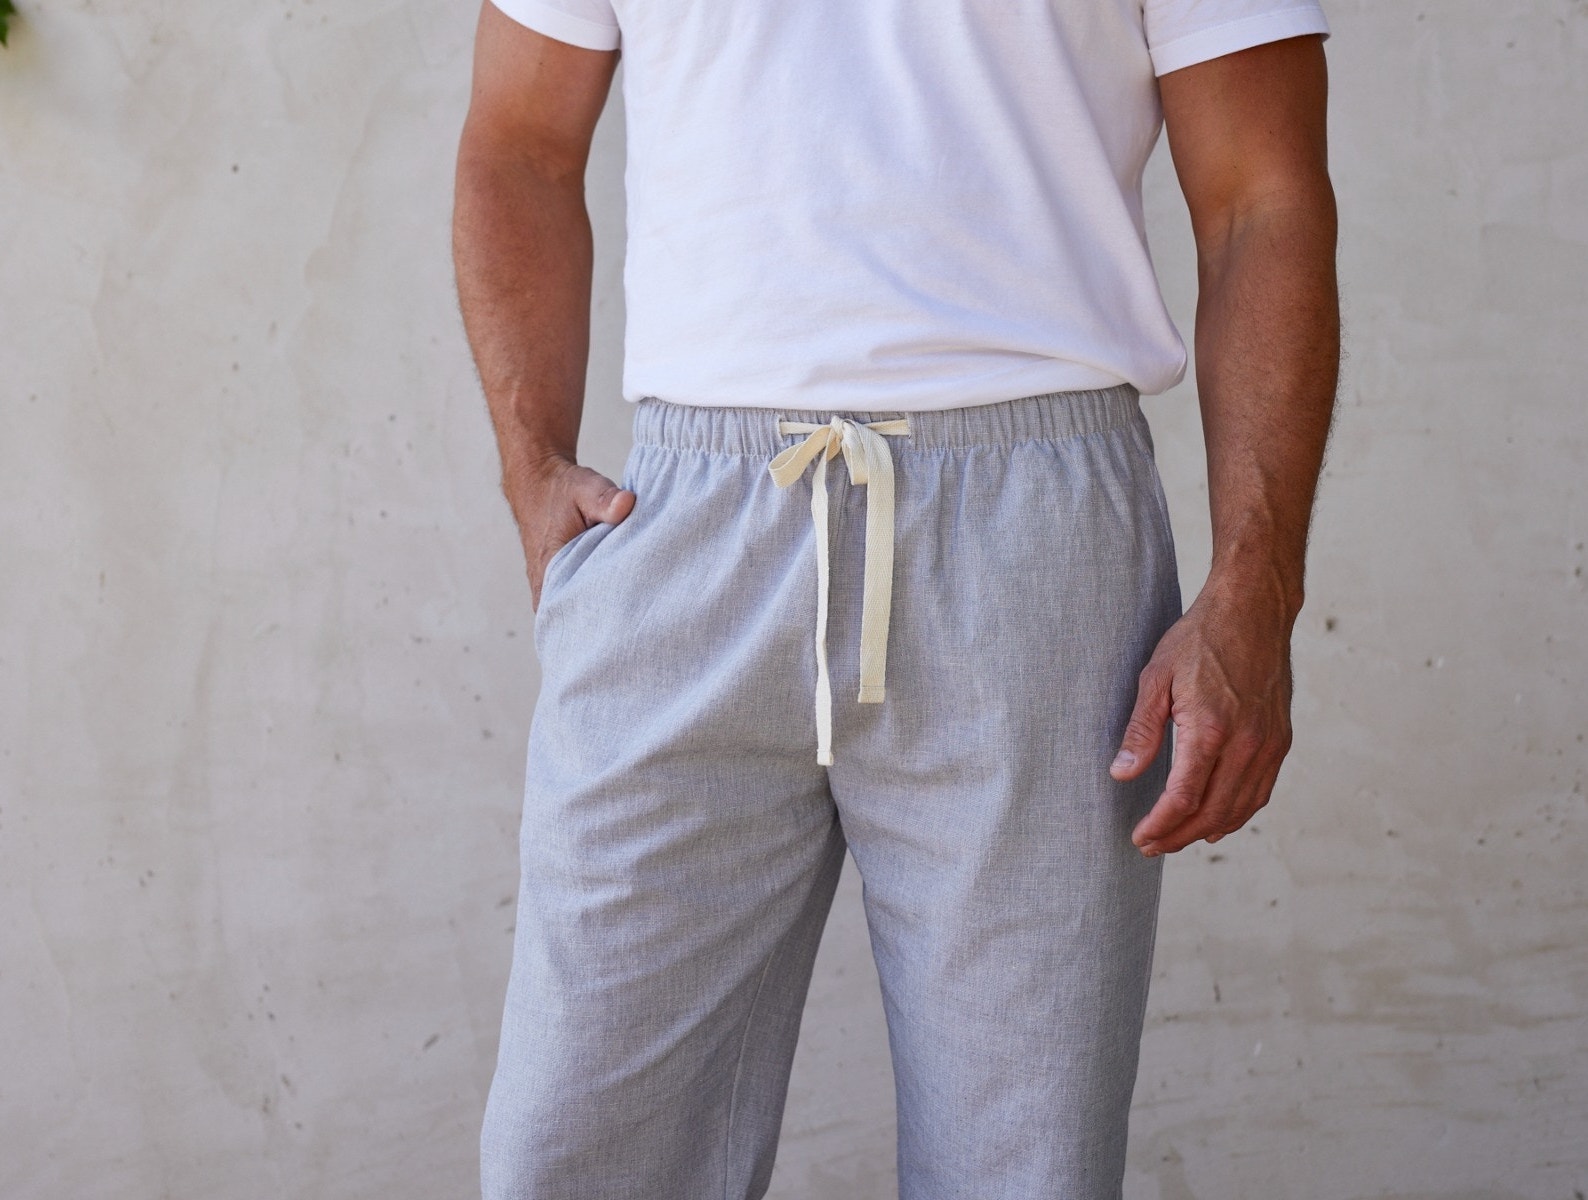
Step 4: Trying on the Altered Pants
Now that you have sewn the pajama pants to the desired length, it’s time to try them on and see how they fit.
Put on the altered pants and stand in front of a mirror. Take a moment to assess the length and overall fit. Pay attention to how the pants hang and ensure that they are comfortable and allow for unrestricted movement.
If you are satisfied with the fit and length, congratulations – you have successfully shrunk your pajama pants! Enjoy wearing them with the perfect fit for a cozy night’s sleep or lounging around the house.
If, however, you find that the pants are still too long or need further adjustments, don’t worry. You can easily undo the stitches and make any necessary alterations to achieve the desired fit. Remember, the key is to be patient, take measurements diligently, and make incremental adjustments until you are satisfied.
Once you are happy with the fit of the altered pants, give them a quick press with an iron to flatten any creases and give them a polished look.
With your newly altered pajama pants ready for wear, you can now enjoy the perfect length and a comfortable fit. Say goodbye to tripping over excess fabric and hello to a cozy and stylish night’s sleep.
Now that you have mastered the art of shrinking your pajama pants, you can also apply this technique to other clothing pieces that may need adjusting. So go ahead and confidently alter your wardrobe to fit your unique style and comfort!
Conclusion
Shrinking pajama pants to achieve the perfect length doesn’t have to be a daunting task. With a few simple steps and some basic sewing skills, you can alter your sleepwear to fit you comfortably and stylishly.
We started the process by determining the desired length of the pants, taking into consideration personal preference and the intended use of the pajama pants. From there, we carefully pinned the pants to the desired length, ensuring an even and straight fold.
Next, we sewed the pants using either a sewing machine or hand stitching, securing the alteration and creating a professional-looking finish. Taking the time to make even and straight stitches will ensure a secure alteration that can withstand regular washing and wear.
Finally, after sewing, we tried on the altered pants to assess the fit and make any final adjustments if needed. This step allowed us to ensure that the pants are comfortable and allow for unrestricted movement.
By following these steps, you can transform your oversized pajama pants into a custom-fit garment that meets your specific needs. No more tripping over excess fabric or feeling uncomfortable while lounging or sleeping.
Now, armed with these techniques, you can confidently alter other garments in your wardrobe to achieve the perfect fit. Remember to take measurements diligently, be patient, and make incremental adjustments until you are fully satisfied with the results.
So go ahead and unleash your creativity and sewing skills to customize your sleepwear and clothing to match your unique style and comfort. Sleep well and lounge comfortably in your perfectly resized pajama pants!