Home>How-to Guides>For All>How To Make Pajama Pants
For All
How To Make Pajama Pants
Modified: July 30, 2023
Learn how to make comfortable and stylish pajama pants for all with our step-by-step guide. From fabric selection to sewing techniques, we've got you covered!
(Many of the links in this article redirect to a specific reviewed product. Your purchase of these products through affiliate links helps to generate commission for Under-tec.com, at no extra cost. Learn more)
Table of Contents
Introduction
Welcome to the world of DIY fashion! Making your own clothing can be a rewarding and fulfilling experience, and one of the most satisfying projects to start with is creating your own pair of pajama pants. Whether you’re a beginner or an experienced seamstress, crafting your own pajama pants allows you to customize the fit, choose your preferred fabric, and express your personal style.
Not only are homemade pajama pants comfortable and cozy, but they also make perfect gifts for your loved ones. From selecting the fabric to adding finishing touches, this step-by-step guide will walk you through the process of creating your very own pair of stylish and comfortable pajama pants.
By following this guide, you’ll not only discover how to make pajama pants that fit you perfectly, but you’ll also gain valuable sewing skills that you can apply to future projects. So, put on your creativity cap, grab your sewing machine, and let’s get started on this fun and rewarding journey of making your own pajama pants!
Materials Needed
Before diving into the pajama pants-making process, it’s essential to gather all the necessary materials. Here’s a list of items you’ll need to complete this project:
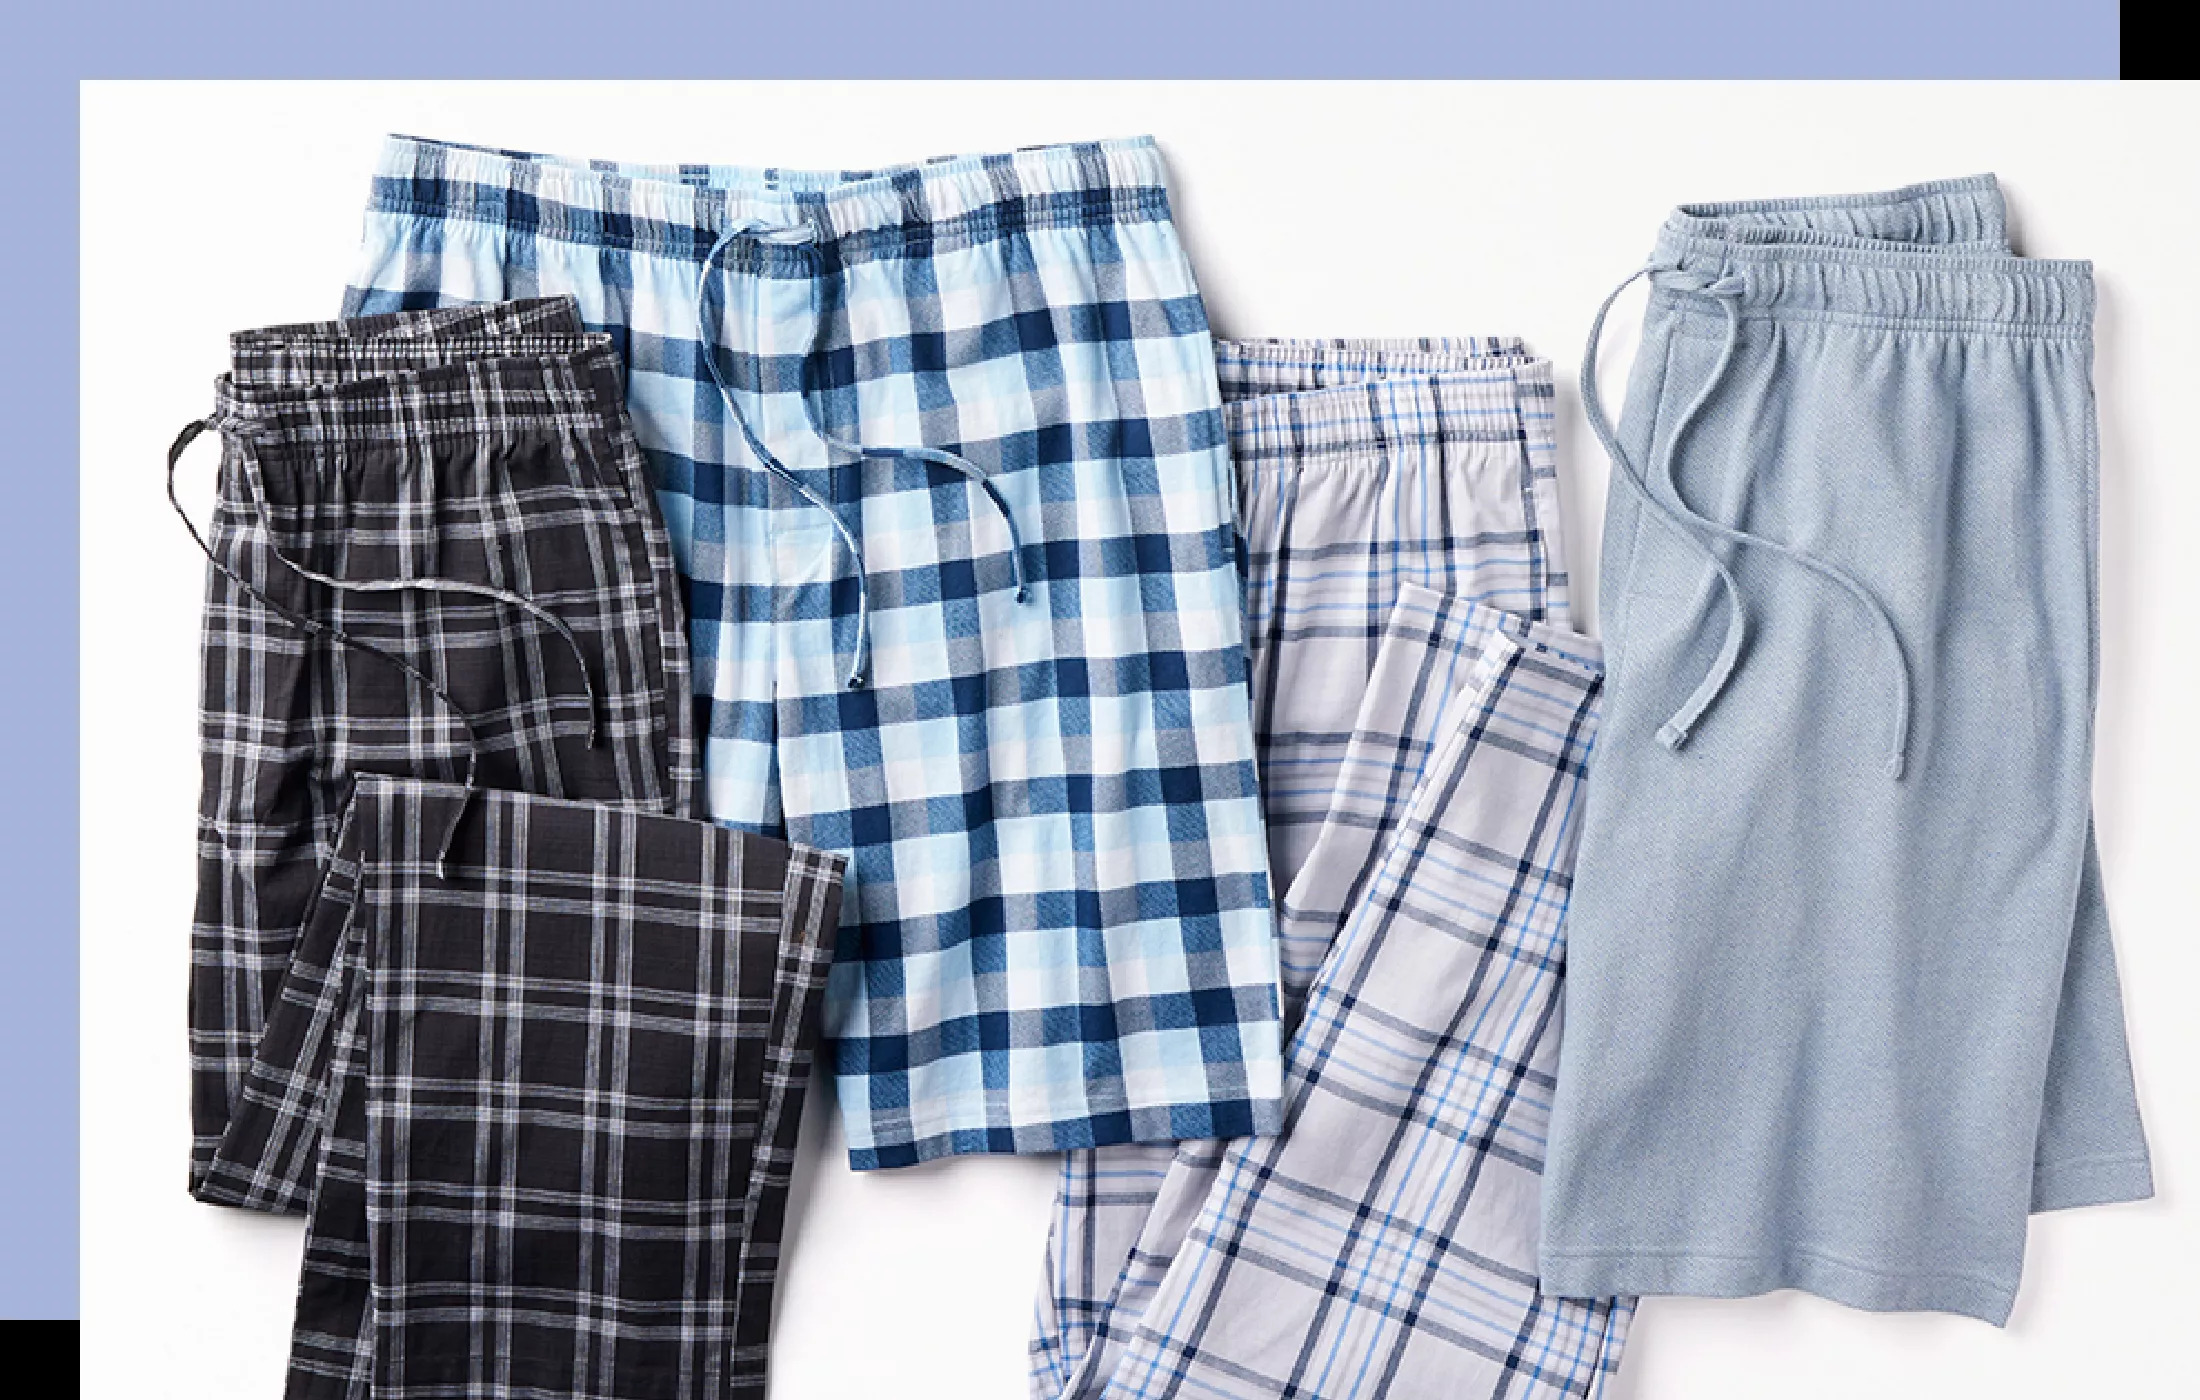
- Fabric: Choose a soft and comfortable fabric, such as cotton or flannel, in a design or color that reflects your personal style.
- Elastic: Select an elastic band that is suitable for waistbands. The width should be comfortable and sturdy enough to hold the pants in place without digging into your skin.
- Thread: Opt for a high-quality thread that matches the color of your fabric. This will ensure durability and a seamless finish.
- Pattern or Measurements: You can either purchase a pajama pants pattern, or use your own measurements to create a custom-fit pants pattern.
- Sewing Machine: A basic sewing machine or a serger will be necessary for stitching the fabric together. Make sure it’s in good working condition and you have the necessary accessories.
- Measuring Tape: A measuring tape is essential for taking accurate body measurements.
- Pins and Scissors: You’ll need pins to hold the fabric in place while sewing, and a pair of sharp fabric scissors for cutting the fabric.
- Iron: An iron will be needed to press the fabric and create crisp edges.
Having these materials ready will ensure a smooth and enjoyable sewing experience. Additionally, it’s a good idea to have a designated sewing area with sufficient lighting and a comfortable posture to create your pajama pants with ease. Now that you have everything you need, you’re all set to start the pajama pants-making process!
Step 1: Choosing the Fabric
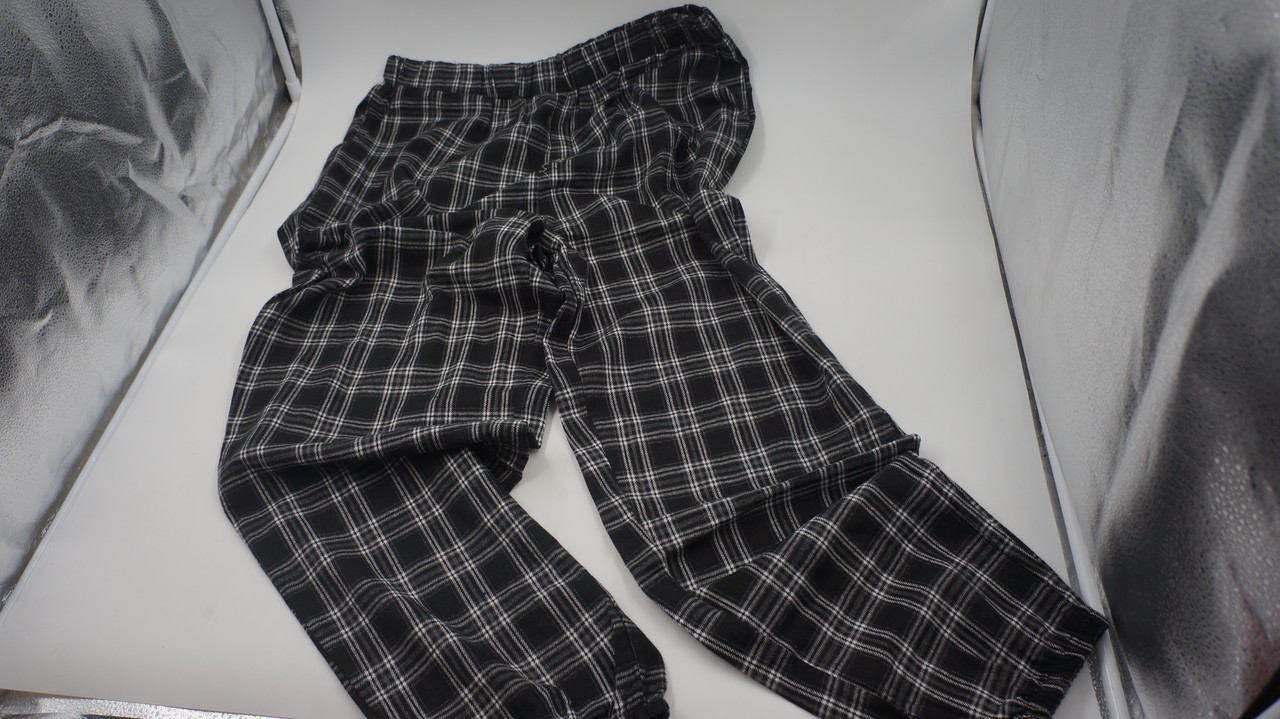
The first step in the process of making your own pajama pants is selecting the perfect fabric. Since comfort is key when it comes to sleepwear, opt for a soft and breathable fabric that feels great against your skin. Cotton and flannel are popular choices, as they provide both coziness and breathability.
Consider the weather and climate when choosing your fabric. If you live in a colder region, flannel fabric will help keep you warm during the chilly nights. On the other hand, if you prefer something lightweight and suitable for warmer weather, a smooth cotton fabric will be ideal.
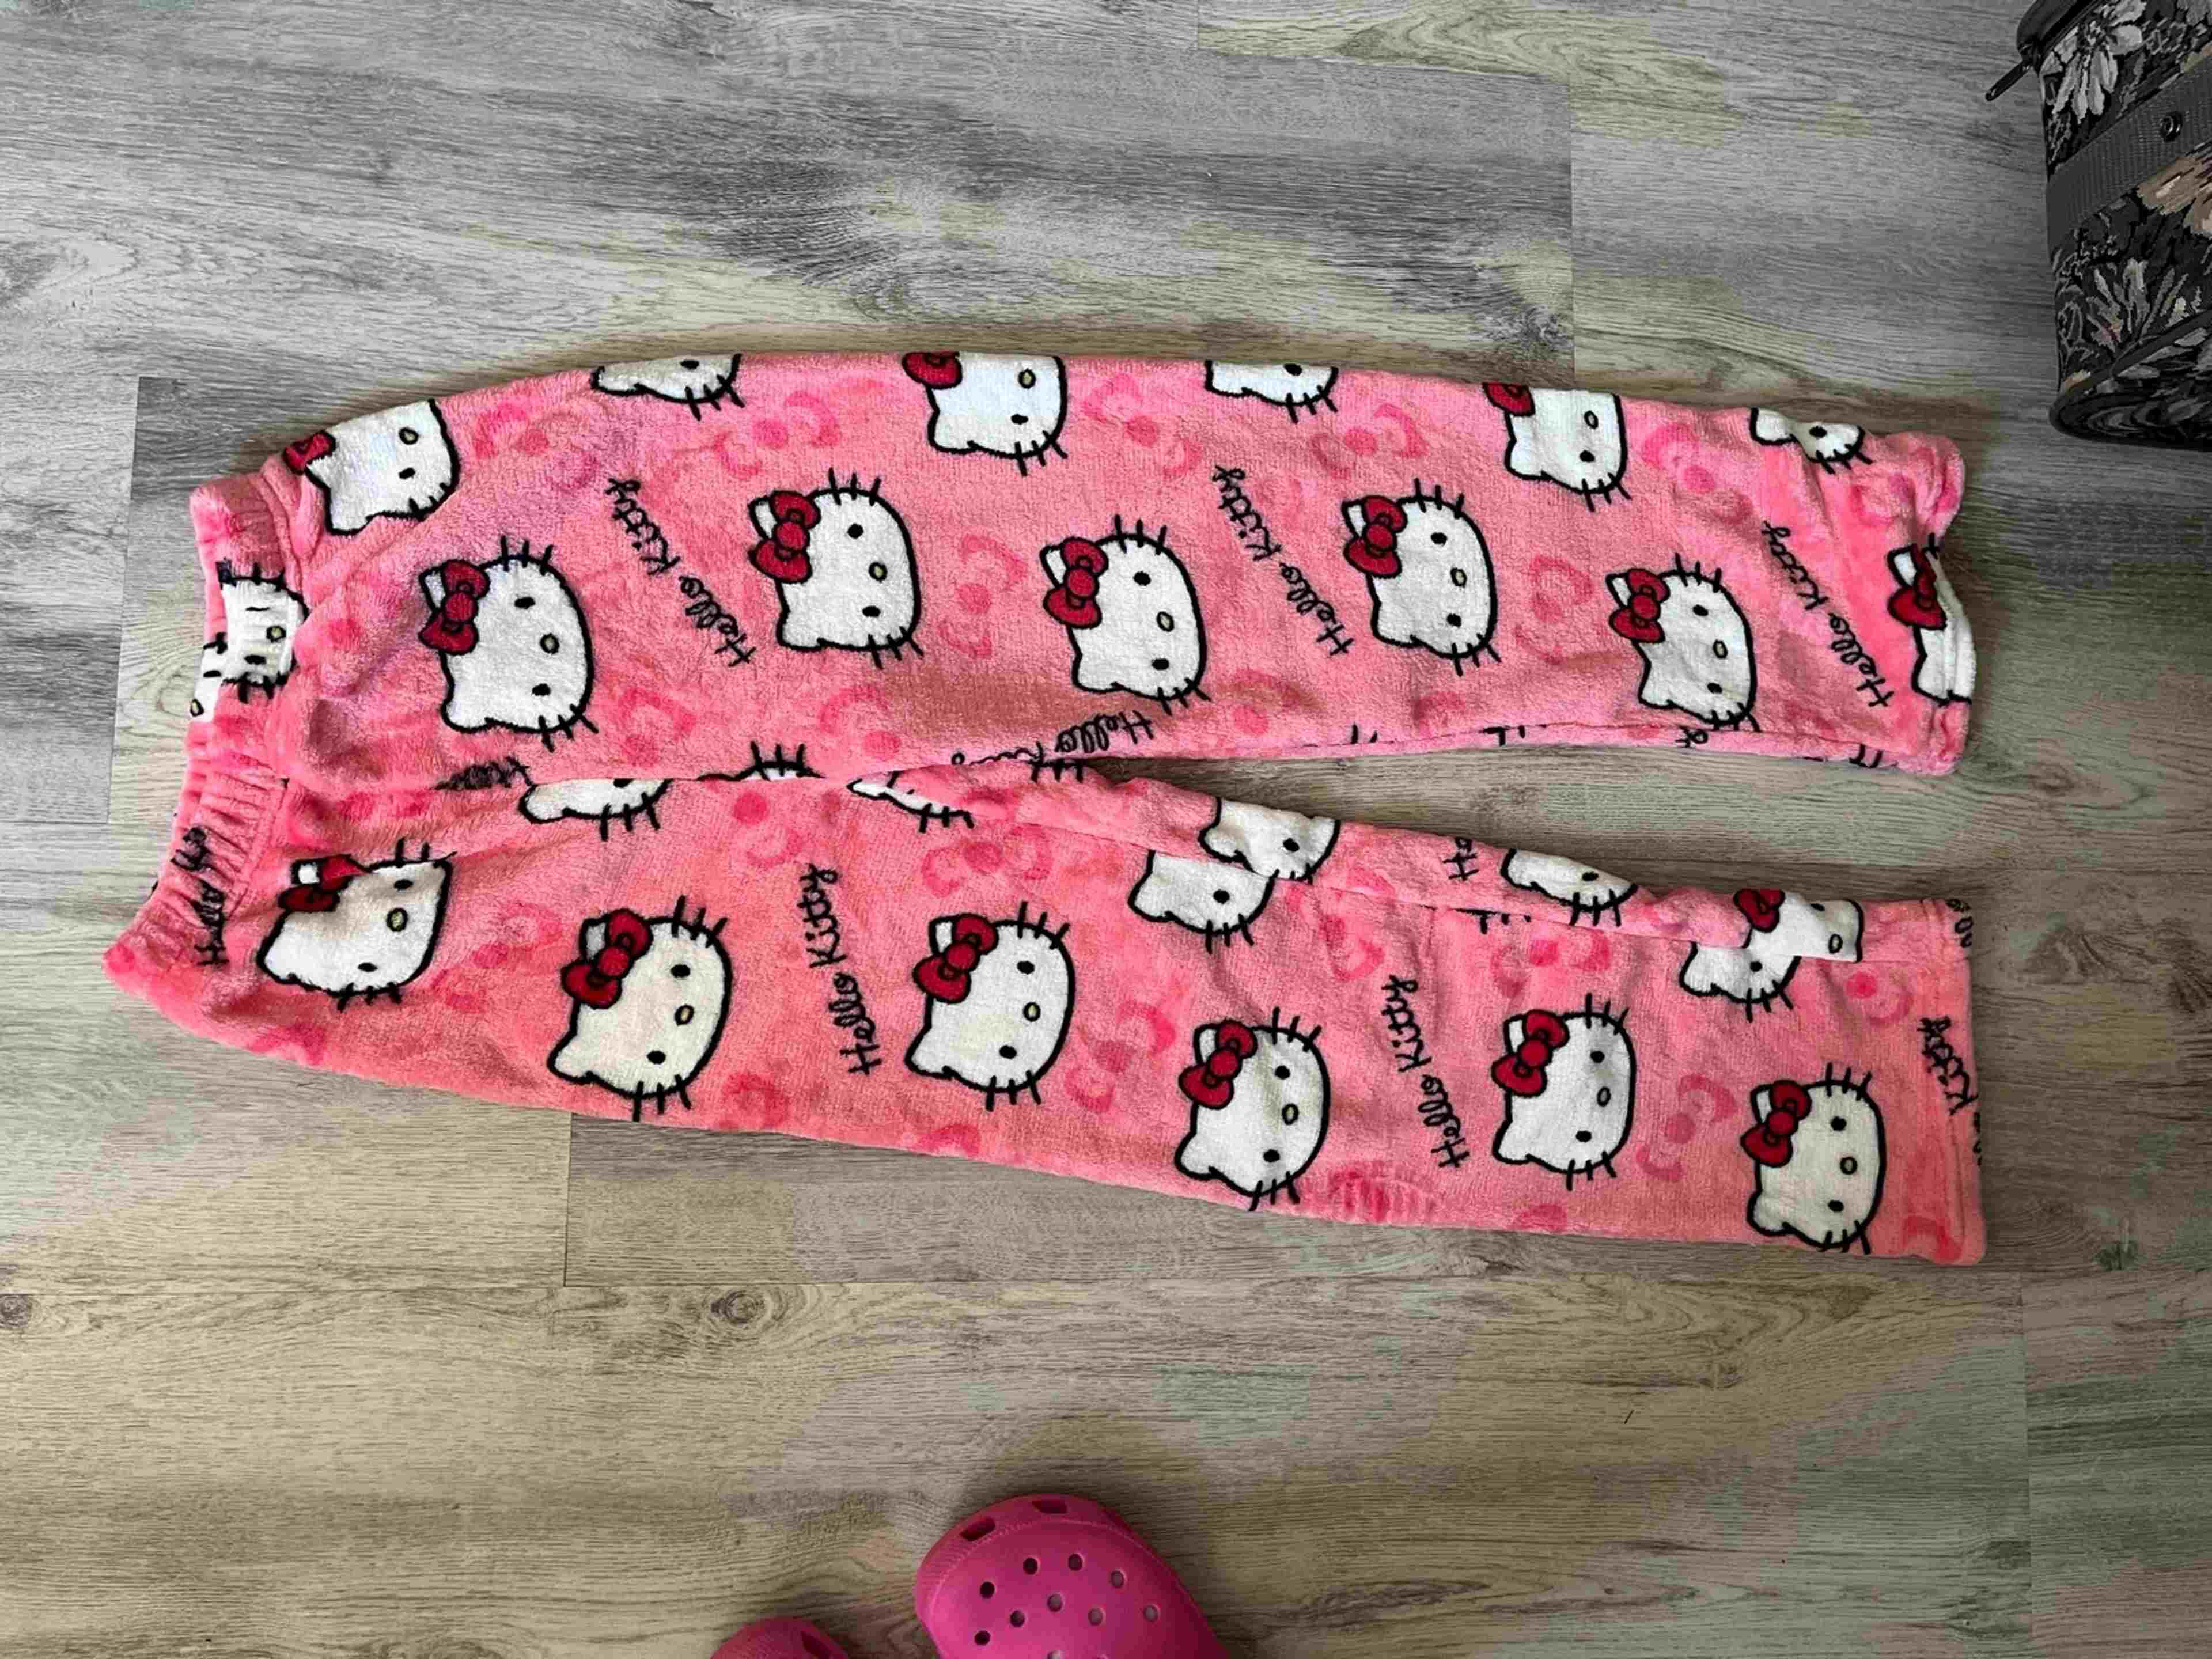
Another factor to consider is the pattern or design of the fabric. Pajama pants offer an opportunity to express your personal style, so choose a pattern or color that resonates with you. From whimsical prints to classic stripes, there’s a wide range of options available.
When purchasing fabric, make sure to buy enough yardage to accommodate your measurements and any pattern adjustments you might need to make. It’s always a good idea to buy a little extra fabric, just in case of mistakes or for future repairs.
Before cutting the fabric, pre-wash and dry it according to the manufacturer’s instructions. This step will prevent any shrinkage that might occur after the pajama pants are made.
Remember, the fabric you choose will determine the overall look and comfort of your pajama pants. Take some time to explore different options and select a fabric that perfectly suits your taste and sleepwear needs.
Step 2: Taking Accurate Measurements
The next step in making your own pajama pants is taking accurate measurements. Proper measurements are crucial to ensure a well-fitting and comfortable garment. Here’s how to take the necessary measurements:
- Waist: Measure around your natural waistline, which is the narrowest part of your torso. Make sure the measuring tape is snug but not too tight.
- Hips: Measure around the widest part of your hips, keeping the tape parallel to the floor.
- Inseam: The inseam measurement is the distance from your crotch to the desired length of the pants. Measure from the top of your inner thigh down to your ankle or where you want the pants to end.
- Rise: The rise measurement is the distance from your waist to the crotch. This measurement is important for determining the height of the waistband and the overall fit of the pants.
It’s important to keep in mind that these measurements may vary depending on personal preference and the style of pajama pants you want to create. For example, if you prefer a high-waisted style, you might need to measure your natural waistline higher than your hips. If you’re unsure, it’s always a good idea to refer to a fitting guide or ask for assistance.
When taking measurements, wear snug-fitting clothing or undergarments to get the most accurate results. Avoid pulling the tape too tightly or slouching, as this can affect the measurements. Take your time and repeat the measurements to ensure accuracy.
Once you have gathered all the necessary measurements, write them down or keep them handy as you proceed to the next steps.
Taking accurate measurements sets the foundation for creating pajama pants that fit you perfectly. So, grab a measuring tape, find a well-lit area, and get those measurements done accurately for optimal results.
Step 3: Creating the Pattern
With your fabric ready and measurements in hand, it’s time to create the pattern for your pajama pants. You have two options: using a commercial pattern or creating a custom pattern from scratch.
If you’re new to sewing or want a quick and easy option, using a commercial pattern is a great choice. Look for a pattern specifically designed for pajama pants and follow the instructions provided. Commercial patterns typically come in different sizes, so choose the size that corresponds to your measurements.
On the other hand, if you want to create a custom-fit pattern and have more control over the design, you can make your own pattern. To do this, you’ll need a large piece of paper, such as craft paper or pattern-making paper.
Start by drawing a straight line for the waistband length, using your waist measurement as a guide. Then, draw a perpendicular line downward for the desired length of the pants, using your inseam measurement.
Next, measure and mark the hip measurement on the waistband line, ensuring it is evenly spaced on both sides. From this point, draw a curved line to connect with the end of the pants length line. This curve will create room for the hips.
To create the crotch curve, divide the rise measurement in half and mark it on the center point of the waistband line. From this point, draw a curve down towards the hip curve, ensuring a smooth transition.
Once your pattern is complete, add seam allowances around each pattern piece. Standard seam allowances are typically 1/2 inch, but you can make them wider if desired.
Remember to label each pattern piece, indicating the front and back, and any other necessary markings.
Creating your own pattern allows for customization and ensures a perfect fit. It may take a little more time and effort compared to using a commercial pattern, but the results will be tailored specifically to your measurements and preferences.
Now that you have your pattern ready, it’s time to move on to the exciting step of cutting the fabric and bringing your pajama pants to life!
Step 4: Cutting the Fabric
Now that you have your pattern ready, it’s time to transform your chosen fabric into the pieces that will make up your pajama pants. Follow these steps for cutting the fabric:
- Prepare the fabric: Before you begin cutting, ensure that your fabric is clean, pressed, and free from any wrinkles. This will help ensure accurate cutting and prevent any distortion in the final product.
- Lay out the pattern: Place your fabric on a flat surface and lay out your pattern pieces according to the instructions. Take note of the grainline indicated on the pattern, and align it with the fabric’s grain, ensuring that the straight edges are parallel to the fabric selvage.
- Pin or weigh down the pattern: To secure the pattern pieces in place, you can either use pins or pattern weights. Pinning is a traditional method that involves using straight pins to hold the pattern to the fabric. Pattern weights, on the other hand, are heavy objects that allow you to secure the pattern without piercing the fabric.
- Cut the fabric: Using sharp fabric scissors, carefully cut along the lines of the pattern pieces. Take your time and make smooth, precise cuts to ensure accurate and clean edges. Take care not to shift the fabric or pattern while cutting.
- Notch or mark the fabric: If your pattern indicates notches or markings, use tailor’s chalk or fabric marking pens to transfer these markings onto the fabric pieces. This will assist you during the sewing process and ensure proper alignment of the fabric pieces.
Remember to cut all necessary pieces, including the front and back pant pieces, waistband, and any additional pockets or trims if desired.
Once all the fabric pieces are cut, remove any pins or pattern weights, and take a moment to admire your progress. You’re one step closer to completing your homemade pajama pants!
With the fabric pieces ready, it’s time to put your sewing skills to work in the next step, where we’ll learn how to sew the fabric together to create the structure of the pants.
Step 5: Sewing the Pants Together
Now that you have your fabric pieces cut and ready, it’s time to sew your pajama pants together. Follow these steps for a smooth and successful sewing process:
- Prepare your sewing machine: Thread your sewing machine with a thread that matches your fabric. Set the stitch length to a standard setting (around 2.5 to 3) and insert a new needle appropriate for the fabric weight.
- Start with the legs: Take the front and back pant pieces and place them right sides together, aligning the raw edges of the inseams. Pin or clip the sides to secure them in place.
- Sew the inseams: Using a straight stitch, sew along the pinned or clipped inseam edges, starting from the hem and ending at the crotch. Be sure to backstitch at the beginning and end to secure the stitching. Repeat for both legs.
- Sew the crotch seam: Open up the pant legs and align the raw edges of the crotch seam, matching the front and back pieces right sides together. Pin or clip the seam in place and sew along the crotch seam, starting from the front waistband edge and ending at the back waistband edge.
- Finish the raw edges: Trim the seam allowances and finish the raw edges by either using a serger/overlocker or by zigzag stitching along the raw edges. This step helps prevent fraying and adds durability to your pajama pants.
- Press the seams: Use a warm iron to press the sewn seams open, ensuring they lie flat and create a neat appearance.
With the main structure of the pants sewn together, you’re almost done! Take a moment to admire your progress and how your pajama pants are starting to take shape.
Stay tuned for the next steps, where we’ll learn how to hem the bottoms, add the elastic waistband, and make any final adjustments to perfect your homemade pajama pants.
Step 6: Hemming the Bottoms
Now that the main structure of your pajama pants is complete, it’s time to give them a polished, finished look by hemming the bottoms. Follow these steps to achieve a clean and professional hem:
- Try on the pants: Before hemming, try on the pants to determine your desired length. Mark the length you prefer by folding up the excess fabric evenly around the ankles.
- Measure and pin: Measure the amount you folded up and mark it with pins all the way around the leg openings. Use a measuring tape to ensure that the folds are even and consistent.
- Press the hem: Remove the pants and carefully press along the folded edge to create a crisp crease. This will make it easier to sew the hem in place.
- Stitch the hem: With the pants inside out, fold the hem up along the creased line and pin it in place. Using a straight stitch, sew around the hem, staying close to the folded edge. Backstitch at the beginning and end to secure the stitching.
- Finish the raw edge (optional): To prevent fraying, you can finish the raw edge of the hem by using a serger/overlocker or by zigzag stitching along the raw edge.
- Press the finished hem: Flip the pants right side out and press the hem with a warm iron to give it a professional finish. Ensure that the crease is sharp and the hem lies flat.
By hemming the bottoms, you not only give your pajama pants a polished appearance but also ensure that they are the perfect length for your comfort. Take pride in your progress and get ready for the final steps of adding the elastic waistband and any finishing touches you desire.
Stay tuned for the next section, where we’ll learn how to add the elastic waistband to complete your homemade pajama pants!
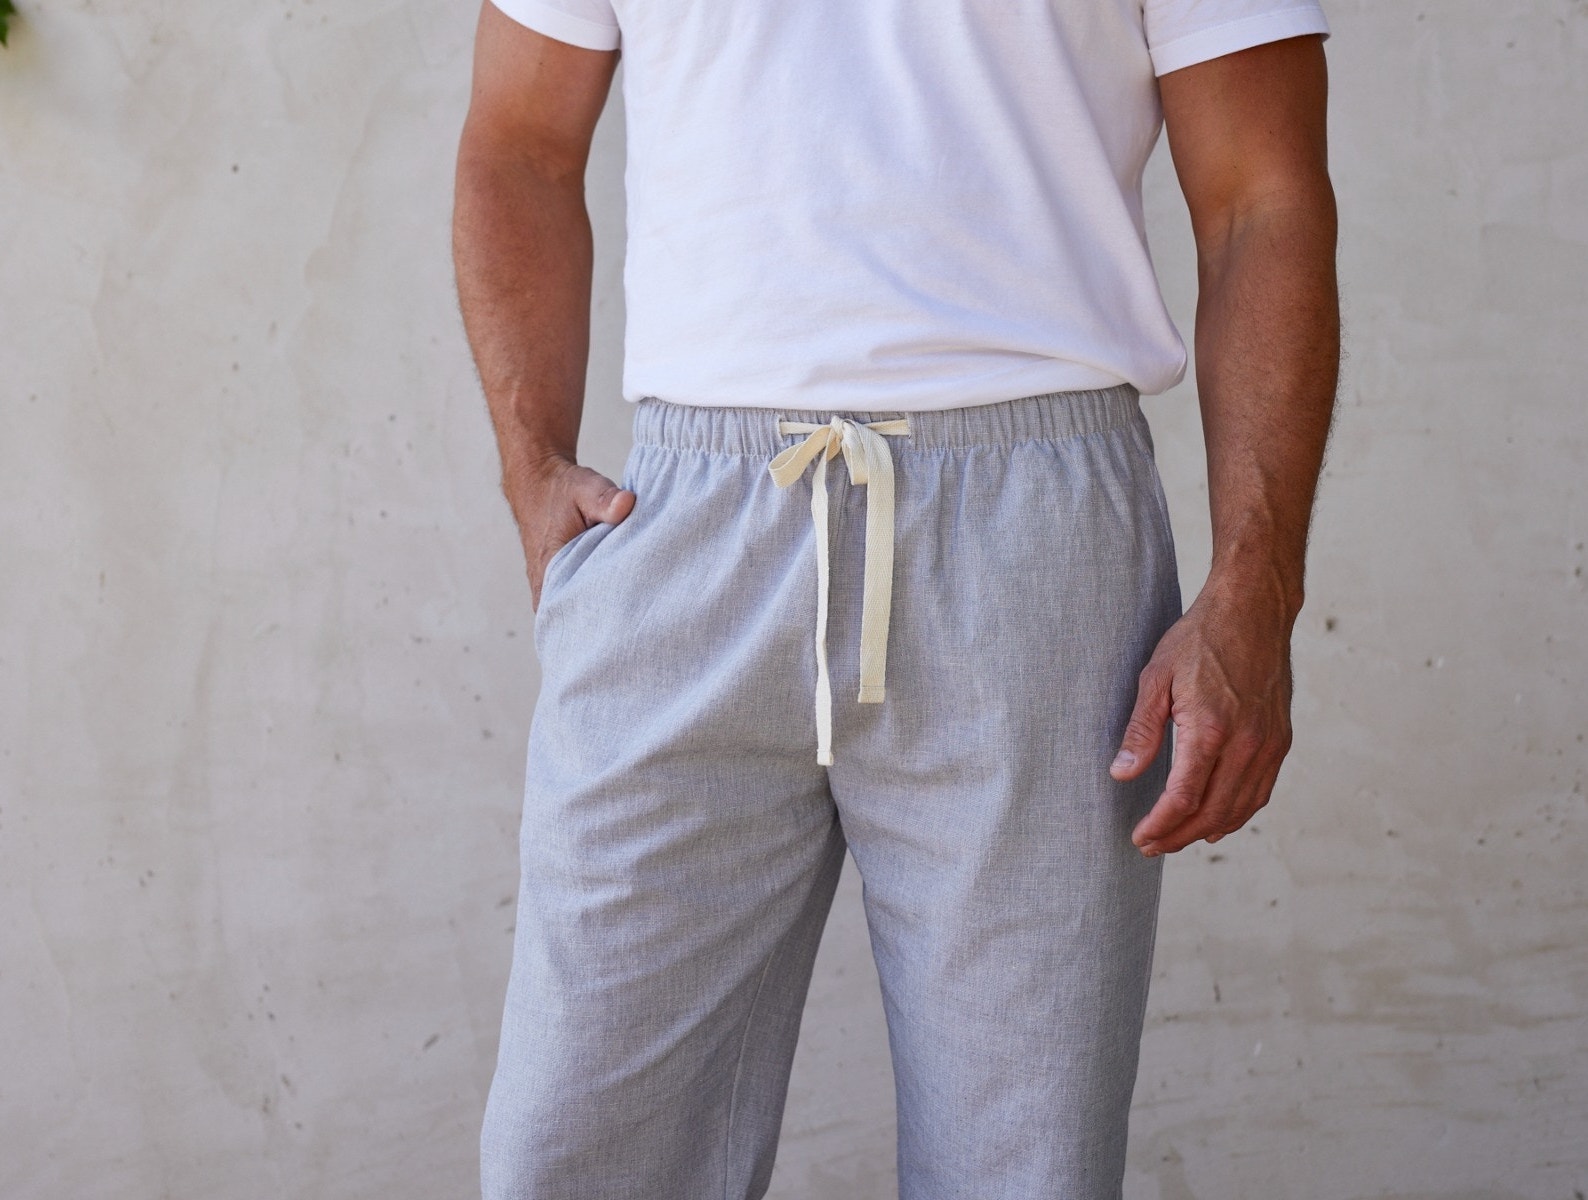
Step 7: Adding the Elastic Waistband
Now that your pajama pants are taking shape, it’s time to add the elastic waistband, which will provide comfort and secure fit. Follow these steps to add the waistband:
- Measure and cut the elastic: Measure your waist circumference, subtracting about 1-2 inches for a comfortable fit. Cut the elastic band to match this measurement.
- Prepare the waistband casing: Fold over the raw edge of the waistband to the inside of the pants, creating a casing wide enough for the elastic to slide through. Pin the folded edge in place.
- Leave an opening: Before sewing the waistband casing closed, leave a small opening between two seams. This will allow you to insert the elastic later.
- Sew the casing: Using a straight stitch, sew around the folded edge of the waistband, securing it in place. Make sure to backstitch at the beginning and end, but avoid sewing over the opening left for the elastic.
- Attach a safety pin to the elastic: Secure a safety pin to one end of the elastic band. This will help you easily guide the elastic through the waistband casing.
- Thread the elastic through the casing: Insert the safety pin with the elastic attached into the opening of the waistband casing. Work the safety pin through the casing, gently pulling the elastic along as you go until it comes out on the other side.
- Secure the elastic: Overlap the ends of the elastic by about an inch and sew them together with a zigzag stitch, ensuring a secure and sturdy connection.
- Close the opening: With the elastic in place, sew the opening closed using a straight stitch. Make sure to backstitch at the beginning and end to secure the stitching.
- Distribute the gathers: Evenly distribute the gathers of the fabric along the waistband by gently pushing or pulling on the fabric, ensuring a balanced and comfortable fit.
- Press the waistband: Give the waistband a final press with a warm iron to smooth out any wrinkles or creases, ensuring a neat and professional finish.
Adding the elastic waistband brings your pajama pants to the final stages of completion. Take a moment to appreciate the progress you’ve made so far, and get ready for the last step—adding any final touches and making adjustments to perfect your homemade pajama pants!
Step 8: Final Touches and Adjustments
Congratulations! You’re in the final step of making your homemade pajama pants. Now it’s time to add those final touches and make any necessary adjustments to ensure a finished product that you’ll love to wear. Follow these steps:
- Try on the pants: Put on your completed pajama pants and assess the fit. Check the length, waistband comfort, and overall feel of the pants.
- Make any necessary adjustments: If you find any areas that need tweaking, such as the length or waistband tightness, make the necessary adjustments. You may need to hem the pants or take in or let out the waistband. Take your time to ensure the perfect fit.
- Add extra details (optional): If desired, you can add extra details to personalize your pajama pants. This could include adding pockets, decorative trims, or even embroidery. Let your creativity shine!
- Finish the seams (optional): To give your pajama pants a professional touch and prevent fraying, consider finishing the seam allowances with an overcast stitch or serger/overlocker.
- Give it a final press: Once any adjustments or extra details are complete, give your pajama pants a final press with a warm iron. Press along the seams, waistband, and hems to ensure a polished and well-finished look.
Take a moment to try on your homemade pajama pants, admire your work, and revel in the satisfaction of creating something with your own hands. You now have a pair of pajama pants that are uniquely yours, tailored to your preferences and measurements.
Now, it’s time to enjoy the comfort and style of your newly created pajama pants. Put them on, relax, and have a great night’s sleep or a cozy day lounging around. Sweet dreams!
Conclusion
Congratulations on completing your journey of making your very own pair of cozy and stylish pajama pants! Through each step, from choosing the fabric to adding the final touches, you have honed your sewing skills and created a custom-fit garment that reflects your personal style.
By making your own pajama pants, you have not only gained the satisfaction of creating something with your own hands but also the ability to tailor the fit and design to your preferences. The process of selecting the fabric, taking accurate measurements, creating the pattern, cutting the fabric, sewing the pants together, adding the elastic waistband, and making any necessary adjustments has allowed you to immerse yourself in the joy of sewing and garment construction.
Now, as you slip into your perfectly fitted and comfortable pajama pants, you can enjoy the fruits of your labor. Whether you’re curling up on the couch, indulging in a lazy weekend morning, or experiencing the joy of a restful night’s sleep, your handmade creation will enhance your relaxation and bring a touch of personal flair to your everyday routine.
Remember, the skills and techniques you’ve learned while making pajama pants can be applied to future sewing projects, allowing you to continue exploring your creativity and expanding your wardrobe with handmade garments.
Keep up the great work and continue to embrace the joy of DIY fashion. You have proven that with the right materials, measurements, and sewing skills, you can create stylish and comfortable pieces that truly reflect your personality and individuality.
So, keep sewing, experimenting, and enjoying the process of turning fabrics into unique and fashionable creations. The world of DIY fashion is at your fingertips, waiting for you to explore and express your creativity!