Home>How-to Guides>For All>How To Tighten Pajama Pants
For All
How To Tighten Pajama Pants
Modified: July 30, 2023
Learn how to tighten pajama pants with this simple guide for all. Say goodbye to saggy waistbands and enjoy a snug fit every time.
(Many of the links in this article redirect to a specific reviewed product. Your purchase of these products through affiliate links helps to generate commission for Under-tec.com, at no extra cost. Learn more)
Table of Contents
Introduction
Welcome to the ultimate guide on how to tighten pajama pants! We all have that one pair of beloved pajama pants that we just can’t part ways with, even as they become looser and more worn out over time. Whether it’s due to weight loss, stretching out, or simply the passage of time, there’s no need to retire your favorite pair of comfy pajama pants. With a little creativity and some simple DIY techniques, you can easily tighten your loose-fitting pajama pants and bring them back to their former glory.
There’s something incredibly comforting about slipping into a cozy pair of pajama pants after a long day. However, if they’re too loose, they might not provide the optimum level of comfort and coziness you desire. That’s where this step-by-step guide comes in handy.
Throughout this article, we will explore various methods and techniques that you can use to tighten your pajama pants at home. Whether you’re a seasoned DIY enthusiast or simply looking for a quick fix, there’s an option for everyone. From using elastic bands and adding a waistband cinch to sewing and adjusting the leg length, these techniques will have your pajama pants fitting perfectly in no time.
Remember, the goal is to achieve a snug fit without sacrificing your comfort. So, let’s dive into the steps and explore the wonderful world of pajama pant tightening!
Step 1: Assess the Fit
Before diving into the process of tightening your pajama pants, it’s important to start by assessing the fit. This step will help you determine which areas need adjustment and what techniques will work best for your specific pair of pants.
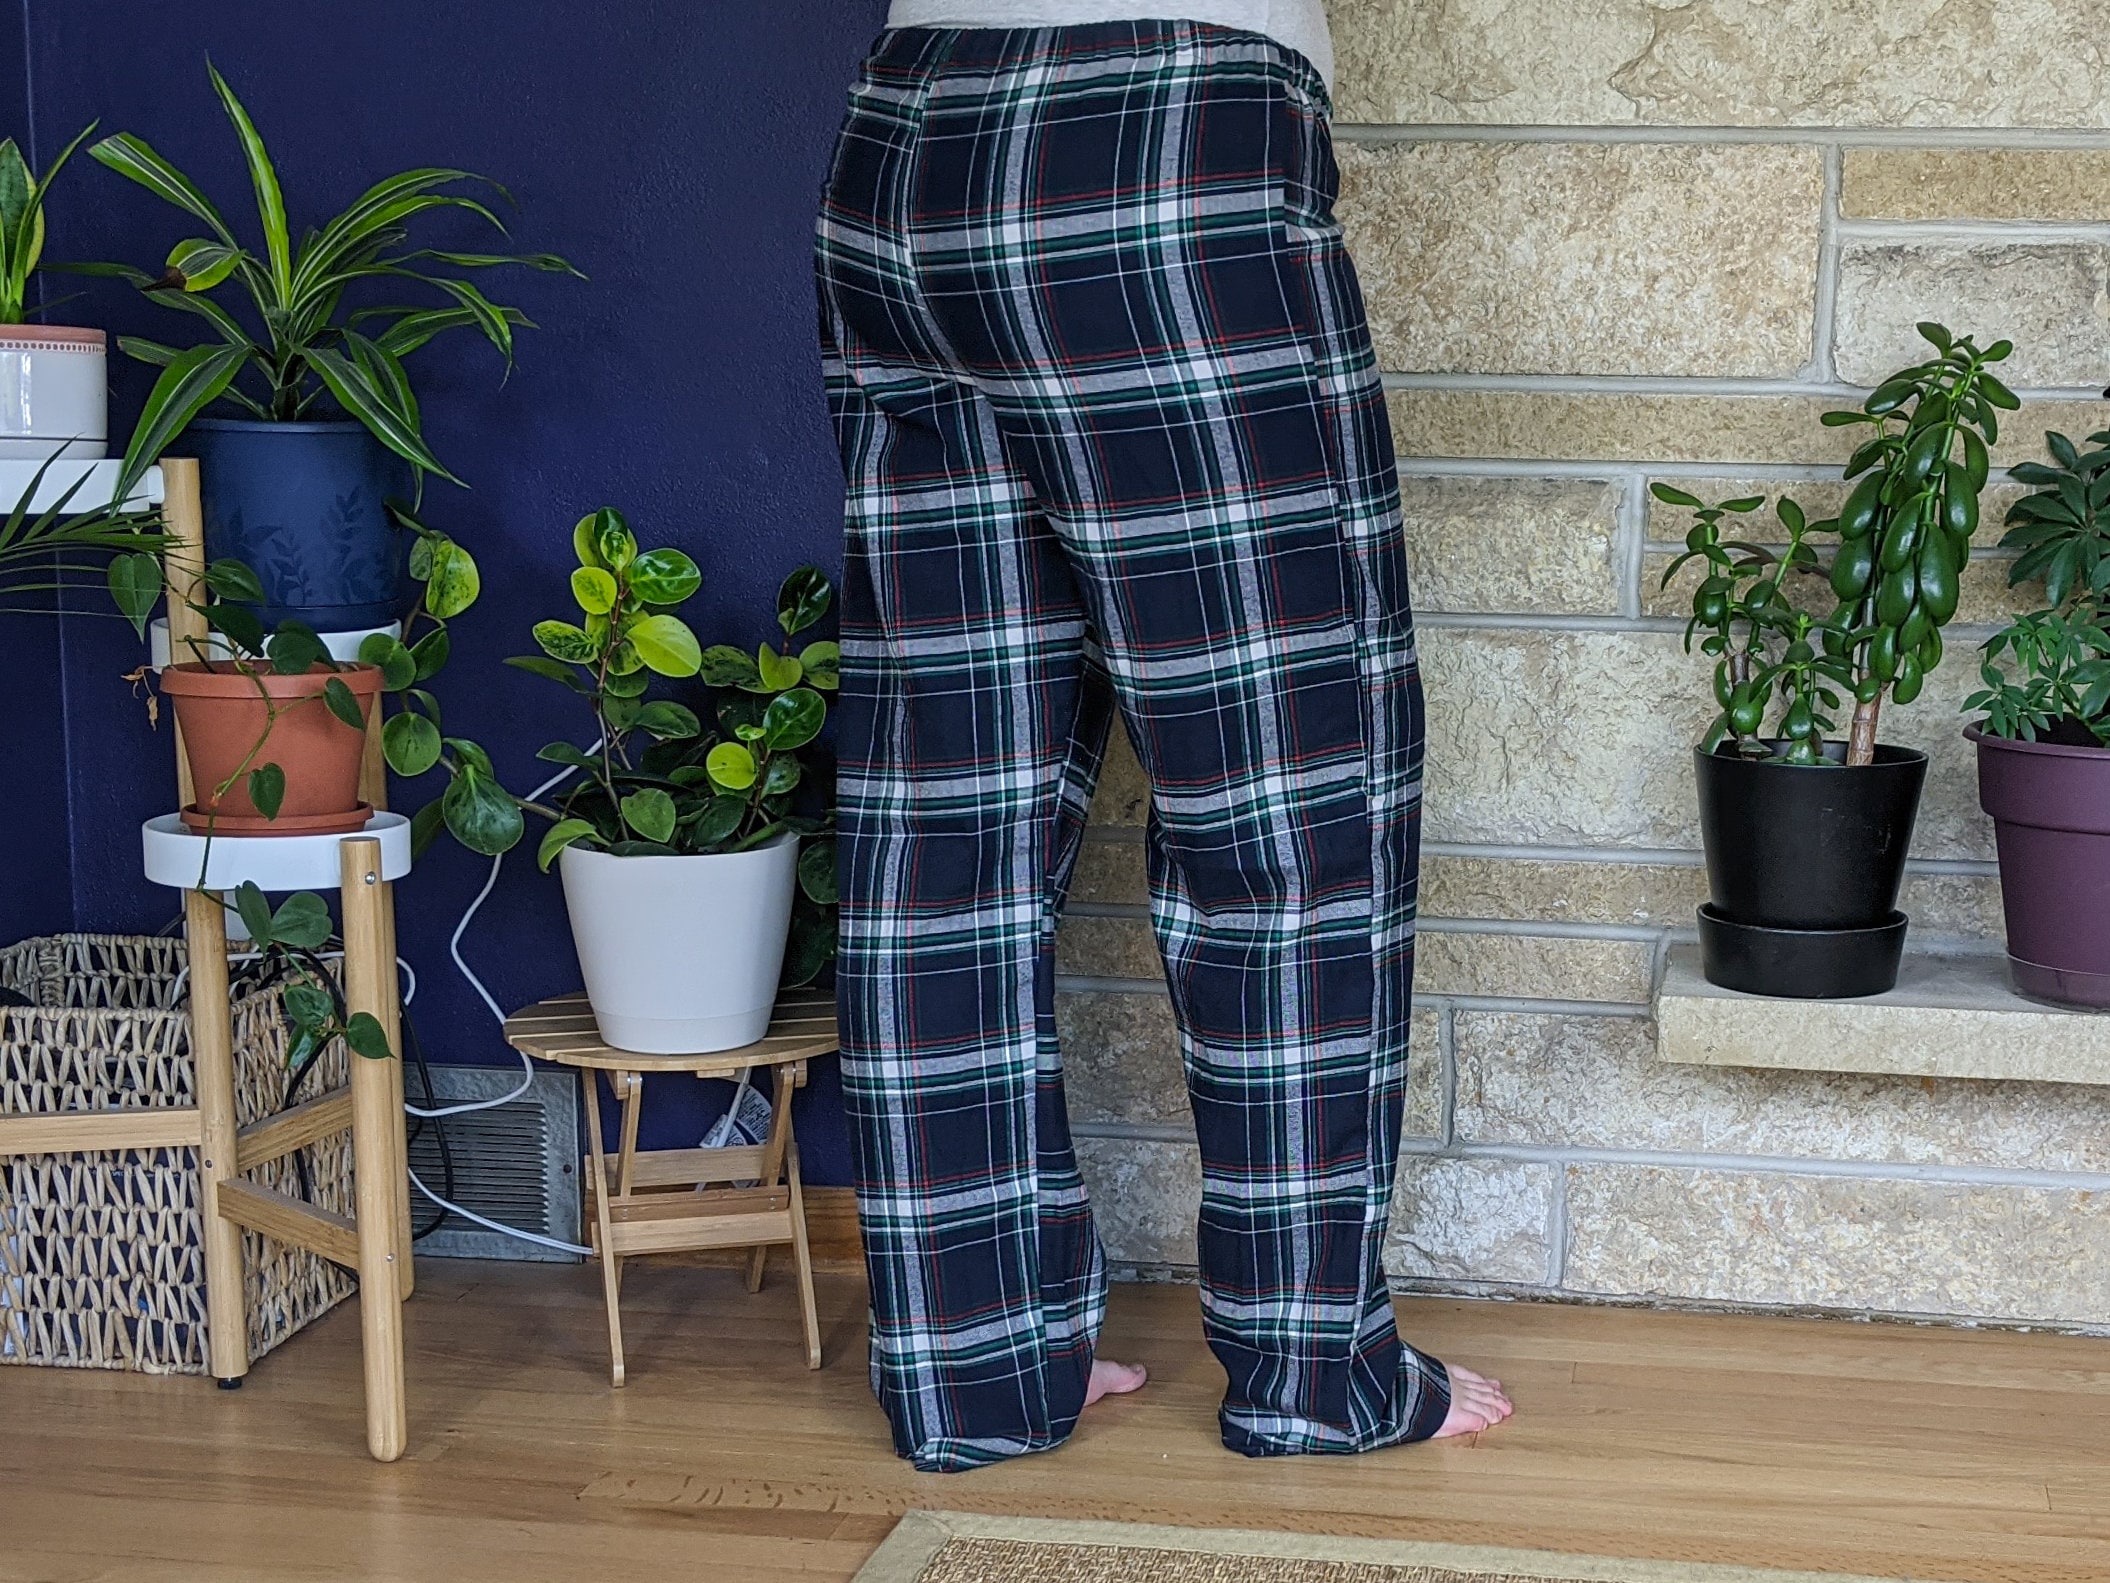
Begin by putting on your pajama pants and taking note of how they fit. Are they loose all over or primarily in certain areas? Pay attention to the waistband, hips, thighs, and leg length. Understanding the fit issues will guide you in choosing the appropriate methods to tighten your pants.
If the waistband is too loose, you might need to focus on techniques like adding elastic bands or a waistband cinch. If the pants are loose in the hips and thighs, sewing along the side seams can help take in the excess fabric. Alternatively, if the leg length is the issue, you can adjust it by either folding and hemming the fabric or adding tucks or pleats.
Remember, the goal is to achieve a fit that is snug and comfortable, so take the time to assess the fit thoroughly. Once you have a clear understanding of the areas that need adjustment, you can move on to the appropriate steps to tighten your pajama pants.
Step 2: Gather the Necessary Tools
Now that you have assessed the fit of your pajama pants and you’re ready to tighten them up, it’s time to gather the necessary tools. Having the right tools on hand will make the process much more efficient and ensure that you achieve the best results.
Here’s a list of tools you may need:
- Measuring tape: This will help you accurately measure the areas that need adjustment, such as the waistband, hips, and leg length.
- Pins: Pins are essential for temporarily securing fabric in place before sewing. They allow you to make adjustments and ensure a precise fit.
- Needle and thread: If you choose to sew your pajama pants for a more permanent solution, a needle and thread in a matching color are necessary.
- Elastic bands: Elastic bands are versatile and can be used to tighten the waistband of your pants or create a waistband cinch.
- Fabric scissors: A good pair of fabric scissors will make cutting and trimming excess fabric a breeze.
- Sewing machine (optional): If you have access to a sewing machine, it can speed up the sewing process and provide neat, professional-looking stitches.
Depending on the specific adjustments you need to make to your pajama pants, additional tools such as a sewing gauge, tailor’s chalk, or a seam ripper may be helpful. Take some time to gather all the necessary tools before proceeding to the next step.
With your tools ready, you’re now equipped to tackle the task of tightening your pajama pants with confidence. The following steps will guide you through various techniques to bring your pants back to the perfect fit, so let’s dive right in!
Step 3: Use an Elastic Band
One of the simplest and most effective ways to tighten the waistband of your pajama pants is by using an elastic band. This method is ideal if your pants are too loose around the waist but fit well in other areas.
Here’s how you can use an elastic band to tighten your pajama pants:
- Start by measuring the length of the elastic band needed to achieve the desired tightness. One way to do this is by wrapping the elastic band around your waist and pulling it slightly to the desired level of snugness.
- Once you have determined the length of the elastic band, cut it to size using fabric scissors.
- Next, locate the back center of your pants’ waistband. Use a seam ripper or small scissors to create a small opening in the waistband, making sure it is wide enough to insert the elastic band.
- Insert one end of the elastic band into the opening and secure it using pins or a small safety pin.
- With the elastic band secured at one end, carefully thread it through the waistband, moving it along until you reach the other end. Ensure the elastic is evenly distributed and not twisted.
- Once the elastic band is in place, overlap the ends by about half an inch and sew them together securely using a needle and thread or a sewing machine. Make sure the seam is strong to withstand regular usage.
- Finally, close the opening in the waistband by sewing it securely, ensuring the elastic band is enclosed and not visible.
Using an elastic band provides the flexibility to adjust the tightness of your pajama pants as needed. It also allows for easy removal if you wish to revert them to their original size in the future.
This method is not only quick and cost-effective but also a great option if you prefer not to alter the actual structure of your pajama pants. It’s an excellent solution for those who want a temporary fix or want to avoid complex sewing techniques.
With step 3 complete, your waistband is now tightened, and you’re one step closer to enjoying your perfectly fitting pajama pants.
Step 4: Add a Waistband Cinch
If you prefer a more adjustable method to tighten the waistband of your pajama pants, consider adding a waistband cinch. This technique allows you to modify the fit easily, making it ideal if you anticipate fluctuations in your waist size or prefer a customizable fit.
Follow these steps to add a waistband cinch to your pajama pants:
- Measure the length of a piece of elastic that is comfortable for you when wrapped around your waist. Ensure it is long enough to stretch across the back waistband of your pants.
- Cut the elastic band to the measured length using fabric scissors.
- Next, identify the center back of your waistband and create a small opening using a seam ripper or small scissors.
- Secure one end of the elastic band to the inside of the waistband using pins or a small safety pin.
- Thread the elastic band through the opening, moving it along until you reach the other end of the waistband. Make sure the elastic band is distributed evenly.
- Overlap the ends of the elastic band by about half an inch and sew them together securely using a needle and thread or a sewing machine.
- Finally, sew the opening in the waistband closed, ensuring the elastic band is enclosed and not visible.
The waistband cinch provides a customizable fit, allowing you to tighten or loosen the waistband of your pants as desired. Simply adjust the tension of the cinch by pulling or releasing the elastic band through the opening in the waistband.
This method is particularly useful if your waist size tends to fluctuate or if you prefer a tailored fit without permanently altering the structure of your pajama pants. With a waistband cinch, you can easily adapt the fit to your preferences without any hassle.
With step 4 complete, your pajama pants now have an adjustable waistband cinch, ensuring a perfect fit that can adapt to your needs.
Step 5: Sew Along the Waistband
If you’re looking for a more permanent solution to tighten your pajama pants, sewing along the waistband is an effective technique. This method allows you to alter the waistband to achieve a snug fit tailored specifically to your body shape.
Follow these steps to sew along the waistband of your pajama pants:
- Put on your pajama pants and use pins to mark the desired fit along the waistband. Be careful not to pin yourself!
- Carefully remove the pants, being mindful of the pins, and lay them flat on a table or ironing board.
- Starting at one of the side seams, use a ruler or measuring tape to ensure you’re sewing the waistband evenly. Sew along the waistband, following the line created by the pins.
- Use a straight stitch on a sewing machine or a needle and thread to sew along the marked line. Ensure that your stitches are secure and evenly spaced.
- Once you have finished sewing, try on the pants to check the fit. Make any necessary adjustments if the waistband is still too loose or too tight.
- If the fit is to your liking, trim any excess fabric from the waistband, leaving a small seam allowance.
- Finally, press the waistband with an iron to create a neater finish and ensure that the stitches lay flat.
Sewing along the waistband allows you to tailor the fit of your pajama pants precisely to your body shape. It provides a more permanent solution, ensuring that the waistband remains secure and snug.
This technique is especially beneficial if your waistband is significantly loose or if you prefer a more structured and professional finish to your pajama pants. By sewing along the waistband, you can achieve a polished appearance while enjoying a comfortable fit.
With step 5 complete, your pajama pants now have a perfectly fitted waistband that is secured with stitches for a long-lasting solution.
Step 6: Create Tucks or Pleats
If your pajama pants are too loose in the waist or hip area, creating tucks or pleats can be a great solution to bring them in and achieve a more fitted look. This technique not only adds a stylish design element to your pants but also helps create a tailored fit.
Follow these steps to create tucks or pleats in your pajama pants:
- Put on your pajama pants and identify the areas that need adjustment. These are usually around the waist or hip area.
- Pinch a small section of fabric at the desired location and fold it inward to create a tuck or pleat. Use pins to secure the fold in place.
- Repeat this process for any other areas that need adjustment, creating multiple tucks or pleats as necessary.
- Step back and assess the overall look and fit of the pants. Make adjustments as needed, adding more tucks or pleats to achieve the desired shape and fit.
- Once you are satisfied with the tucks or pleats, carefully remove the pants and lay them flat on a table or ironing board.
- Using a needle and thread or a sewing machine, sew along the fold lines of the tucks or pleats to secure them in place. Use a straight stitch and make sure your stitches are strong and even.
- Try on the pants again to ensure the tucks or pleats have created the desired fit. Make any additional adjustments if needed.
- Once you are happy with the fit, trim any excess fabric from the tucks or pleats, leaving a small seam allowance.
Creating tucks or pleats adds a touch of elegance and sophistication to your pajama pants while giving you a customized fit. It is an excellent option if your pants are loose in specific areas and need shaping and structure.
Since tucks and pleats can be visually appealing, consider experimenting with different fold patterns to achieve a unique and stylish look. This technique allows you to both personalize your pajama pants and ensure a snug and flattering fit.
With step 6 complete, your pajama pants now have beautifully created tucks or pleats, adding both style and a customized fit to your garment.
Step 7: Take in the Side Seams
If your pajama pants are too loose along the sides or hips, taking in the side seams can help achieve a more tailored and fitted look. This method is effective for adjusting the overall width of the pants and bringing in excess fabric.
Follow these steps to take in the side seams of your pajama pants:
- Put on your pajama pants and identify the areas along the side seams that need adjustment. These are typically located from the waist to the hips or thighs.
- Using pins, mark the desired new seam line along the sides of the pants. Make sure to distribute the excess fabric evenly.
- Carefully take off the pants while keeping the pins intact. Lay the pants flat on a surface, such as a table or an ironing board.
- Using a ruler or measuring tape, double-check the distance from the original seam line to ensure accuracy in your adjustments.
- Using a needle and thread or a sewing machine, sew along the new seam line, removing the pins as you go. Use a straight stitch and make sure the stitches are secure and uniform.
- Try on the pants to check the fit. Make any necessary tweaks or adjustments to the side seams to achieve the desired snugness.
- Once you are satisfied with the fit, trim any excess fabric from the newly sewn seam, leaving a small seam allowance for durability.
Taking in the side seams allows you to customize the width and contour of your pajama pants, ensuring a more form-fitting and flattering silhouette. This method is particularly helpful if your pants are consistently loose along the sides or if you prefer a more streamlined look.
After this step, your pajama pants will have a more tailored fit along the side seams, enhancing both comfort and style. Enjoy your improved-fitting pants and continue to the next step to perfect their overall length.
Step 8: Adjust the Leg Length
If the length of your pajama pants is too long or uneven, adjusting the leg length is the next step to achieve a polished and well-fitting look. This step is crucial to ensure that your pajama pants not only fit well but are also the perfect length for your comfort.
Follow these steps to adjust the leg length of your pajama pants:
- Put on your pajama pants and examine the length. Determine how much you need to shorten the legs to achieve the desired length.
- Using pins, mark the new hemline of each pant leg. Make sure the markings are even and level on both legs.
- Take off the pants and carefully lay them flat on a surface, such as a table or an ironing board.
- Using a ruler or measuring tape, measure the distance from the original hemline to the newly marked hemline to ensure consistency on both legs.
- Trim the excess fabric from each pant leg, allowing for a small seam allowance to create a neat and finished edge.
- If you prefer a folded hem, fold the fabric up to the desired length and press with an iron to create a crease. Then, sew the folded hem in place.
- If you prefer a clean finish, use a serger or a zigzag stitch along the raw edge to prevent fraying. Then, fold the fabric up to the new hemline and sew it in place with a straight stitch.
Adjusting the leg length of your pajama pants ensures a seamless and professionally tailored appearance. It allows you to eliminate any excess fabric that may be causing discomfort or making the pants appear ill-fitting.
By taking the time to properly adjust the leg length, you will have pajama pants that not only fit well but also provide you with the utmost comfort as you relax and unwind.
With step 8 complete, your pajama pants now have the perfect leg length, ensuring a polished and well-fitting look that is tailored to your individual needs.
Step 9: Try on and Make Final Adjustments
After completing the previous steps to tighten, adjust, and customize your pajama pants, it’s time to try them on and make any final adjustments. Trying on the pants will allow you to assess the fit and ensure that they meet your desired criteria for comfort and style.
Follow these steps to try on your pajama pants and make any necessary final adjustments:
- Put on the pajama pants and take note of how they feel and look on your body.
- Walk around and move in different positions to evaluate the comfort and mobility of the pants.
- Check the fit of the waistband, the tightness of the tucks or pleats, the snugness along the side seams, and the length of the legs.
- If any areas still feel too loose or too tight, use pins to mark the adjustments needed.
- Take off the pants and carefully make the necessary adjustments, whether it’s tightening a waistband, redoing a tuck or pleat, or adjusting the side seams.
- Once you’ve made the adjustments, try on the pants again to check if the changes have resulted in the desired fit.
- Ensure that all seams are secure, hems are even, and the overall appearance meets your expectations.
- Make any final alterations or tweaks if needed, ensuring that you achieve the perfect fit.
Remember, the goal is to have pajama pants that fit comfortably and make you feel relaxed and at ease. Taking the time to try on the pants and make any final adjustments will ensure that your efforts in tightening and customizing them have been successful.
With step 9 complete, your pajama pants are now perfectly tailored to your unique body shape and preferences. Congratulations on giving your beloved pajama pants a new lease on life!
Conclusion
Congratulations! By following the step-by-step guide on how to tighten pajama pants, you have successfully transformed your favorite pair of loose-fitting pants into a perfectly tailored and comfortable garment that you can continue to enjoy for years to come.
We began by assessing the fit of the pants and identifying areas that required adjustment. Then, we gathered the necessary tools, including measuring tape, pins, elastic bands, and sewing equipment. We explored various techniques such as using elastic bands, adding a waistband cinch, sewing along the waistband, creating tucks or pleats, taking in the side seams, and adjusting the leg length.
Each step allowed us to address specific fit issues, tailoring the pants to your body shape and preferences. Whether you needed to tighten the waistband, snug up the hips, adjust the length, or create a more form-fitting silhouette, these techniques provided you with a range of options to achieve the perfect fit.
Remember to try on the pants and make any final adjustments before delivering the finishing touches. It’s essential to ensure that the pants feel comfortable, move freely, and reflect your personal style preferences. A well-fitted pair of pajama pants will not only provide you with the utmost comfort but also boost your confidence as you relax and unwind.
Now that you have successfully tightened your pajama pants, take some time to admire your handiwork and revel in the fact that you have breathed new life into a beloved item of clothing. As you slip into your perfectly fitted pajama pants, you can look forward to nights of comfort and tranquility.
Continue to explore and hone your DIY skills, experimenting with different techniques and modifications to transform other articles of clothing in your wardrobe. With your newfound knowledge and creativity, you can tackle new projects with confidence and achieve the perfect fit every time.
Enjoy your newly tightened pajama pants, and may they continue to accompany you on many cozy nights of relaxation and peaceful slumber!