Home>How-to Guides>For All>How To Shorten Pajama Pants
For All
How To Shorten Pajama Pants
Modified: July 30, 2023
Learn how to easily shorten pajama pants for all sizes with our step-by-step guide! Perfect for getting the perfect fit and comfortable sleepwear.
(Many of the links in this article redirect to a specific reviewed product. Your purchase of these products through affiliate links helps to generate commission for Under-tec.com, at no extra cost. Learn more)
Table of Contents
Introduction
Are your favorite pajama pants a little too long for your liking? Perhaps you’ve purchased a new pair of pajama pants but they’re dragging on the floor as you walk. Don’t worry, you don’t have to settle for uncomfortable, ill-fitting sleepwear. With a few simple steps, you can shorten your pajama pants and have them fit perfectly in no time.
Shortening pajama pants is a relatively easy and quick task that anyone can do with a little bit of sewing knowledge and some basic materials. Whether you’re a seasoned sewer or just starting out with a needle and thread, this step-by-step guide will take you through the process of shortening your pajama pants, ensuring a comfortable fit and a personalized length.
In this article, we’ll discuss the materials you’ll need, the steps involved in measuring and cutting your pajama pants, as well as how to hem them and add any finishing touches. By the end of this guide, you’ll have your pajama pants perfectly shortened to your desired length, allowing you to enjoy a good night’s sleep in style and comfort.
Materials Needed
Before you begin shortening your pajama pants, it’s important to gather all the necessary materials. Thankfully, you won’t need a lot of fancy tools or equipment to successfully complete this DIY project. Here’s a list of the materials you’ll need:
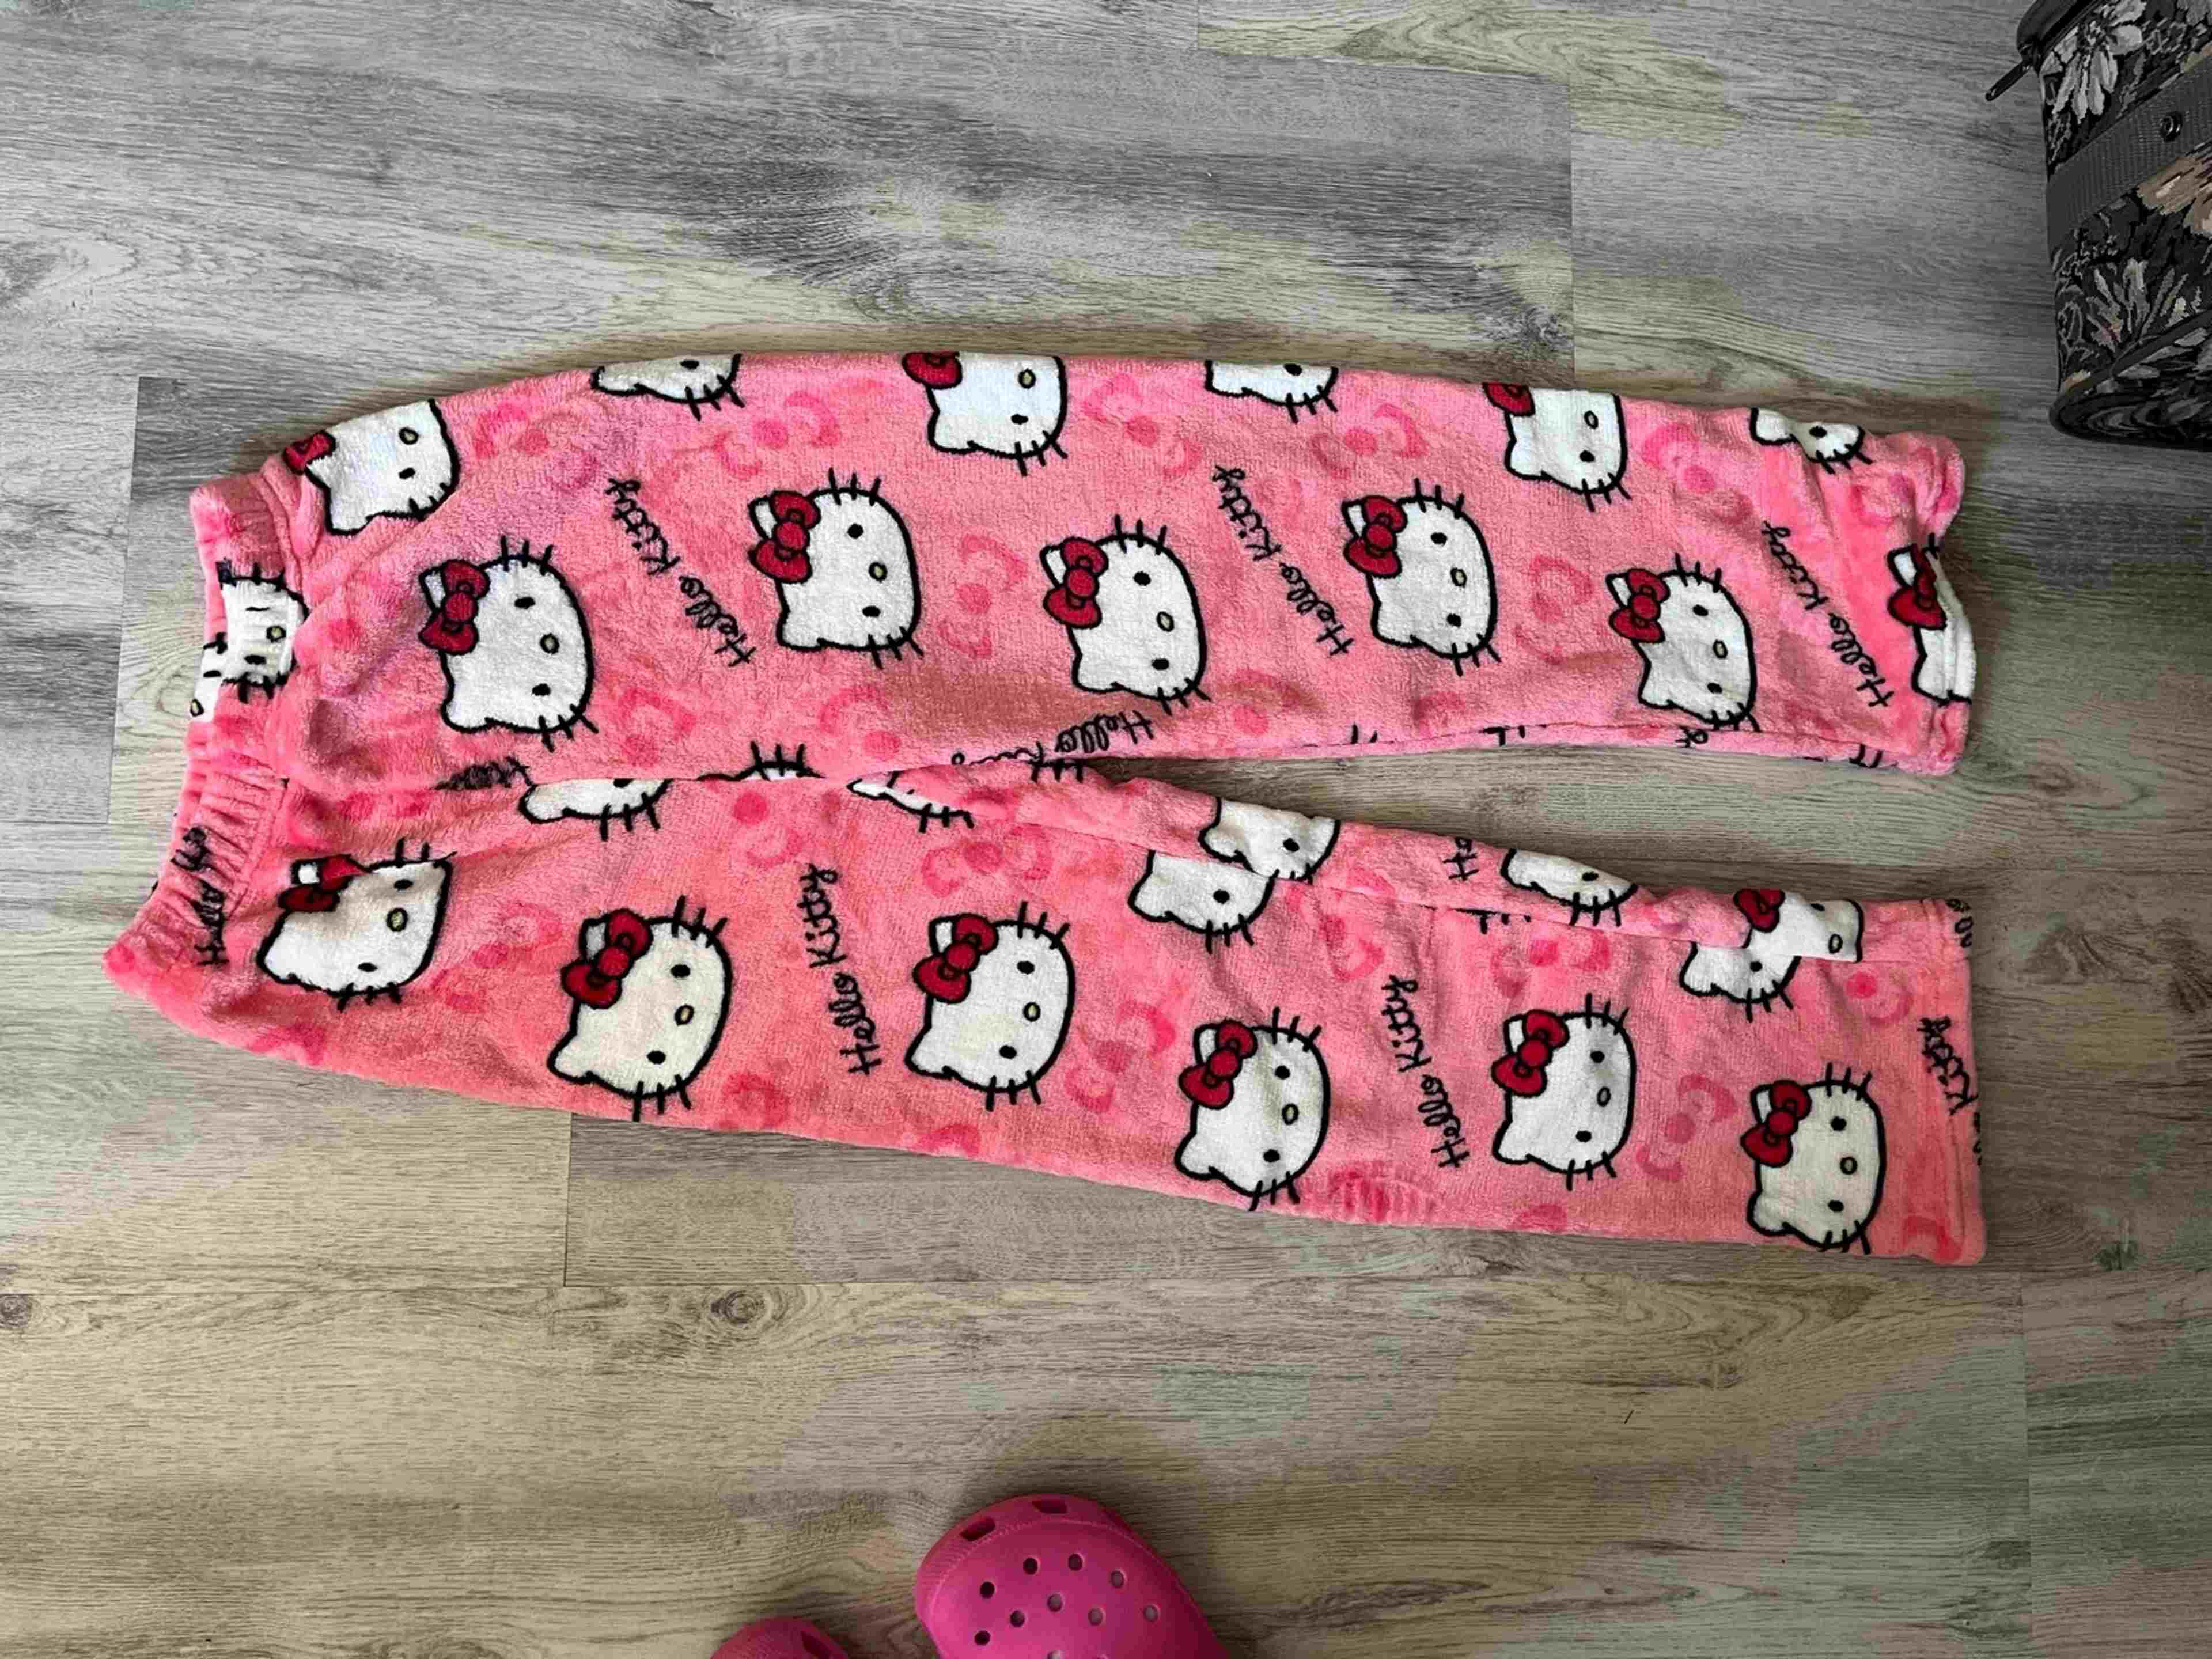
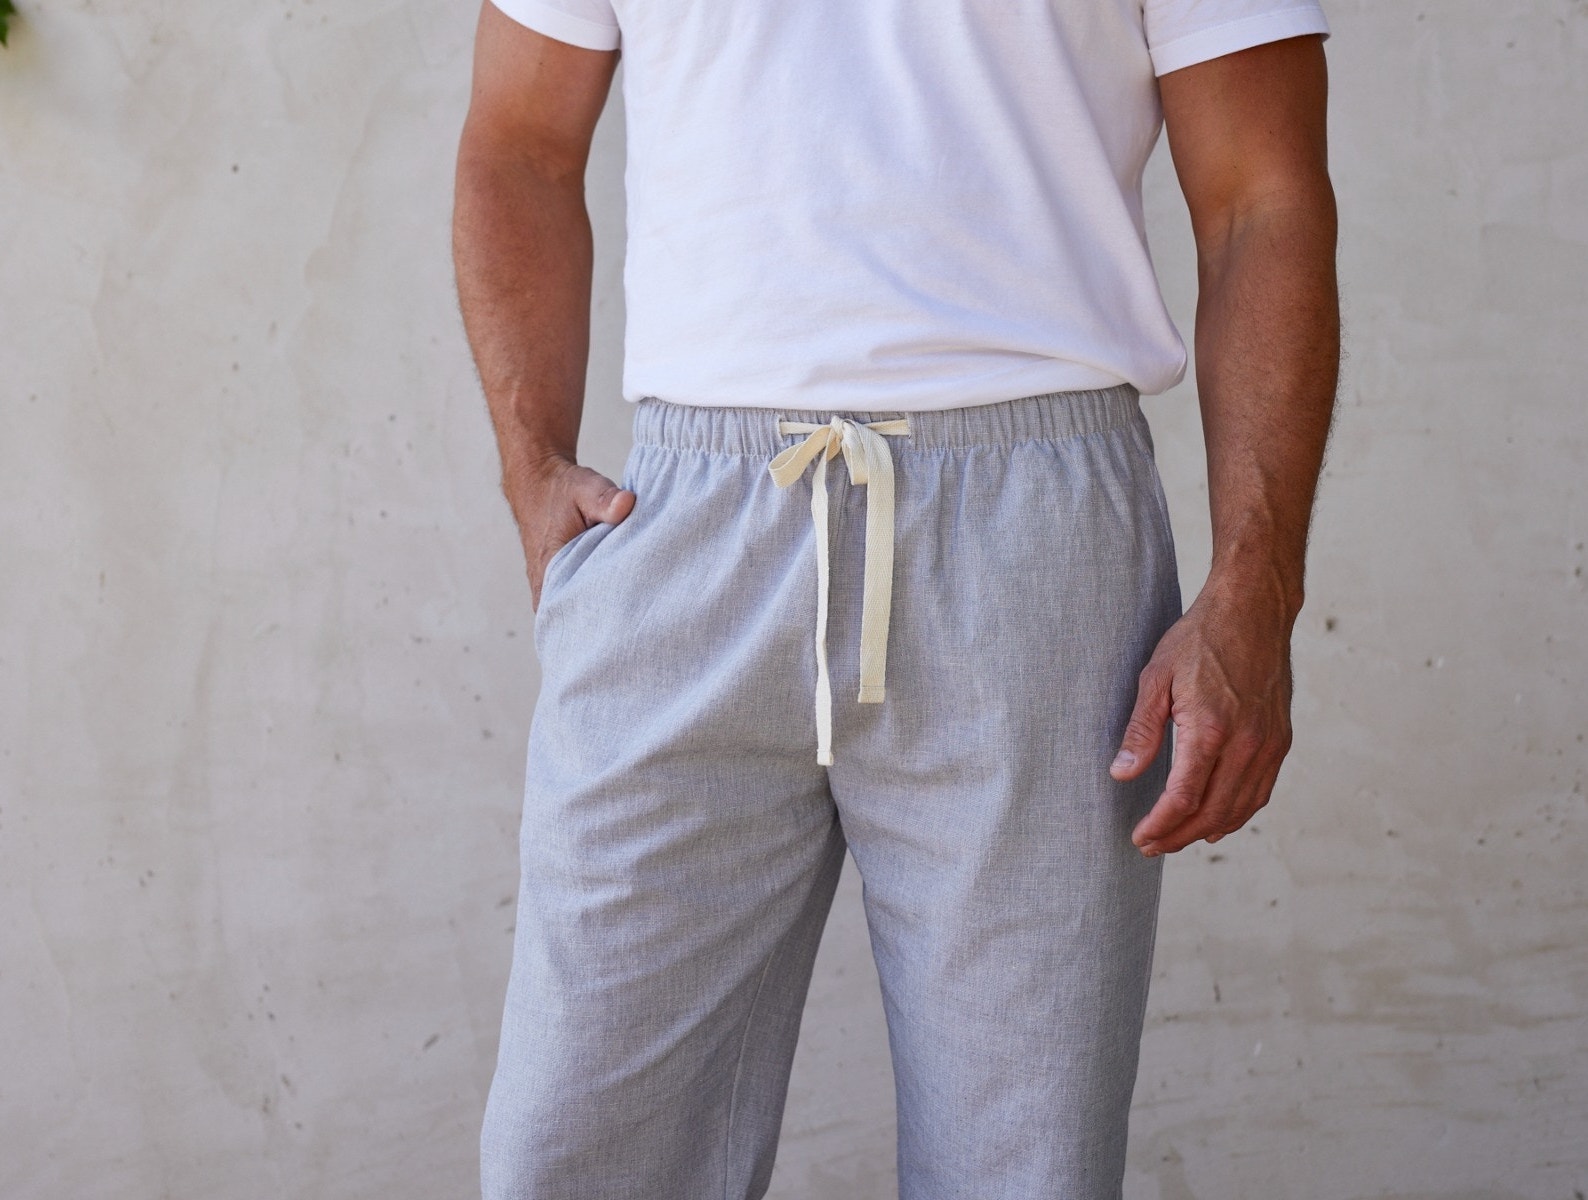
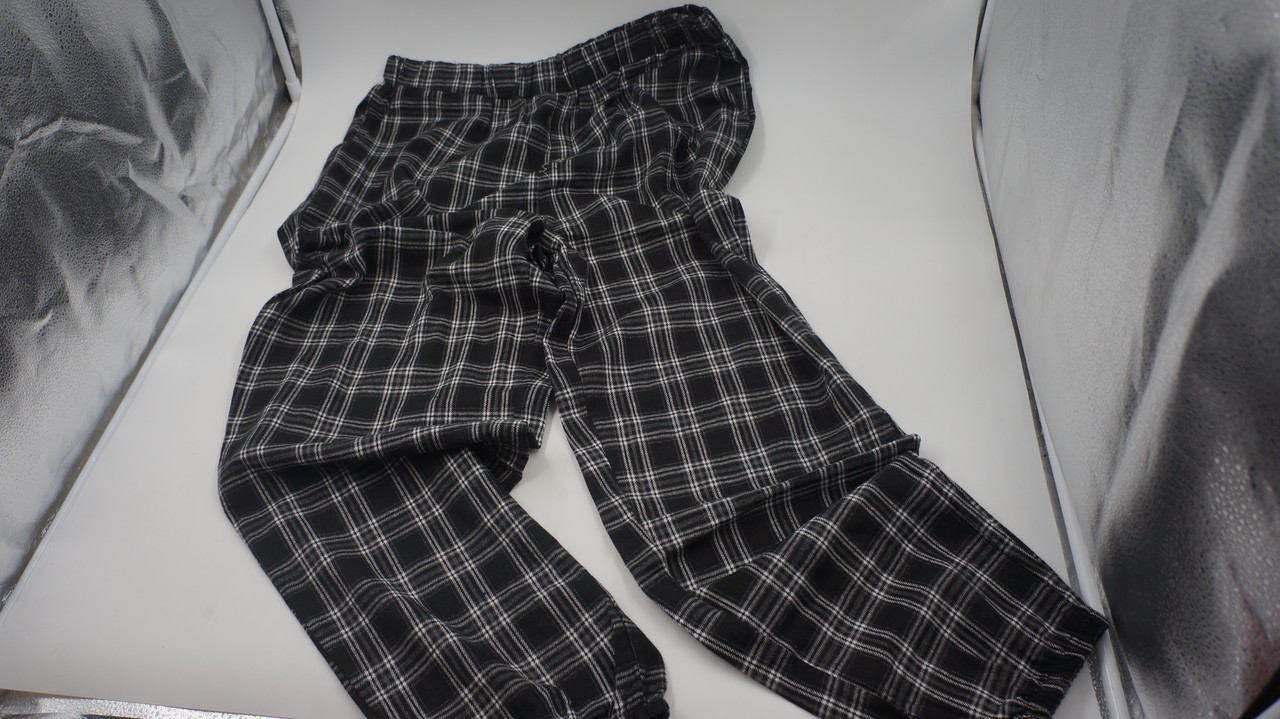
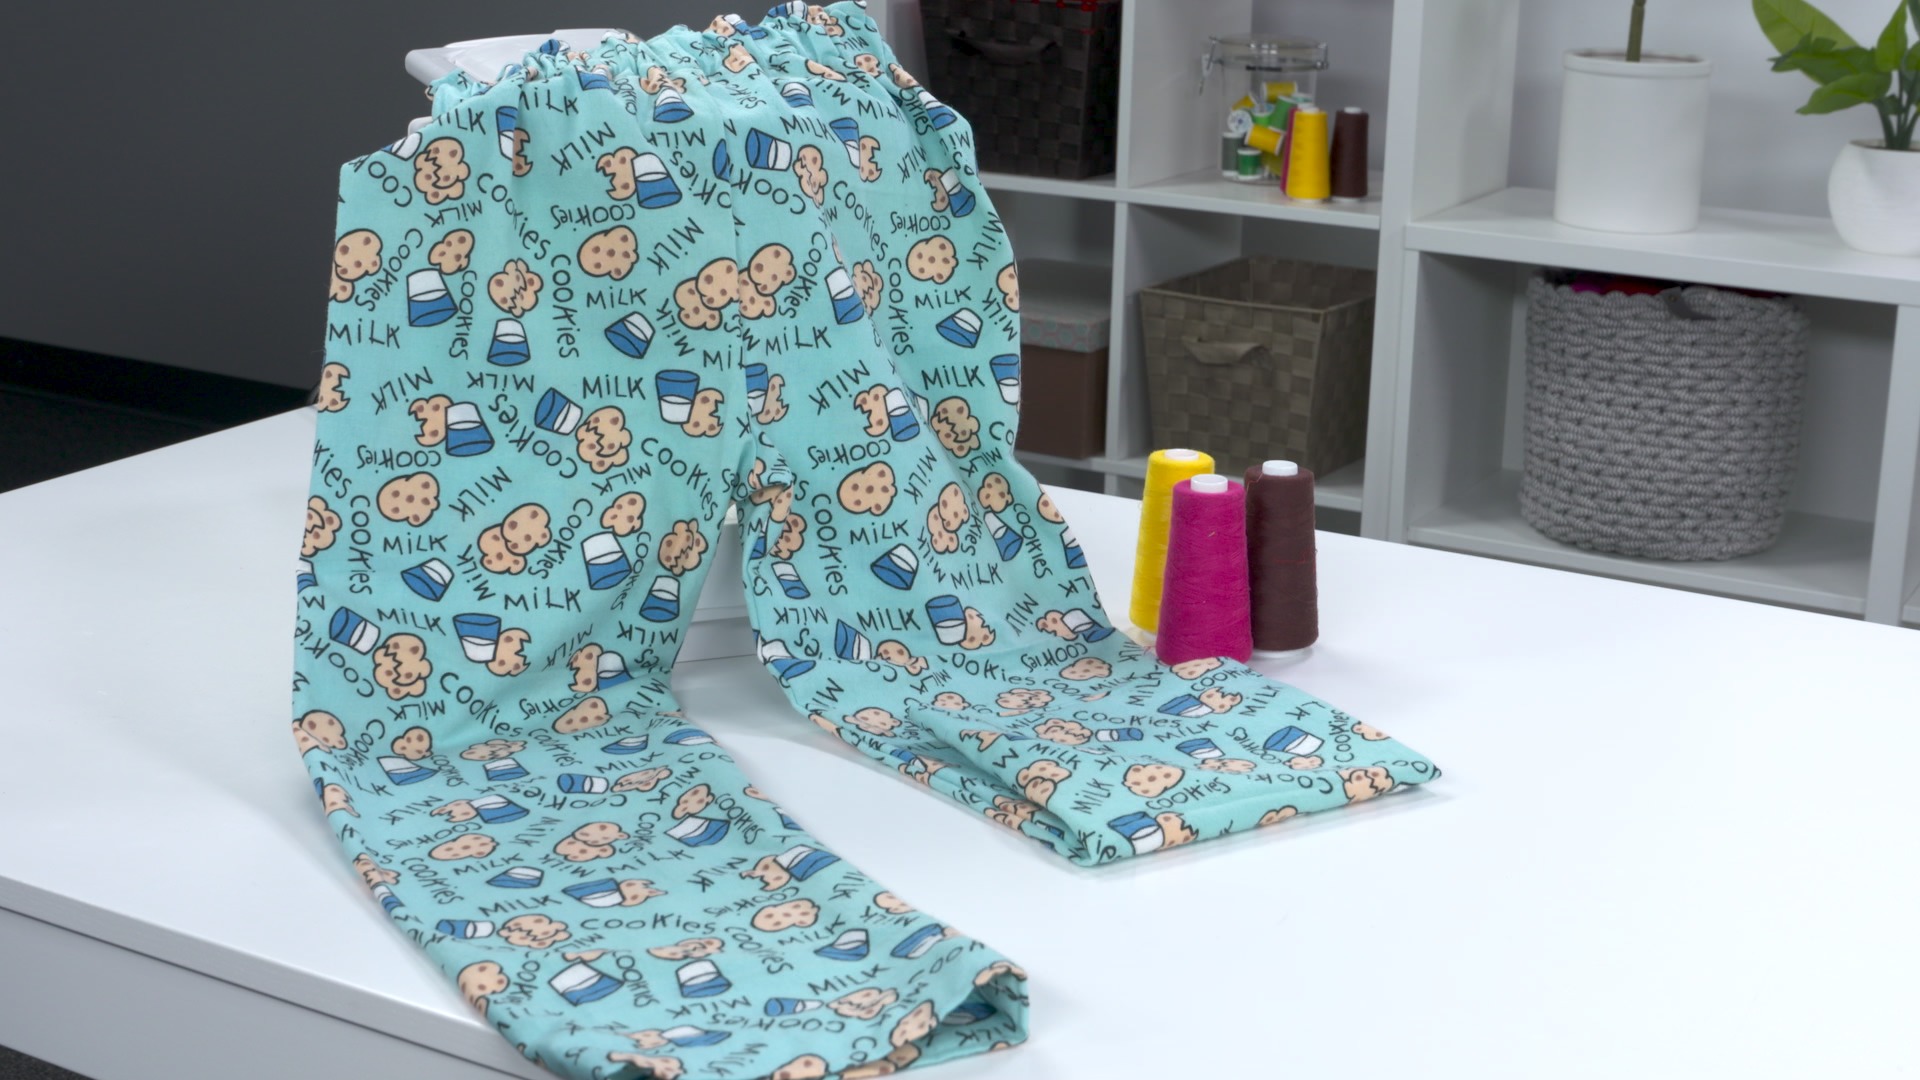
- Pajama pants: Choose a pair of pants that you want to shorten. Make sure they are clean and in good condition.
- Measuring tape: This will help you accurately measure the desired length of your pants.
- Pins: Pins are essential for securing the fabric in place while you work.
- Scissors: A good pair of fabric or sewing scissors is necessary for cutting the excess fabric.
- Sewing machine or needle and thread: Depending on your preference and sewing skills, you can use a sewing machine or hand sew the hem.
- Thread: Choose a thread color that matches your pajama pants or a contrasting color if you prefer a decorative touch.
- Iron: An iron will come in handy for pressing the fabric and creating a professional-looking finish.
Once you’ve gathered these materials, you’ll be well-prepared to start shortening your pajama pants. It’s always a good idea to work in a clean and well-lit area where you have ample space to lay out your pants and work comfortably. With everything ready, let’s move on to the next step: measuring and cutting.
Step 1: Measuring
The first step in shortening your pajama pants is to accurately measure the desired length. This will ensure that your pants are the perfect length for your comfort and style. Follow these steps to measure your pants:
- Put on the pajama pants: Wear your pajama pants and fold up the hem to the desired length. This will help you visualize the final look and make it easier to measure.
- Stand in front of a mirror: Position yourself in front of a full-length mirror so you can see how the shortened length will look on you.
- Measure the length: With the scissors or a pin, mark the length you want your pants to be. Use a measuring tape to measure the distance from the bottom of the pants to the desired mark. Make sure to measure both legs to ensure accuracy.
- Adjust if necessary: Take a moment to double-check the marked length. If you’re unsure, it’s always better to err on the side of caution and leave a little extra length. You can always trim more later if needed.
Once you have measured and marked the desired length, you’re ready to move on to the next step: marking and cutting the fabric. It’s important to be precise in your measurements, as this will ensure that your pants fit properly and look tidy once they are shortened.
Step 2: Marking and Cutting
Now that you have measured your pajama pants to your desired length, it’s time to mark and cut the fabric. This step will involve creating a new hemline and removing the excess length. Here’s how to mark and cut your pants:
- Remove the pants: Take off the pajama pants and lay them flat on a clean and smooth surface.
- Create a new hemline: Using your measuring tape and a fabric marker or tailor’s chalk, mark the new hemline around the bottom of each pant leg. Make sure the line is straight and even all the way around.
- Add seam allowance: Measure about 1 inch below the marked hemline and create a new line. This will serve as your seam allowance, which is essential for hemming and finishing the fabric.
- Trim the excess fabric: Using a pair of sharp fabric scissors, carefully cut along the second line you marked to remove the excess fabric. Take your time and go slowly to ensure a clean and straight cut. Repeat this step for the other pant leg.
- Double-check the length: After cutting, unfold the hem and lay the pants flat again. Double-check the length to make sure it matches your desired measurement. If needed, you can make minor adjustments by trimming a bit more fabric.
With the fabric marked and cut, you have successfully shortened your pajama pants. The next step is to move on to hemming the fabric, which will give your newly shortened pants a neat and finished look.
Step 3: Hemming
Now it’s time to hem the raw edges of your shortened pajama pants. Hemming will give them a polished and professional finish. Whether you prefer to use a sewing machine or hand sew the hems, here are the steps to follow:
- Prep the fabric: Start by ironing the raw edges of the fabric to create a crisp and smooth surface. This will make it easier to fold and sew.
- Fold the fabric: Take the raw edge of the fabric and fold it up towards the wrong side of the fabric, creating a small fold. The width of the fold should match the seam allowance you marked earlier.
- Pin the fabric: Use sewing pins to secure the folded fabric in place. Place the pins parallel to the folded edge and distribute them evenly along the hemline. This will help keep the fabric in place as you sew.
- Choose your sewing method: If you’re using a sewing machine, set it to a straight stitch and sew along the folded edge, removing the pins as you go. If you prefer to hand sew, use a needle and thread to create tiny, even stitches along the folded edge.
- Secure the ends: Once you have sewn all the way around the hem, reinforce the beginning and end of the seam by backstitching or knotting the thread. This will prevent the stitches from unraveling.
- Press the hem: Finally, use the iron to press the newly sewn hem. This will make it crisp and give it a professional finish. Take care not to press too hard or leave the iron on the fabric for too long to avoid damaging it.
With the hems sewn and pressed, your shortened pajama pants are almost complete. The final step is to add any finishing touches to ensure a polished look.
Step 4: Finishing Touches
With the hemming complete, your shortened pajama pants are almost ready to be worn. However, there are a few additional finishing touches you can add to make them even more stylish and comfortable. Here’s what you can do:
- Trim loose threads: Check the seams and edges of your pants for any loose threads. Use a pair of scissors to carefully trim them, giving your pants a clean and tidy appearance.
- Add decorative elements: If you want to add a touch of personalization, you can incorporate decorative elements such as lace trim, ribbon, or embroidery. Sew these embellishments along the hemline or other desired areas to give your pajama pants a unique and custom look.
- Try them on: Once you’ve finished all the steps, try on your newly shortened and hemmed pants to ensure a perfect fit. Pay attention to the length and overall comfort. If you’re satisfied, you’re all set!
- Wash and care: Before you wear your pajama pants, make sure to wash and care for them according to the fabric’s instructions. It’s always a good idea to give them a gentle wash to remove any residual markings or dust.
By following these finishing touches, your pajama pants will be transformed into a comfortable and stylish sleepwear option. Enjoy the satisfaction of wearing perfectly fitting pajama pants tailored to your liking!
Conclusion
Congratulations! You have successfully shortened your pajama pants and given them a personalized touch. By following the steps outlined in this guide, you were able to measure your pants, mark and cut the fabric, hem the edges, and add any finishing touches. The end result is a pair of pajama pants that fit perfectly and are tailored to your desired length.
Not only is shortening pajama pants a practical solution for those that are too long, but it also allows you to put your sewing skills to use and express your creativity. In just a few simple steps, you transformed your sleepwear into a customized garment that suits your style and comfort.
Remember, the key to achieving the best results is to take your time, be precise in your measurements, and pay attention to the details. Whether you used a sewing machine or hand sewn the hems, the finished product will have a neat and professional appearance.
Now that you have learned how to shorten pajama pants, you can apply this knowledge to other garments as well. The same principles can be used to alter other types of pants or even skirts. With practice, you’ll become more confident in your sewing skills and have the ability to make customized adjustments to your clothing.
So go ahead, put on your shortened pajama pants and enjoy a good night’s sleep in style and comfort. Your perfectly fitted sleepwear will make you feel great and leave you looking forward to bedtime. Sweet dreams!