Home>How-to Guides>For Men>How To Cut T-Shirt Into Tank Top Mens

For Men
How To Cut T-Shirt Into Tank Top Mens
Modified: August 5, 2023
Learn how to easily transform your t-shirt into a fashionable tank top for men. Perfect for summer style and staying on trend.
(Many of the links in this article redirect to a specific reviewed product. Your purchase of these products through affiliate links helps to generate commission for Under-tec.com, at no extra cost. Learn more)
Table of Contents
Introduction
Welcome, stylish gentlemen, to the world of fashion and do-it-yourself clothing alterations! In this article, we will guide you through the step-by-step process of turning your regular t-shirt into a trendy tank top. Whether you want to sport a cool and casual look during summer outings or add a touch of personal style to your wardrobe, this simple DIY project is just what you need.
The beauty of transforming a t-shirt into a tank top lies in its versatility. With a few careful cuts, you can create a customized garment that perfectly fits your body and reflects your unique personality. Plus, you’ll save money by repurposing your existing t-shirts rather than buying new ones.
But before we dive into the cutting and sewing, let’s discuss the materials you’ll need for this project. Don’t worry, it’s nothing too fancy. In fact, you probably have most of them lying around your house.
Materials Needed
Before you begin the transformation process, gather these essential materials:
- A t-shirt: Choose one that you’re willing to repurpose into a tank top. It can be an old shirt that you no longer wear or a new one that you want to give a fresh look.
- Sharp scissors or fabric shears: Invest in a good pair of scissors that can easily cut through fabric. Make sure they are sharp to ensure clean and precise cuts.
- A fabric marker or chalk: You’ll need something to mark the cutting lines on your t-shirt. A fabric marker or chalk will easily wash away after you’re done.
- Measuring tape or ruler: These tools will come in handy for measuring and marking the desired length and width of your tank top.
- A flat surface: Find a stable and flat surface to work on, such as a table or a cutting mat. This will provide a stable cutting area and prevent any accidental slips.
- An iron and ironing board: Although not mandatory, having an iron and ironing board can help ensure a smooth and professional-looking finished product.
Once you have gathered all these materials, you’re ready to embark on your t-shirt transformation journey. Let’s move on to the step-by-step guide on how to cut a t-shirt into a tank top.
Step 1: Choosing the Right T-Shirt
The first step in creating your own stylish tank top is selecting the right t-shirt for the job. You can choose an old shirt that needs a new lease on life or a new one that you want to modify right from the start.
Consider the following factors when choosing your t-shirt:
- Size and Fit: Pick a t-shirt that fits you well in terms of length, width, and overall shape. Keep in mind that the fit and comfort of the tank top will depend on the original t-shirt’s proportions.
- Fabric Type: Consider the fabric of the t-shirt. Cotton shirts are popular for their breathability and softness, making them an ideal choice for a tank top. However, you can experiment with other fabrics like polyester or blends to achieve different looks and textures.
- Color and Pattern: Select a t-shirt with a color or pattern that matches your style and preferences. Solid colors are versatile and easy to pair with different outfits, while patterns and graphics can add a touch of uniqueness to your tank top.
Remember, the success of your tank top transformation lies in starting with a t-shirt that you love and feel comfortable wearing. So take your time to find the perfect one before moving on to the next step.
Step 2: Marking the Cutting Lines
Once you have chosen the perfect t-shirt for your tank top project, it’s time to mark the cutting lines. This step is crucial for achieving precise and symmetrical cuts.
Here’s how to mark the cutting lines:
- Put on the t-shirt: Wear the t-shirt and stand in front of a mirror. This will help you visualize where you want to make the cuts and ensure that the tank top will fit you properly.
- Determine the desired length: Decide how long you want your tank top to be. You can make it a cropped style that hits above the waist or a longer length that falls at the hips. Use a measuring tape or ruler to measure and mark the desired length on both sides of the t-shirt.
- Mark the sleeve openings: Decide on the width of the tank top straps. Typically, cutting a straight line parallel to the shoulder seam is a good starting point. Use the fabric marker or chalk to mark the width of the straps on both sides of the t-shirt.
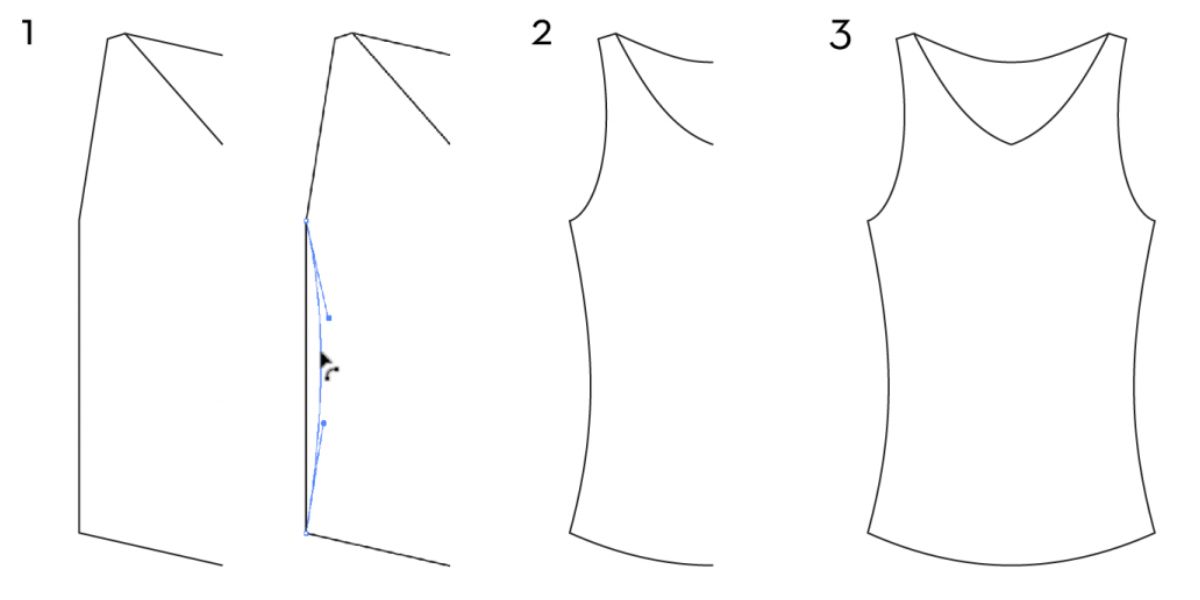
- Mark the neckline: Determine the shape and depth of the neckline you want for your tank top. You can go for a traditional rounded neckline, a trendy scoop neck, or even a stylish V-neck. Using the fabric marker or chalk, carefully mark the desired shape and depth of the neckline.
- Double-check and adjust: Once you have marked all the cutting lines, take a step back and assess the markings. Make any necessary adjustments to ensure symmetry and balance. This step is essential for achieving a professional-looking tank top.
By taking the time to accurately mark the cutting lines, you’ll be able to execute the following steps with precision and confidence. Now that we have the cutting lines in place, it’s time to move on to the next step: cutting the sleeves.
Step 3: Cutting the Sleeves
Now that you have marked the cutting lines for your tank top, it’s time to bring out the scissors and start transforming those sleeves.
Follow these steps to cut the sleeves:
- Lay the t-shirt flat: Place the t-shirt on your flat working surface, ensuring it’s smooth and free of wrinkles. This will provide a stable and even cutting area.
- Carefully cut along the marked lines: Take your scissors and start cutting along the marked lines for the sleeve openings. Keep in mind that it’s better to start with a smaller opening and make it larger later if needed. Trim the fabric slowly and with precision to avoid any mistakes.
- Repeat the process for the other sleeve: Once you have cut one sleeve, repeat the same process for the other side. This will ensure symmetry in your tank top.
- Try on the tank top: After cutting both sleeves, slip the t-shirt over your head and try it on. Check if the sleeve openings are the desired size and shape. If you want a wider or deeper opening, make the necessary adjustments by trimming the fabric gradually.
Remember to be cautious when cutting the sleeves, as it’s easy to accidentally cut too much fabric. It’s always better to start with smaller cuts and gradually adjust for the perfect fit.
With the sleeves successfully transformed, you’re one step closer to having your very own customized tank top. The next step is to cut the neckline, so let’s move on to Step 4.
Step 4: Cutting the Neckline
After successfully cutting the sleeves, it’s time to focus on the neckline of your tank top. The neckline adds character and style to your garment, so it’s important to approach this step with precision and creativity.
Follow these steps to cut the neckline:
- Refer to the marked lines: Take a look at the fabric marker or chalk lines you made to indicate the desired shape and depth of the neckline.
- Start with small cuts: Using your scissors, make small cuts along the marked lines. It’s always better to start with smaller cuts and gradually increase the size if needed.
- Try on the tank top: Once you have made a few cuts, try on the tank top again to assess the neckline’s shape and depth. If you prefer a wider or deeper neckline, adjust the cuts accordingly.
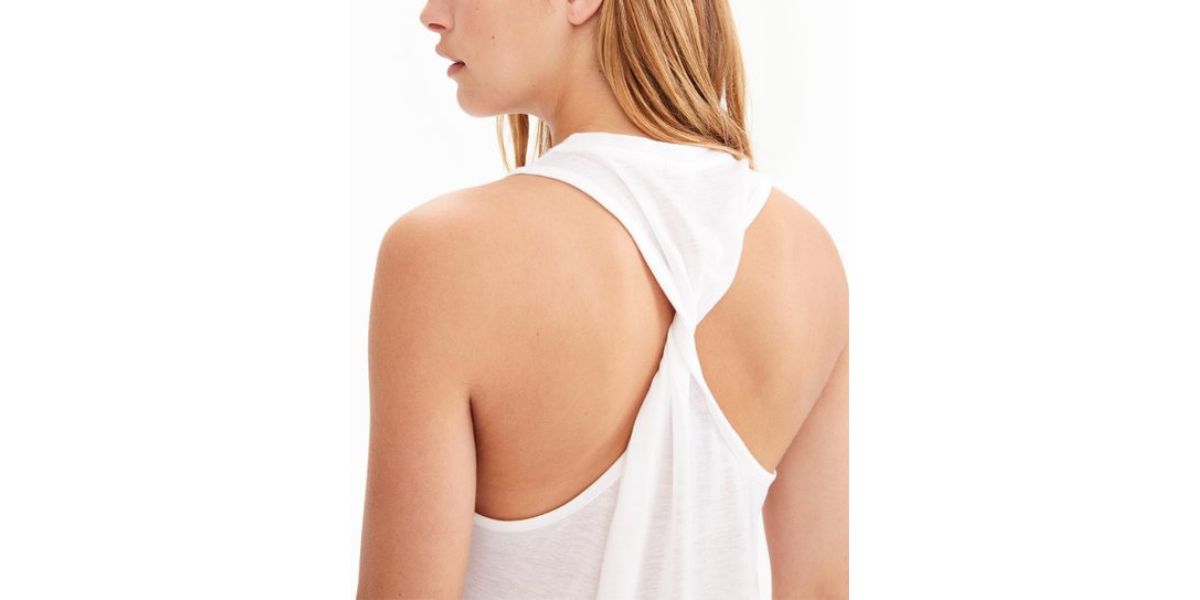
- Experiment with different neckline styles: Don’t be afraid to get creative with your neckline design. You can try a scoop neck, a V-neck, or even a square neckline. Experiment with different cuts and shapes to find the style that suits you best.
- Optional: Finish the neckline: If you want to give your tank top a more polished look, you can finish the neckline. Turn the raw edges inward and sew them down, or use a fabric adhesive to secure them in place. This step is optional but can add a professional touch to your tank top.
Remember, cutting the neckline is a personal preference, so feel free to get creative and experiment with different styles. Just ensure that the neckline complements your overall vision for the tank top.
With the neckline successfully cut, it’s time to move on to the next step: trimming the bottom hem, if desired.
Step 5: Trimming the Bottom Hem (optional)
Now that you have transformed the sleeves and neckline, let’s move on to the optional step of trimming the bottom hem of your tank top. Trimming the hem can give a unique and fashionable touch to your garment.
Here’s how to trim the bottom hem:
- Decide on the desired length: Determine how long you want your tank top to be. You can make it a cropped style that hits above the waist or a longer length that falls at the hips.
- Mark the cutting line: Using a fabric marker or chalk, mark the desired length on the bottom hem of your tank top.
- Double-check and adjust: Take a step back and assess the marking on the bottom hem. Make any necessary adjustments to ensure a symmetrical and balanced cut.
- Cut the hem: Take your scissors and carefully cut along the marked line to trim the bottom hem of your tank top. Ensure that the cut is straight and even for a polished finish.
Remember, trimming the bottom hem is optional. If you prefer to leave it as it is, that’s absolutely fine. However, if you want to add a personal touch to your tank top and make it more tailored to your style, trimming the bottom hem can make a significant difference.
Now that you have completed the trimming process, it’s time to move on to the final step: trying on the tank top.
Step 6: Trying on the Tank Top
Congratulations! You’re at the final step of creating your own customized tank top. It’s time to try on the garment and see how it fits and looks on you.
Follow these steps to try on the tank top:
- Put on the tank top: Carefully slip the tank top over your head and slide your arms through the sleeve openings.
- Assess the fit: Take a moment to assess how the tank top fits your body. Pay attention to the length, the width at the shoulder and chest area, and the overall comfort.
- Make adjustments if necessary: If you’re not completely satisfied with the fit, this is the time to make any necessary adjustments. You can trim the sleeve openings or neckline further, or even make small alterations to the overall shape of the tank top.
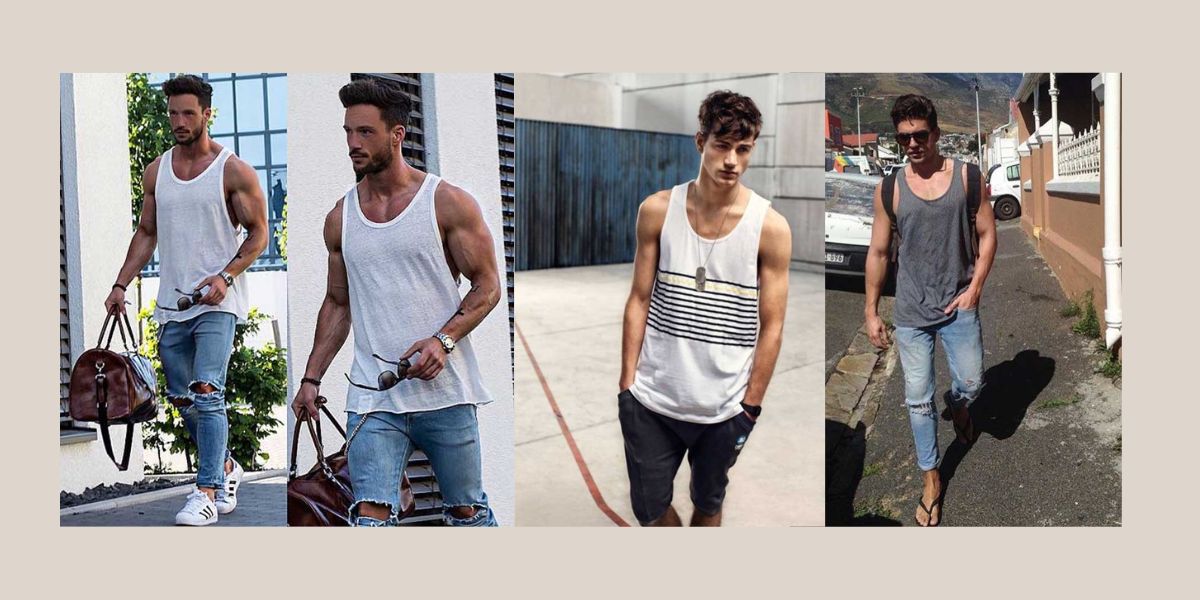
- Experiment with styling: Now that you have your customized tank top, it’s time to have some fun with styling. Try pairing it with different bottoms, accessories, and shoes to create various looks.
Remember, the beauty of creating your own tank top is the ability to tailor it to your unique style and body shape. Take the time to ensure that you’re happy with the final product and make any tweaks as needed.
Once you’re satisfied with the fit and look of your tank top, you can proudly sport it during various occasions – from casual outings to summer gatherings and beyond.
Now that you’ve successfully completed all the steps, admire your handiwork and enjoy your brand new, one-of-a-kind tank top!
Conclusion
Congratulations, gentlemen! You have successfully learned how to transform a regular t-shirt into a stylish tank top. By following the step-by-step process outlined in this article, you have created a unique and personalized garment that reflects your individual style.
Throughout this DIY project, you’ve learned important techniques such as marking cutting lines, cutting sleeves and neckline, trimming the bottom hem, and trying on the tank top to ensure a perfect fit. These skills will come in handy for future clothing alterations and customization.
Remember, the key to creating a successful tank top is choosing the right t-shirt, marking precise cutting lines, and exercising caution and creativity during the cutting process. Don’t be afraid to get creative with different necklines, sleeve lengths, and even adding unique details like fabric patterns or embellishments.
With your new tank top, you can effortlessly rock a stylish and casual look for various occasions. Wear it with pride and confidence, knowing that you have not only saved money by repurposing an existing t-shirt, but also showcased your creativity and personal style.
So go ahead, gentlemen, and experiment with different t-shirts and styles. Whether you prefer a classic and simple look or want to make a bold fashion statement, the possibilities are endless.
Now that you have the knowledge and skills to transform t-shirts into tank tops, it’s time to channel your inner fashion designer and create a wardrobe that truly reflects your unique personality. Happy DIY-ing!