Home>How-to Guides>For Men>How To Cut A Tshirt Into A Gym Tank Top
For Men
How To Cut A Tshirt Into A Gym Tank Top
Modified: August 5, 2023
Learn how to effortlessly transform a regular T-shirt into a stylish gym tank top designed specifically for men. Upgrade your workout wardrobe with this easy DIY project.
(Many of the links in this article redirect to a specific reviewed product. Your purchase of these products through affiliate links helps to generate commission for Under-tec.com, at no extra cost. Learn more)
Table of Contents
Introduction
Welcome to the world of DIY fashion! Are you tired of wearing the same old boring gym tank tops? Do you want to add a personal touch to your workout attire? Look no further, because today we’re going to show you how to transform a regular t-shirt into a trendy and comfortable gym tank top.
Whether you’re a fitness enthusiast or just someone who loves to stay active, having a collection of stylish gym clothes can make your workout sessions more enjoyable. Instead of spending a fortune on expensive designer tank tops, why not get creative and customize your own?
The process of turning a t-shirt into a gym tank top is simple, and requires minimal materials. All you need is an old t-shirt that you’re willing to transform, a pair of scissors, and a little bit of imagination. Not only will this DIY project save you money, but it will also give you the freedom to design a tank top that is unique to your style and personality.
By following our step-by-step instructions, you’ll be able to create a customized gym tank top that will make you stand out from the crowd. Whether you prefer a classic cut, a trendy crop, or a sleek racerback design, we’ve got you covered.
So, are you ready to unleash your inner fashion designer and turn that old t-shirt into a fashion-forward gym tank top? Let’s dive in and get started!
Step 1: Gather the necessary materials
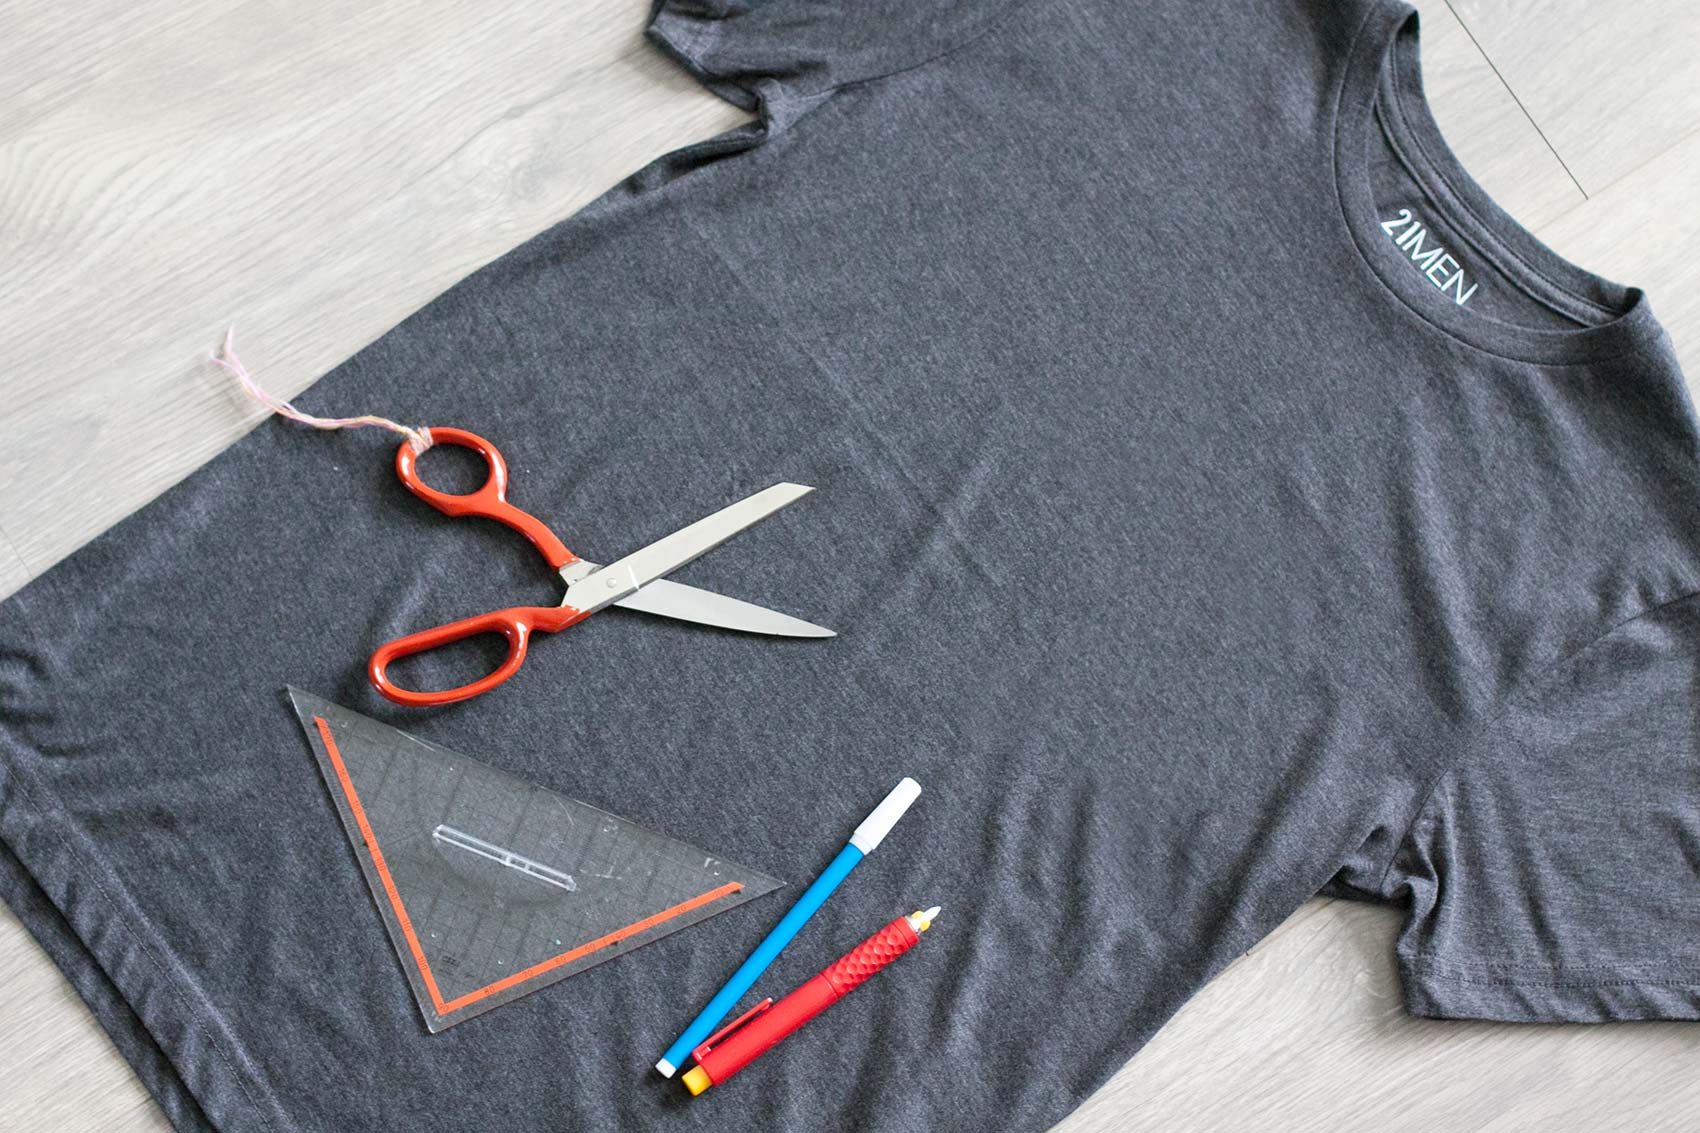
Before you begin transforming your t-shirt into a gym tank top, it’s essential to gather all the necessary materials. Here’s what you’ll need:
- A plain t-shirt – Choose a t-shirt that is comfortable to wear and fits you well. It’s best to use an old t-shirt that you don’t mind cutting into.
- Scissors – Invest in a good pair of fabric scissors that are sharp and easy to handle. This will make the cutting process smoother and ensure clean edges.
- Pins or fabric markers (optional) – These can be helpful for marking guidelines before cutting to ensure accuracy.
- Measuring tape (optional) – If you want precise measurements, a measuring tape can come in handy.
Once you have gathered all the necessary materials, find a clean and well-lit workspace. Make sure you have enough space to lay out your t-shirt and maneuver the scissors comfortably.
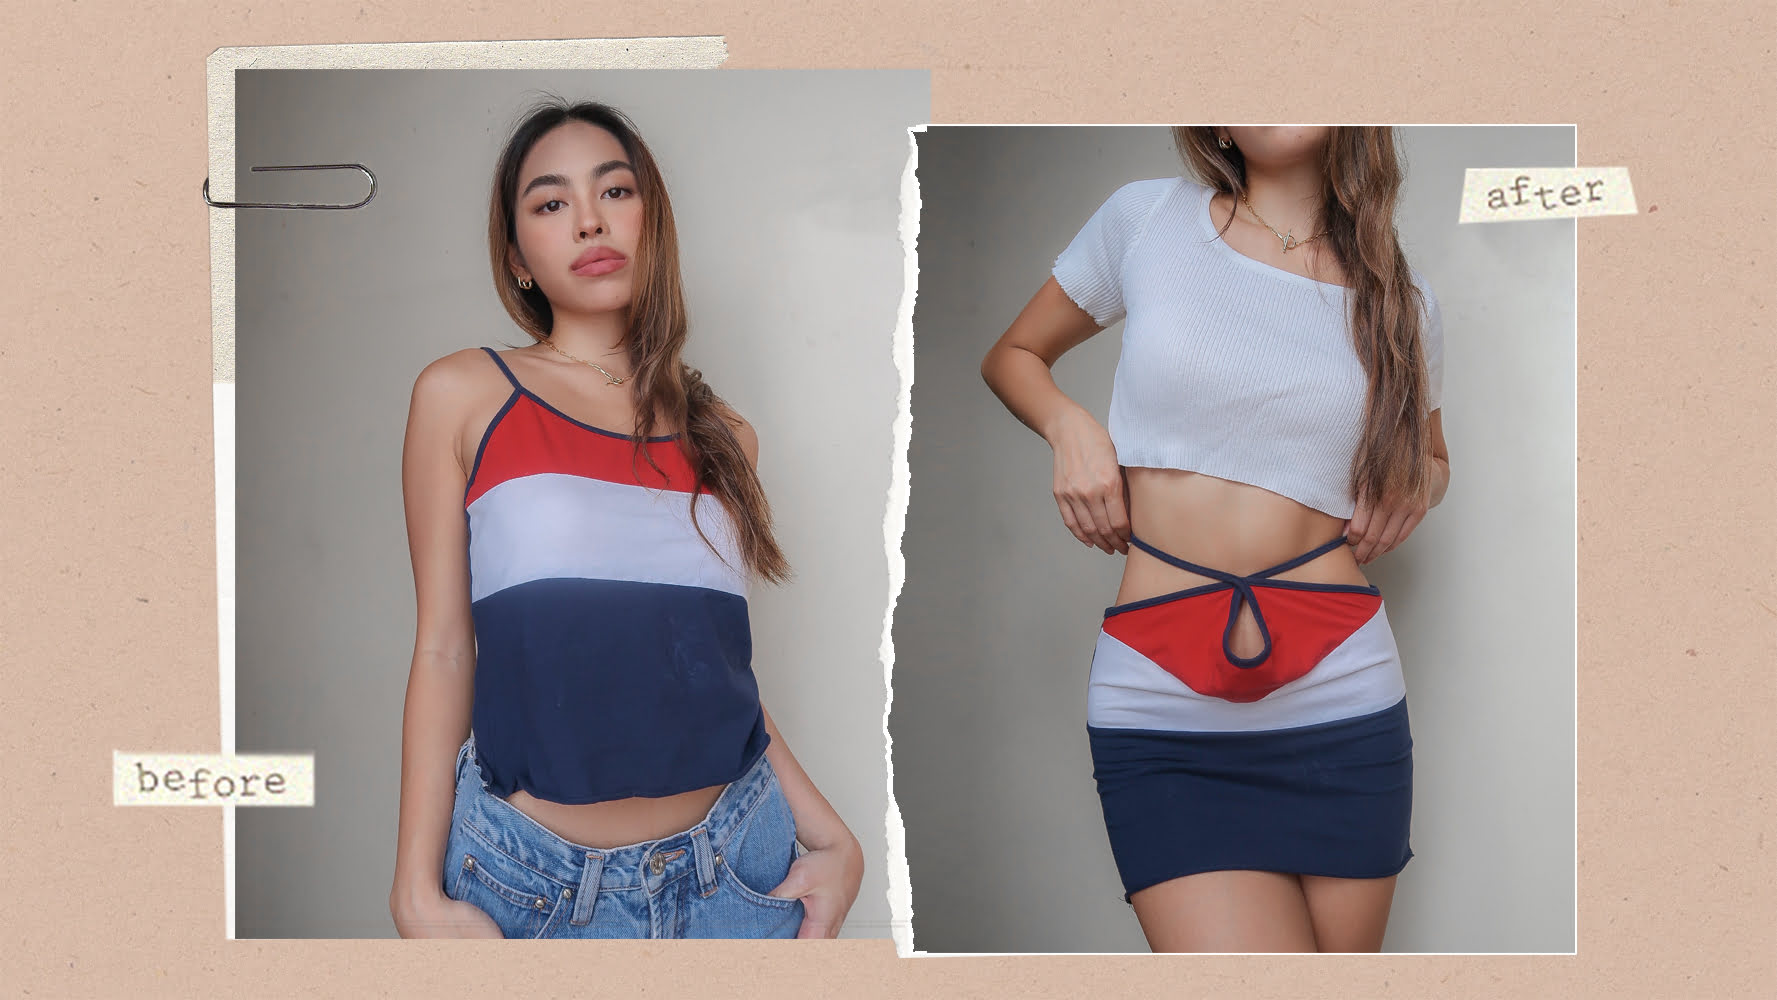
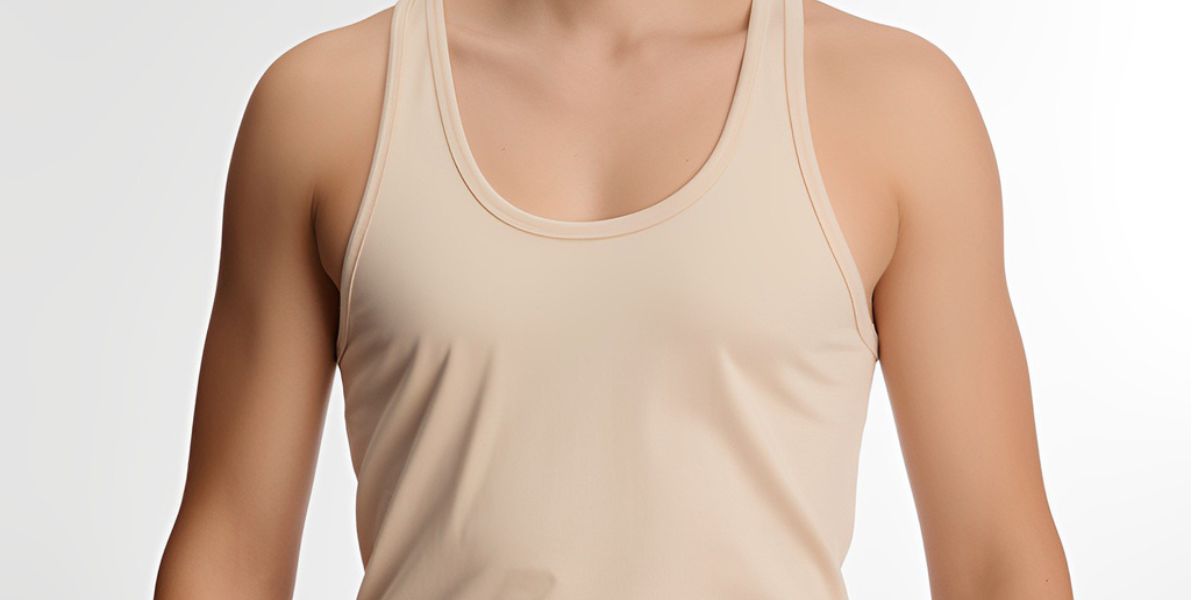
It’s also a good idea to have a reference or inspiration image of the type of gym tank top you want to create. This will help you visualize the final result and guide you during the cutting process.
Now that you have all your materials ready, it’s time to move on to the next step: preparing the t-shirt.
Step 2: Prepare the t-shirt
Before you start cutting into your t-shirt, it’s important to prepare it properly. Follow these steps to get your t-shirt ready for transformation:
- Wash and dry the t-shirt – It’s best to start with a clean t-shirt to remove any dirt or dust that may interfere with the cutting process. Follow the washing instructions on the garment’s label to maintain its quality.
- Smooth out any wrinkles – Lay the t-shirt flat on a surface and smoothen out any wrinkles or creases. This will ensure that you have an even cutting surface and accurate measurements.
- Mark the center of the neckline – Fold the t-shirt in half vertically, aligning the shoulder seams. Lightly mark the center of the neckline with a pin or fabric marker. This will be your reference point for creating symmetrical cuts.
By preparing your t-shirt thoroughly, you’ll be able to work with a neat and organized canvas. This will make the cutting process much easier and help you achieve the desired results.
Once your t-shirt is prepped and ready, it’s time to move on to the next step: deciding on the desired tank top style.
Step 3: Decide on the desired tank top style
Now that you have your t-shirt prepared, it’s time to decide on the style of gym tank top you want to create. There are various options to choose from, depending on your personal preference and the look you want to achieve. Here are a few popular tank top styles:
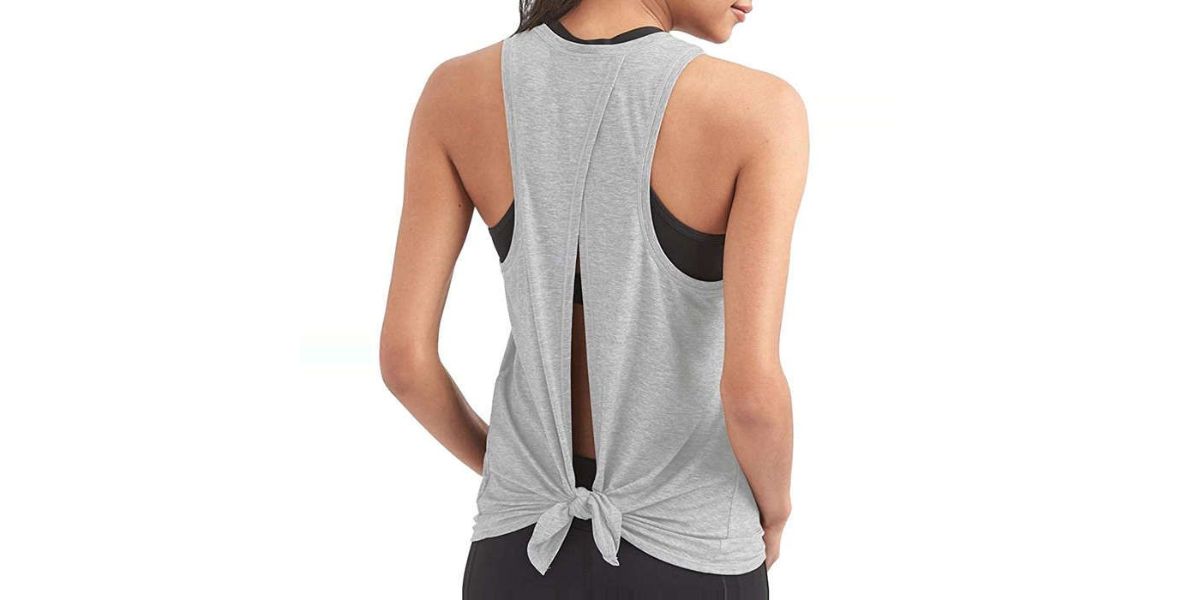
- Racerback tank top – This style features a T-shaped back with a narrow strap running down the center. It provides a sporty and flattering look, allowing for greater freedom of movement.
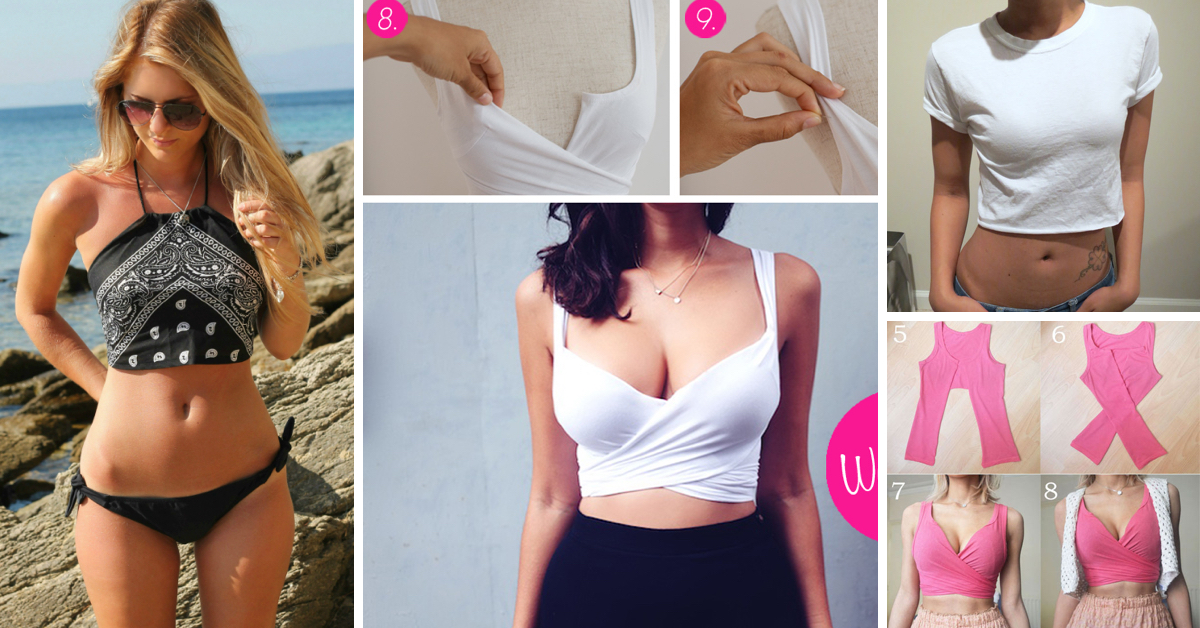
- Cropped tank top – If you prefer a shorter and more revealing style, you can opt for a crop top. This style is great for showcasing your abs and adding a trendy touch to your workout ensemble.
- Classic tank top – For a timeless and versatile look, you can stick to the traditional tank top style. This typically involves cutting off the sleeves and collar, leaving a simple sleeveless design.
- High-neck tank top – If you prefer a bit more coverage, a high-neck tank top might be the perfect choice. This style involves cutting a smaller neckline and leaving the rest of the t-shirt intact.
Consider your body type and personal style when selecting the tank top style. Additionally, think about the activities you’ll be doing while wearing the tank top. Some styles may be more suitable for intense workouts, while others are better for lounging or yoga sessions.
Once you’ve decided on the desired style, it’s time to move on to the next step: marking the cutting lines.
Step 4: Mark the cutting lines
Before you start cutting into your t-shirt, it’s a good idea to mark the cutting lines to ensure accuracy and symmetry. Here’s how you can do it:
- Referencing your desired tank top style, use a fabric marker or pins to mark the areas where you want to make the cuts. For example, if you’re creating a racerback tank top, mark the center of the back neckline and the desired width of the racerback straps.
- If you want to create a cropped tank top, decide on the length you prefer and mark it on the t-shirt. You can use a ruler or measuring tape to ensure a precise measurement.
- For a classic tank top style, mark the points where you want to remove the sleeves and collar. This can be done by folding the t-shirt in half and marking the areas evenly.
- Remember to take your body shape and size into consideration when marking the cutting lines. It’s best to try on the t-shirt and make adjustments as needed before proceeding to the cutting stage.
By marking the cutting lines, you’ll have a visual guide that will help you stay on track and achieve the desired results. It’s important to take your time during this step to ensure accuracy and prevent any potential mishaps.
Now that you have your cutting lines marked, it’s time to move on to the next step: start cutting!
Step 5: Start cutting
With the cutting lines marked, it’s time to grab your scissors and start transforming your t-shirt into a gym tank top. Follow these steps to cut along the marked lines:
- Hold the t-shirt firmly in one hand, making sure it’s flat and smooth.
- Starting at one end of the marked cutting line, carefully insert the tip of the scissors through the fabric. Begin cutting along the line, using steady and even motions.
- Continue cutting along the marked lines, being cautious to follow the guidelines accurately. If you’re creating a cropped tank top, cut straight across at the desired length.
- Take your time and cut slowly to ensure clean and neat edges. If needed, you can always trim off excess fabric later.
- For sleeves and collar, fold the t-shirt in half along the center line and cut both sides simultaneously to achieve symmetry.
Remember to be mindful of your fingers and keep them away from the scissor blades to avoid any accidents. If at any point you’re unsure about a cut or measurement, it’s better to cut conservatively and make adjustments later.
Once you have completed the cutting process, shake off any loose fabric scraps and admire your progress. You’re now one step closer to having your very own custom gym tank top!
Next up, if you want to add a stylish racerback to your tank top, proceed to step 6. Otherwise, skip ahead to step 7 to try on your creation and make any necessary adjustments.
Step 6: Create the racerback (optional)
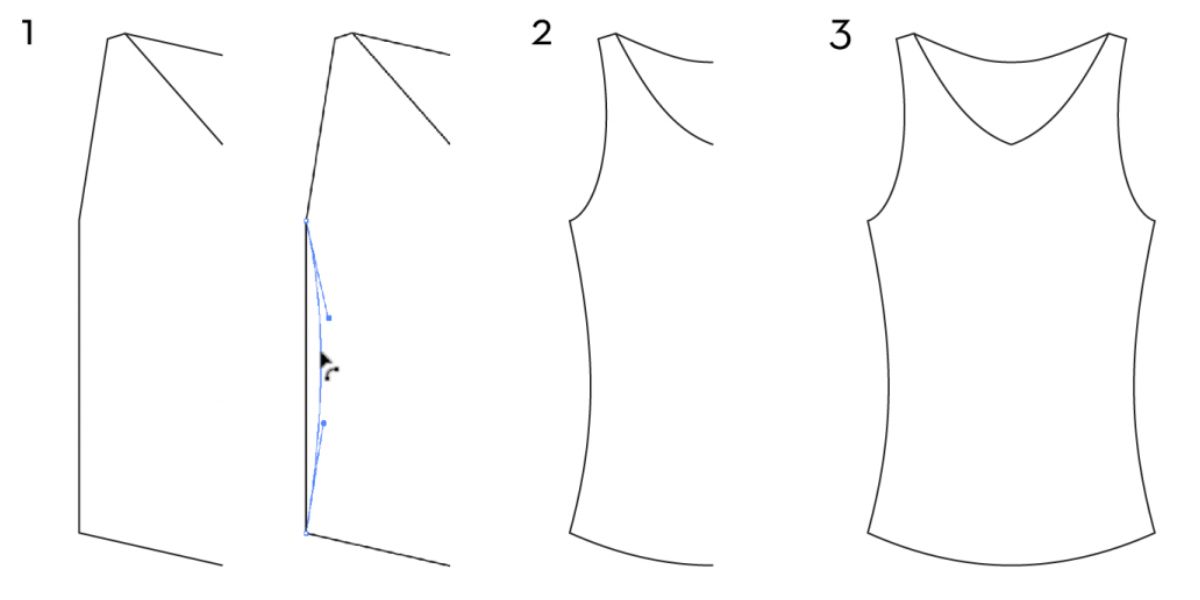
If you’ve decided to add a trendy racerback design to your gym tank top, this step will guide you through the process. Follow these instructions to create the racerback:
- Turn the t-shirt inside out to expose the back side.
- Starting from the top center of the back neckline, carefully cut straight down the center, following the marked line.
- Next, cut from the bottom of the center cut towards the side seams, creating a slight curve to form the racerback shape.
- Repeat this process on the other side to create symmetrical racerback straps.
- Try on the tank top and make any necessary adjustments. If you want narrower or wider straps, you can trim them as needed.
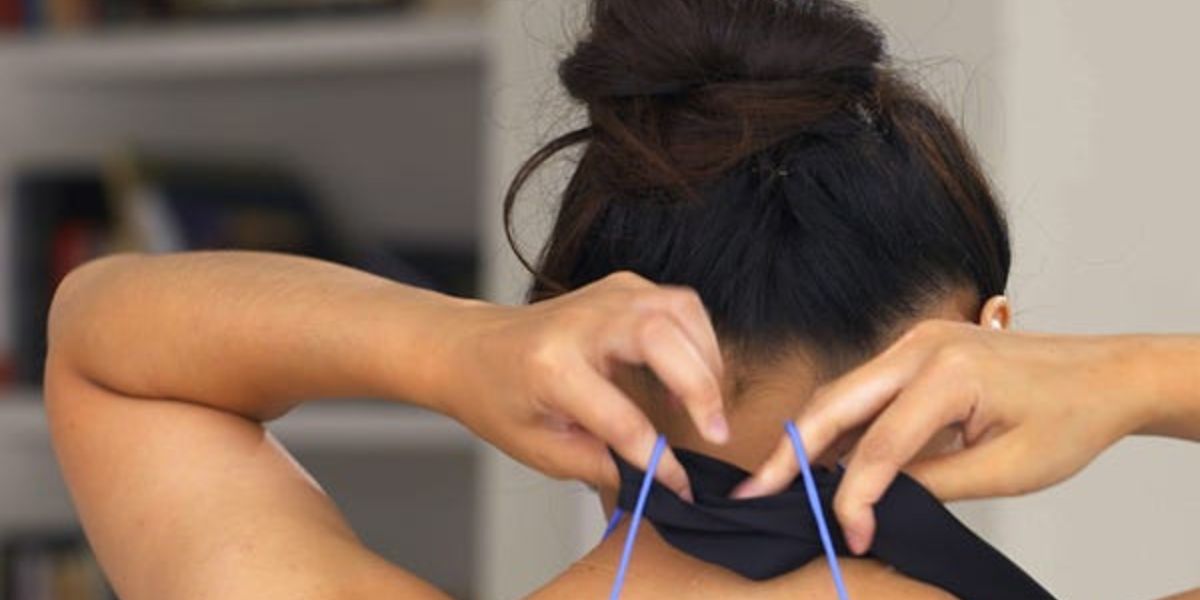
- To secure the racerback straps in place, you can make additional cuts or tie knots at the end of each strap.
Creating a racerback adds a stylish and sporty touch to your tank top, allowing for greater freedom of movement and ventilation during workouts. It’s a great option for those who prefer a more active and trendy look. However, if you’re satisfied with your tank top without the racerback, you can proceed to the next step.
Once you’re happy with the racerback design, move on to the following step to try on your newly transformed gym tank top and make any necessary adjustments.
Step 7: Try on and make adjustments
Now that you’ve completed the cutting and optional racerback step, it’s time to try on your newly transformed gym tank top. Follow these guidelines to ensure the perfect fit:
- Put on the tank top and assess how it fits on your body. Check the length, neckline, armholes, and overall comfort.
- If you want to make any adjustments, such as shortening the length or widening the armholes, use the scissors to carefully trim off small increments at a time.
- When making adjustments, remember to err on the side of caution and cut gradually. You can always go back and trim more fabric if needed.
- Take a few steps back and check your tank top in the mirror. Evaluate the overall look and make any final tweaks to achieve the desired style.
- Once you’re happy with the fit and appearance, you can optionally wash and dry the tank top to remove any stray fabric fibers left from the cutting process.
Trying on the tank top is a crucial step as it allows you to see how your custom-designed creation looks and feels on you. Making any necessary adjustments ensures a comfortable and flattering fit that you’ll enjoy wearing during your workouts.
With the adjustments made, your gym tank top is now ready to make a statement in your fitness wardrobe. Embrace your creativity and showcase your unique style as you confidently sport your self-made tank top during your workouts!
Finally, let’s move on to the concluding step to add some finishing touches to your DIY project.
Step 8: Finishing touches
You’re almost done with your DIY gym tank top transformation! In this final step, you can add some finishing touches to further personalize and enhance your creation. Here are a few ideas:
- Add embellishments – If you want to add some flair to your tank top, consider attaching embellishments such as iron-on patches, studs, or fabric appliques. Get creative and experiment with different designs and placements.
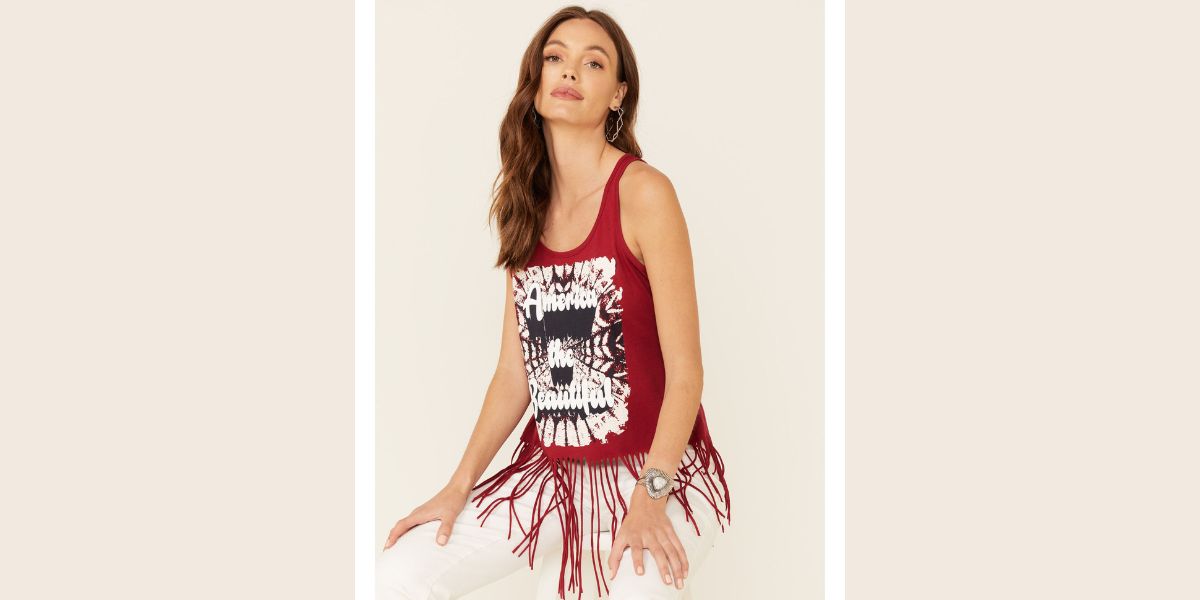
- Play with distressing – For a more edgy and worn-in look, you can distress your tank top by making small cuts, fraying the edges, or lightly sanding the fabric with sandpaper. Be cautious not to overdo it and compromise the garment’s structural integrity.
- Experiment with tie-dye or fabric dye – If you’re feeling adventurous, you can try tie-dyeing or fabric dyeing techniques to add vibrant colors and patterns to your tank top. Follow the instructions on the dye packaging for best results.
- Customize with fabric paint or markers – Unleash your artistic side by using fabric paint or markers to draw or write on your tank top. Create unique designs, motivational quotes, or symbols that resonate with your fitness journey.
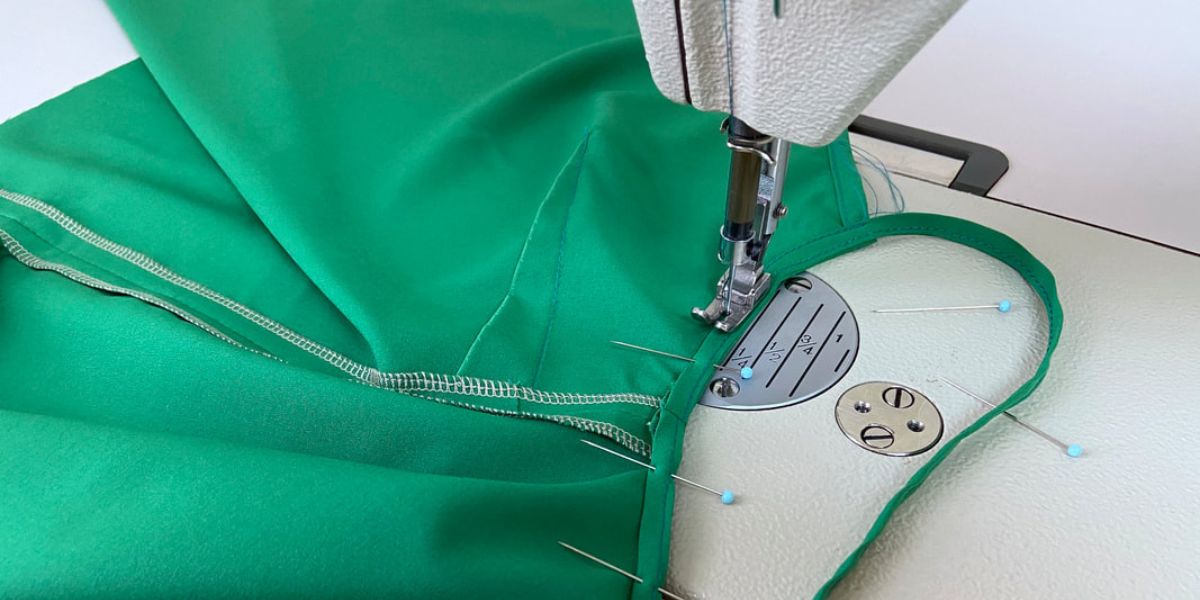
- Consider adding a hem – If you prefer a more polished look, you can hem the edges of your tank top using a sewing machine or by hand. This will give your garment a clean and professional finish.
The finishing touches are all about personalizing your gym tank top to reflect your unique style and taste. Get creative and have fun with it! Remember, this is your chance to make a fashion statement and stand out during your workouts.
Once you’re satisfied with the finishing touches, take a moment to appreciate the hard work you’ve put into transforming a simple t-shirt into a fashionable gym tank top. You’ve successfully created a one-of-a-kind piece that reflects your creativity and individuality!
Now it’s time to put on your custom-made gym tank top and hit the gym with confidence, knowing that you’re sporting a truly unique and stylish athletic wear that sets you apart from the crowd.
Conclusion
Congratulations on successfully transforming your plain t-shirt into a trendy and personalized gym tank top! By following the steps outlined in this guide, you’ve created a one-of-a-kind garment that showcases your creativity and style.
Turning a t-shirt into a gym tank top is a cost-effective and enjoyable way to upgrade your workout wardrobe. Not only does it allow you to customize your clothing to suit your preferences, but it also gives you the opportunity to unleash your inner fashion designer.
Throughout the process, you’ve learned how to gather the necessary materials, prepare the t-shirt, decide on the desired tank top style, mark the cutting lines, and execute the cutting process. You’ve also explored the option of adding a stylish racerback and made any necessary adjustments for the perfect fit.
Remember, the finishing touches are a chance for you to further personalize your gym tank top. Whether you choose to add embellishments, distress the fabric, experiment with tie-dye, or customize with fabric paint, the possibilities are endless!
Now that you have a unique gym tank top to wear during your workouts, you can confidently express your individuality while staying comfortable and stylish. Embrace the DIY spirit and continue to explore your creativity in transforming other pieces of clothing in your wardrobe.
So put on your custom-made gym tank top, hit the gym, and enjoy the compliments and questions from others wondering where you got your fabulous athletic wear. You can proudly say, “I made it myself!”
Now it’s time to unleash your inner designer and create more stylish and personalized pieces. Get ready to elevate your fitness fashion game and inspire others to embrace their creativity!